Design your own display stand using self-adhesive films
Today, we’d like to explain how you can easily make your own (company) display stand using YOW! self-adhesive films.
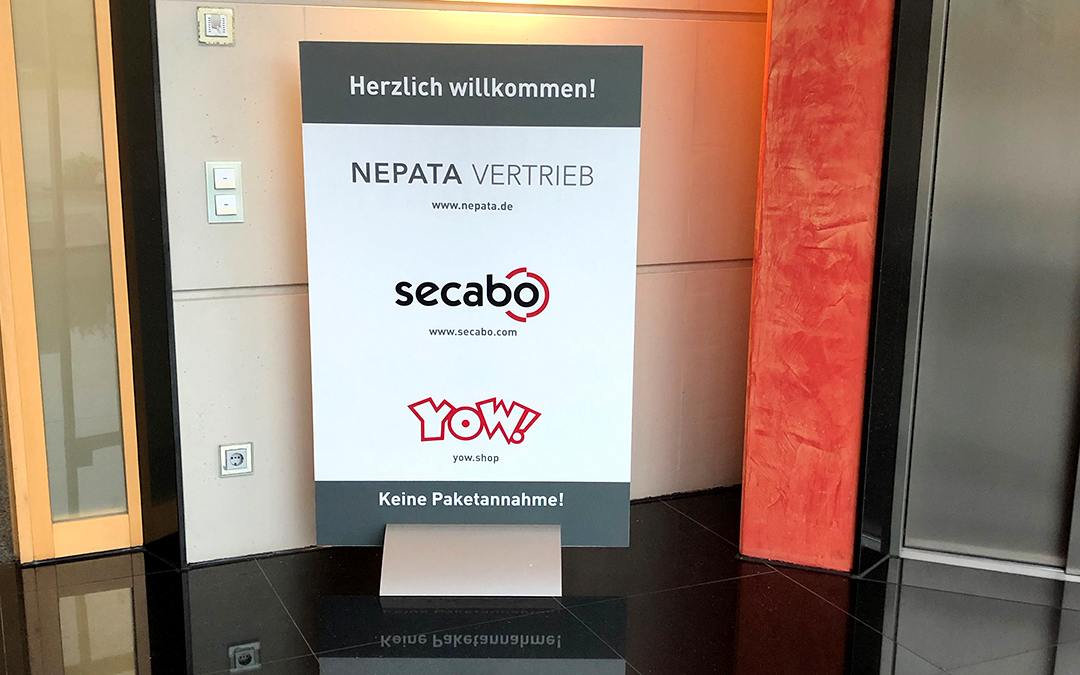
Today we’d like to explain how you can easily make your own company display stand. The great thing about this is that it’s a very cost-effective way of doing things. We used an old board from our stock that was already printed on or had a few dents. At YOW!, we’re committed to working sustainably. So we asked ourselves: how can we jazz this up a bit and make it look cool in the end? It’s simple! With YOW!’s self-adhesive films.
The first step:
Visit our shop and have a look at our self-adhesive films to see if there’s something to suit you. We offer a range of designs in various sizes. Our self-adhesive films have been specially produced so that absolutely anyone can use them. They’re so easy to use!
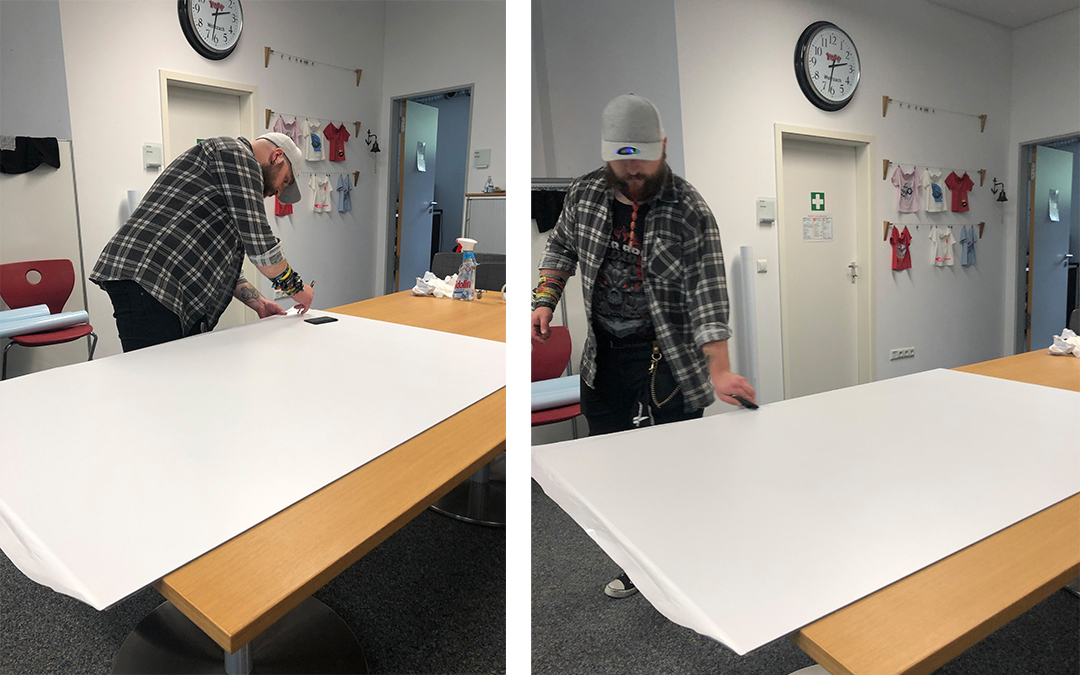
Remember that you’ll need vinyl not only for your lettering but also for the background. First of all, we applied a white self-adhesive film to the entire panel. On the front, we even applied it twice – that is, two layers – so that any dents or old plot marks on the panel wouldn’t show through.
The second step:
First, clean the surface thoroughly. You can do this using lukewarm water and washing-up liquid. Otherwise, dirt may become visible through the film later on. Do not start applying the film until the surface is completely dry. Begin by peeling back one corner of the adhesive film and sticking it down. Make sure you leave some excess, so that the film extends beyond the edge. You can now apply the film to the rest of the surface. The easiest way is to peel off the backing film (as always) from the back or from the bottom. You can now trim off the remaining excess film with a craft knife.
The third step:
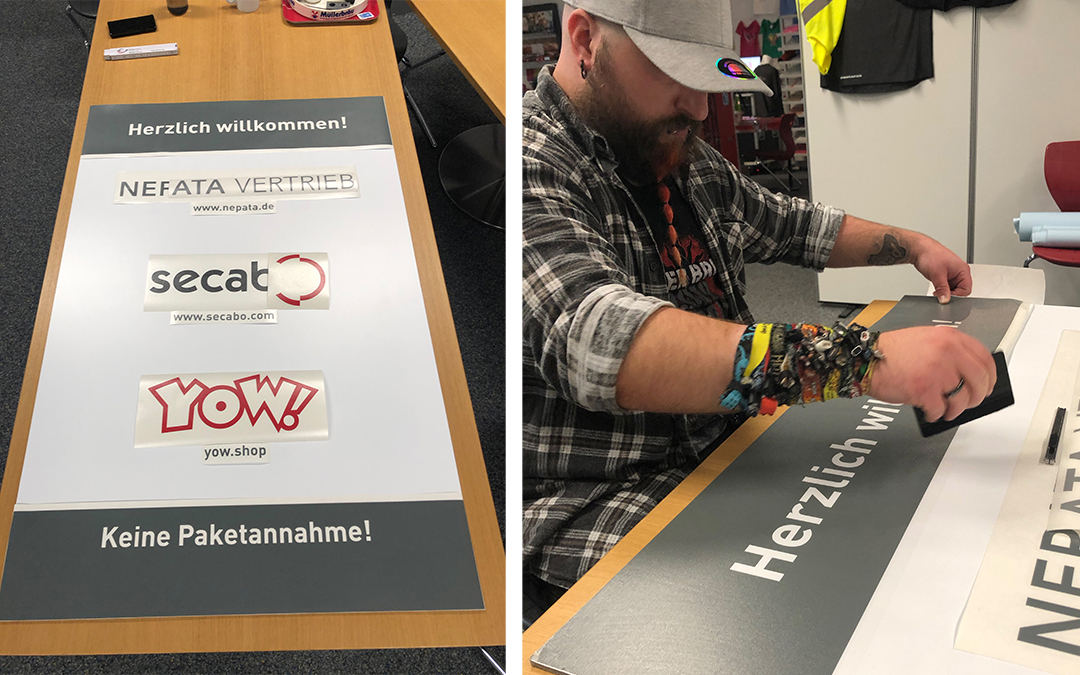
Now plot out your designs or lettering. We have Secabo cutting plotters in various sizes. You’re sure to find something to suit you. You can then cover your plots with a transfer film. This will make it easier for you to transfer them onto the surface later on. So first apply the transfer film, then use the squeegee, next peel off the transfer film with the letters still stuck to it, then stick the whole thing onto the surface, use the squeegee again, and finally peel off the transfer film. The design should now be stuck to the surface. Do the same with the other designs too. It’s as simple as that!
The fourth step:
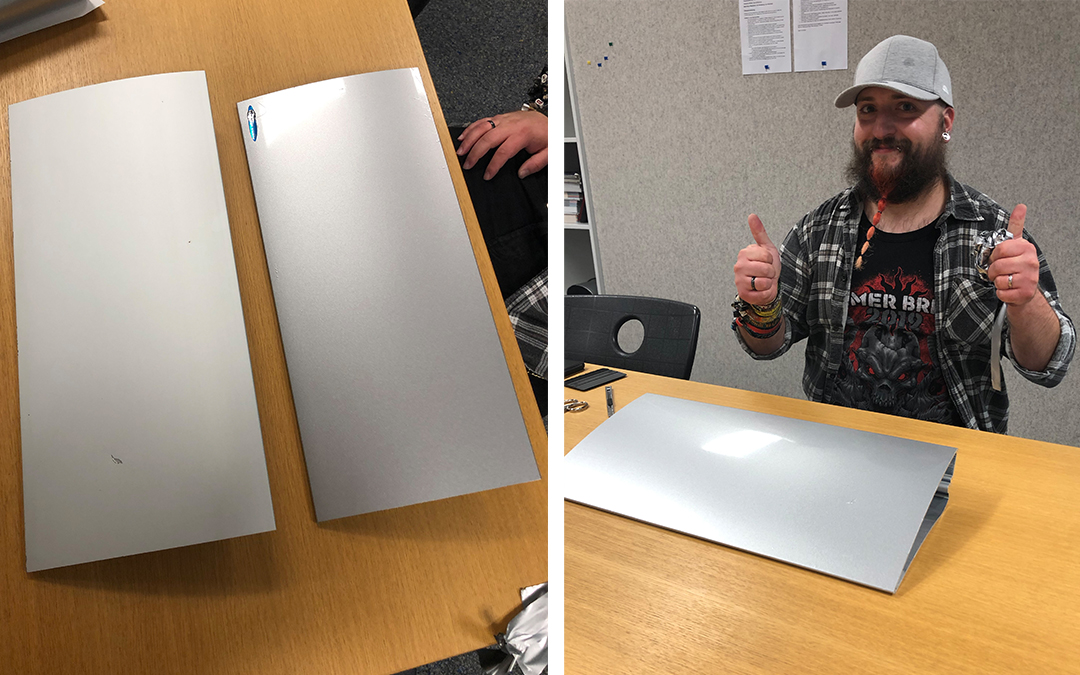
As the base of the old display stand was already rather battered, we decided to wrap it as well to give our display the perfect finish. As we did at the start, we cleaned and dried the item. We then opted for Ritrama L100 Standard in glossy metallic silver to achieve the right look. Again, just make sure to smooth out all the bubbles, trim the edges with a craft knife, and voilà – we’ve saved a lot of money again!
We hope we’ve been able to give you some useful tips. As you can see, even older items can be given a proper makeover. You just need to know how. Have a go yourself and use our self-adhesive films to give old items a new lease of life.