Sublimation: How do you sublimate mugs and jugs?
Sublimation – A direct transition from the solid state to the gaseous state, without passing through the intermediate liquid state.
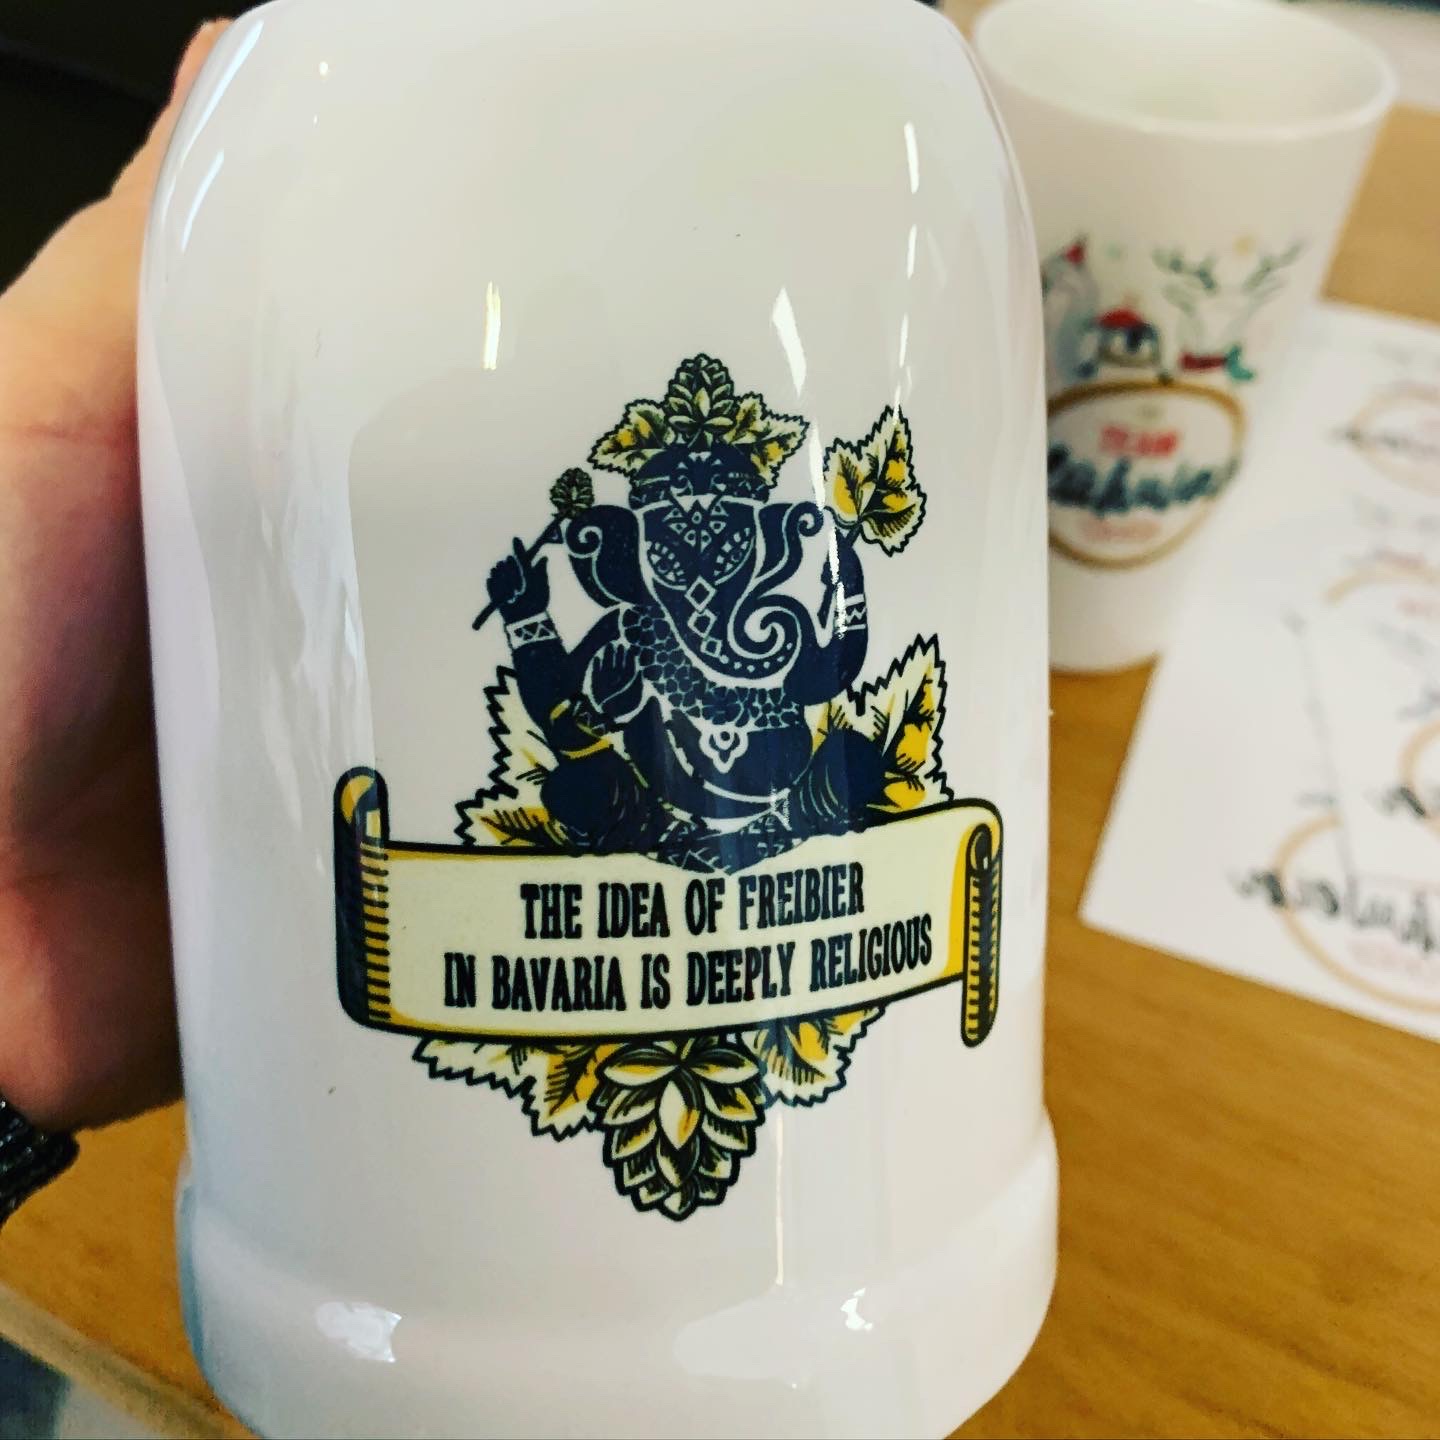
Sublimation – Many people wonder what it actually is. Others know what it is, but have no idea how it works. As we love this process and also use it for our mugs and cups at Tassenpressen, today we’re going to explain how it all works – simply and quickly in four steps! We want to clear up any questions you may have about sublimation here. If you still have any queries or would like to know more about other topics, please feel free to message us on Instagram or Facebook.
First things first:
What is sublimation?
The term originally comes from physics. This is a direct transition from the solid state to the gaseous state, without passing through the intermediate liquid state.
To illustrate with our example:
Graphics are transferred onto polyester-coated materials (e.g. mugs, textiles…) using heat and pressure. The ink therefore penetrates the polyester layer, leaving the surfaces completely unchanged and ensuring the fabric remains breathable.
Now that we’ve clarified that, we’ll show you how you can sublimate textiles yourself.
How does it work?
Print this image!
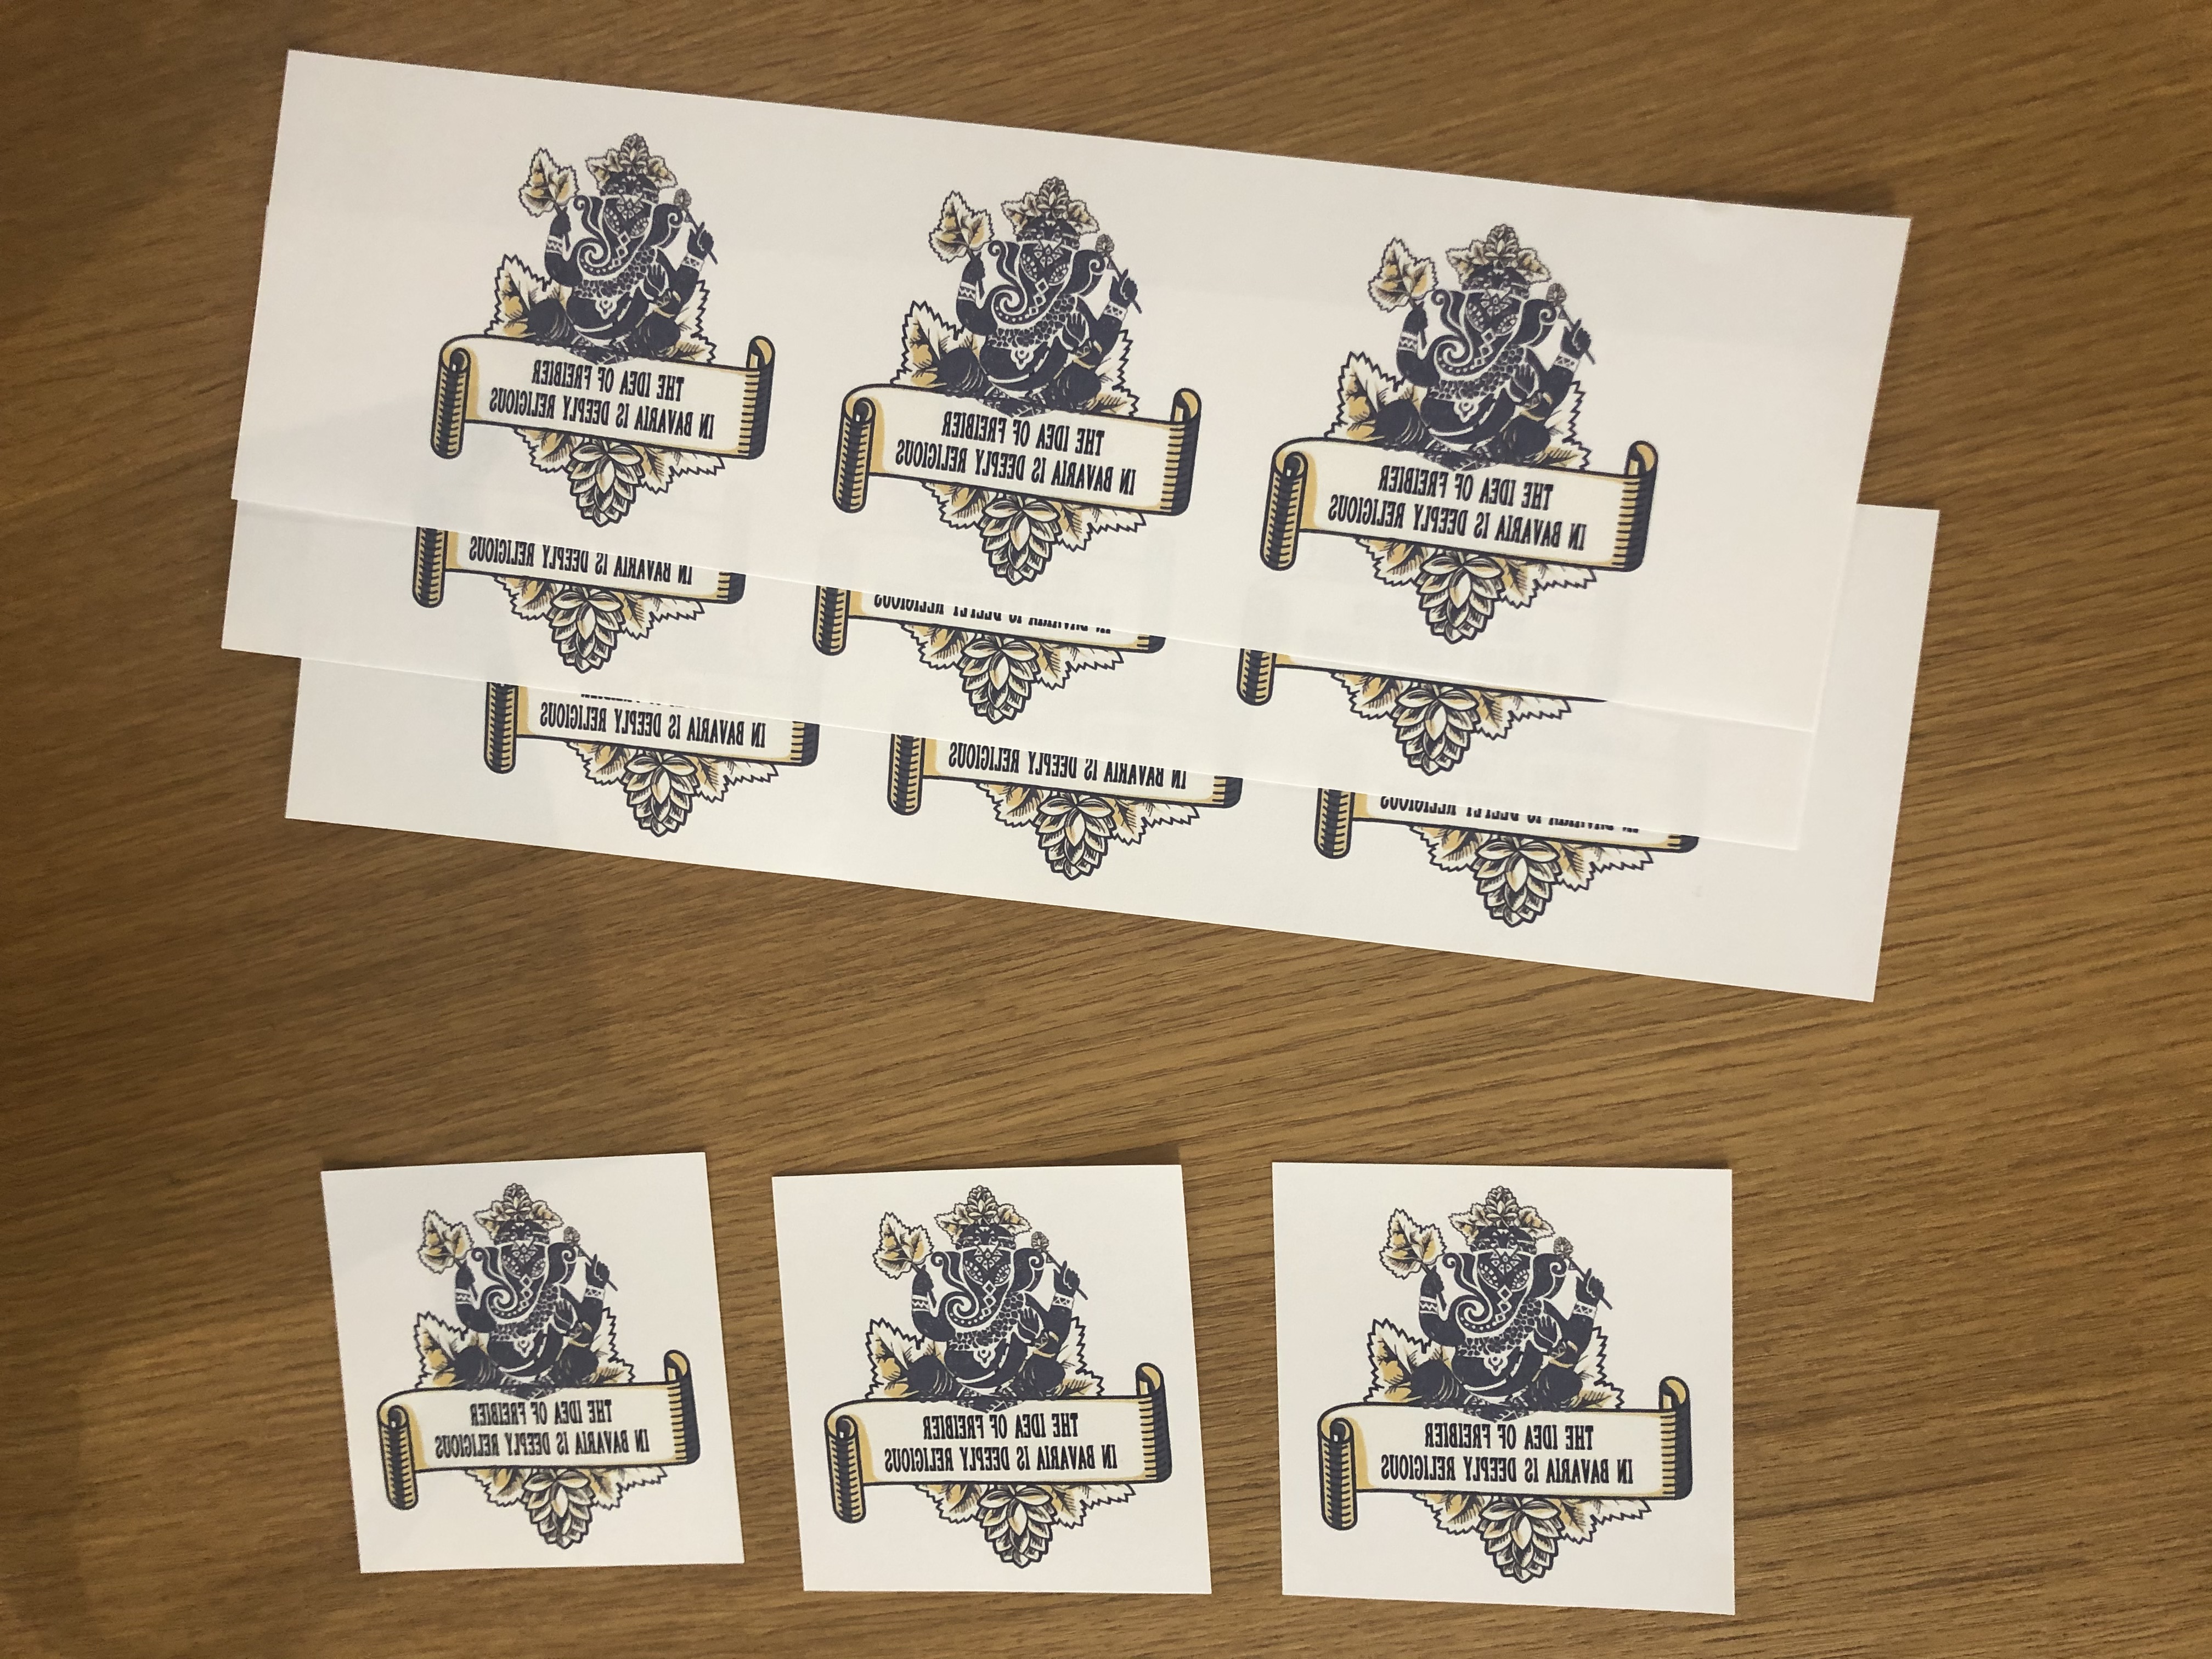
First of all, you need to print out the image that you want to sublimate onto the fabric later. You can do this using the Virtuoso Print Manager, which is provided free of charge by SawGrass. It’s important to note that whenever you work with this software, the image must always be in JPEG or PNG format; otherwise, it won’t work.
Freeze the image!
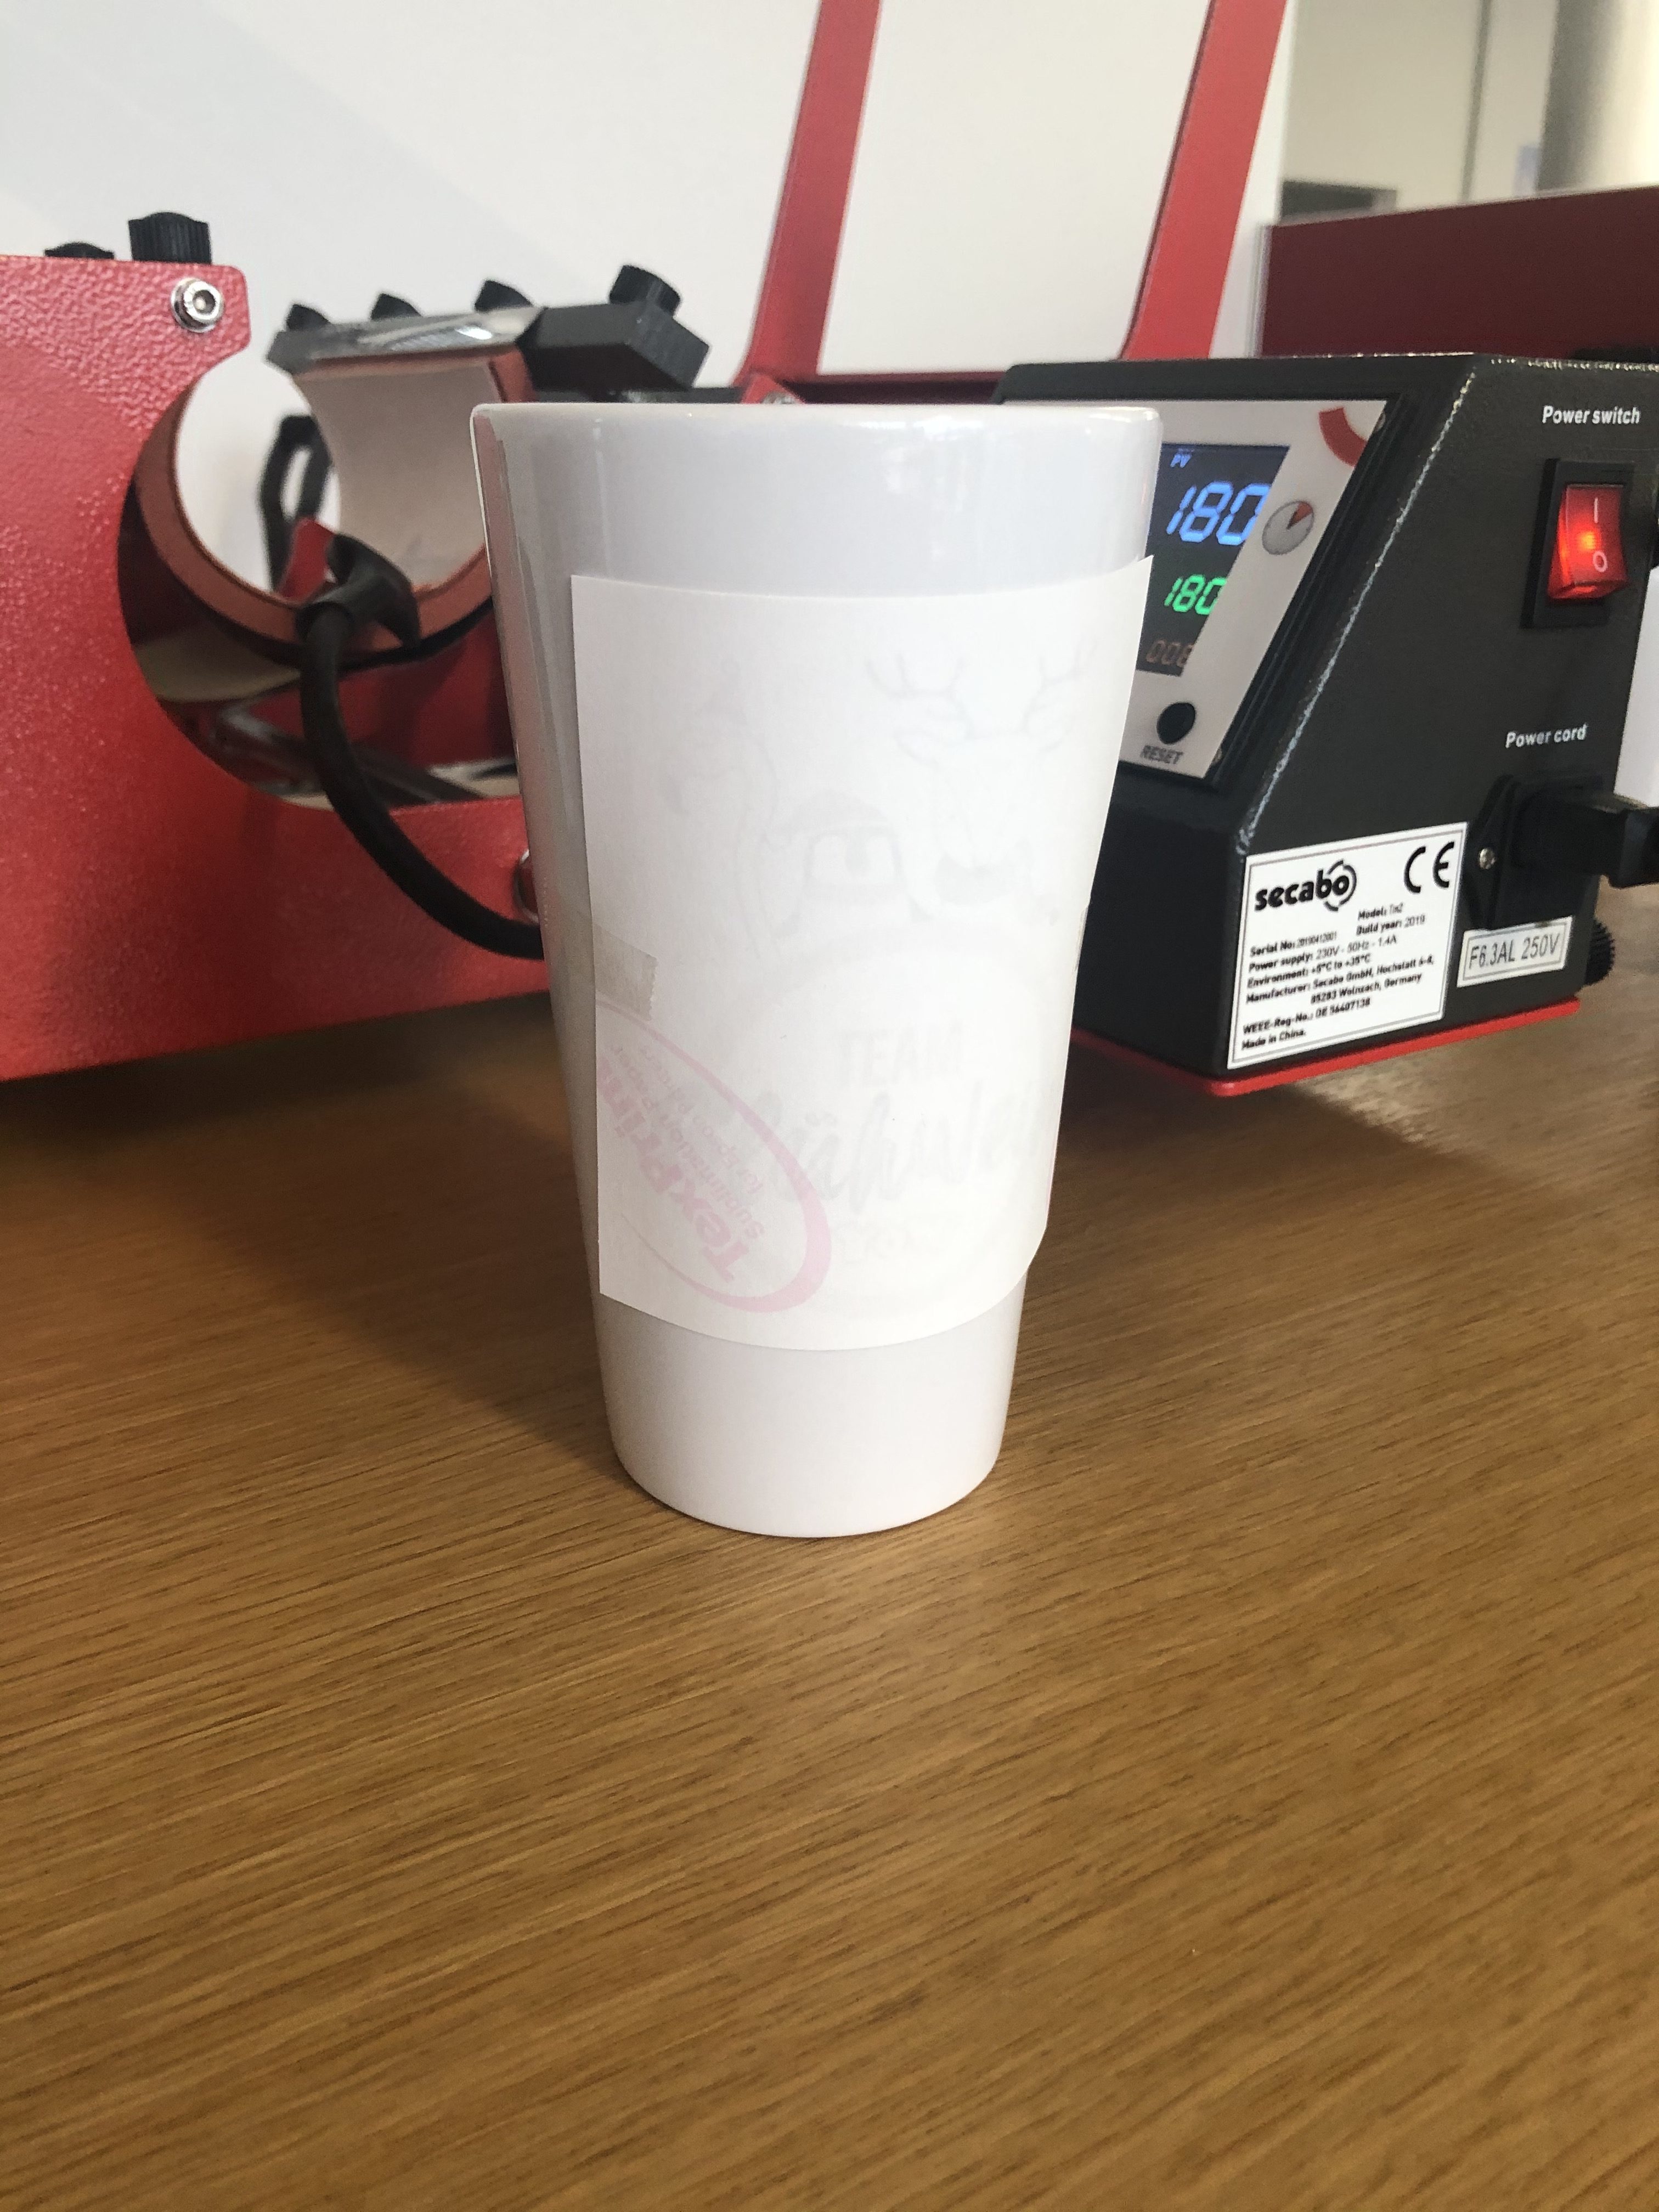
Find ablank mug and position the image exactly as you want it. You can now secure it with thermal tape to prevent it from slipping during the pressing process.
Tip: When aligning the image, it’s best to use the bottom edge of the mug as a guide and, depending on its size, ensure that the image is at least half a centimetre away from both the top and bottom edges of the mug. This way, you can be sure that the whole image will be visible in the end and that nothing will extend beyond the surface of the mug.
Settings & Alignment of the Cup Press!
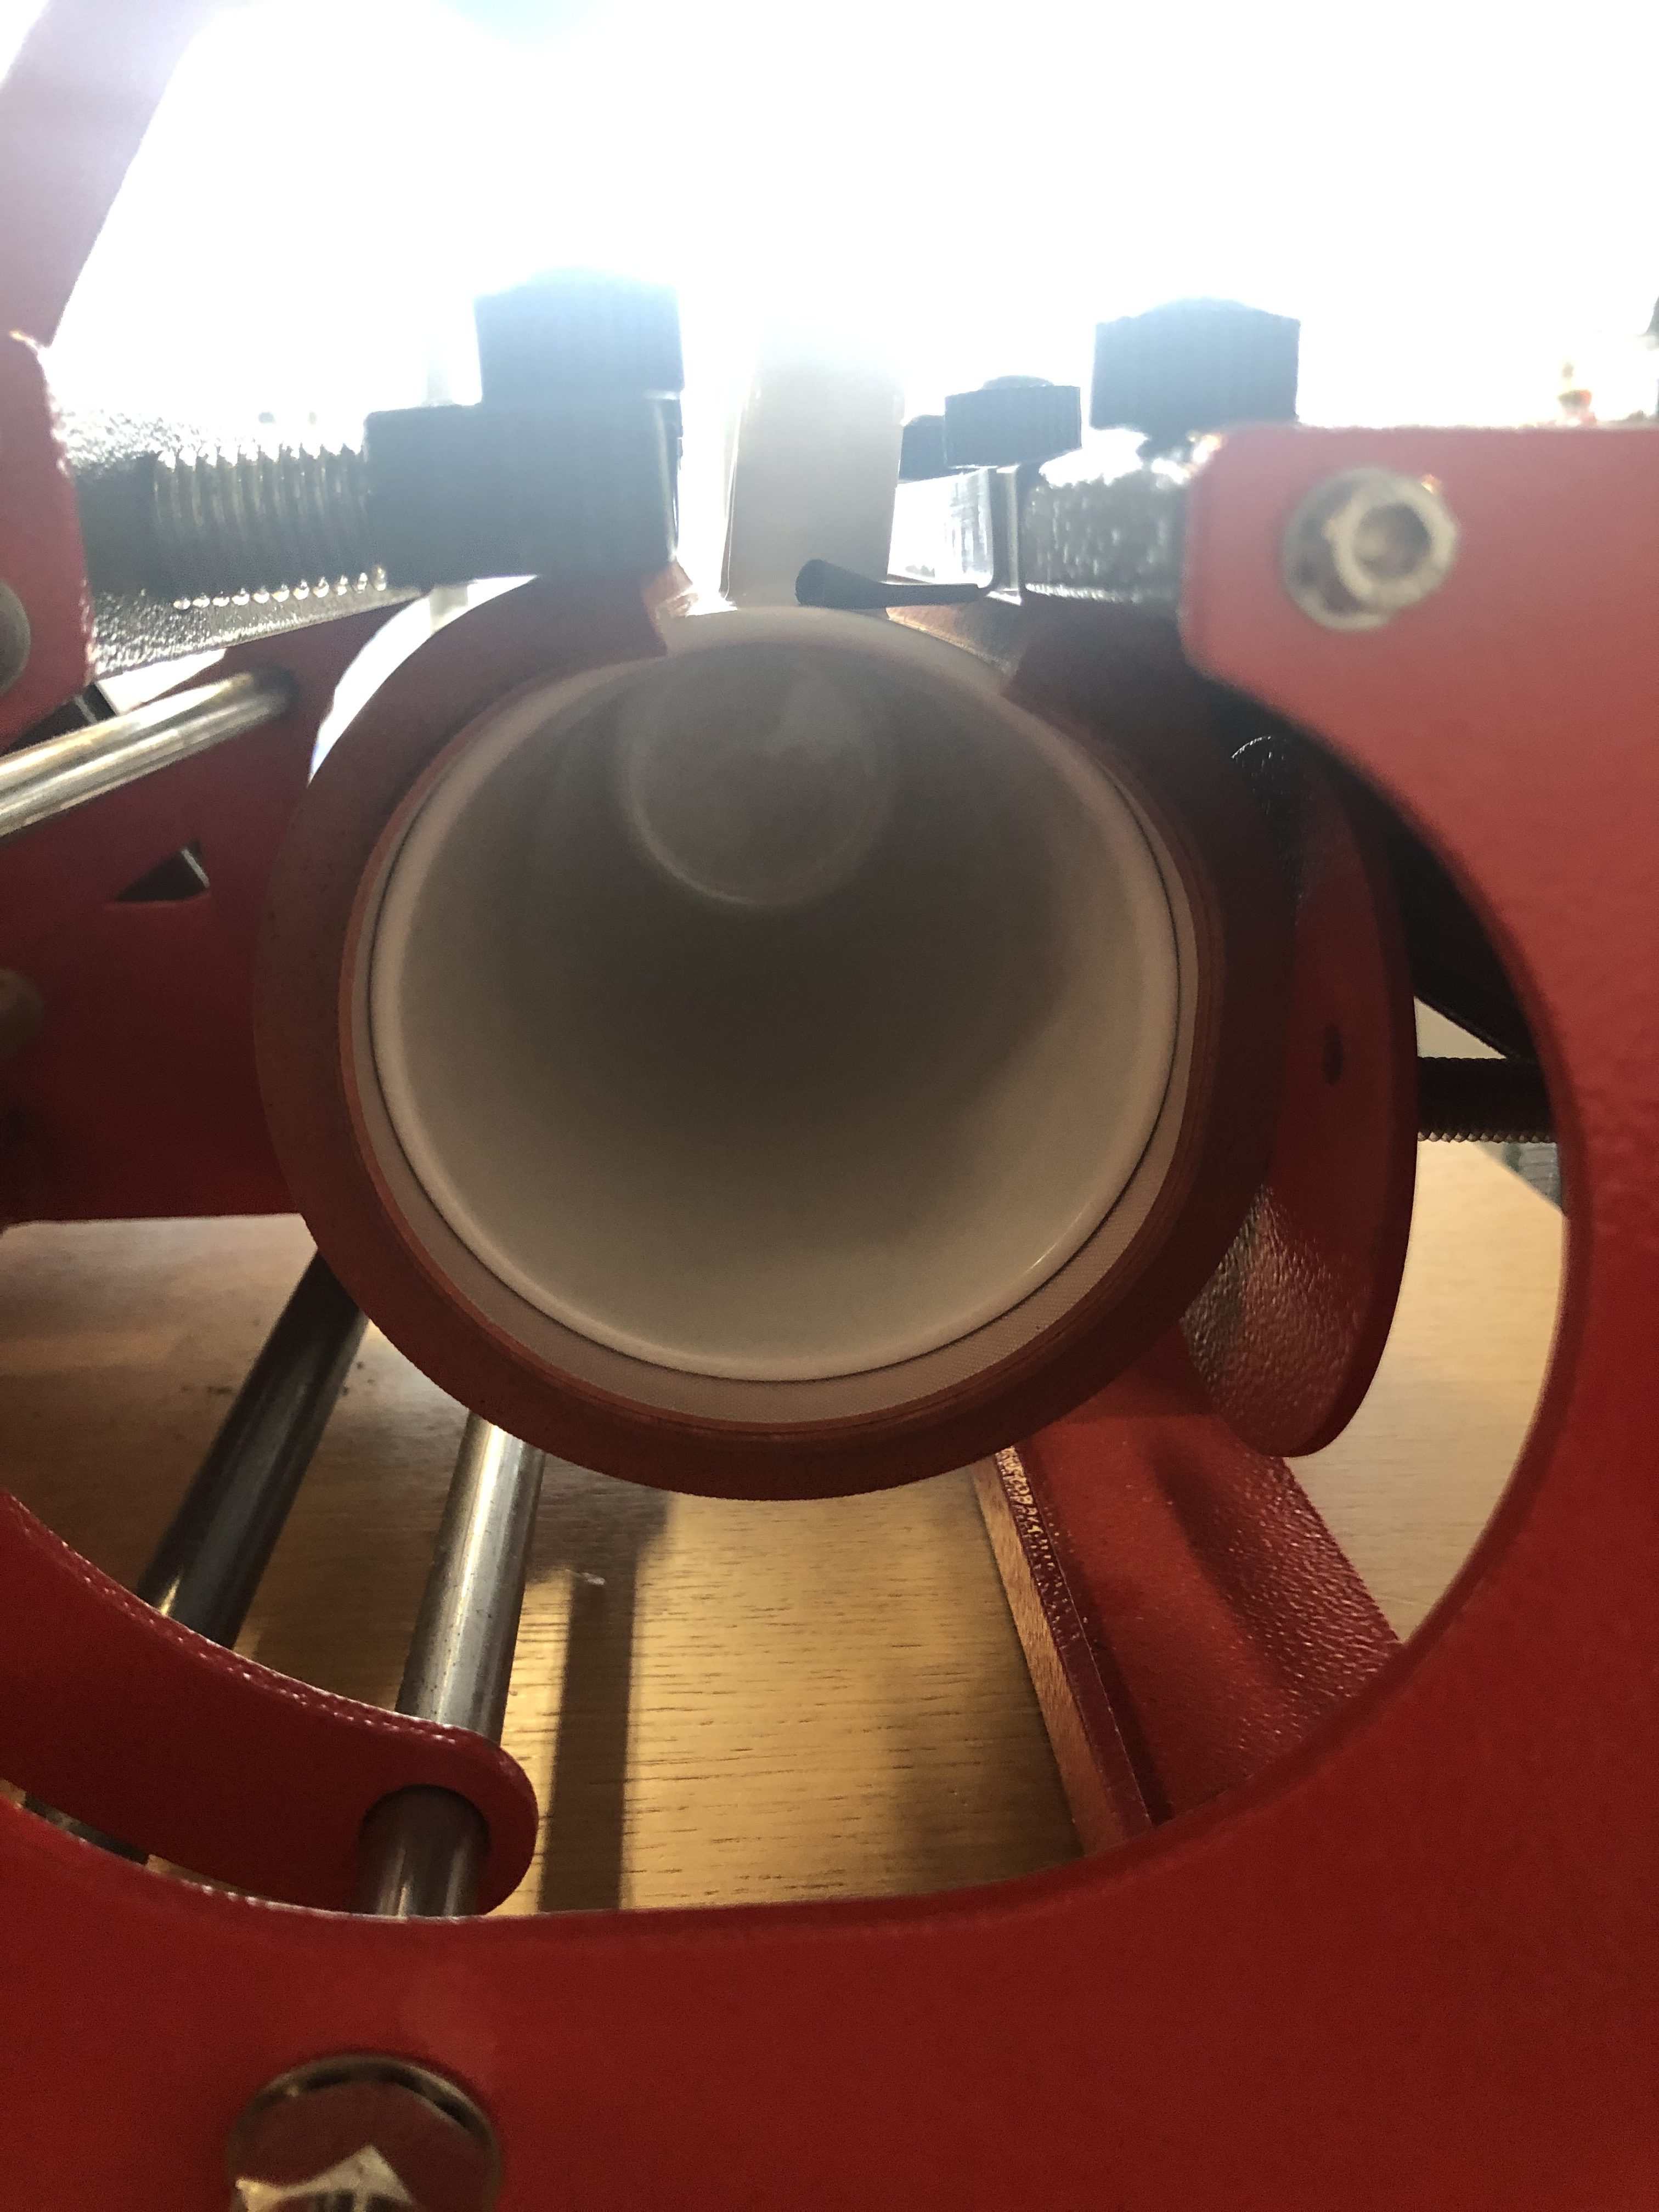
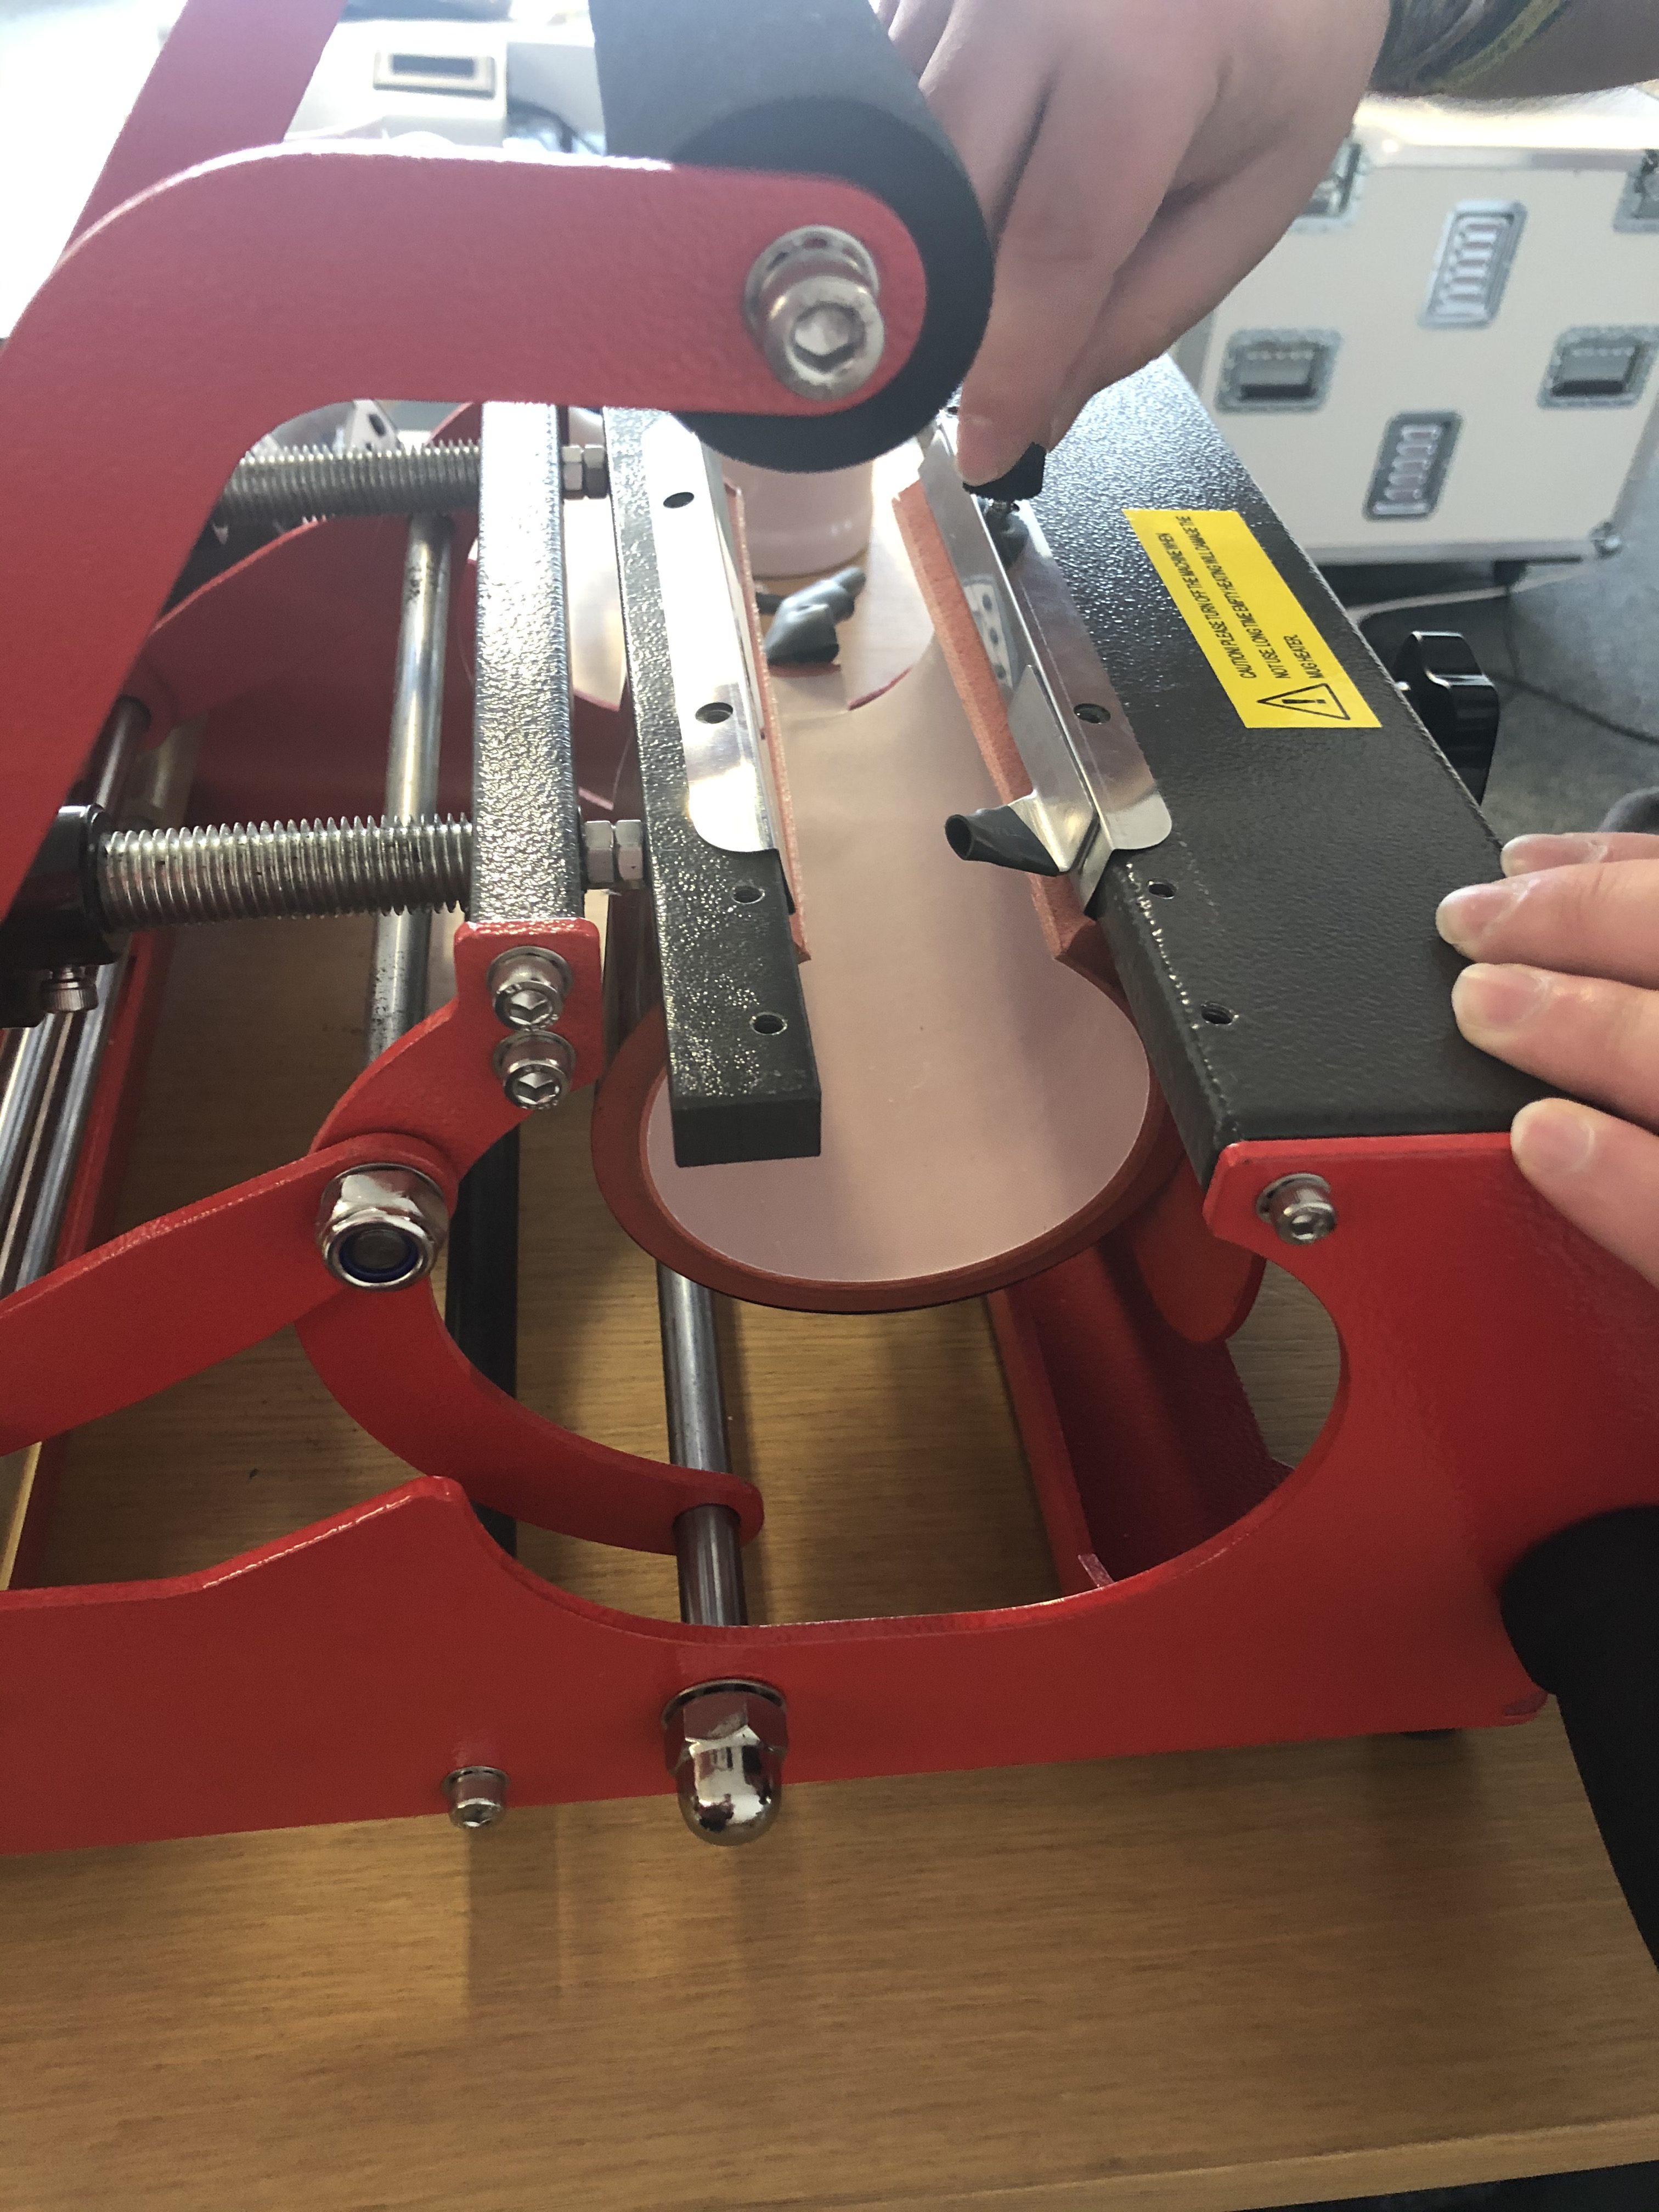
First, place the cup in the sleeve provided. Start by tightening all the small screws at the top slightly. Only once these are slightly tightened can you adjust them properly. On the back of the mug press, you should see large screws which control the clamping pressure. You should also adjust these so that the mug is enclosed as tightly as possible.
For conical mugs, the side of the sleeve with the smaller diameter should be positioned against the press’s cable connection. You can then carry out the sublimation process at 200° for 180 seconds. To do this, simply close the mug press. Once the time has elapsed, a signal will sound, at which point you can open the press again.
Leave to cool!
Once the transfer is complete, you can remove the image and spray the mug with a spray bottle for about 10 seconds. You can then gradually immerse the mug in warm to hot water, starting with the base of the mug first. This should take about 10 seconds in total.
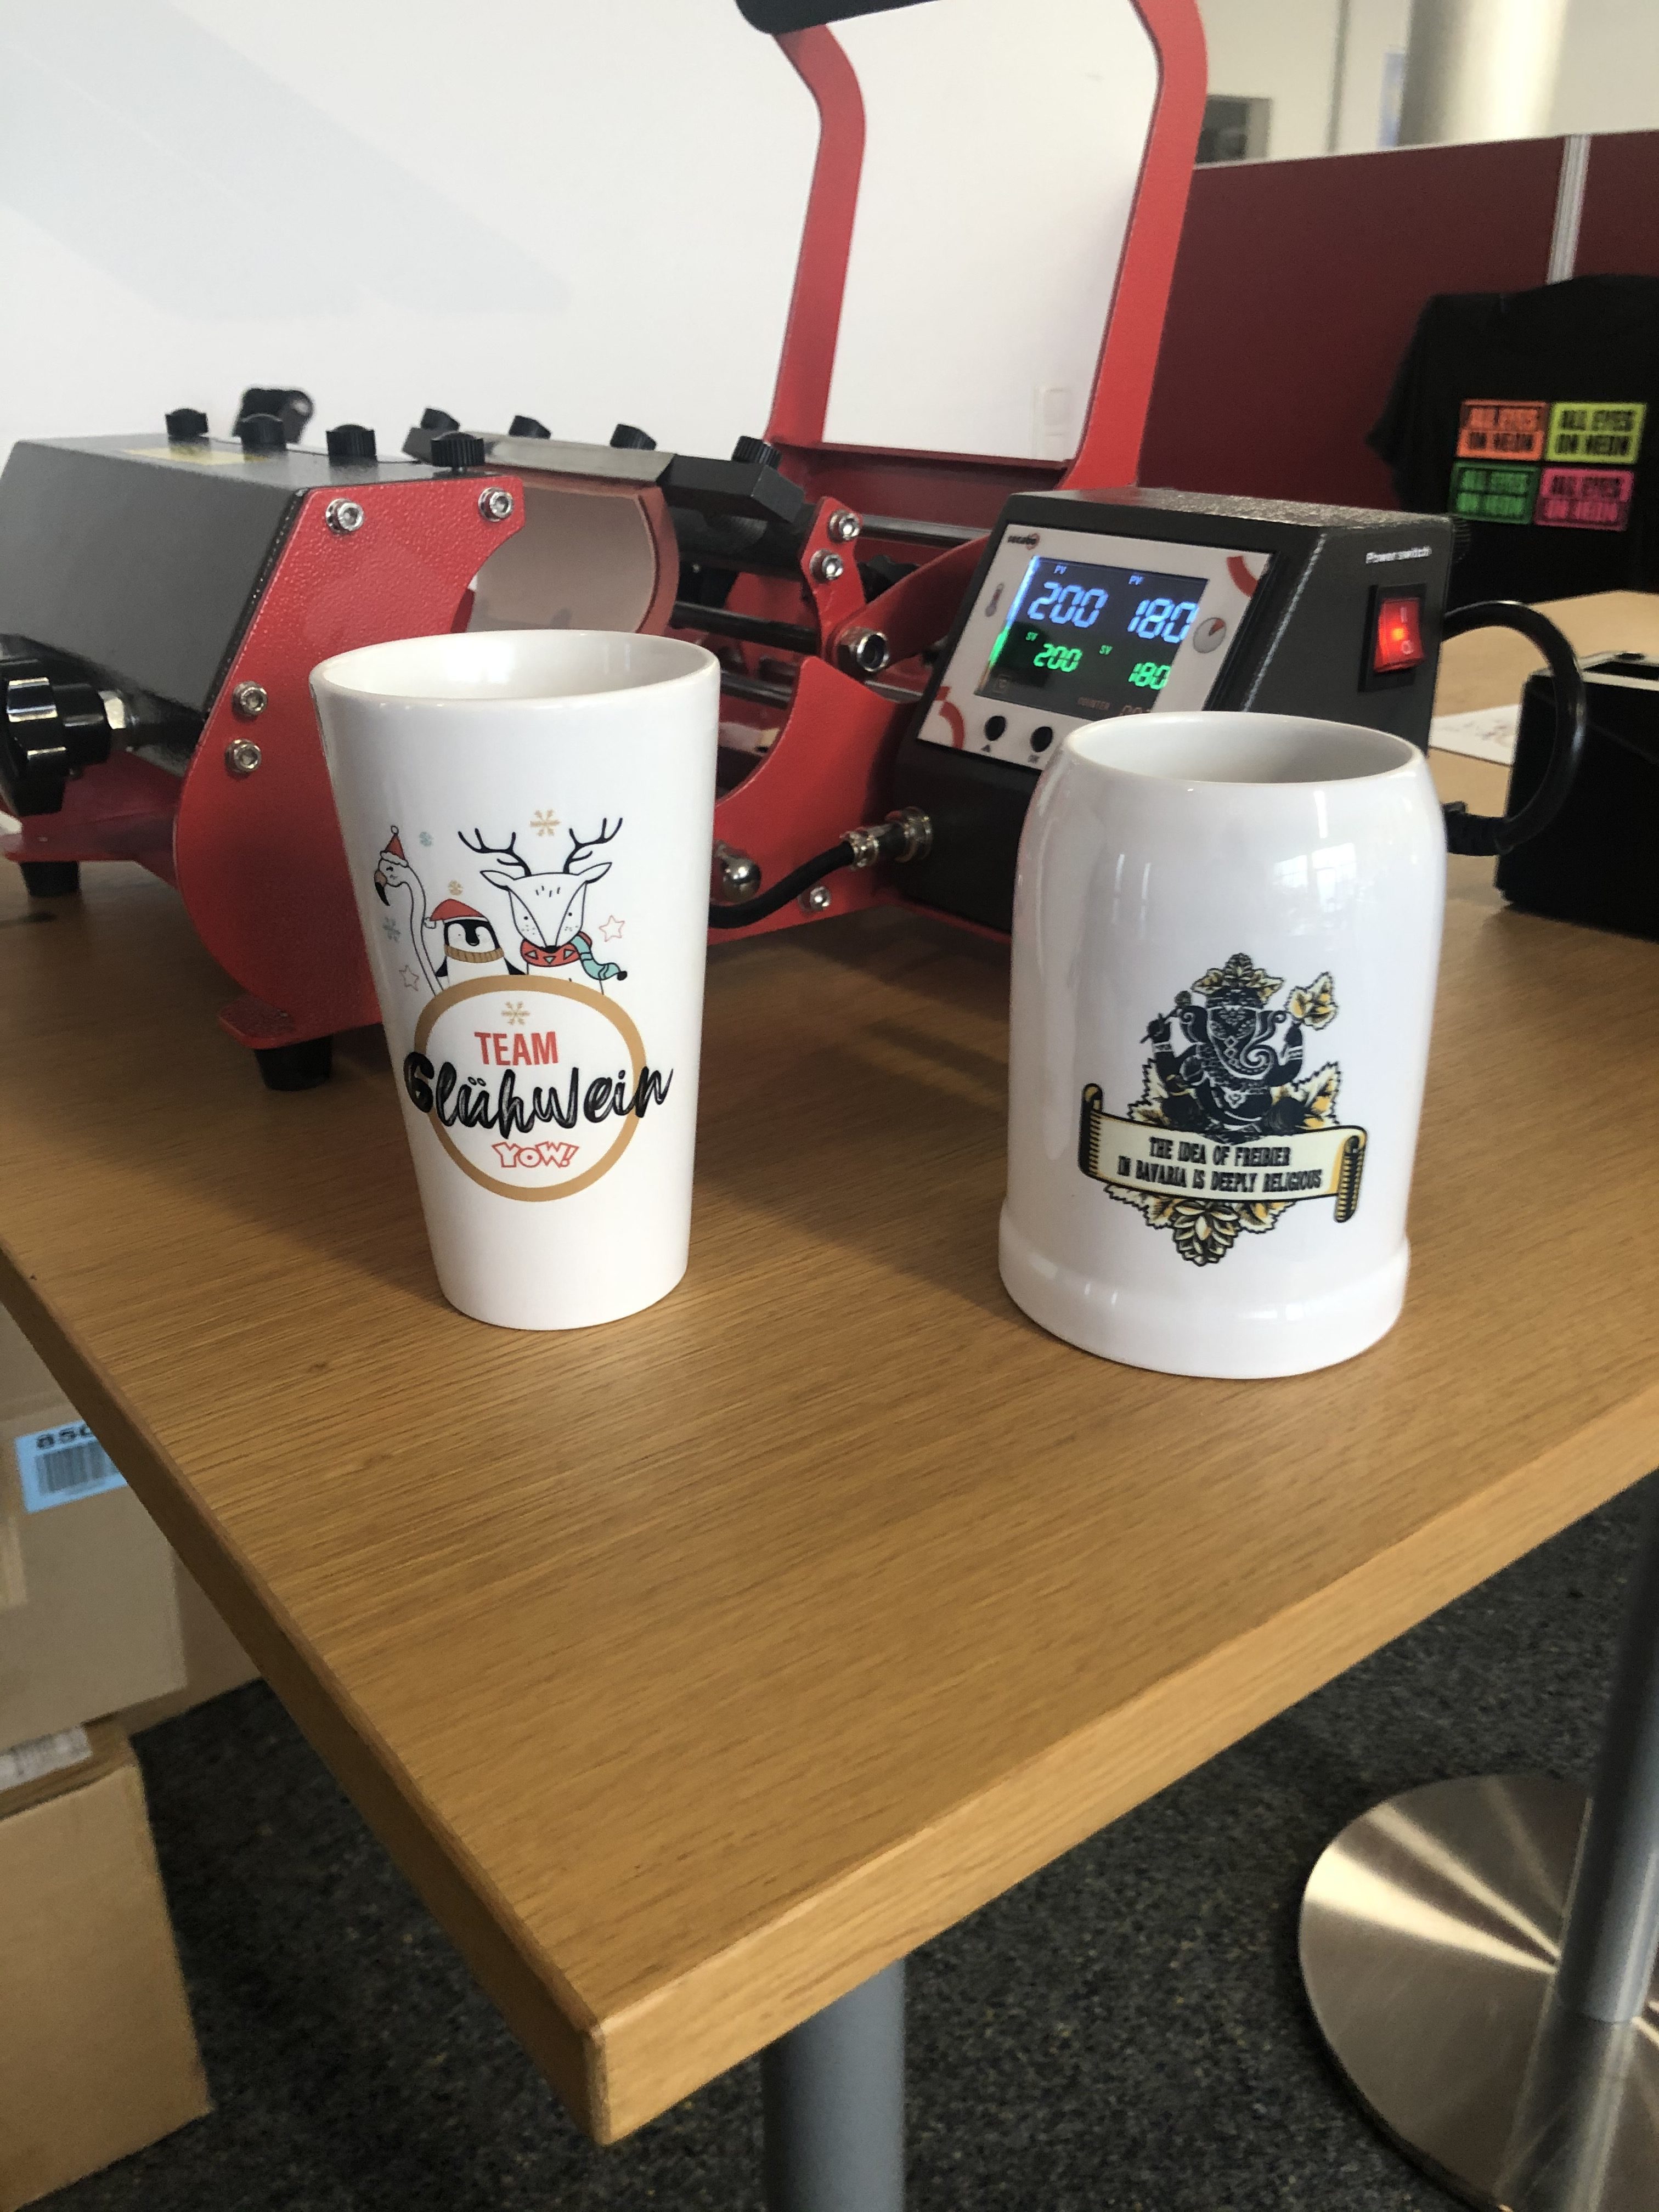
Your sublimation-printed mug is now ready!
We hope we’ve managed to explain it to you as simply as possible.
Would you like to see more tutorials like this? Then why not pop over to our Instagram channel? There, we’ll show you all the different applications in a clear and straightforward way.
Enjoy your mug!