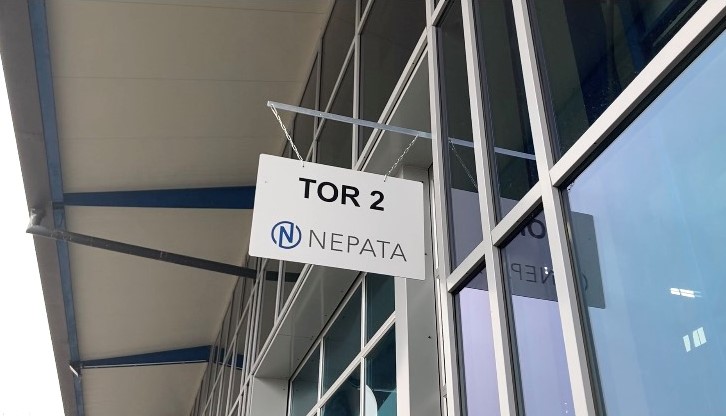
Building signage and outdoor advertising
Many customers find it difficult to find their way around without adequate signage. That is why today’s topic is: building signage.
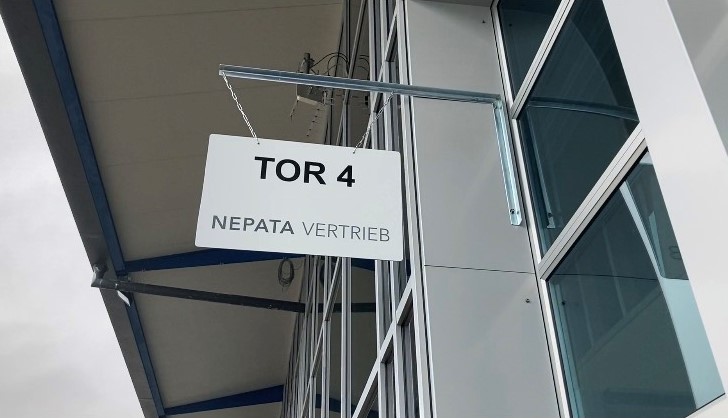
The second tutorial of the year! We’re delighted to present a cool guide today on how you can add lettering to signs yourself. Many companies are familiar with this problem: without adequate signage, customers can’t find their way around or end up getting lost. Suppliers are also well aware of this issue. We want to solve this problem for you today, so stay tuned!
Choose any sign that’s suitable for your lettering. It doesn’t need to be anything fancy, as we’ll be covering the background as well, so that nothing of the sign itself will be visible afterwards.
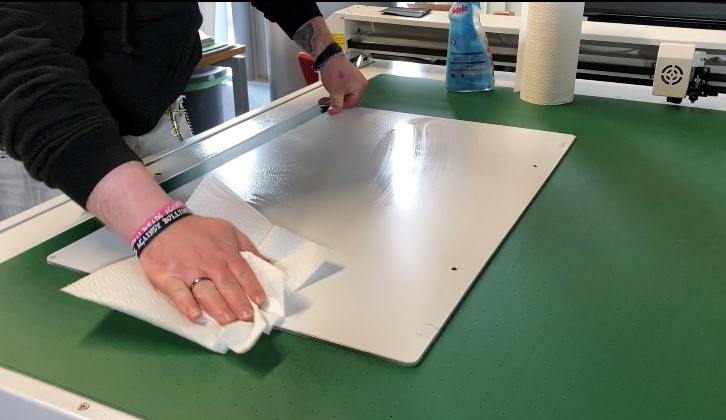
Step one: Cleaning
Clean your board thoroughly so that no lint or similar particles show through when you’re laminating or sticking things onto it. Kitchen roll and glass cleaner will do the trick. It’s best to wipe the surfaces several times – better safe than sorry!
Step two: Conceal the background
To spruce up worn-out signs, we recommend laminating them. You can do this by applying the self-adhesive film over the entire surface of the sign. Afterwards, all you need to do is trim off the excess edges.
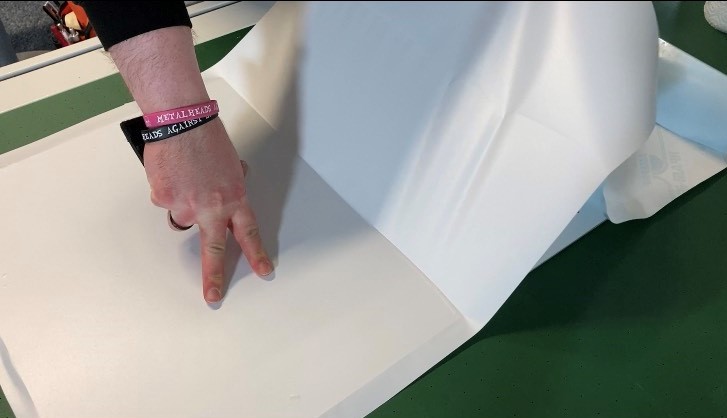
Step 3: Plotting
Now you need to plot your chosen design onto any self-adhesive film. We always like to use the Secabo T120 II cutting plotter. Of course, you can use as many colours as you like. You’ll find a wide selection of these in our shop.
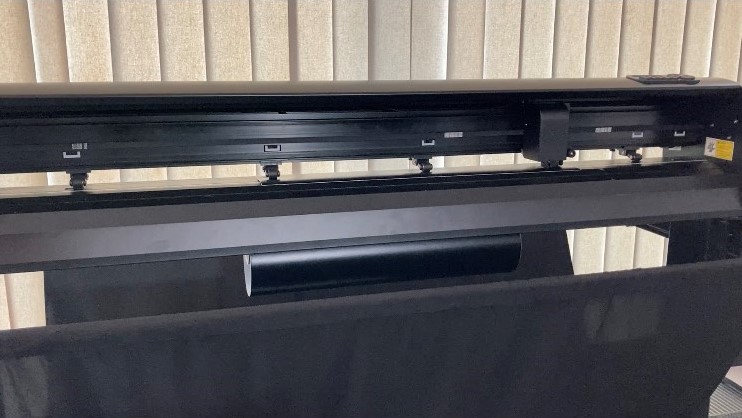
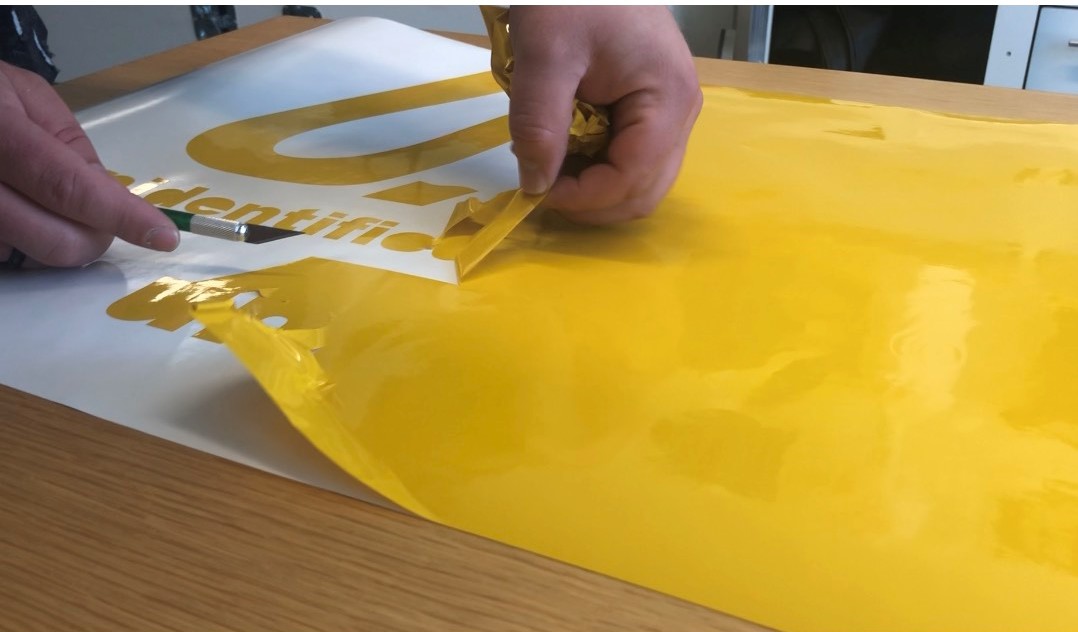
Step 4: Weeding
By now, you’re all familiar with weeding. As you know, the easiest way to do this is with a pair of weeding tweezers.
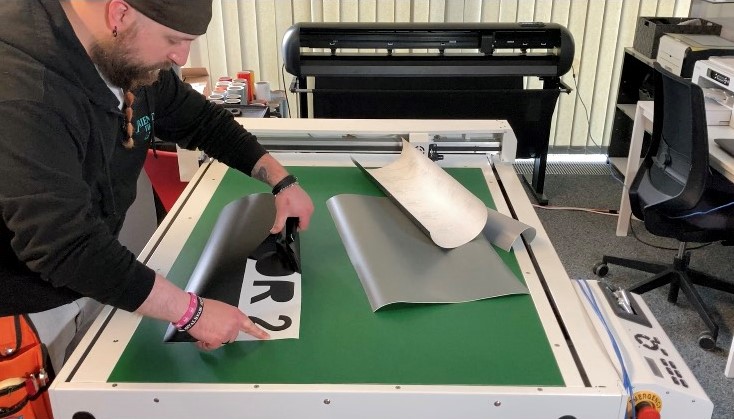
Step 5: Transfer film
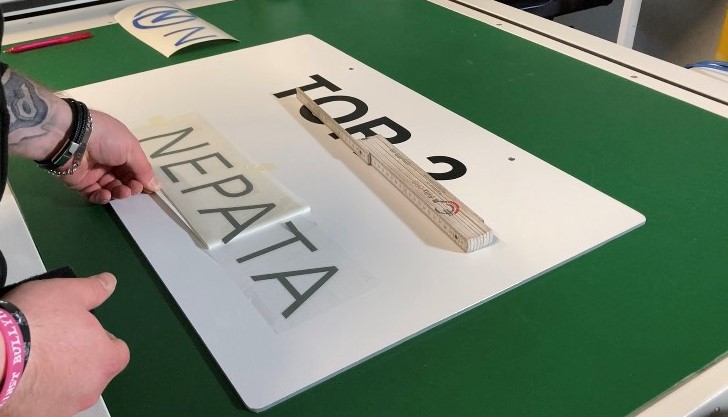
Cover the weeded design with a transfer film. For greater flexibility, we recommend using the transfer film dispenser. Use a squeegee from our shop to smooth the surface completely, then cut out the design.
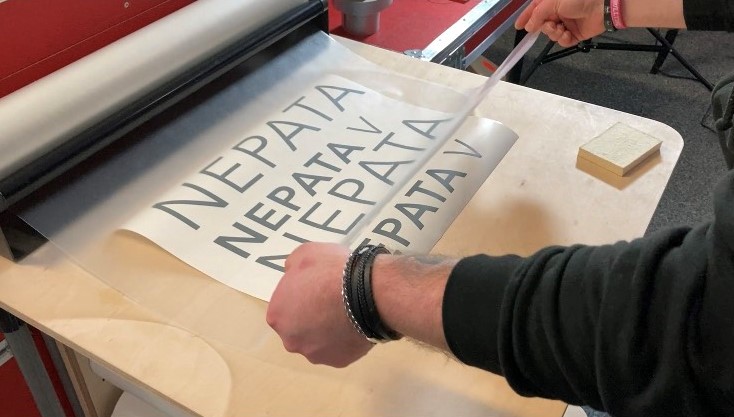
Step 6: Sticking it on
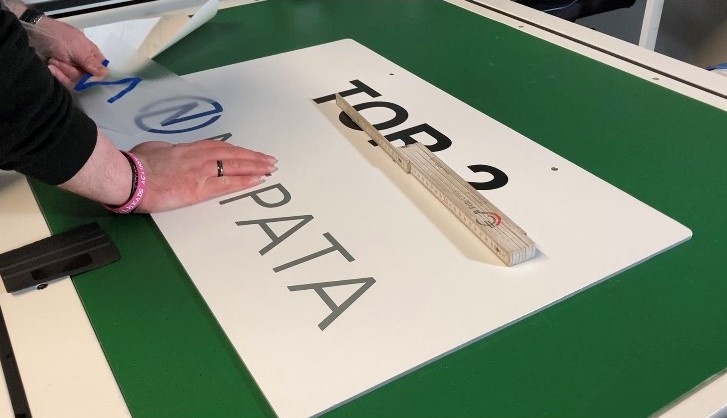
When applying the stickers, every signage technician uses different tricks to make the whole process as easy as possible. To make it clearer for you, we’ve filmed this tutorial and posted it on YouTube. Have a look. There, you can see the tips from our application engineer, Ed.
Step 7: Removing
Now just peel off the transfer film and you’re done!
Final step:
Now hang your sign where you’d like it to be. It’s sure to be a real eye-catcher!