Furniture wrap instead of a new kitchen – let’s give it a go!
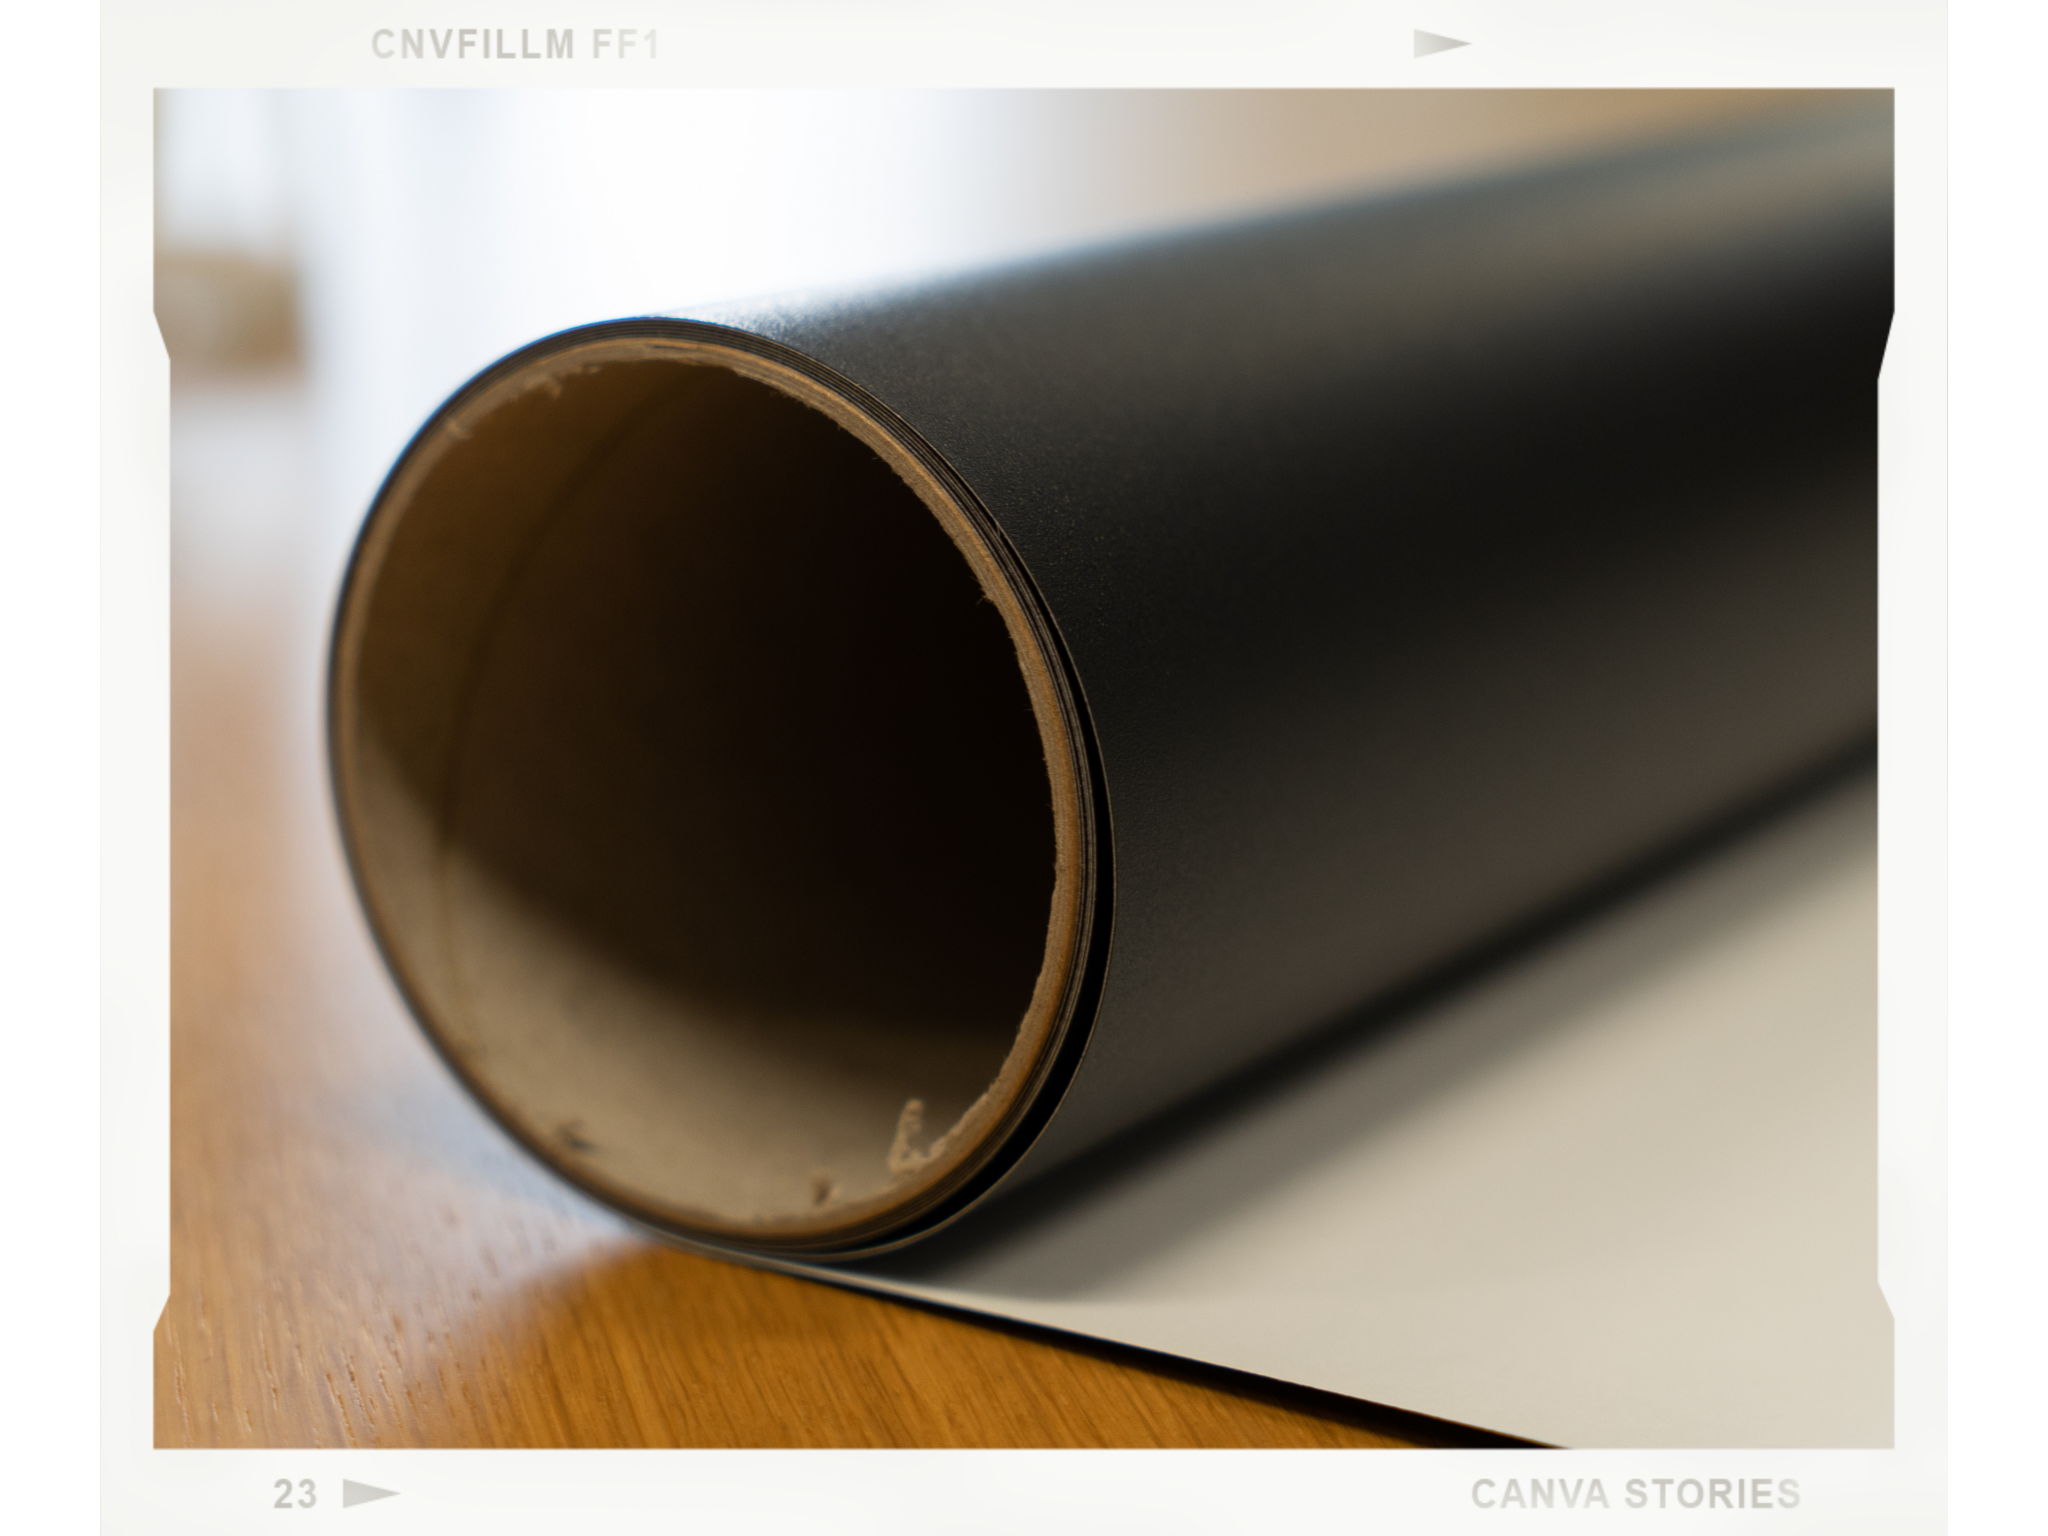
We have covered our entire kitchen with our self-adhesive films from Ritrama – also known as furniture films.
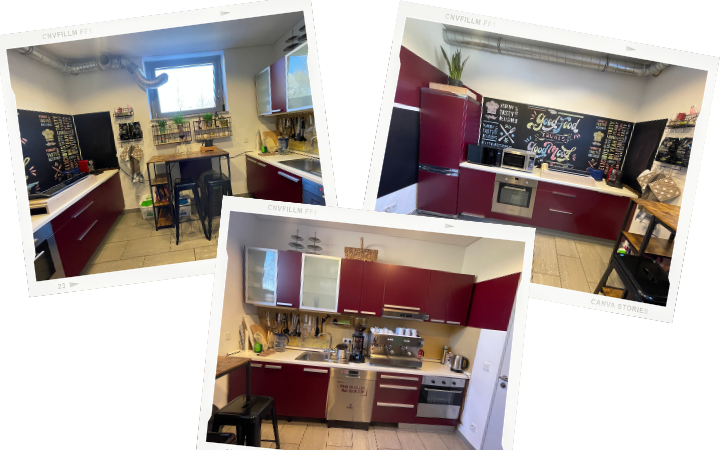
The kitchen at our company was in desperate need of a complete makeover. It was anything but a pleasant place to be. We wanted to change that – and we succeeded! That’s why we don’t want to keep our big project from the past few weeks from you, as a new kitchen is, of course, always a question of cost. We’ve found a good, affordable alternative. We covered our entire kitchen with our self-adhesive films from Ritrama – also known as furniture films. At last, it’s a pleasure to go into the kitchen and enjoy a coffee there to the full.
Before:
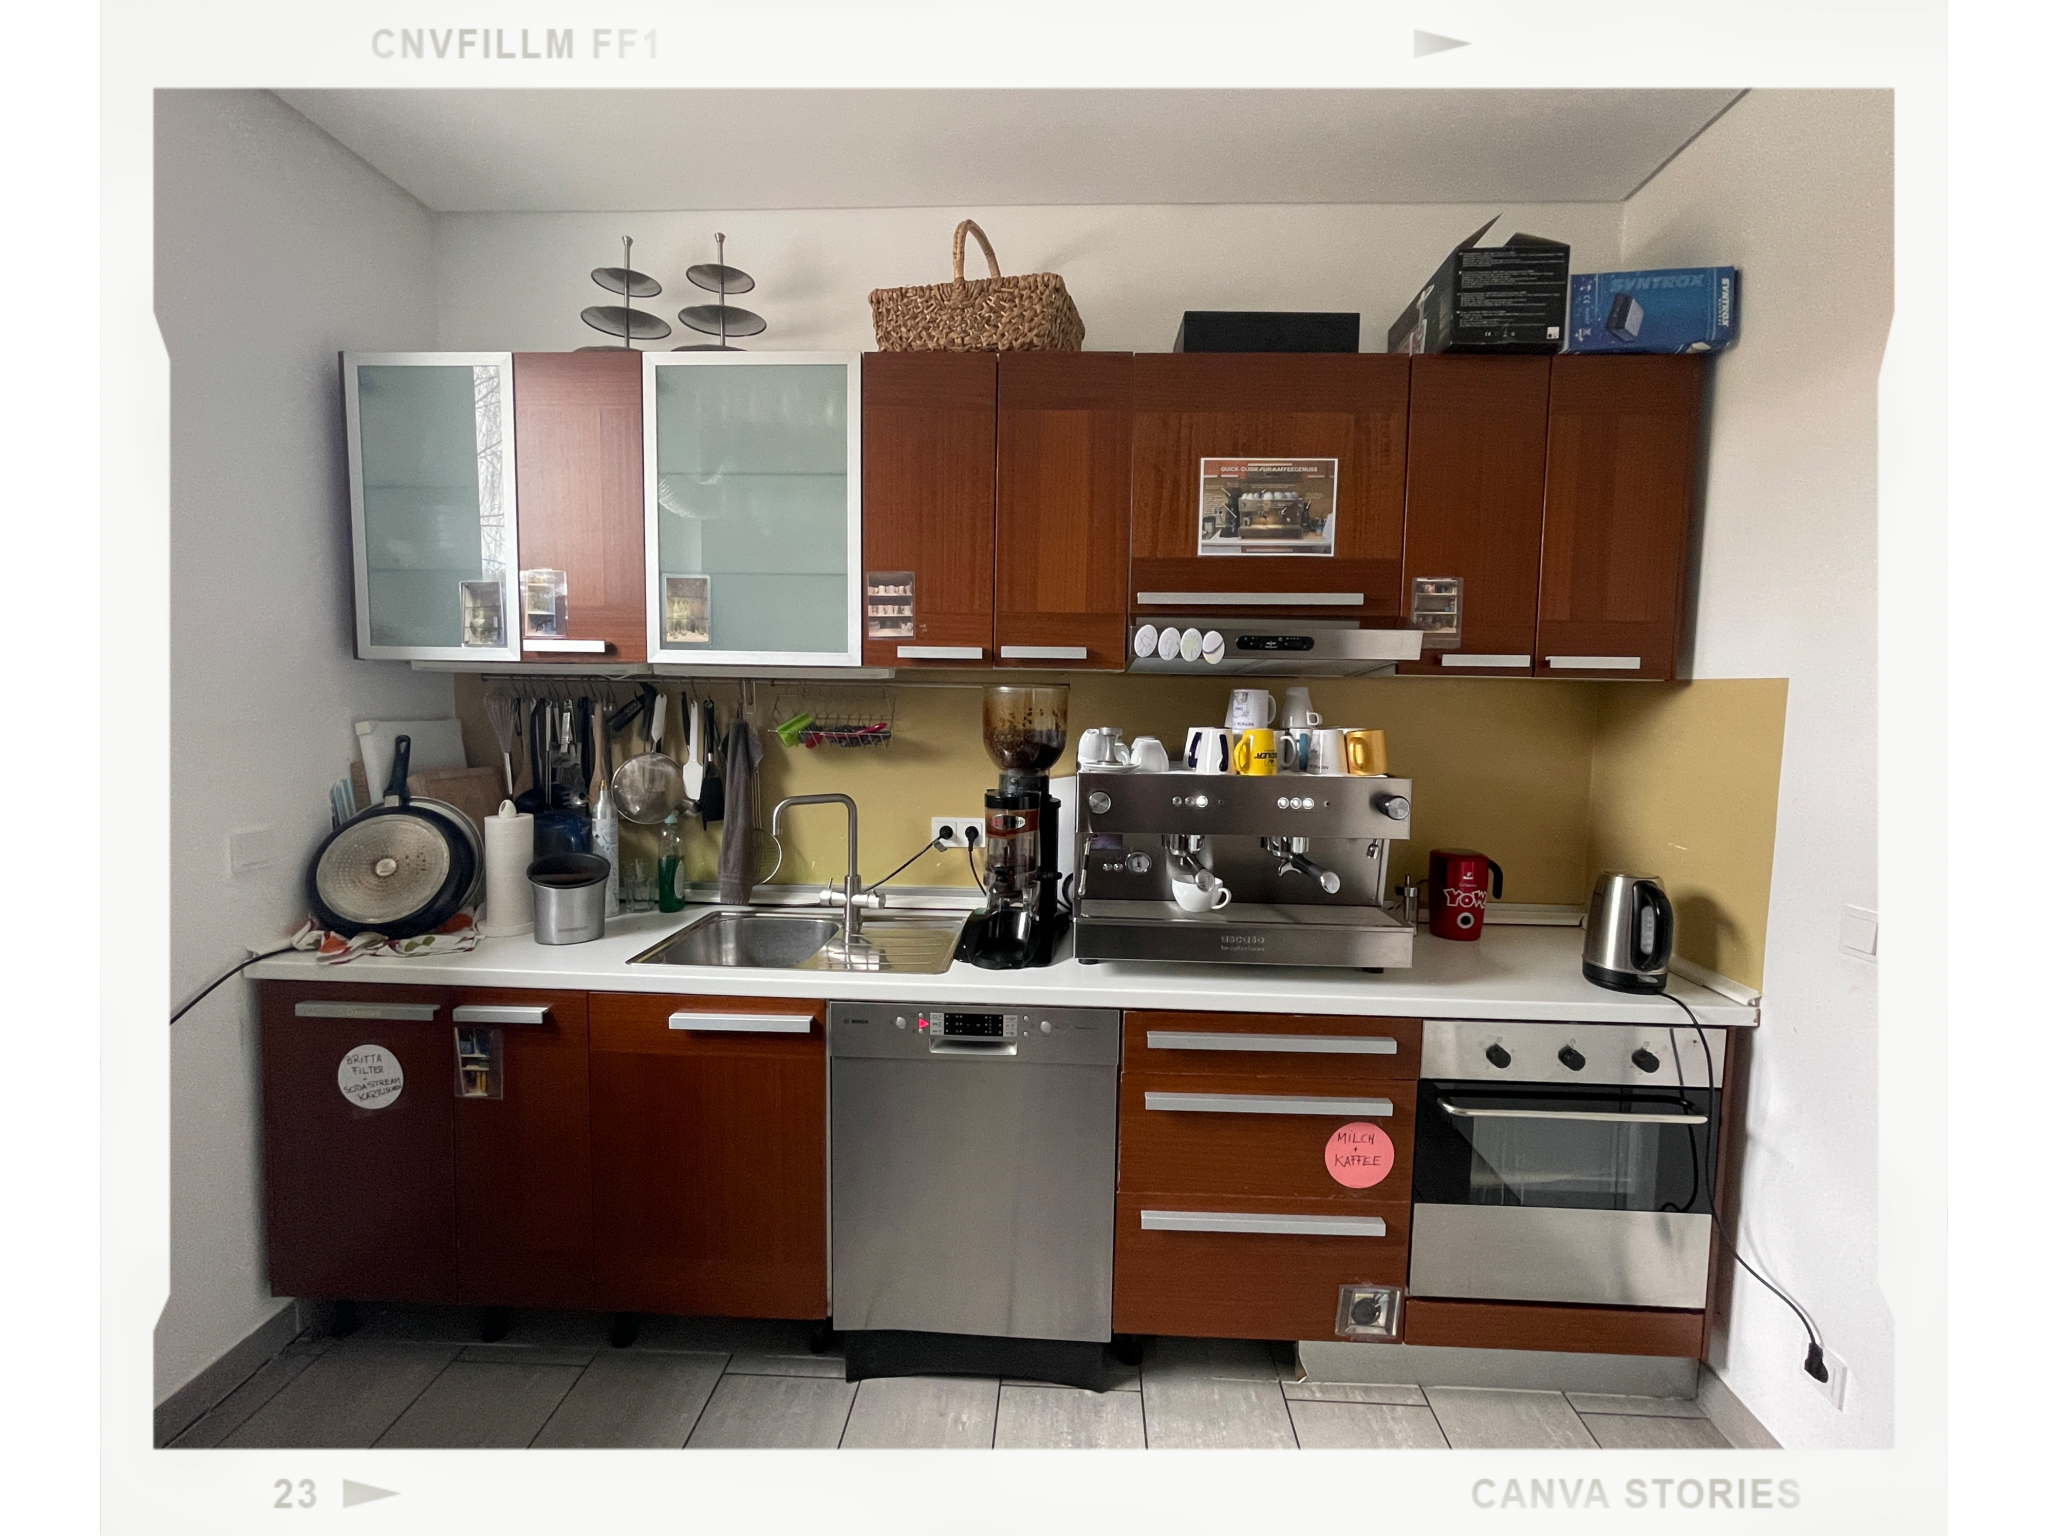
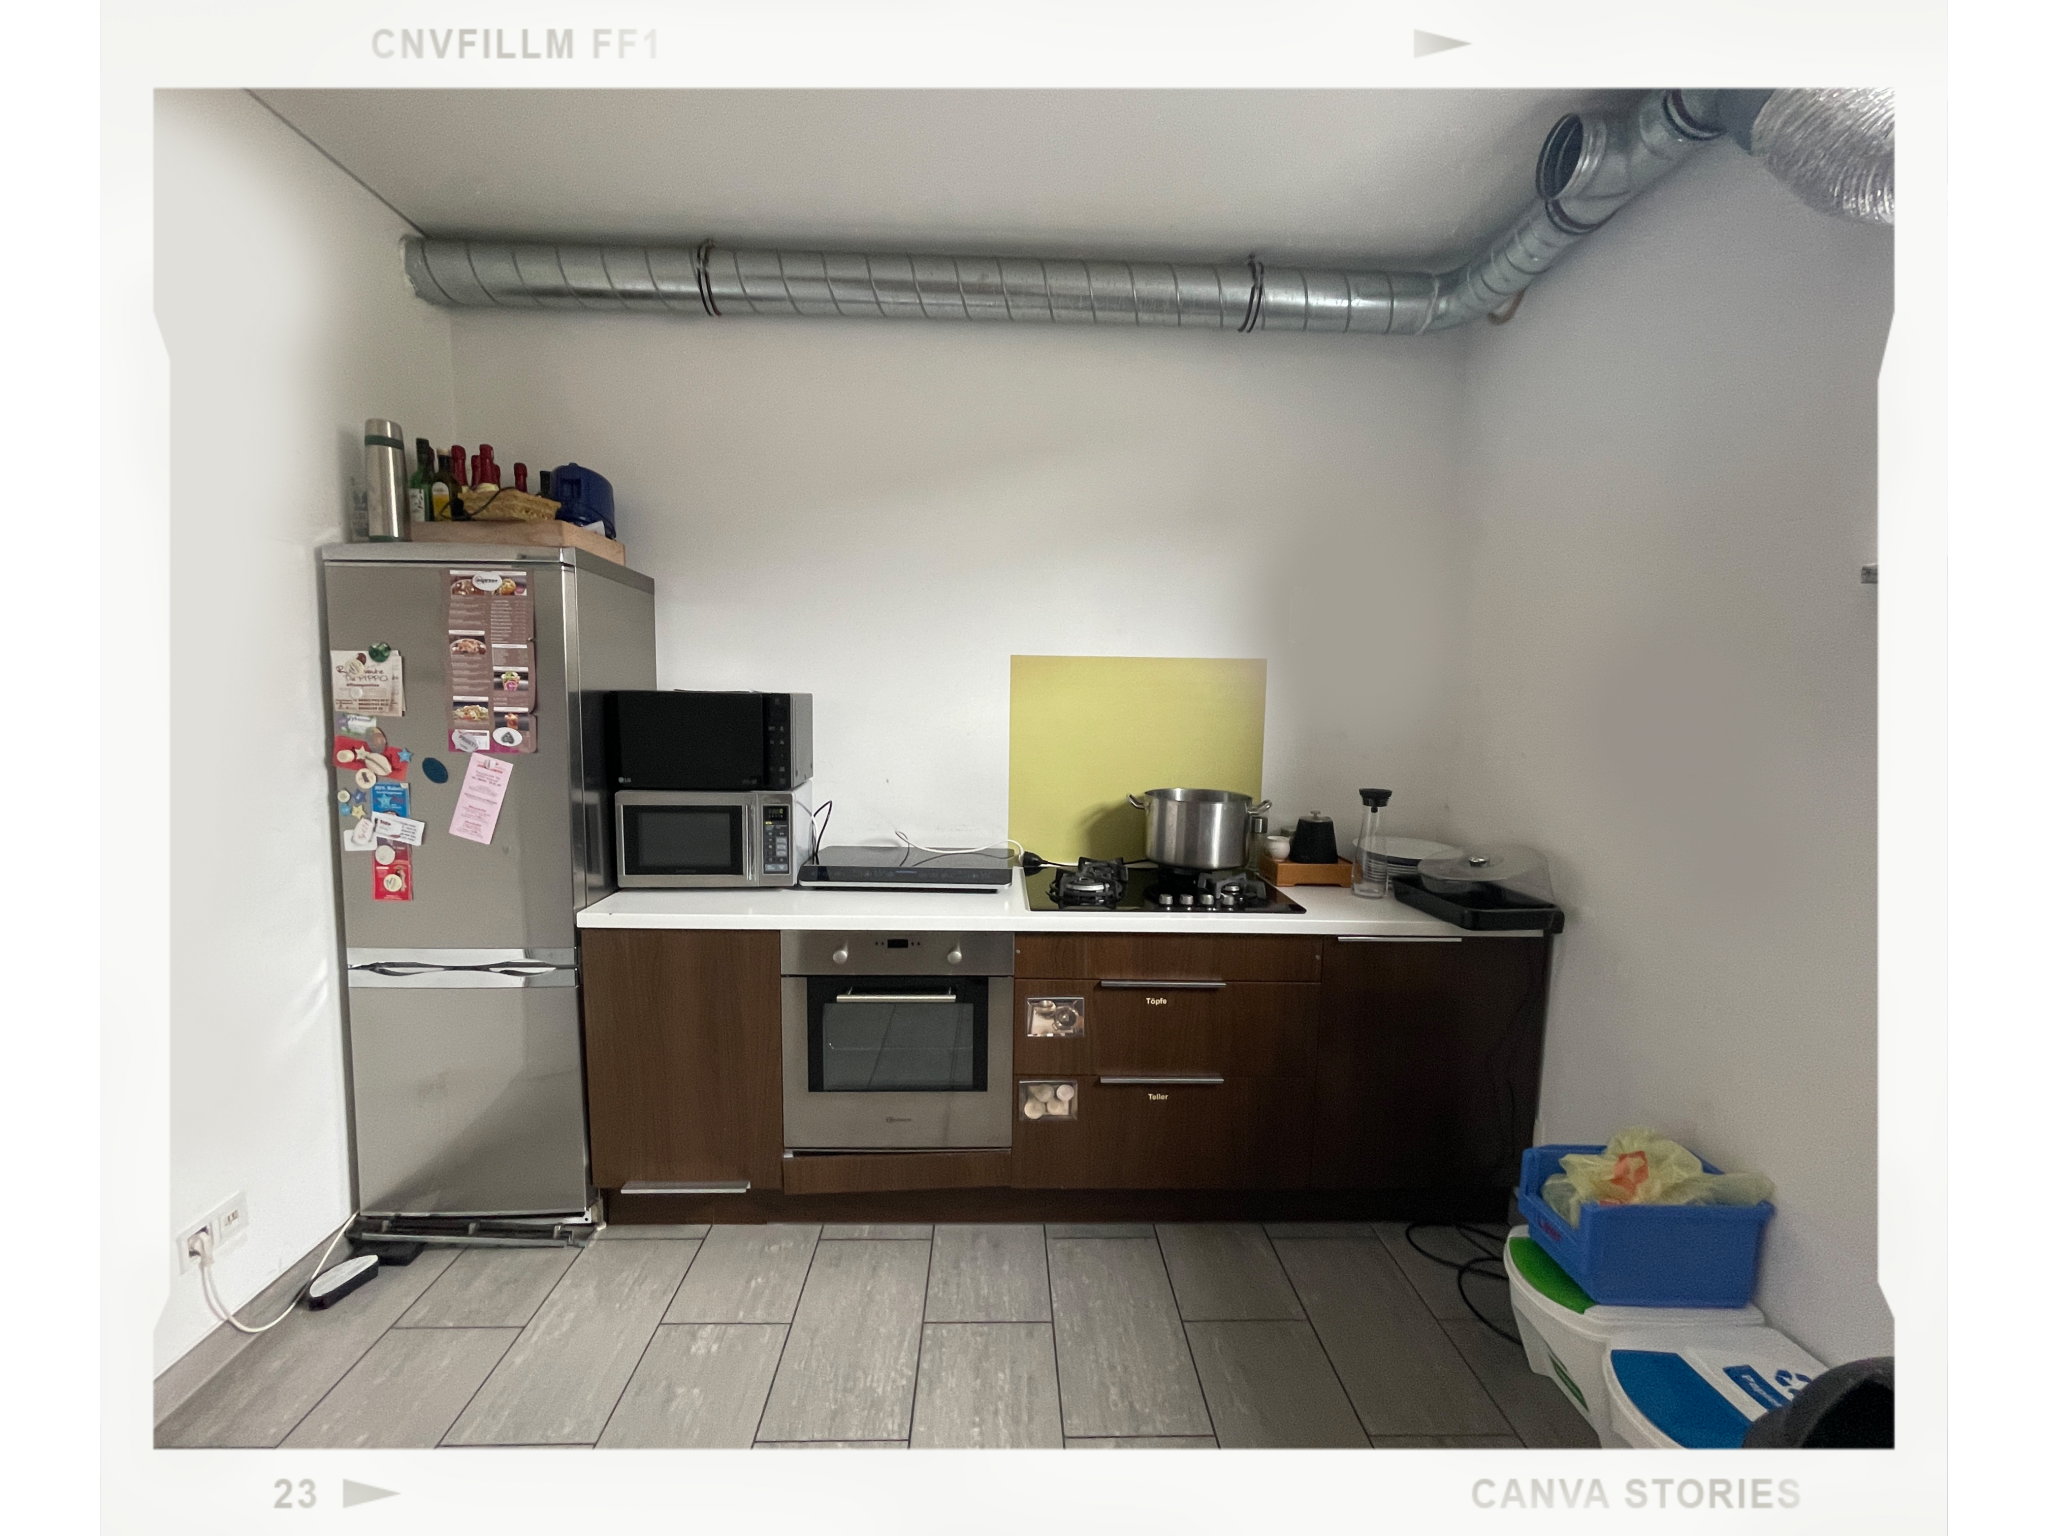
We used the following slides:
- Ritrama M300 standard matt wine red
- Ritrama blackboard film
- Ritrama M300 standard matt grey
- Ritrama M300 standard matt anthracite
First of all, it’s worth mentioning that anyone can apply self-adhesive films to furniture. It’s more a question of patience and dexterity. But with the right tips from us, you’ll become absolute pros. And don’t forget – practice makes perfect! We started with the drawers and cupboards. Make the application as easy as possible by, for example, unscrewing the handles or covering the entire surface in one go.
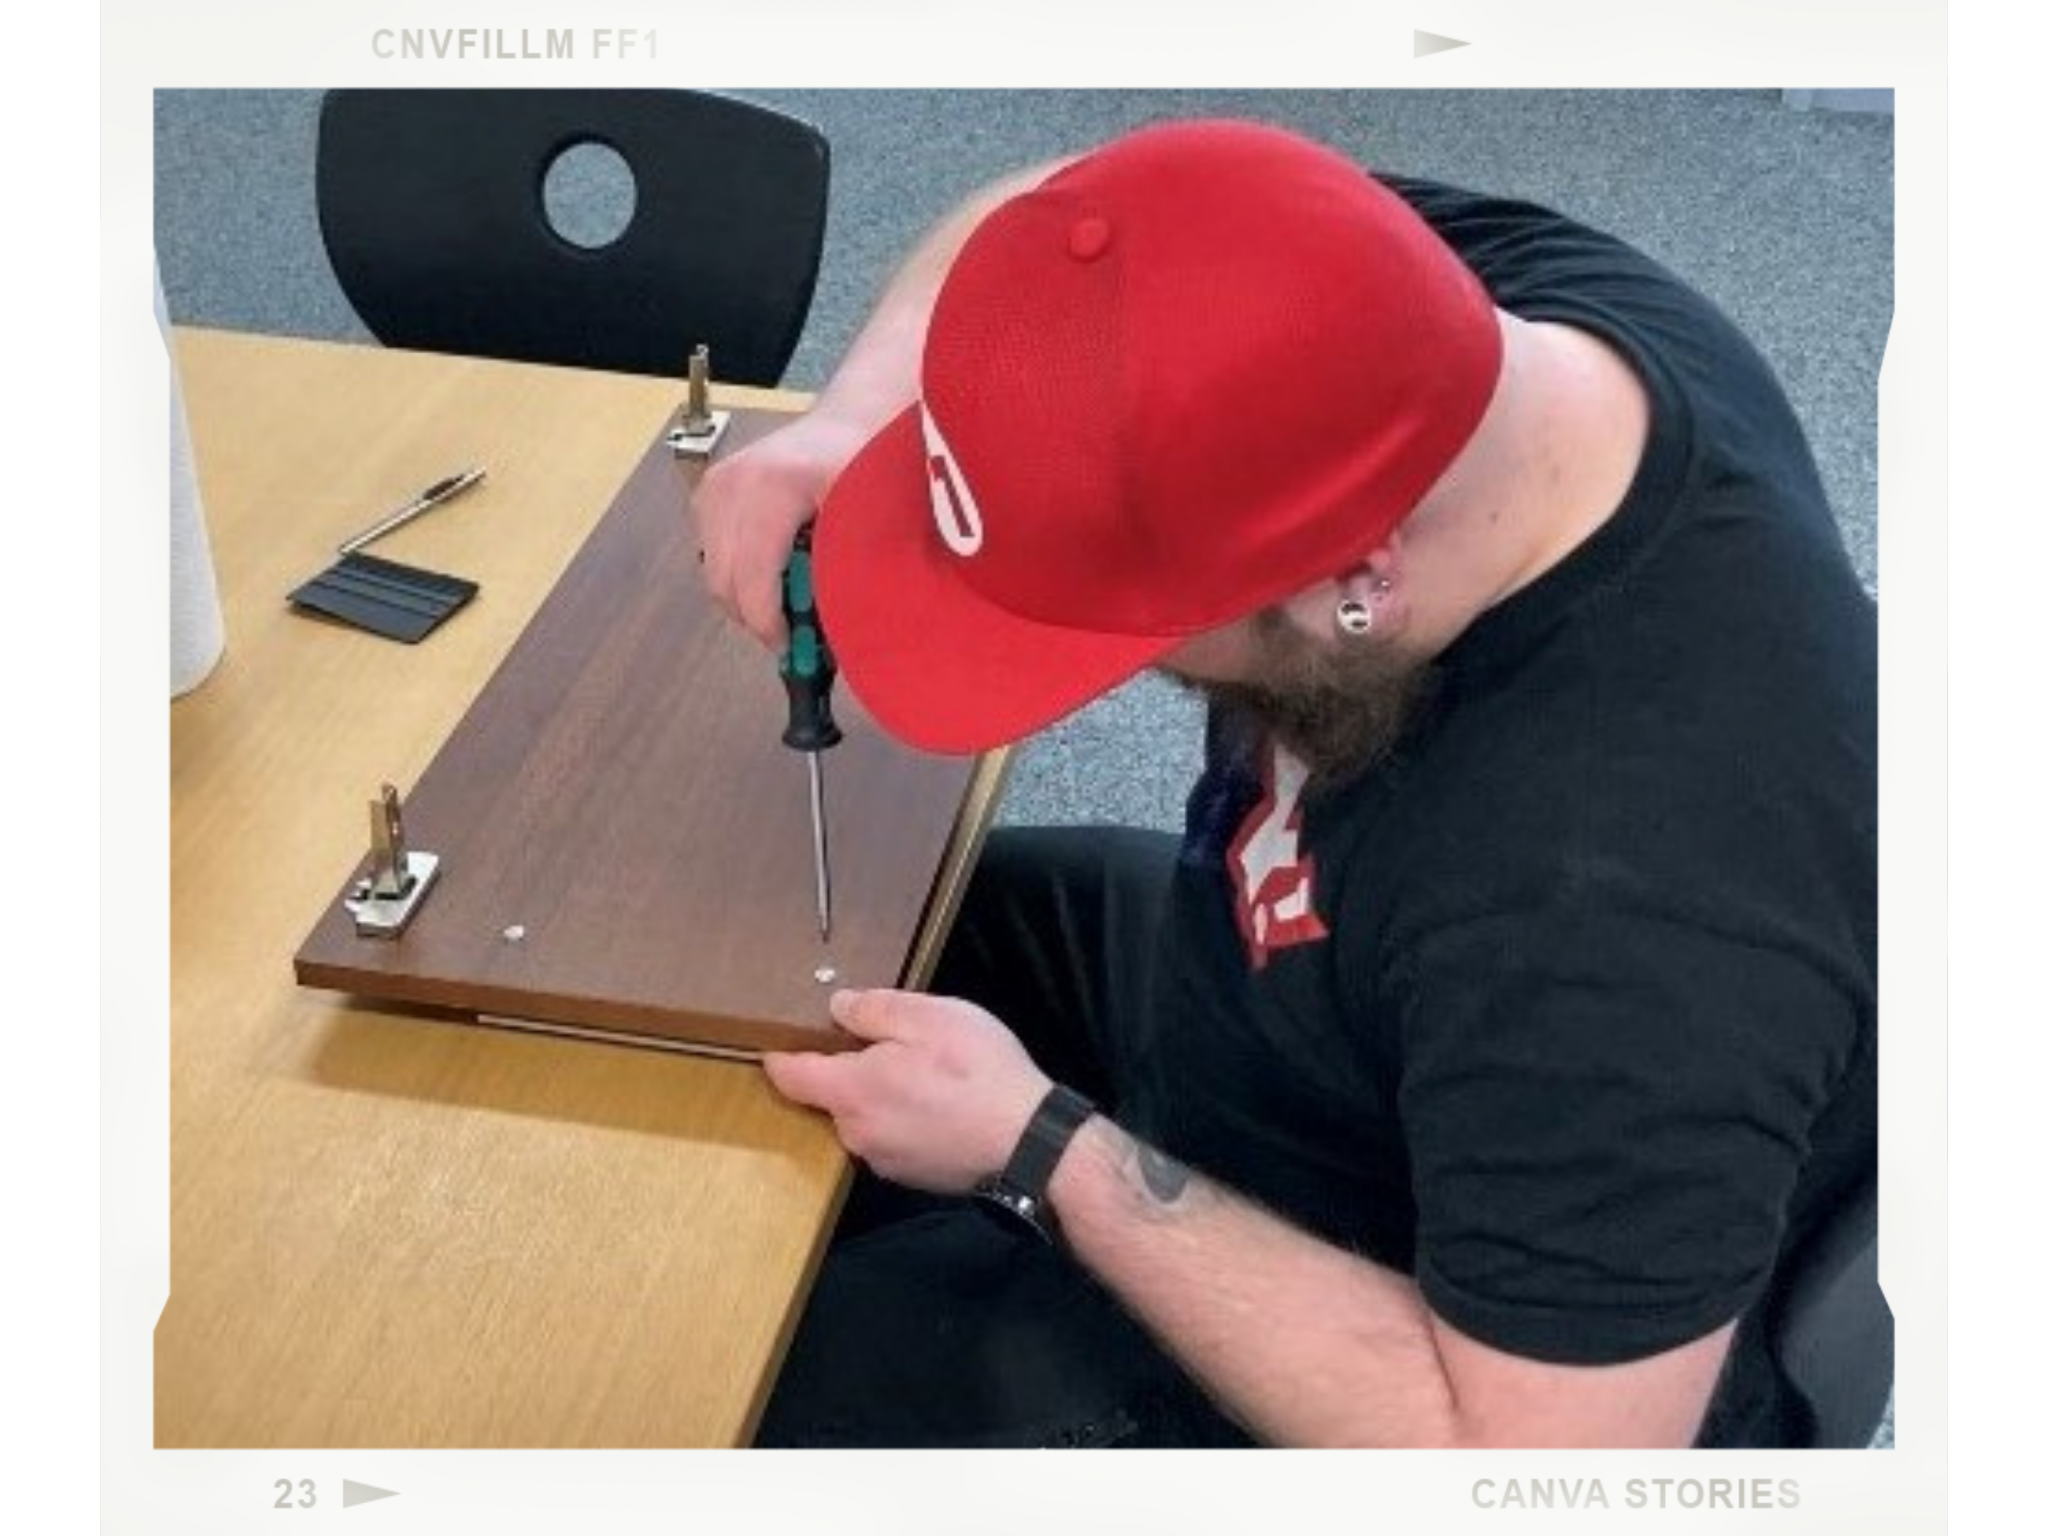
- Place the surface you want to cover on a table, cut the self-adhesive film to size, but leave the backing paper on the film.
- Now position the cut-to-size self-adhesive film on the surface and secure it at the edges with masking tape. Leave the corners and one side free. Of course, the coloured side should face outwards.
- Now start peeling off the backing paper from the free side of the film. As you do so, fold the self-adhesive film over on this side so that the adhesive layer faces upwards.
- Fold the peeled-off paper inwards so that the film has space to stick.
- You can then stick the folded-over self-adhesive film onto the surface. Ideally, make sure it’s wrinkle-free and straight. If you don’t manage it the first time, simply pull it away slightly and try again.
- Smooth the whole thing out thoroughly. Always work from the inside out. This reduces the formation of air bubbles.
- Now comes the crucial step. You need to peel back the backing paper – which is hidden on the surface beneath the self-adhesive film – a little further. Peel the paper away from the side that’s easiest for you to reach.
- Smooth over the section you’ve just peeled back again.
- Then peel back the paper a little further and smooth it down again.
- Gradually, you’ll be able to remove more and more of the strips of masking tape.
- Carry on doing this until you’ve removed it completely. To be on the safe side, go over it again with the squeegee and have a craft knife to hand.
- Carefully cut the corners open at a 45° angle with the craft knife and fold one side over the edges for now.
- You can then fold down the other side of the cut corner of the self-adhesive film. If necessary, trim the corners to size.
- Run the squeegee firmly over it again and do the same for the other corners.
- Finally, you can screw the cupboard or drawer back into place.
Incidentally, the same procedure applies to walls as well.
Have you seen the article on wrapping a Sprinter yet? Have a look here.
Let’s move on to lettering with self-adhesive films.
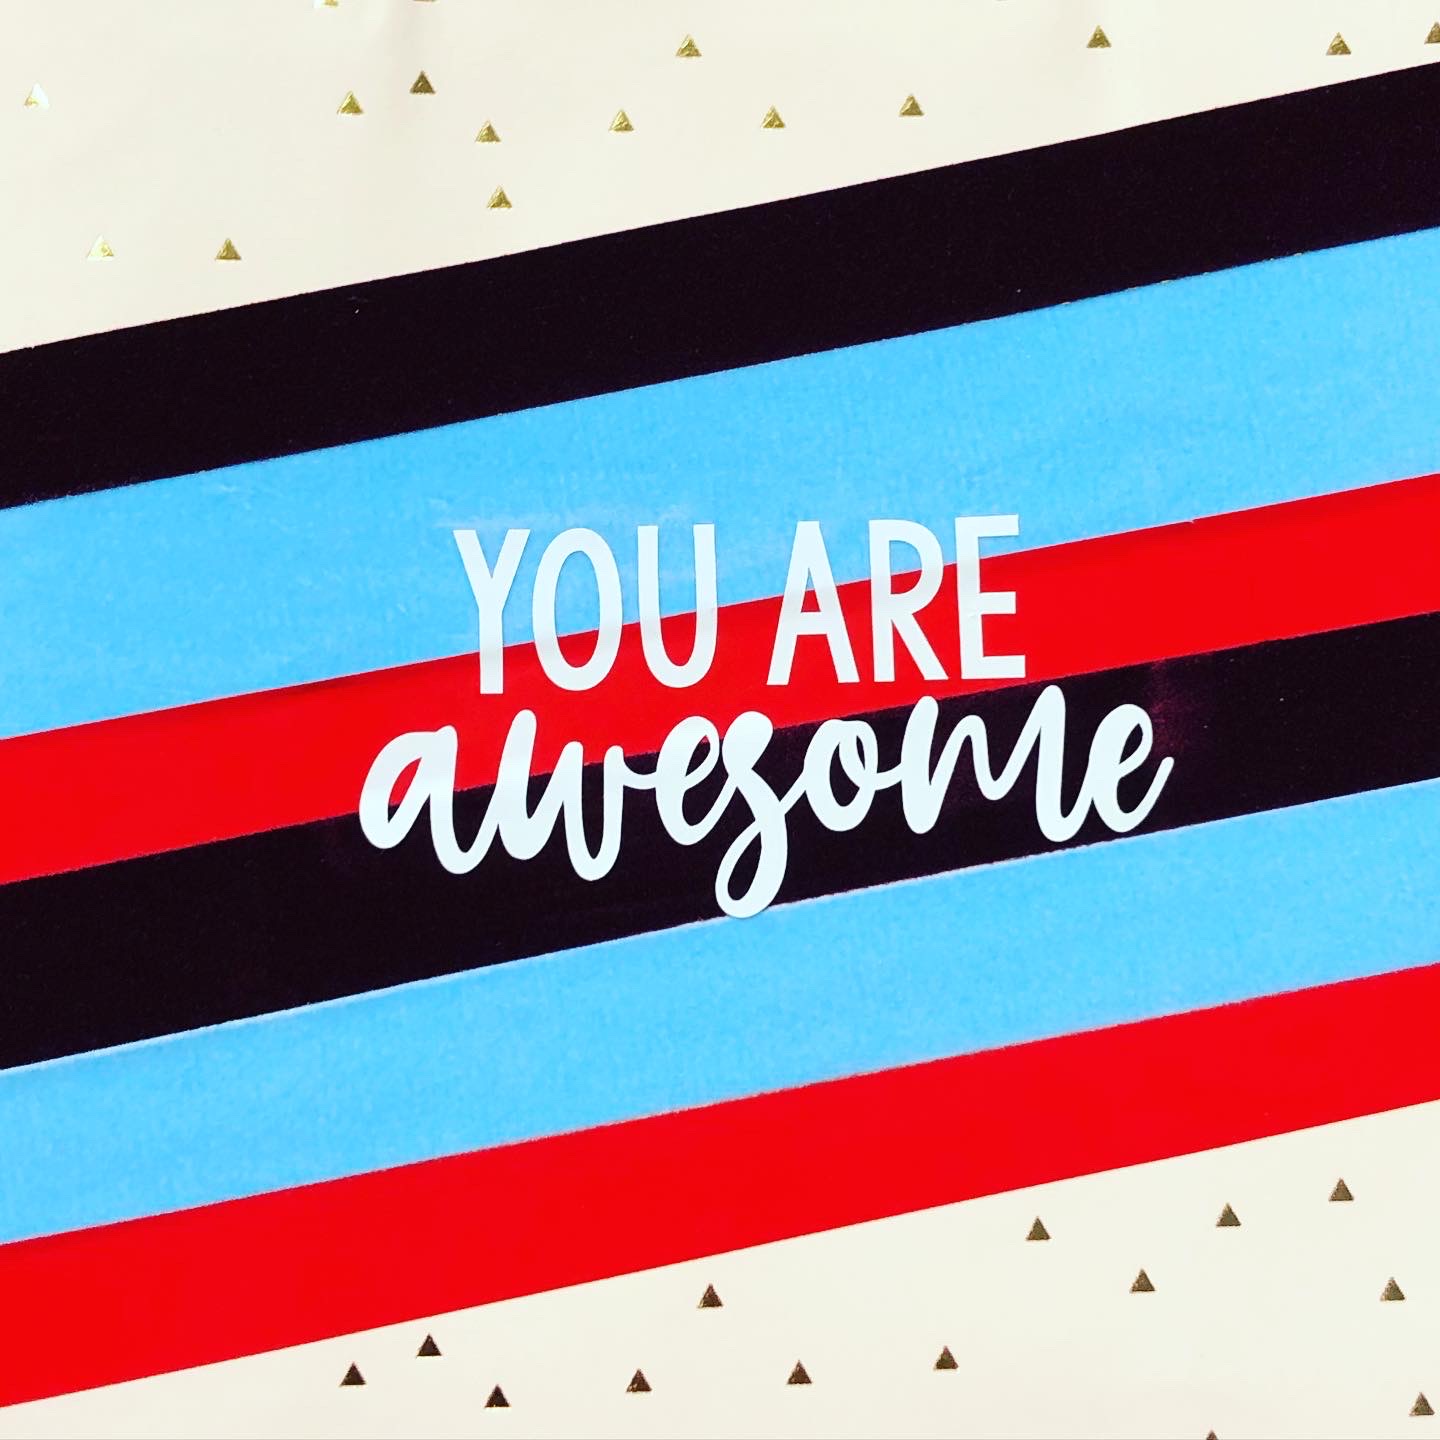
Where there used to be a boring printed and laminated sign, there’s now a modern, colourful eye-catcher. Best of all, it’s incredibly cost-effective and yet looks ten times better. Many people always assume it involves a huge amount of work and time, but we can definitely convince you otherwise. Give it a go and feel free to leave a comment about your experiences.
How can I achieve the perfect lettering using self-adhesive films or furniture films?
- Always ensure the surface is clean. This means cleaning the area with glass cleaner or a similar product
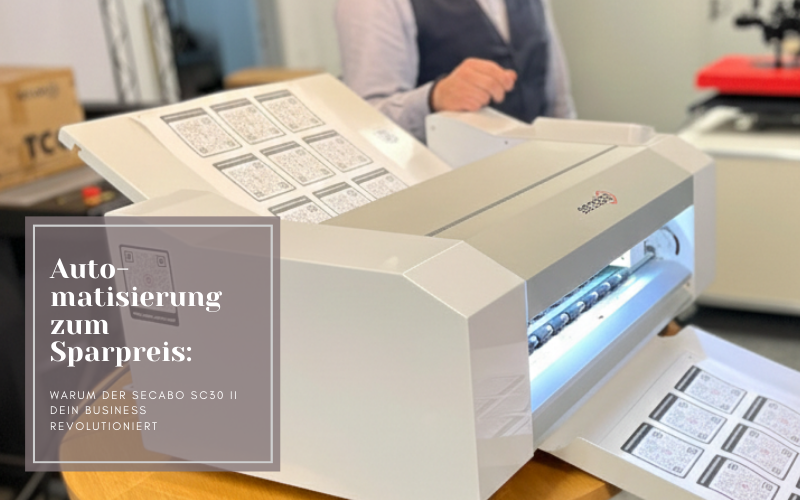
- Plot your designs in DrawCut using a cutting plotter on self-adhesive film (we recommend the Secabo T120 II cutting plotter, which we find a pleasure to work with and very straightforward to use)
- Not sure which cutting plotter is right for you? Then read this article.
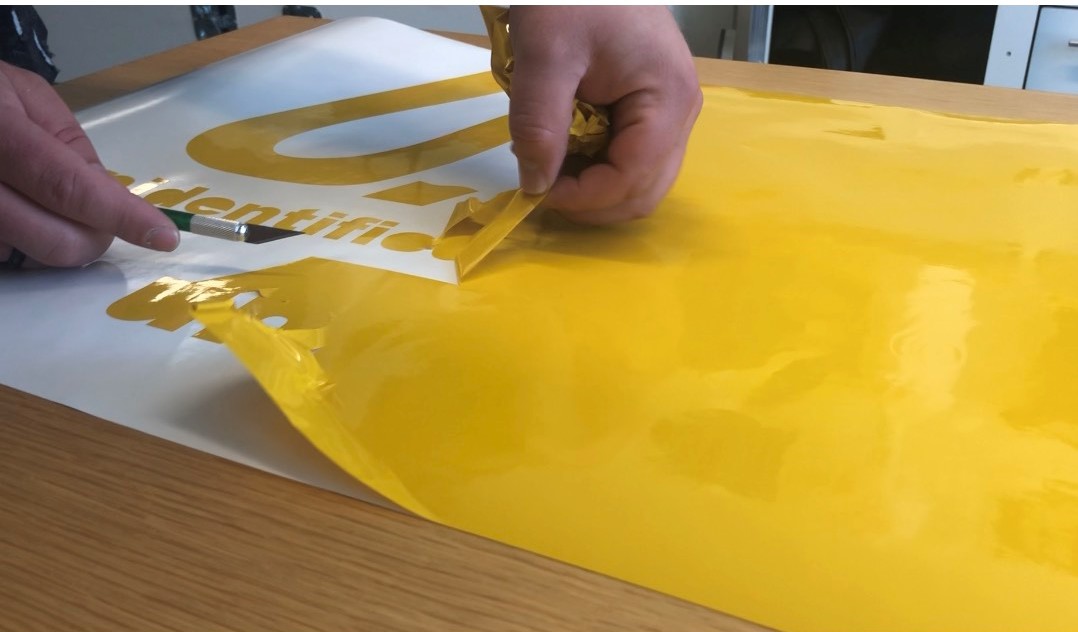
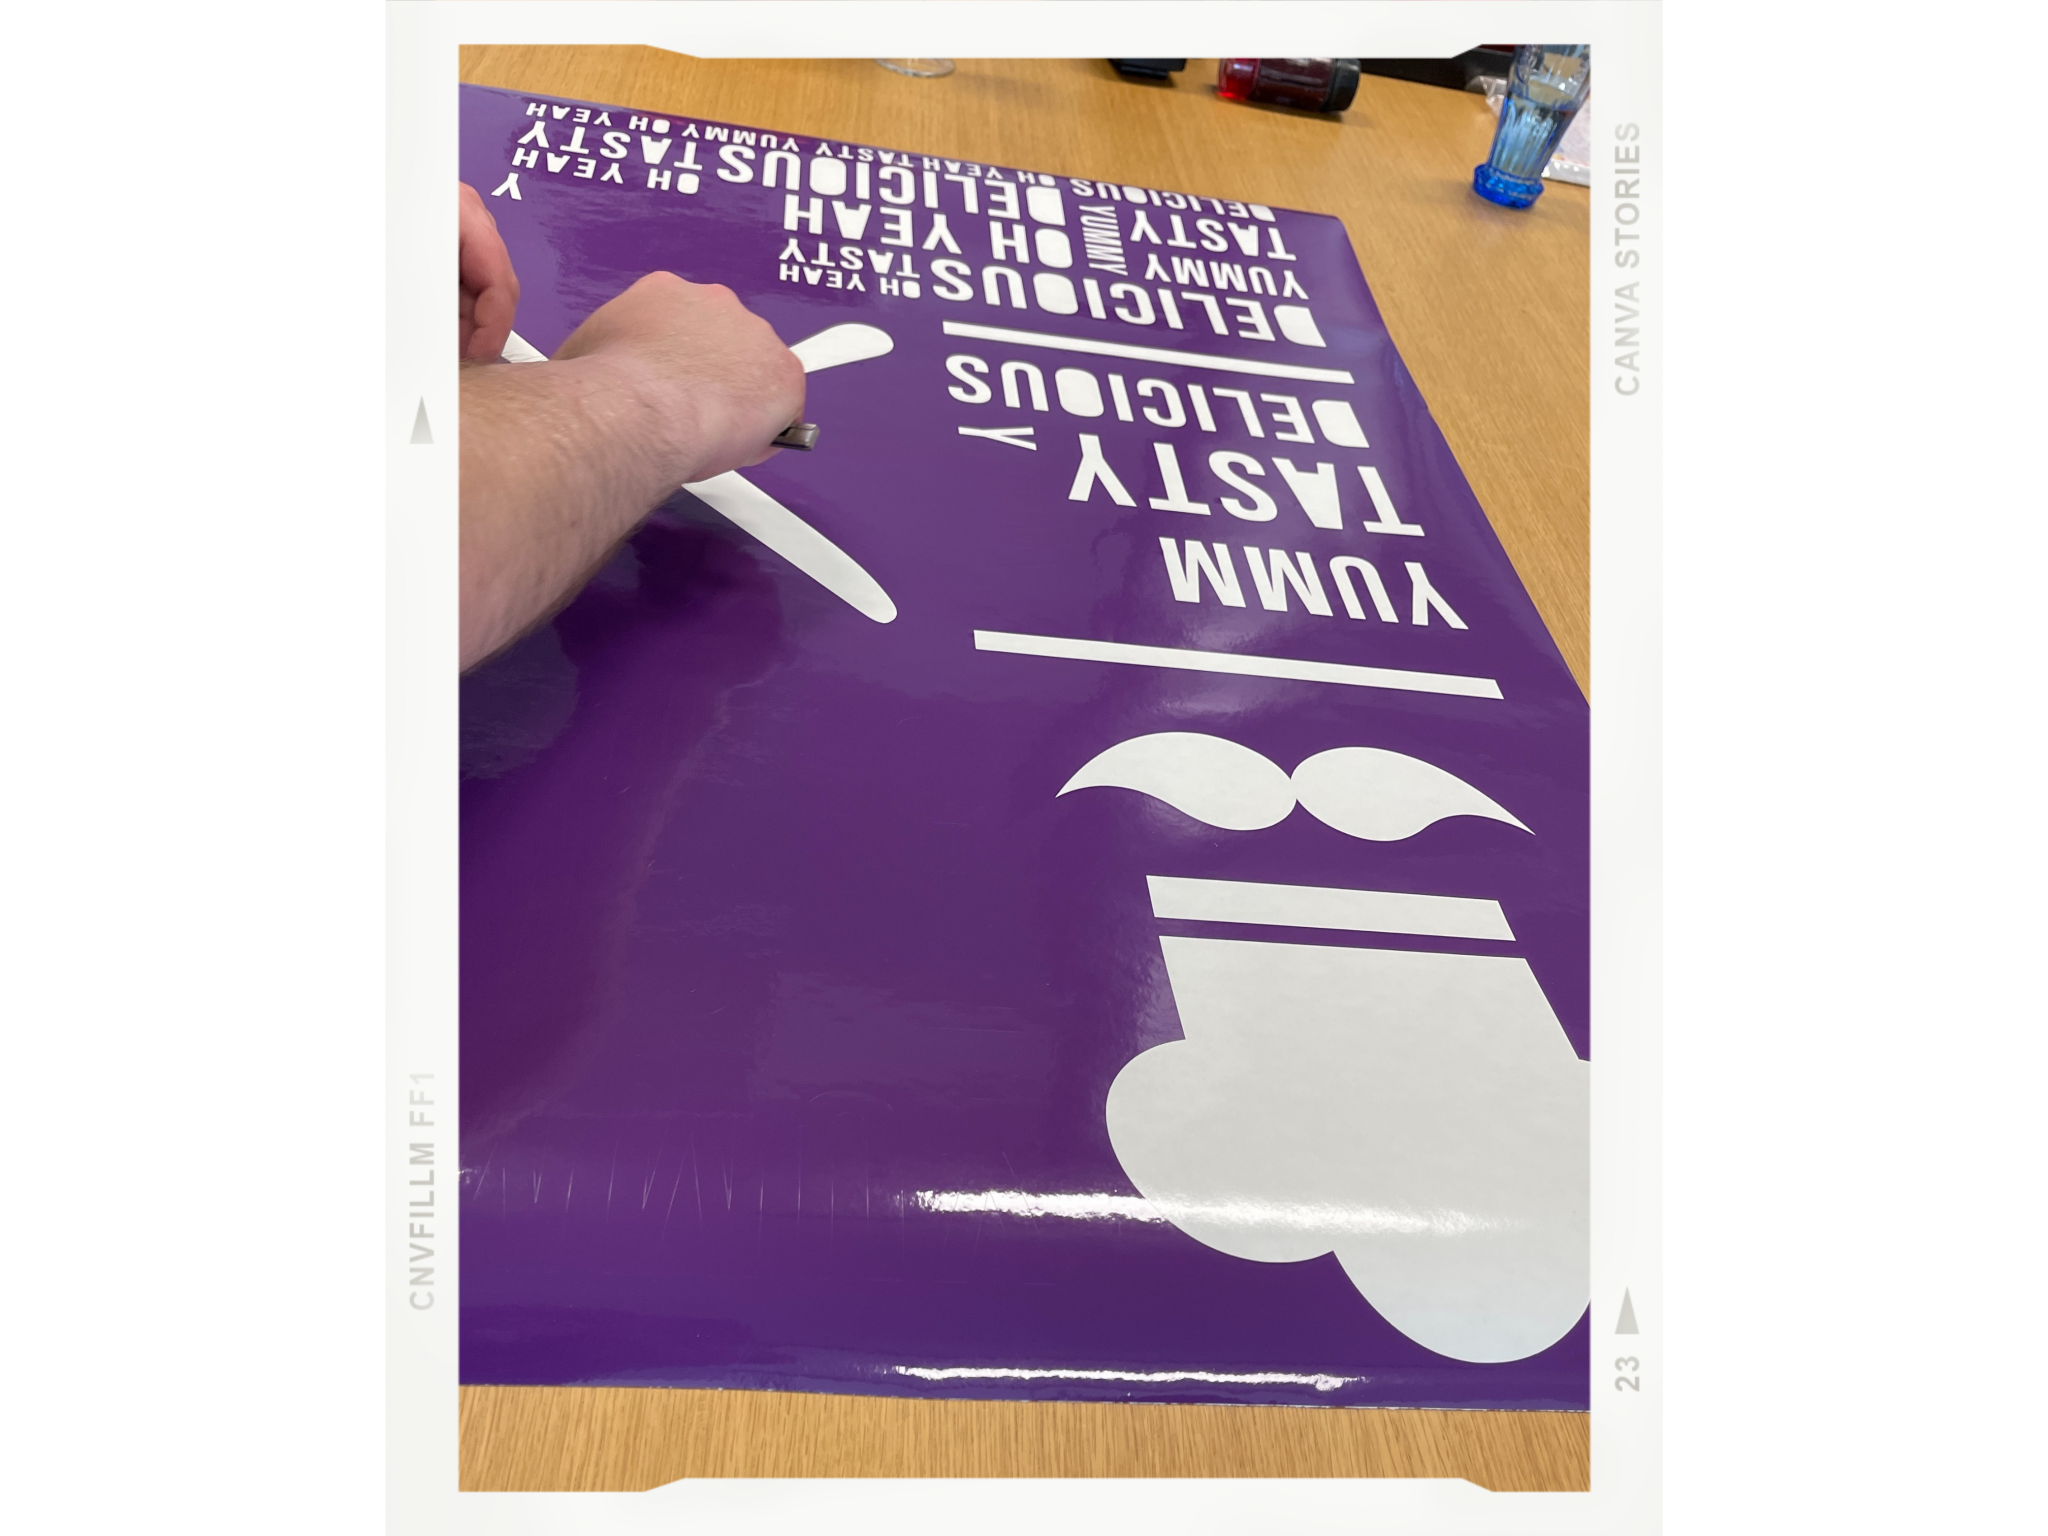
- Next comes weeding. To make this easier, you’re welcome to use a pair of weeding tweezers
- Important: To avoid making the transfer unnecessarily complicated – and thus having to stick each letter on individually – there’s this brilliant sheet: a transfer sheet!
- Stick the transfer film – with the adhesive side facing down – onto the weeded plot
- Take a squeegee and smooth from the inside outwards to secure the transfer film
- Can you peel off the transfer film and the lettering comes off with it? Then you’ve done everything right. If not: simply press down a bit harder with the squeegee
- So peel off the transfer film and stick it onto the surface you want to apply the lettering to
- Squeegee again
- Peelthe transfer film off the self-adhesive film and that’s it!
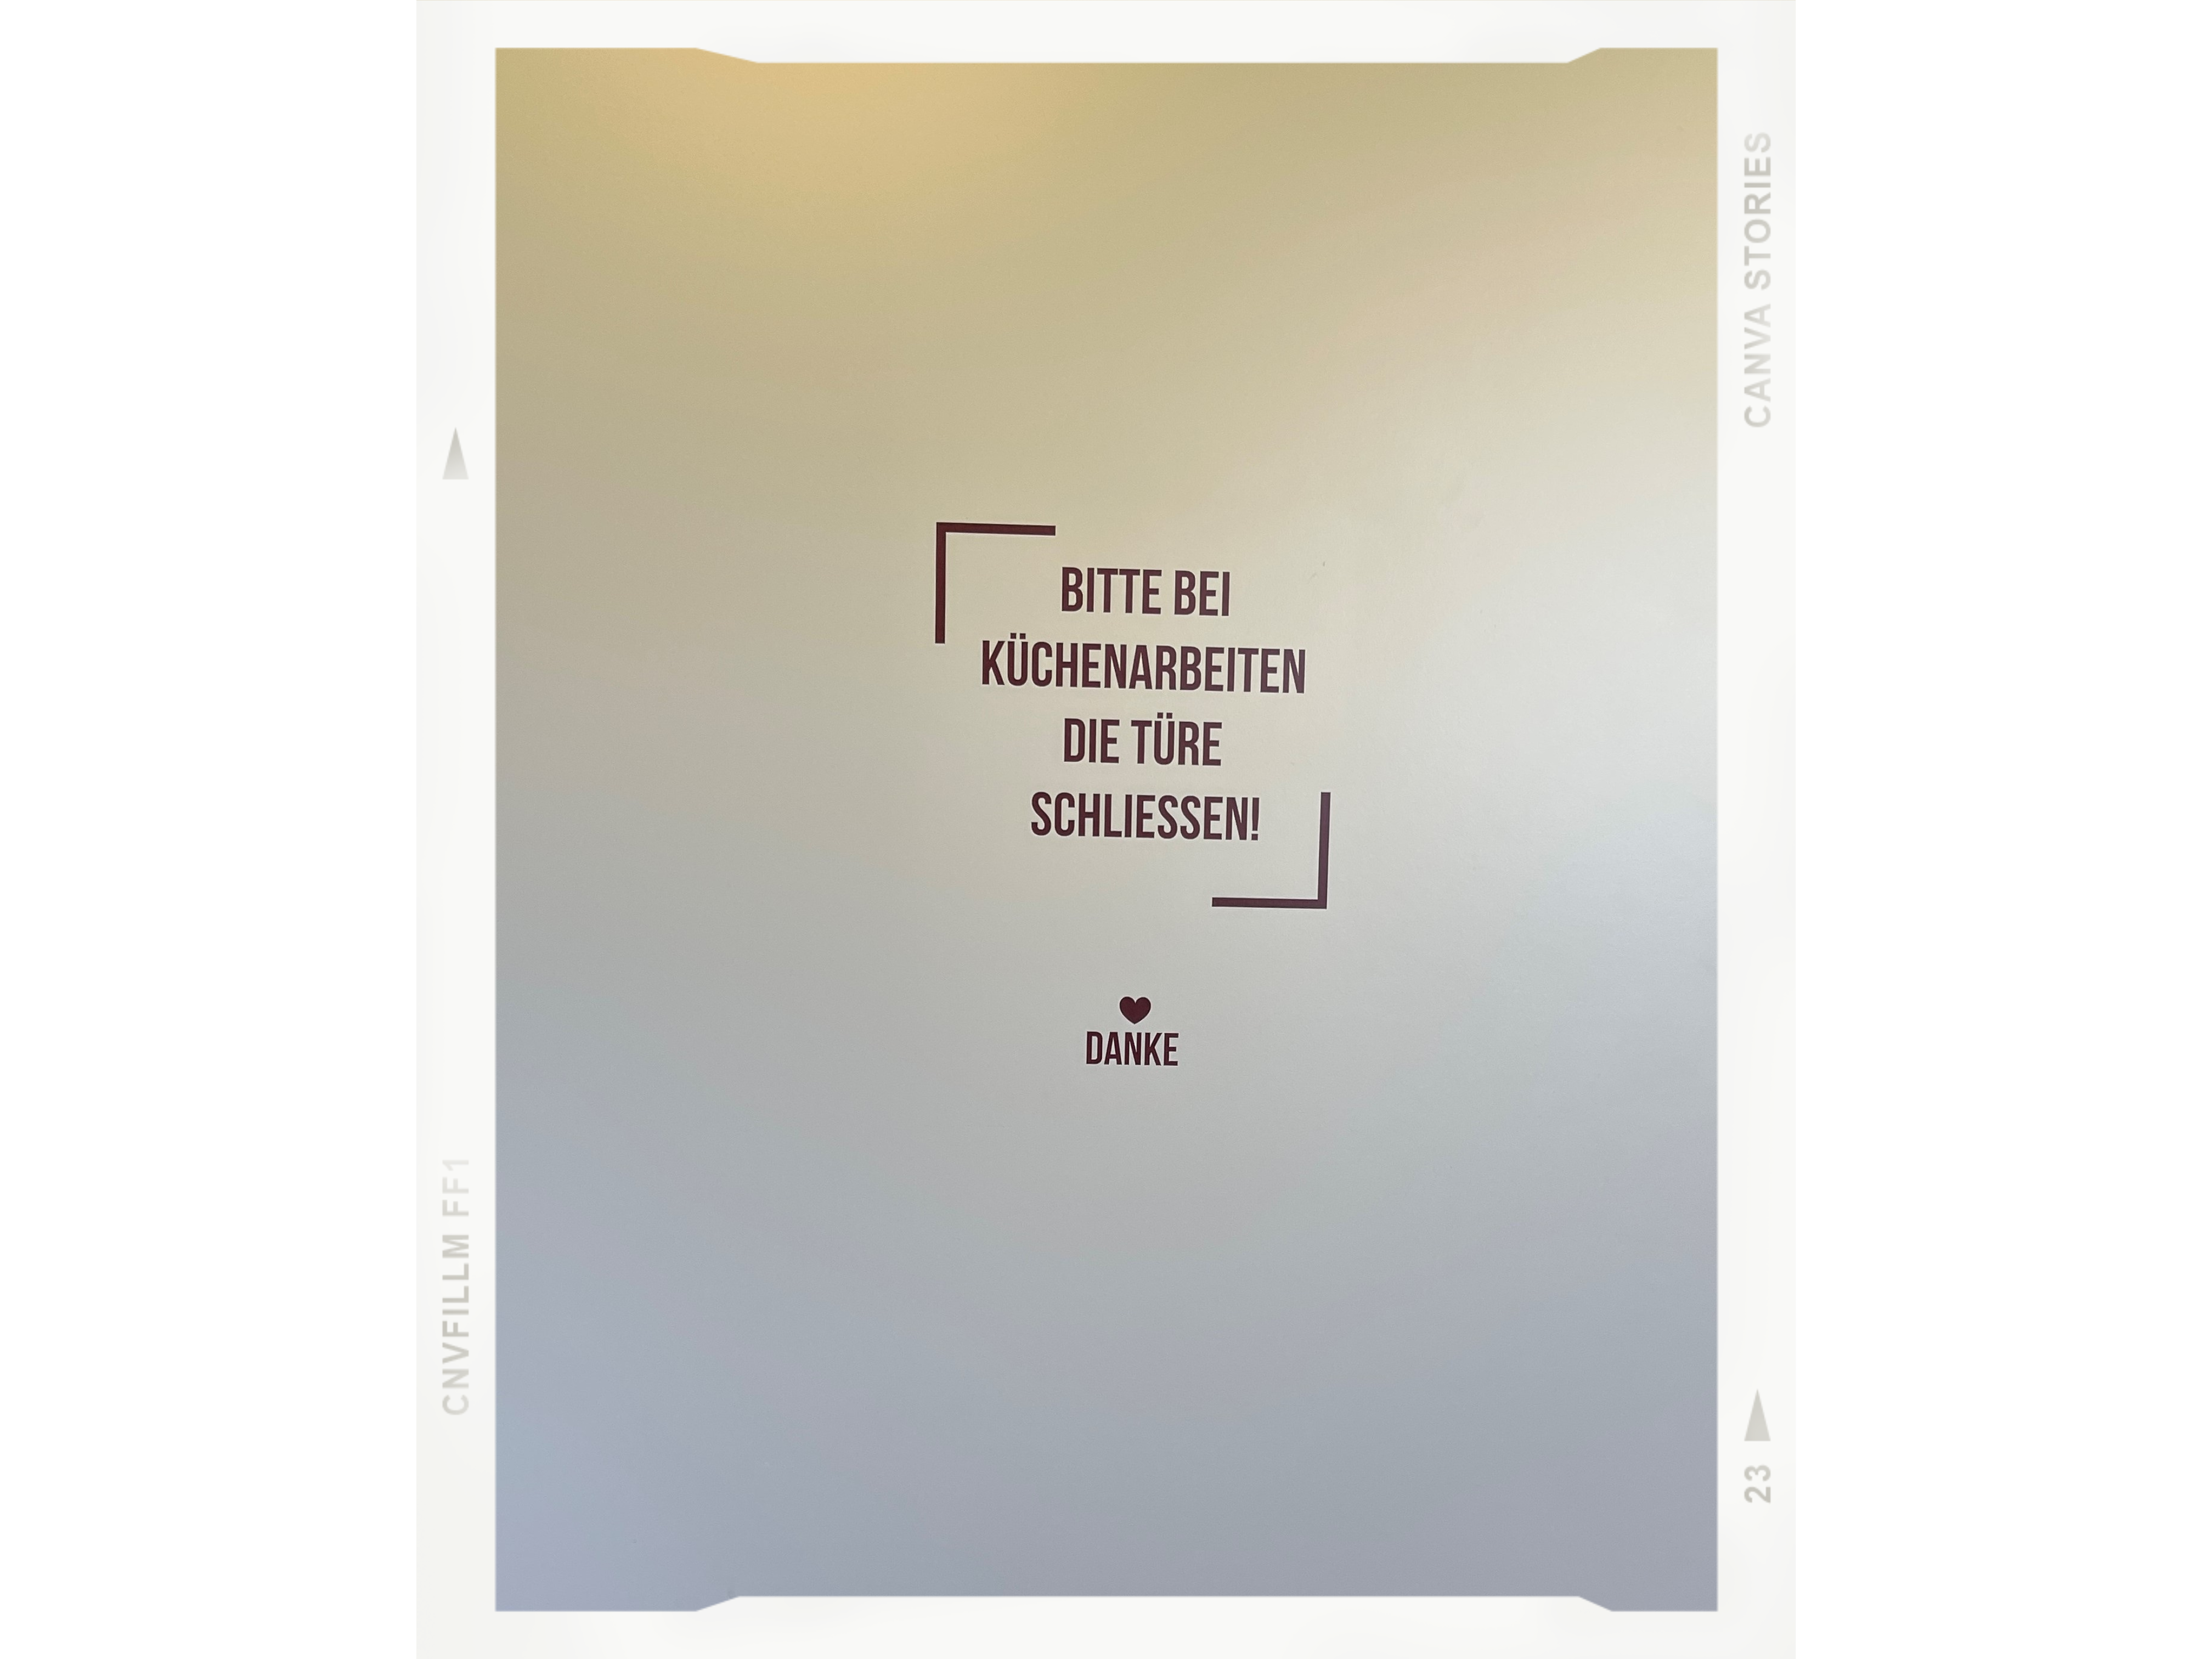
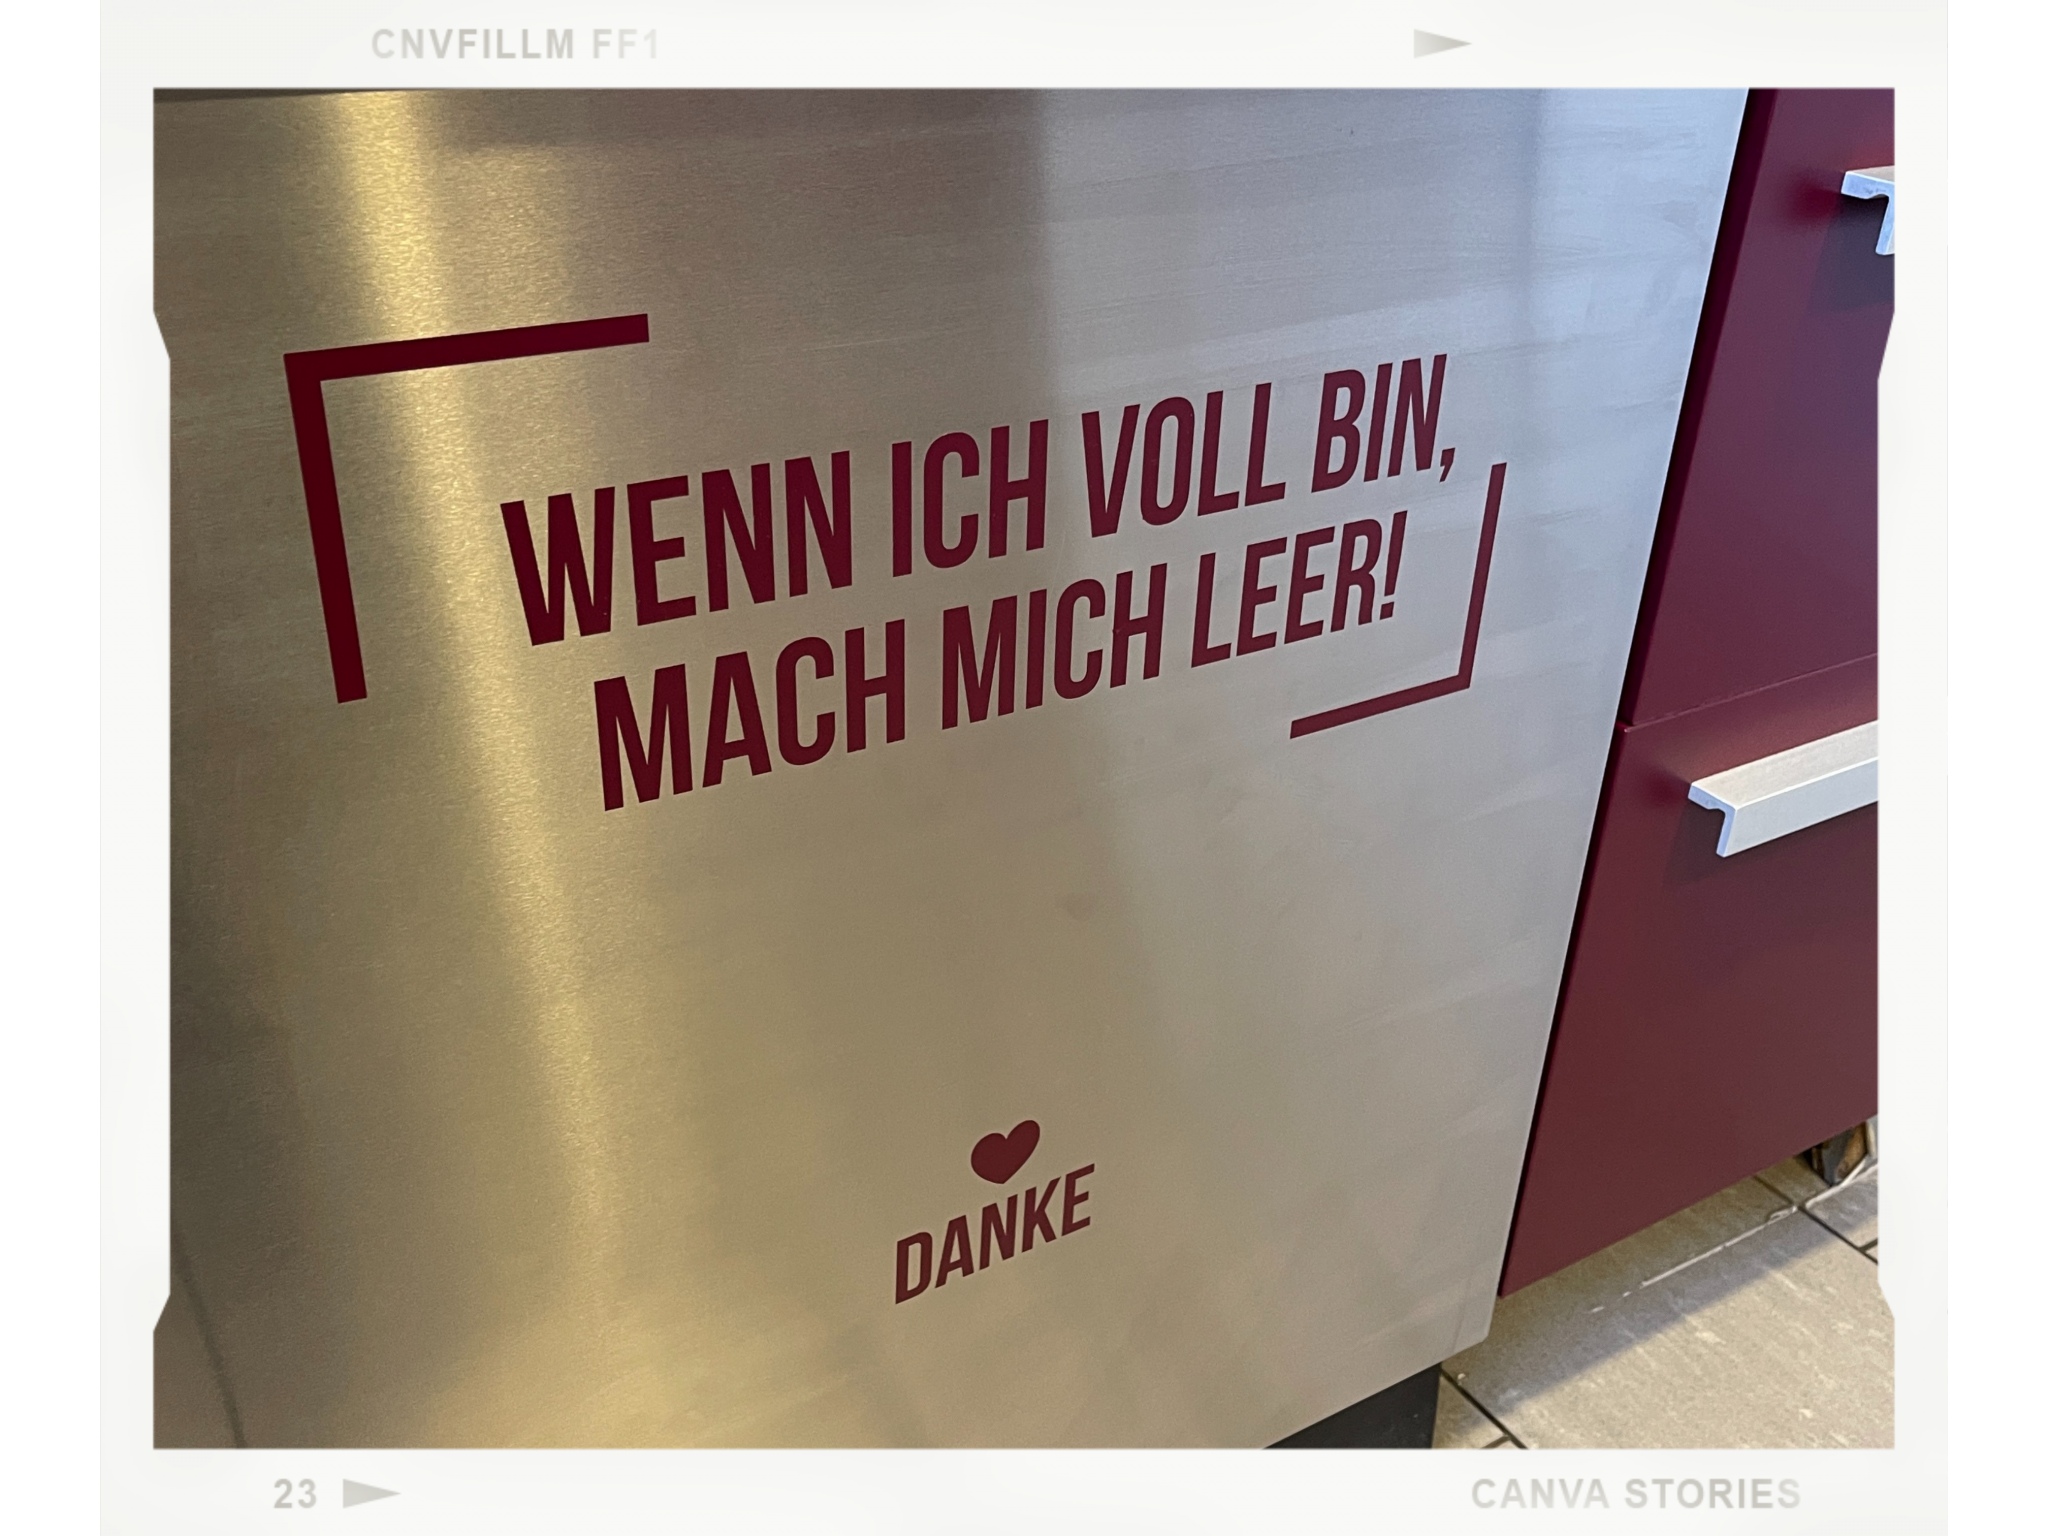
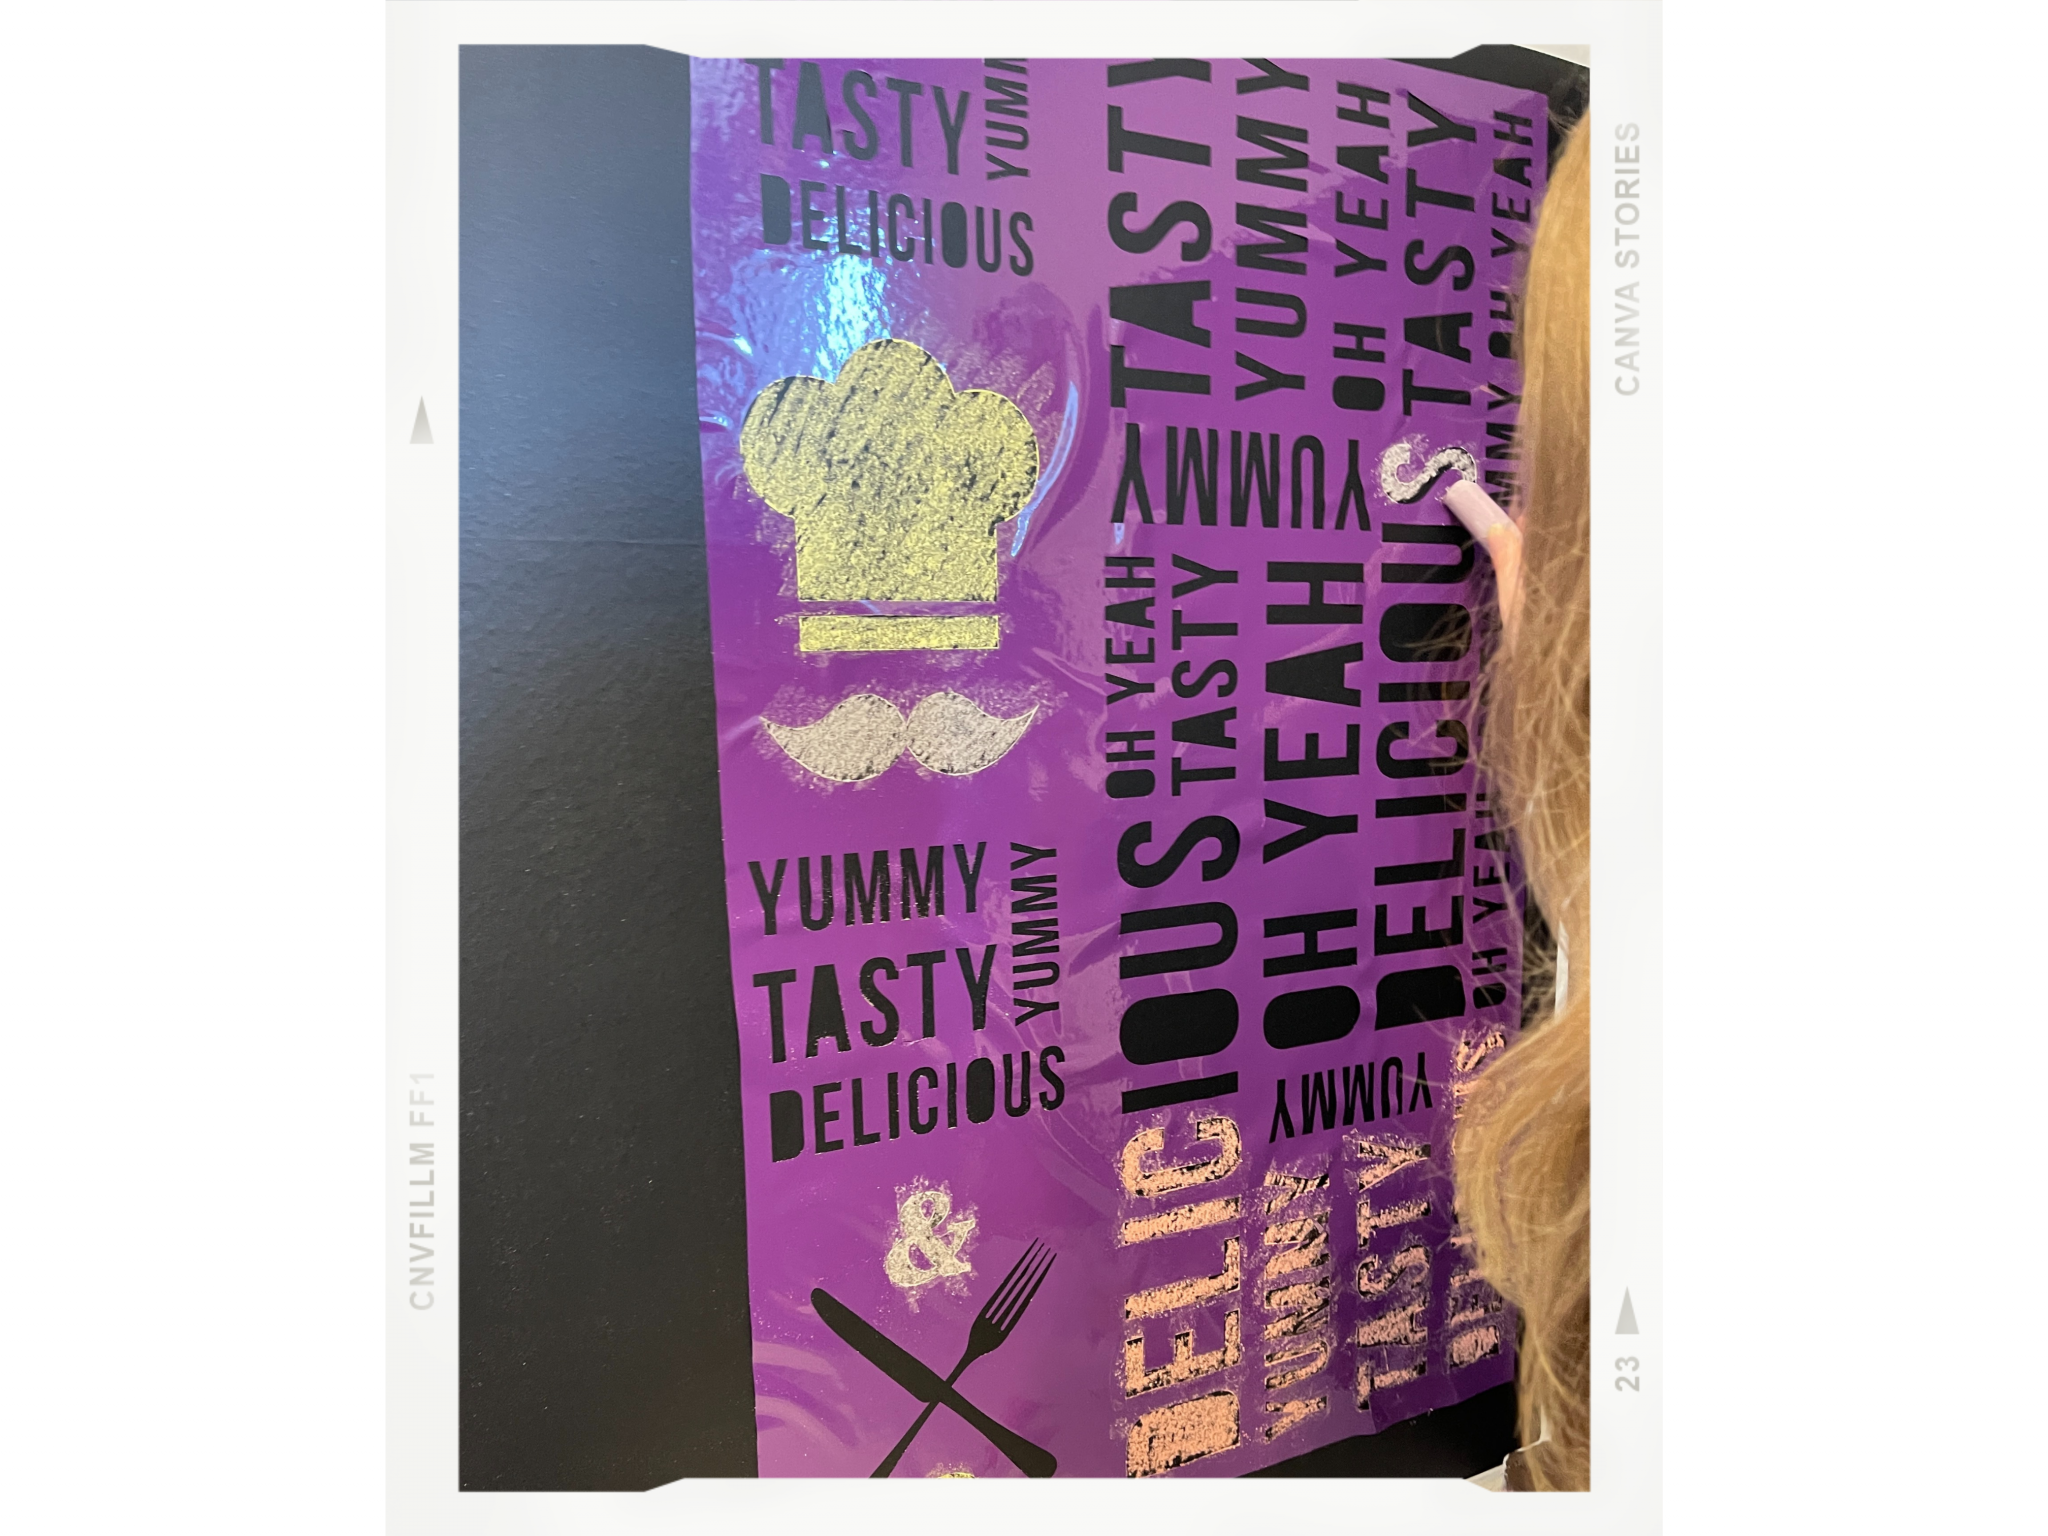
The final step: choose some great stencils for the blackboard film and then plot them onto self-adhesive film. Stick the self-adhesive film onto the blackboard film, fill in the design with chalk, and then simply peel it off.
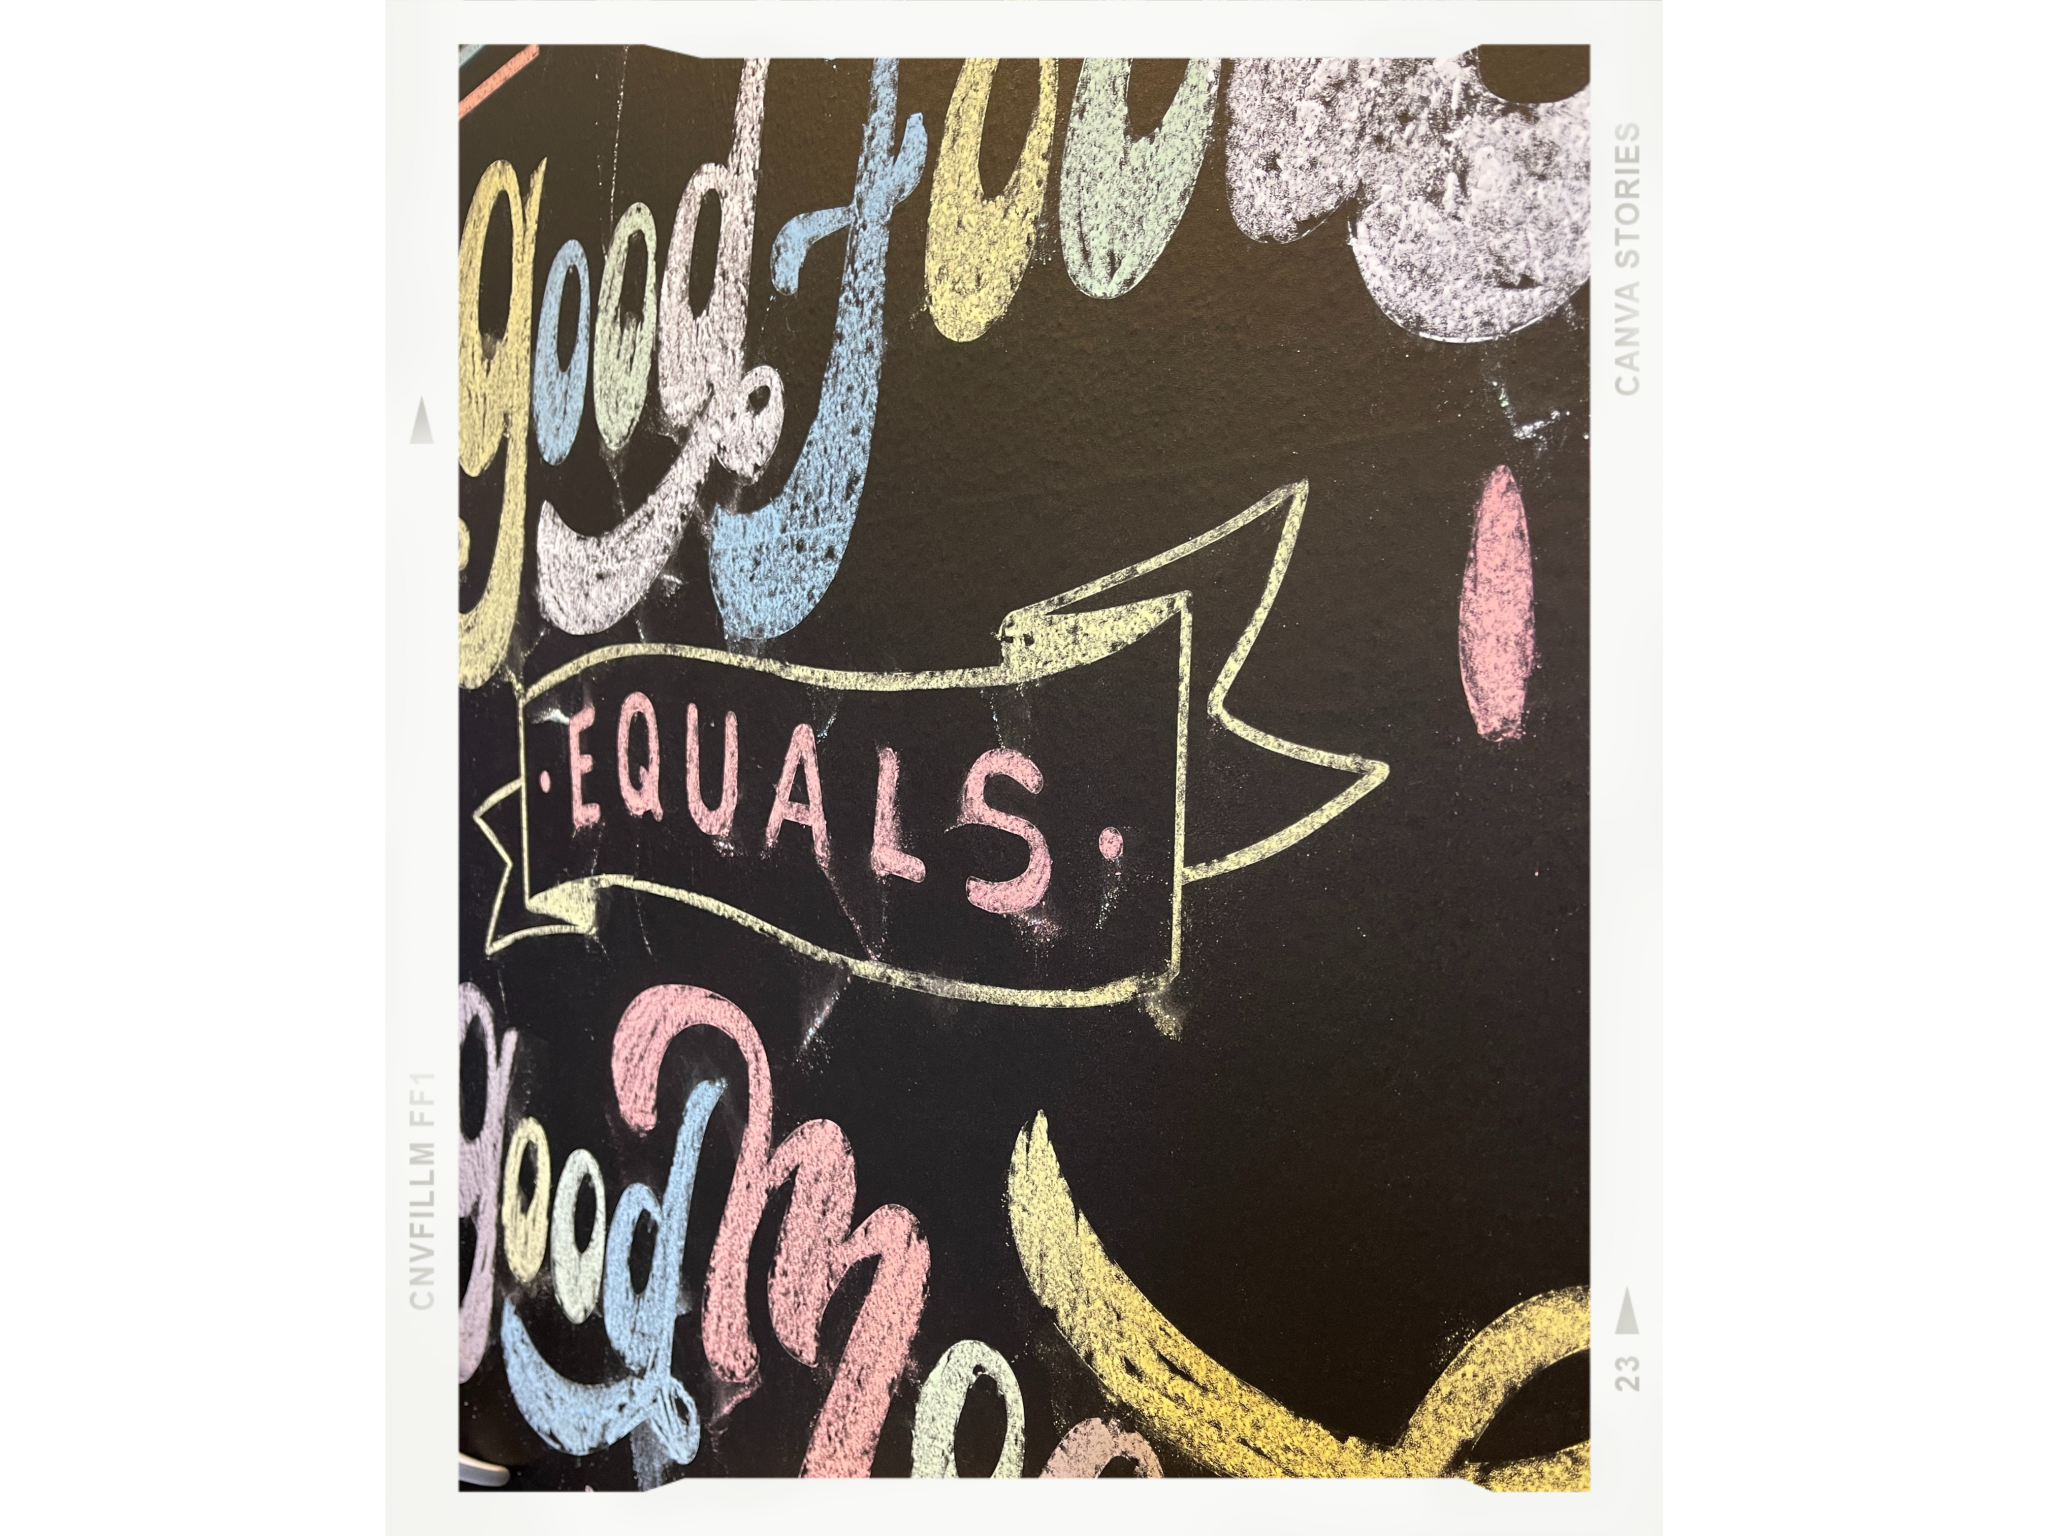
Now that you know just how straightforward and simple the whole process is, you can label and wrap anything you like – especially during the pandemic, when you might be feeling a bit cooped up. We’ve got the perfect range of self-adhesive films for you!
Have you seen our video on applying frosted glass film yet? Be sure to watch it here.
Our verdict on self-adhesive films/furniture films:
The biggest advantage of self-adhesive films is that they are incredibly cost-effective and easy to apply. There are no limits to your imagination.
Covering a kitchen with self-adhesive films is much cheaper than buying a completely new kitchen. You can decide for yourselves which colours to use, what size, how long, and so on. It’s your very own design, tailored to your personal preferences.
So: you don’t always have to buy something new – with our self-adhesive films, you can give your old things a complete makeover! It looks great and isn’t expensive at all!