Boat lettering using YOW! self-adhesive films
Boat lettering – It is important to use a water-resistant film for this tutorial. Of course, you can find this in our shop too!
Today’s post on our YOW! blog is all about lettering using our self-adhesive films. This time, however, we’re not talking about a vehicle but a boat. Many people wonder what the difference is between vehicle lettering and boat lettering. Apart from the size and the fact that there’s a lot of water involved, there isn’t much difference. However, the film you use is crucial. It’s obviously important to use a water-resistant, truly robust film for this project. And of course, we stock these in our shop!
Are you familiar with our wide range of self-adhesive films? We offer a wide variety of colours – whether matt or gloss – at great prices. From effect films and metallic films right through to double-sided adhesive film, our range is diverse and high-quality, yet unbeatably affordable!
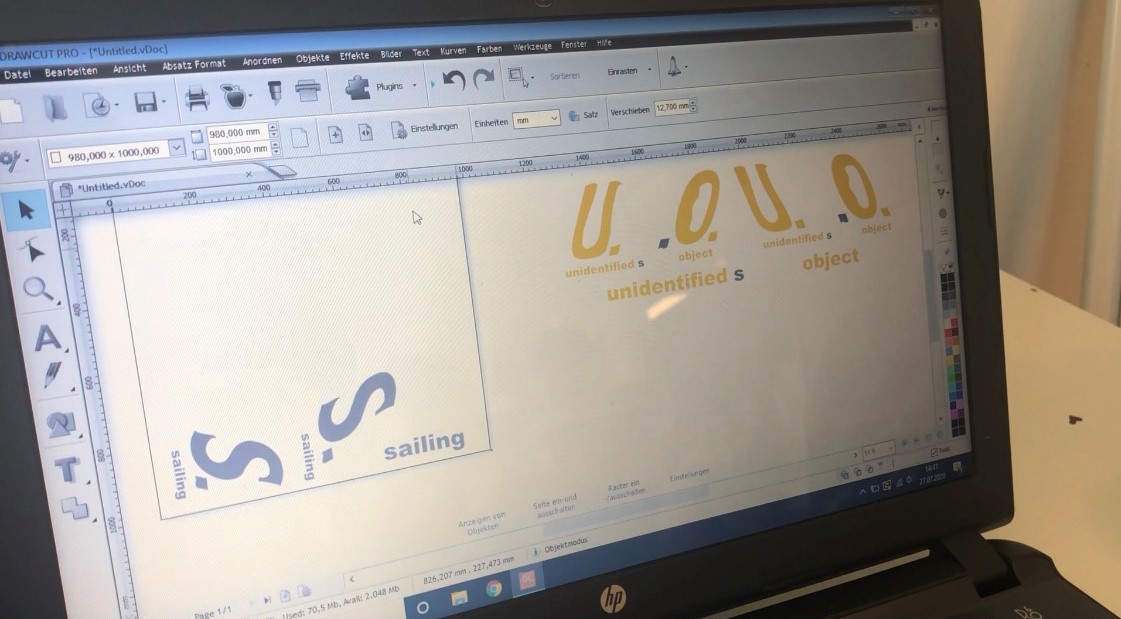
As always, let’s get started with plotting!
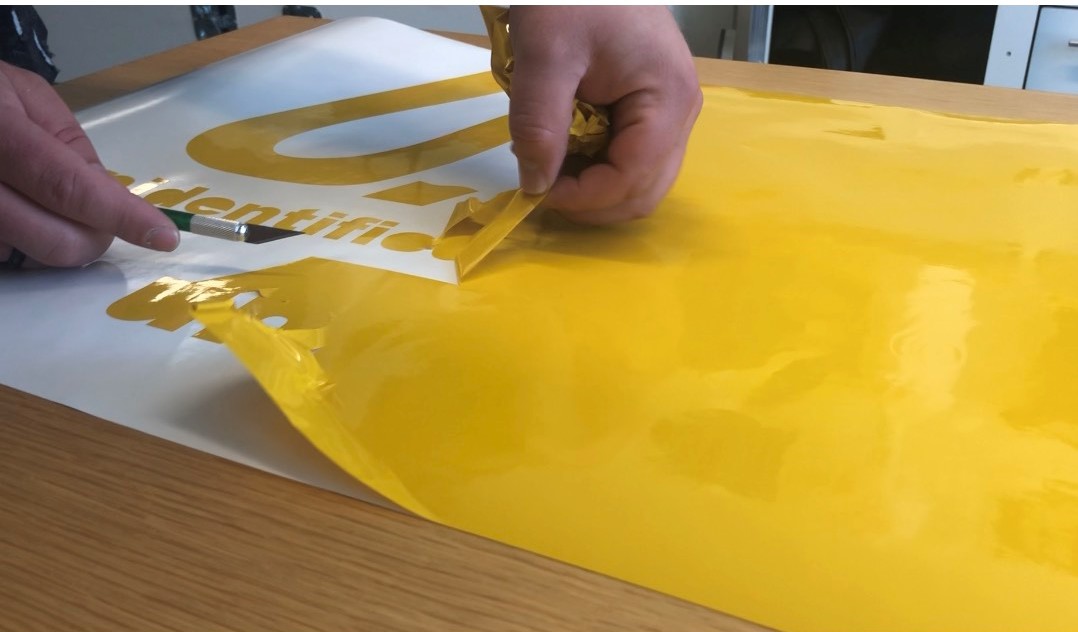
Create your chosen design and the correct size in DrawCut. There are various versions of this available. Just have a look here to see which one is right for you. Go ahead and stretch your chosen self-adhesive film onto the surface. Plot out your design and weed it using our weeding tweezers. Then cover the entire surface with transfer film. As usual, smooth it down firmly with the squeegee.
We’ve worked with two different colours here, but we prepared them together straight away to avoid unnecessary faffing about. Of course, it’s not at all easy to apply a sticker to a boat.
It works quite well if you use registration marks; that way, you can get everything onto a single plot.
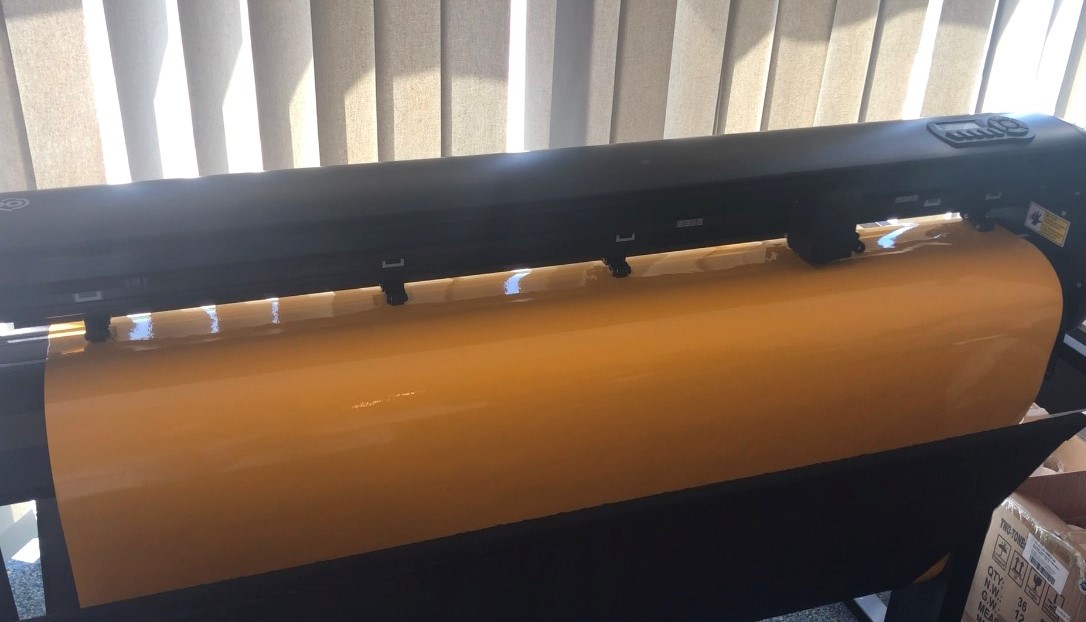
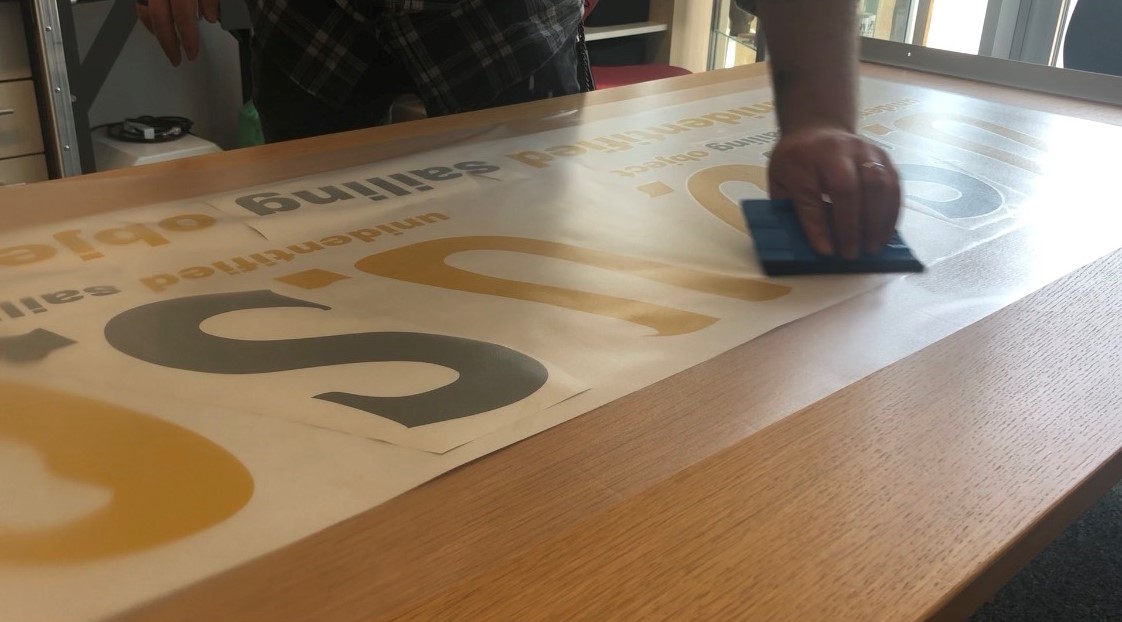
Now it’s time to stick it together!
Peel off the transfer film and then stick it onto the desired surface – in our example, onto the boat. For large-scale lettering, there are several options:
- Cut the lettering or design into several pieces and then stick them on one by one.
- Peel back one corner of the transfer film, stick it onto the surface and then peel off the white paper from the back (you may want to secure the entire plot with masking tape beforehand so that it cannot slip whilst you are peeling it off). A more detailed explanation of this process can be found in the blog article ‘Vehicle Lettering’.
Once you have chosen one of these options and carried it out, the transfer film can be peeled off the boat, leaving only the lettering stuck to the boat. Before doing so, run the squeegee firmly over it once more, taking care. The letters should remain stuck to the surface.
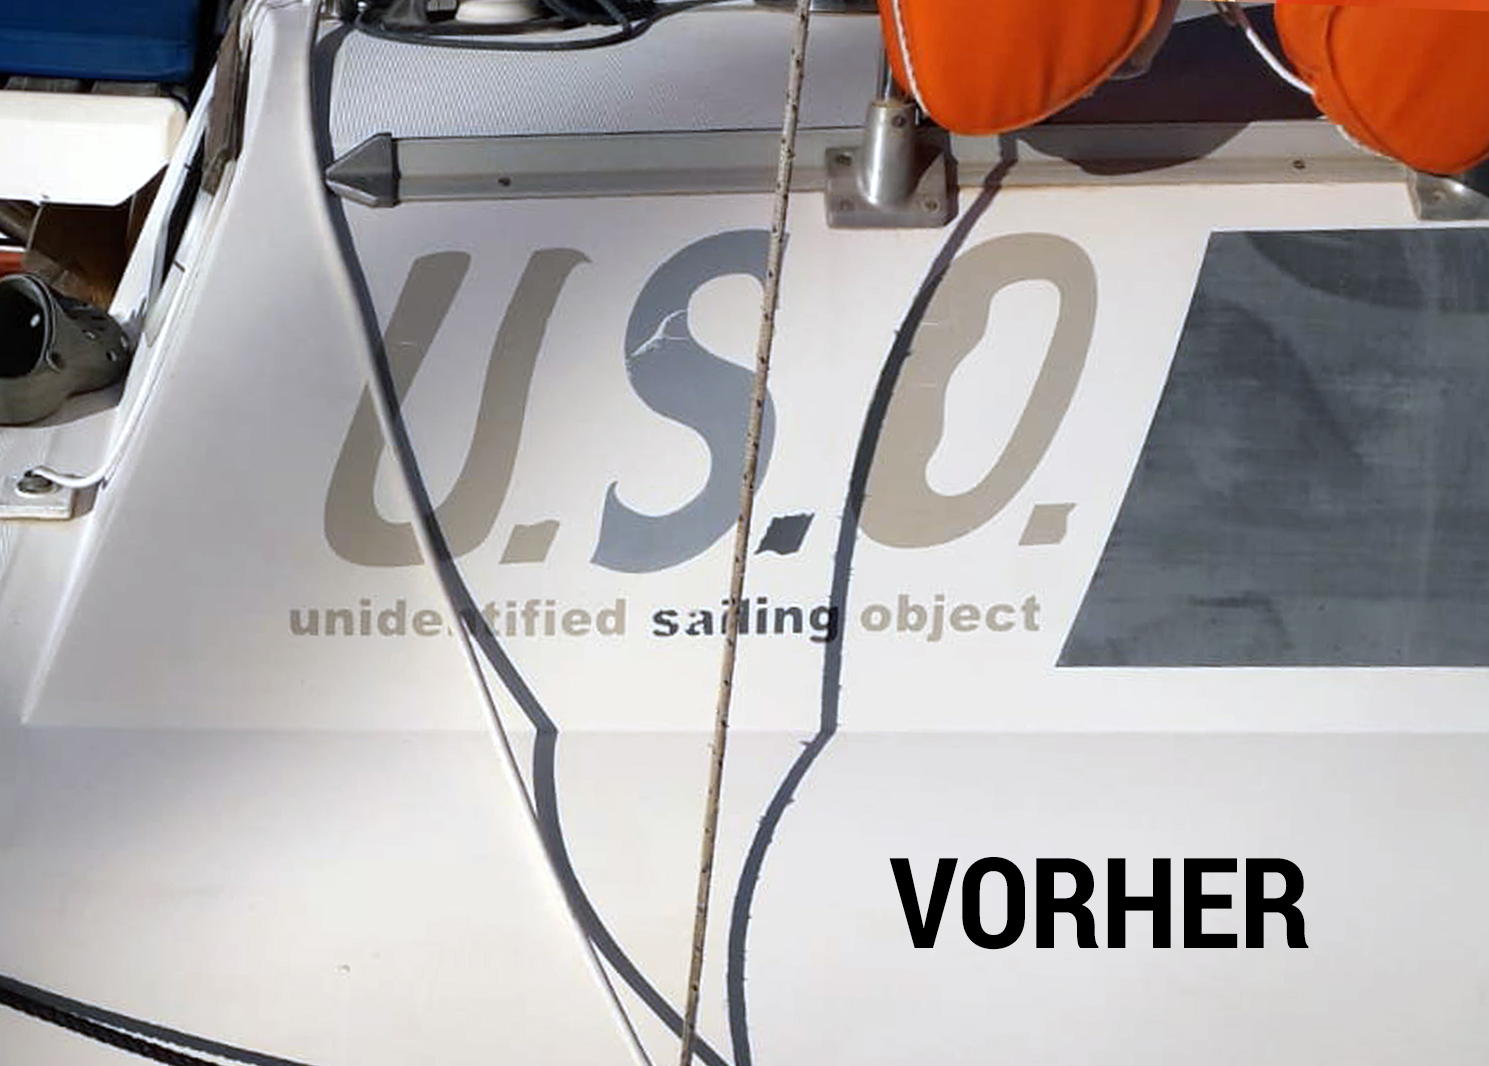
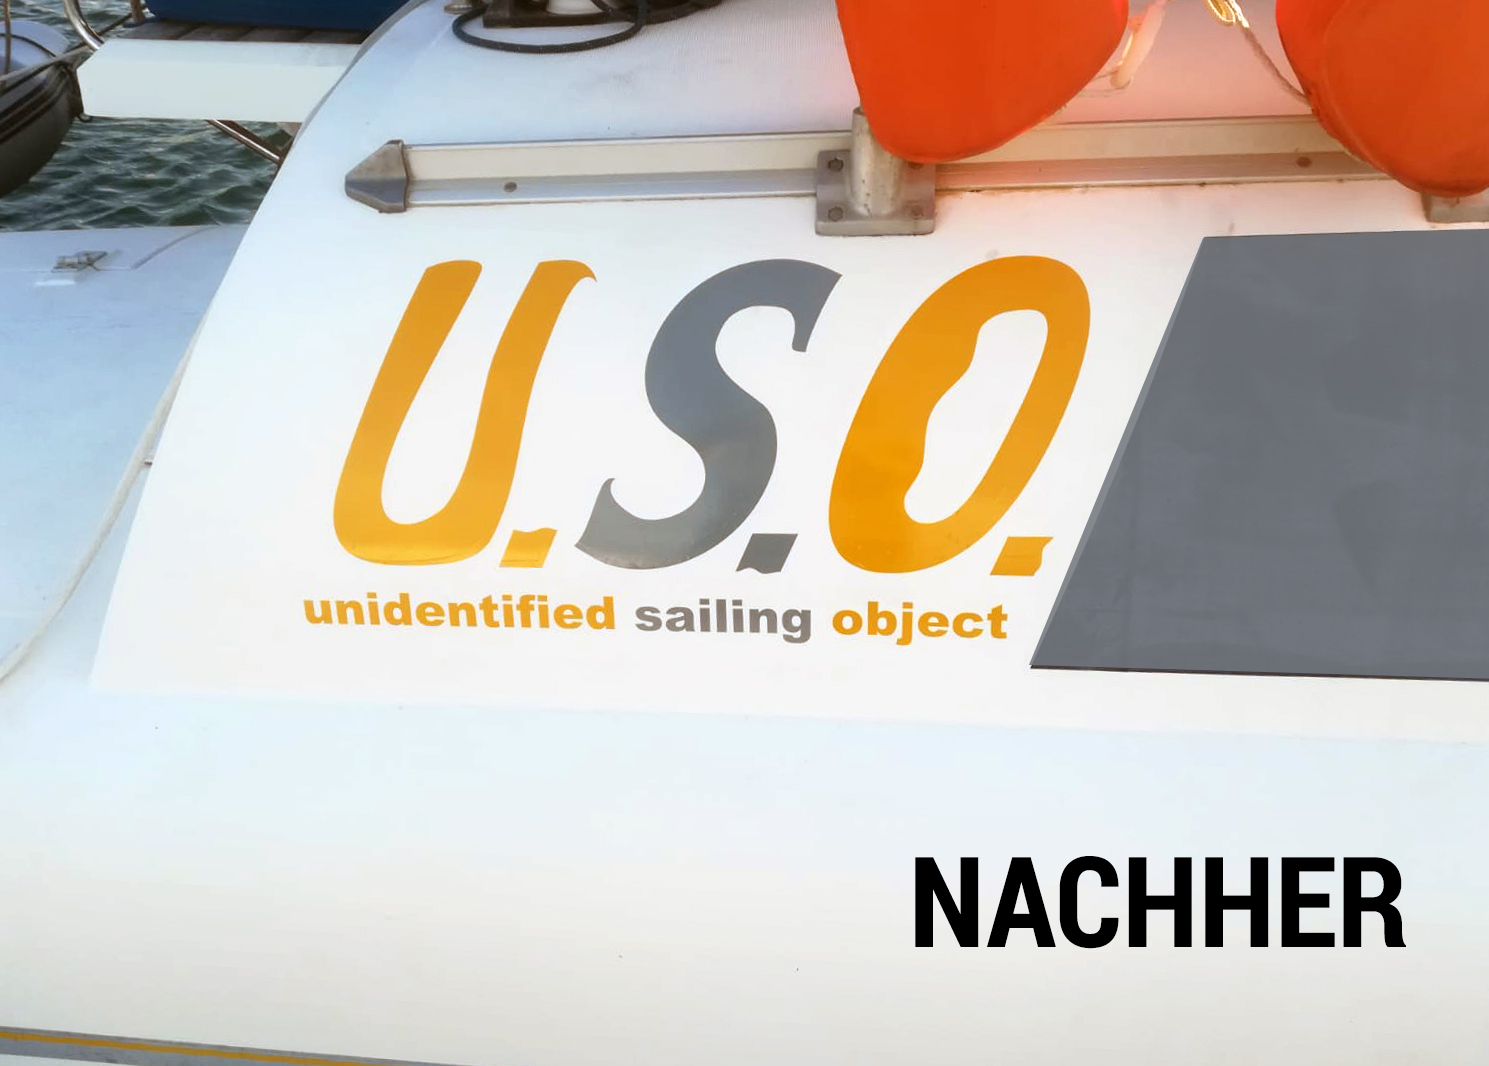
We think that’s a brilliant result, so let’s set sail and AHOI!