Christmas is just round the corner – send a personal greeting with a creative card
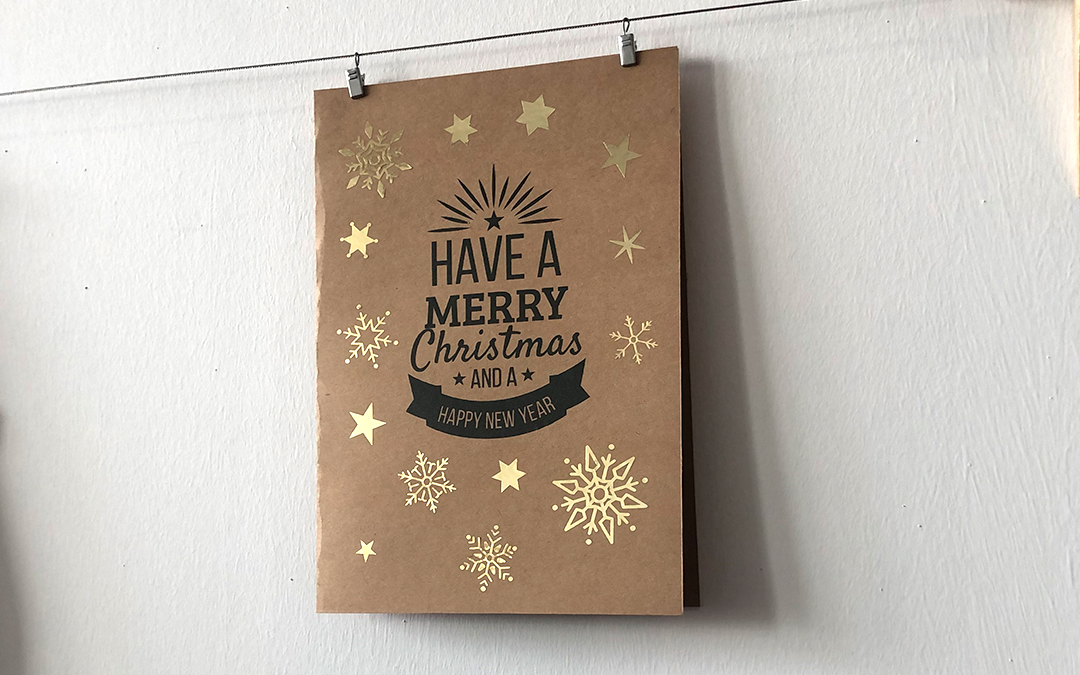
How can you make your own creative Christmas card?
Every year, we ask ourselves the same question. How can we bring joy to our loved ones at Christmas? Instead of just buying any old cards, wouldn’t it be a nicer surprise for friends and family if you took the trouble to make something creative yourself? There are no limits to your creativity here.
Follow the steps below to easily make your own Christmas card.
You will need:
– Cardboard or thicker paper in a colour of your choice
– Gold adhesive film, e.g. Ritrama chrome gold
– Adhesive film in anthracite, e.g. Ritrama O400 pro glossy anthracite
– Small squeegee
–Scissors
–Craft knife
– Cutting plotter, e.g.Secabo C30IV
–Weeding pen
Step 1:
Think of a suitable design, such as snowflakes, snowmen and some matching lettering. If you’re using aSecabo cutting plotter, you can customise these designs to your liking using the included DrawCut software, or import them into DrawCut from popular graphics programmes. Once you’re happy with your design, double-check the cutting settings before starting the plotting process. The plotter will now work entirely on its own, precisely cutting out even the smallest and most intricate designs, such as stars or snowflakes.
Step 2:
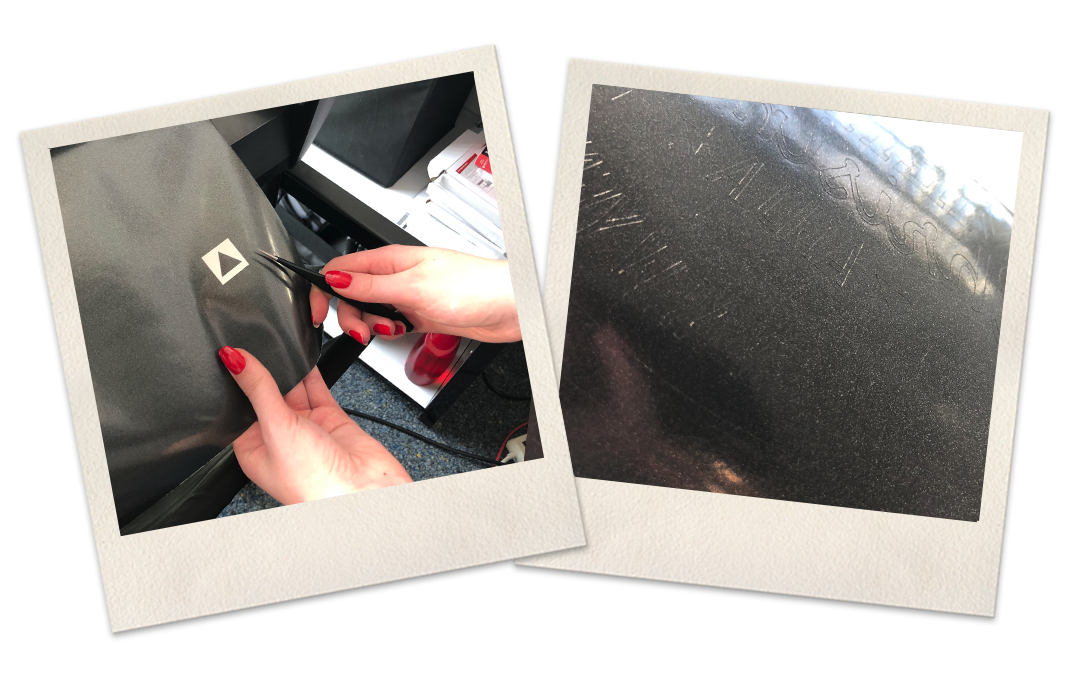
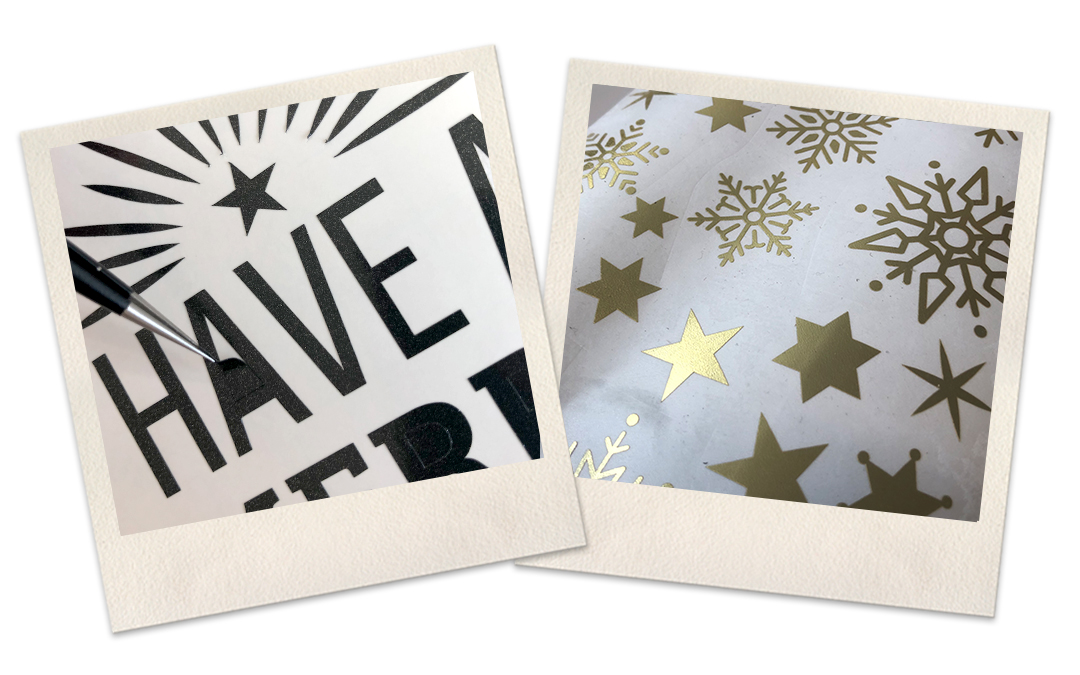
Once the plotter has finished cutting, the designs are weeded. Remove the excess film usingfilm tweezersor aweeding pen so as not to damage the actual plot. What you need to bear in mind: Self-adhesive film is not as easy to weed as flock or flex film. You must proceed very carefully and slowly to ensure that letters or small designs actually stick. So please be patient and do not apply too much force.
Step 3:
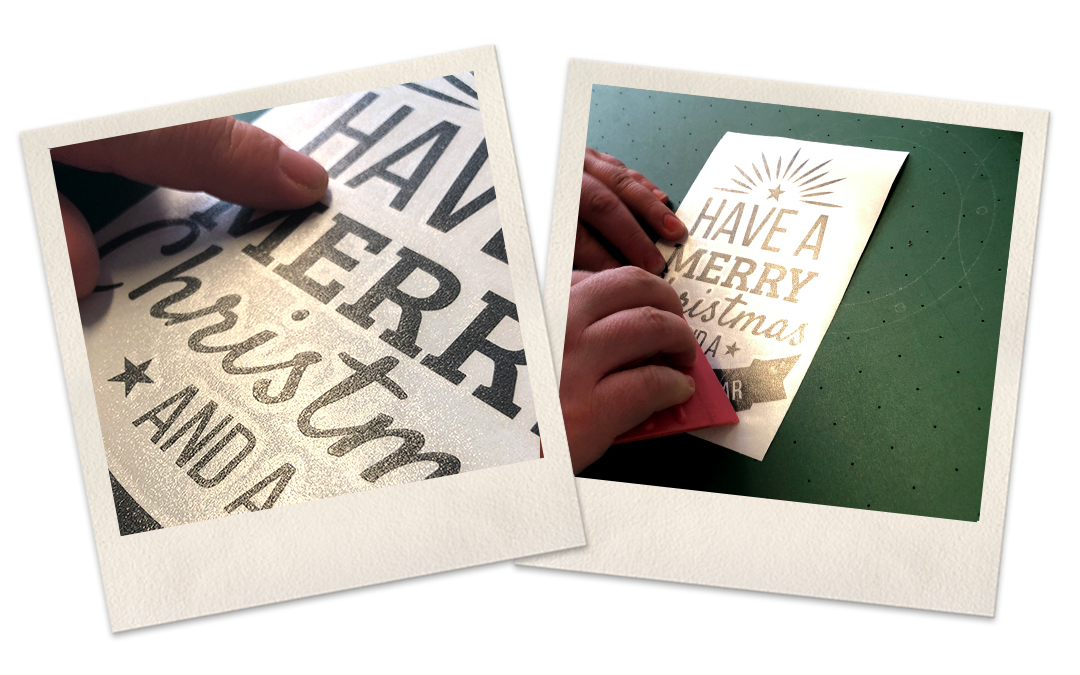
Once you have weeded your design, you can stick the transfer film onto the weeded self-adhesive film. Our tip: Place your designs on a table and first stick the transfer film in the centre of the design film (centre to centre). Only then should you stick the outer edges together. This will help you avoid bubbles.
Step 4:
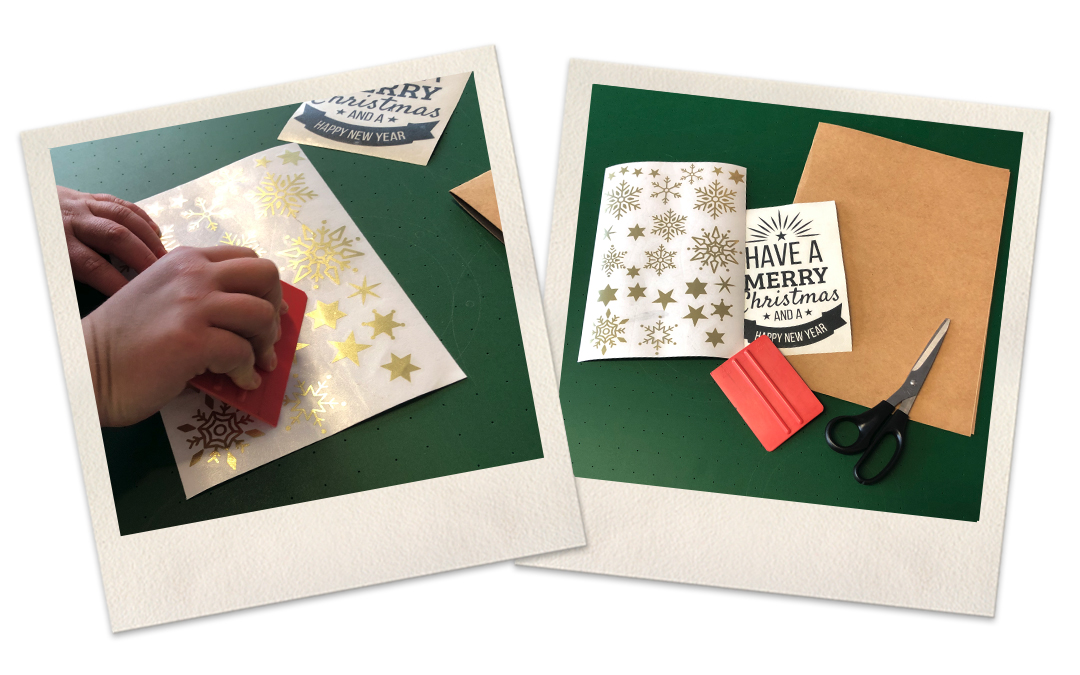
Use a squeegee to remove any remaining air and ensure the film adheres properly. Run the squeegee from the centre outwards. Make sure you cover all areas.
Step 5:
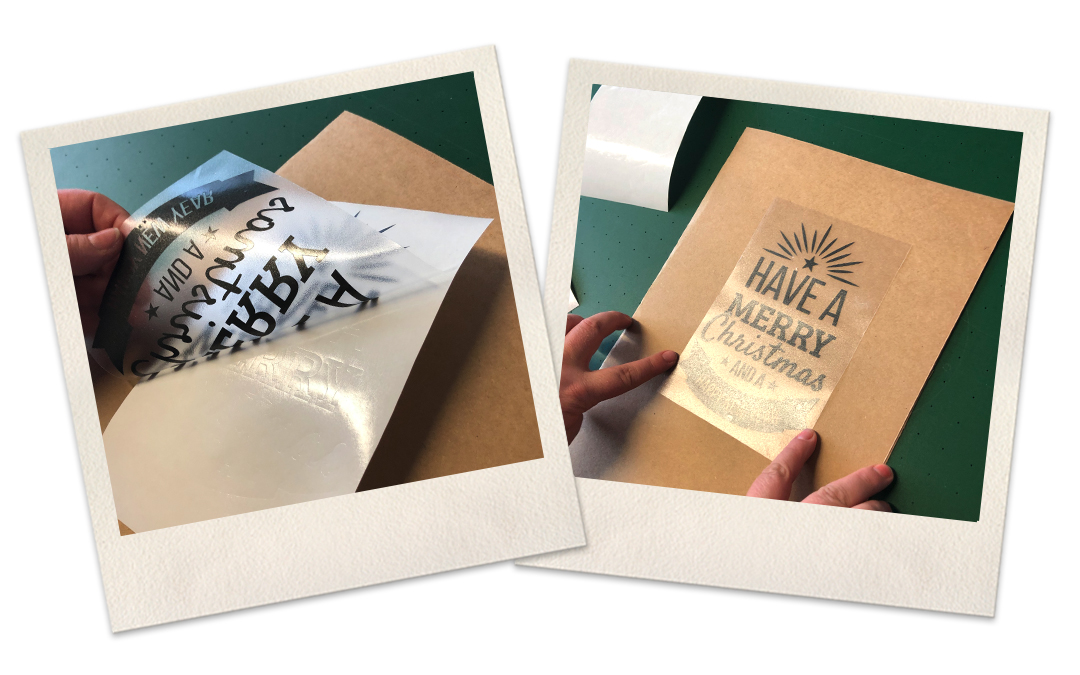
You can now peel off the transfer film and stick it onto a coloured sheet of your choice. You’ll need a squeegee again. Press down firmly so that the designs stick properly to the card.
Step 6:
You can now peel off the transfer film. The same rule applies here: take your time and be patient. If any letters or other designs do not stick, you should use the squeegee again. Important tip: If you notice that individual designs are coming off, continue peeling from the opposite side. Your homemade Christmas card is now ready.
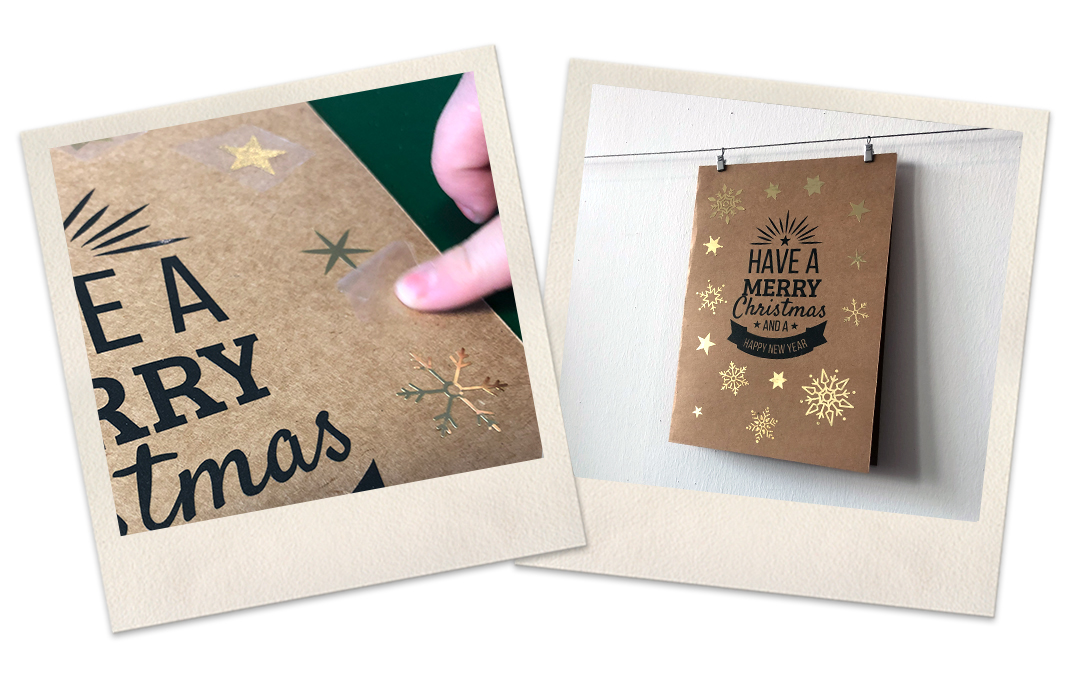
With this Christmas card, we’ve shown you just one way in which you can create professional-looking decorations yourself using a cutting plotter and adhesive film. Of course, the possibilities go far beyond this, ranging from intricate window designs such as snowflakes to Christmas tree baubles.
The YOW! team hopes you enjoy your crafting and wishes you a Merry Christmas.
For further information and advice, please contact us on +49 (0) 8442 95840-40 or emailmail@y-o-w.com
You can find the latest news and interesting articles here: ONLINE-YOW-NEWS-Dec19