Toner transfer printing made easy
Have you ever heard of toner transfer printing? We’ll explain the steps and materials needed to achieve a successful print result.
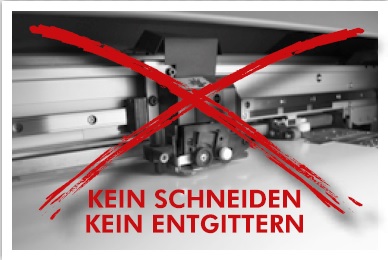
Have you ever heard of ‘toner transfer printing’? Whilst it may sound a bit daunting at first, it is essentially a quick and easy way to get creative and apply personalised print designs to a wide variety of materials – without the need for cutting or weeding. Toner transfer printing is particularly popular for textiles, as when done correctly it is not only wash-resistant but also feels pleasant to the touch.
We’ve taken a closer look at this practical and affordable method of toner transfer printing and found out which steps and materials are needed to achieve a long-lasting print result:
- Transfer paper
There is an ideal transfer paper for every material and every colour. When the correct paper is used, the feel of the textiles is particularly good, as only the toner – and not the coating – is transferred onto the fabric. The best-known toner transfer films are the 2-sheet systemsFOREVER Flex-Soft (no cut) for single-colour printing and FOREVER Laser-Dark (no cut) for multi-colour printing.
- Laser printers
You can’t go far wrong here. A basic laser printer can be found in any well-stocked household. If you’d also like to take advantage of the trendy white printing feature, the Ghost White Toner printing system is the answer.
- Transfer press
As a general rule, you should use a heat press set to a high temperature when printing on textiles. If the temperature is too low, the result may be of poor quality and the ink may gradually fade from the fabric with every wash.
It turns out that only a few materials are required for a successful toner transfer – a factor that makes the process not only simple but also cost-effective. Apart from the initial purchase of the equipment, the ongoing costs are limited to the transfer film and the printer toner.
Toner transfer – here’s how it works!
Once you’ve got all the necessary items to hand, you’re ready to start printing.
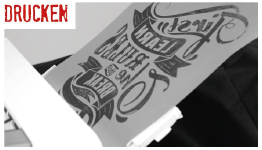
1. Simply print in mirror image onto thecoloured or transparent A-Foil.
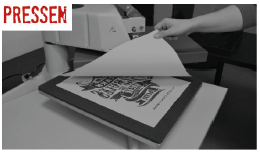
2. Press the A-Foil together with the opaqueB-Paper.
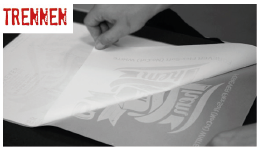
3. Separate the two sheets whilst they are still hot. The B-Paper now provides greater white coverage on the image, which not only increases the opacity of the transfer on dark fabrics but also helps to ensure it is wash-fast. The design has been completely weeded and is ready for transfer.
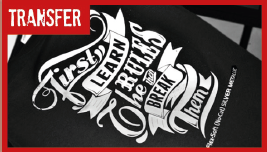
4. Press the design onto the chosen fabric using the transfer press. Leave it to cool, peel off the film – and your finished product is ready!
What makes this system special is that you do not transfer any background onto the fabric. The print is only transferred to the areas where there is toner. This gives you a very pleasant feel with a screen-print-like finish, only much quicker and more effectively.
You’ll find all the materials you need in our online shop.
> FOREVER Flex-Soft (no-cut)
> FOREVER Laser-Dark (no-cut)
> FOREVER Laser-Dark B-Paper
> FOREVER Antistick matt finish