Spice up your party decorations: Make your own garland
So if you’re looking for inspiration for your event or party decorations, this is exactly the right blog post for you. If you fancy making your own garland to jazz up the decorations at your events, let’s get started!
Hello, dear YOW! friends,
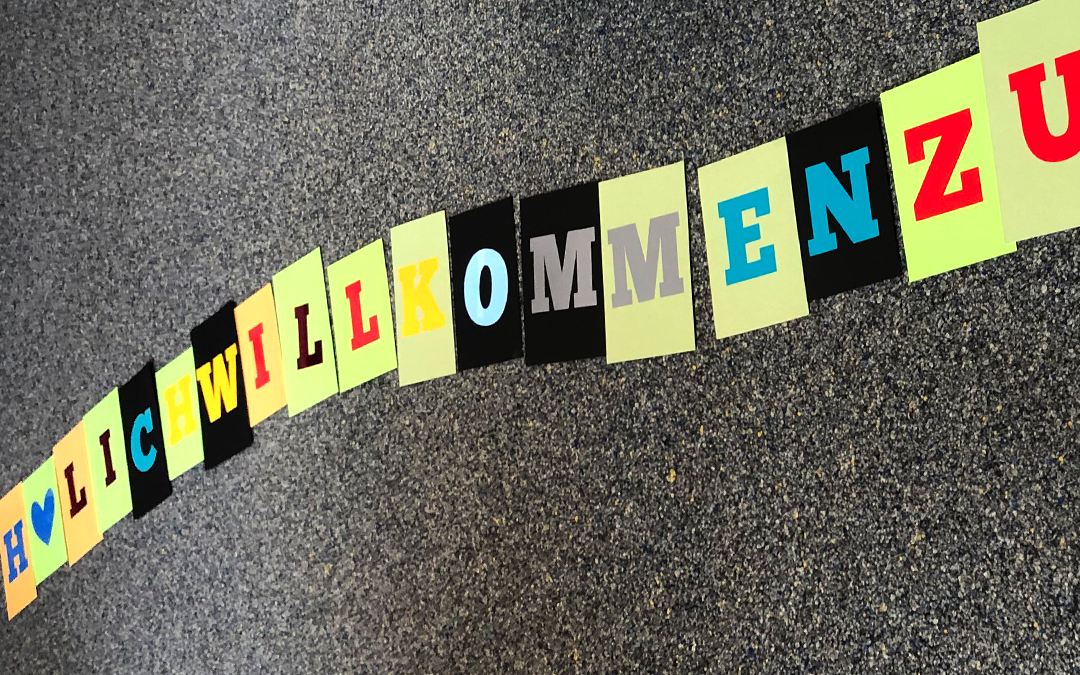
As some of you may have noticed, a dear colleague of ours had to take a temporary leave of absence in September for health reasons, until he returned recently – which, of course, we were delighted about. As a ‘welcome back’ gesture, we prepared a little surprise for him: a garland bearing the words ‘Welcome back’. We made this using card and our self-adhesive films. So, if you’re looking for inspiration for your event or party decorations, this is exactly the right blog post for you. So if you fancy making your own garland to spice up the decorations at your events, let’s get started!
Look for cardboard, paper or other materials that can be stuck to!
Choose a suitable base, such as card, paper, etc. We’ve kept our card in the classic DIN A5 format.
Of course, you also have the option of cutting out your very own custom shape using our flatbed cutting plotters – we’ve included a lovely example of this for you here too.
Create letters!
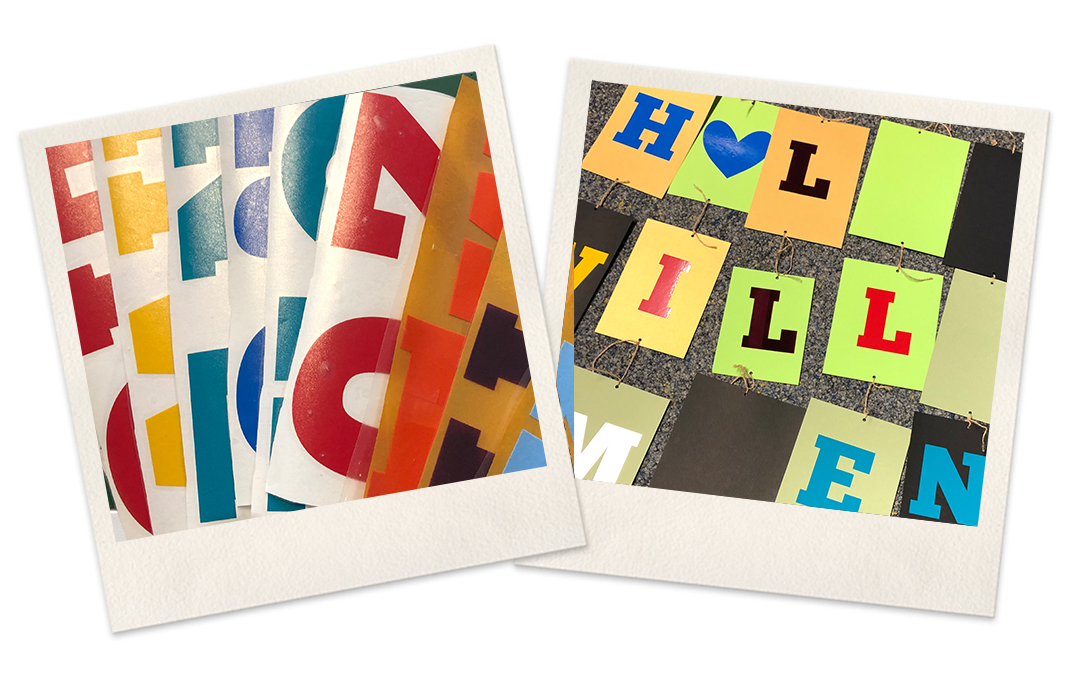
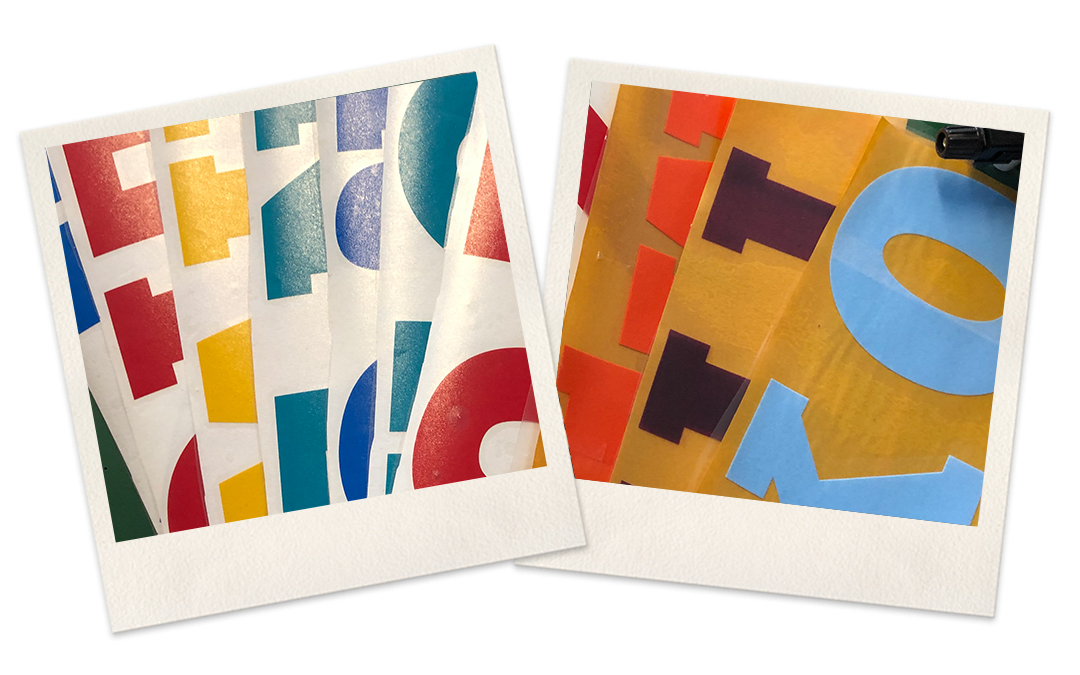
Create your desired letters using suitable software, such as Illustrator. You can then import them into one of our DrawCut programmes, or design the graphics directly in DrawCut. Choose from a range of different self-adhesive films for a more colourful look. We also have a wide selection of these in our shop at affordable prices – do have a look!
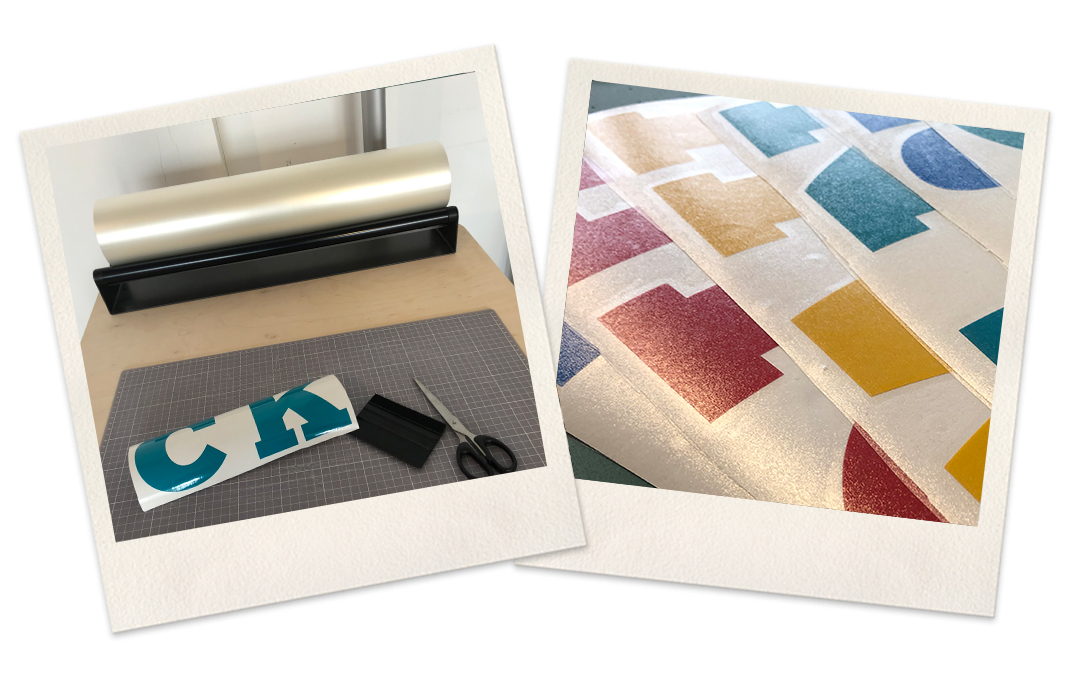
Transfer film is being used!
Once you’ve plotted out the individual letters, you can cover them with the transfer film. The sticky side should be pressed onto the card, i.e. facing downwards. Run the squeegee firmly over the top so that both films stick together and there are no more air bubbles visible.
The final step!
Now you can stick the transfer film onto a piece of card and then carefully peel it off. The letter in question will then remain stuck to the card.
We repeat this process for the other letters as well.
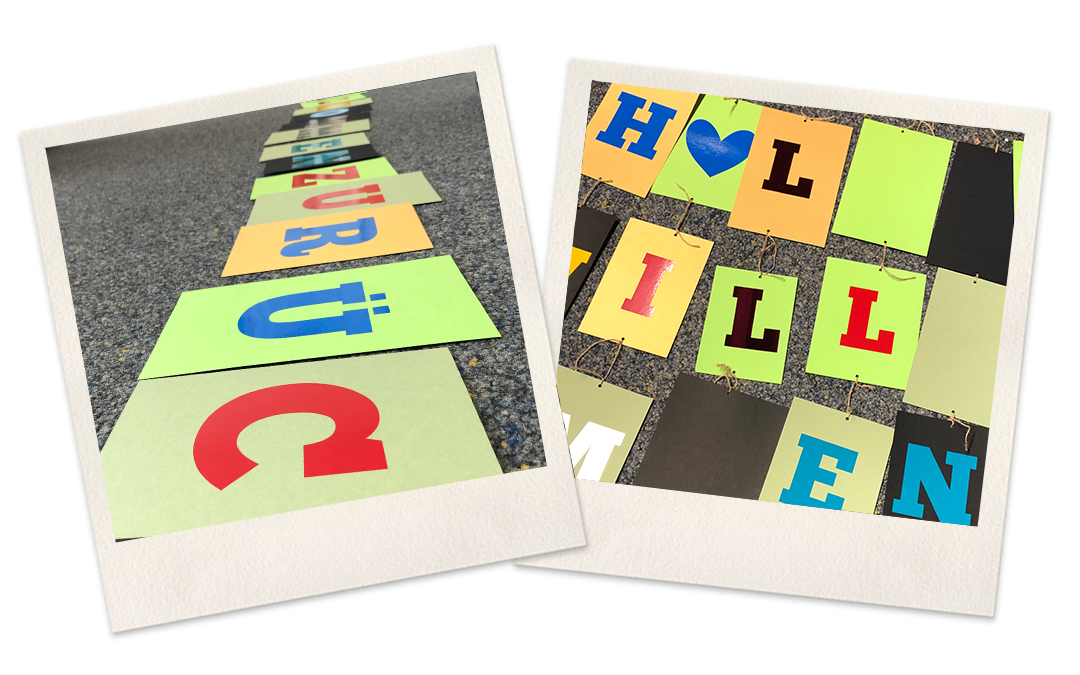
Once you’ve finished, you can hang up the pieces of paper using some string. It’s entirely up to you where and how you arrange them. Hang the whole thing from the ceiling and it’s sure to look absolutely massive.
Have fun with your very own garland!
By the way: if you’ve always wanted to try out a cool idea using one of our products but never knew how to go about it, why not send us your suggestions for new blog posts! We’d be happy to explain how it’s done! Just send us a DM on Instagram. Or simply email your results to mail@y-o-w.com. We look forward to hearing from you and seeing your ideas!