Happy Halloween!
“It’s Halloween again!”
Here in Germany, too, the trend of celebrating Halloween has really taken off. We love a bit of a scare, and the children enjoy running through the town at night in fancy dress, shouting “Trick or treat!”.
The focus should be on having fun, and it’s not just about who has the spookiest costume – it’s also about who’s managed to collect the most sweets!
We at YOW! have, of course, come up with something for this. What could be better than a large fabric bag to collect all those treats?
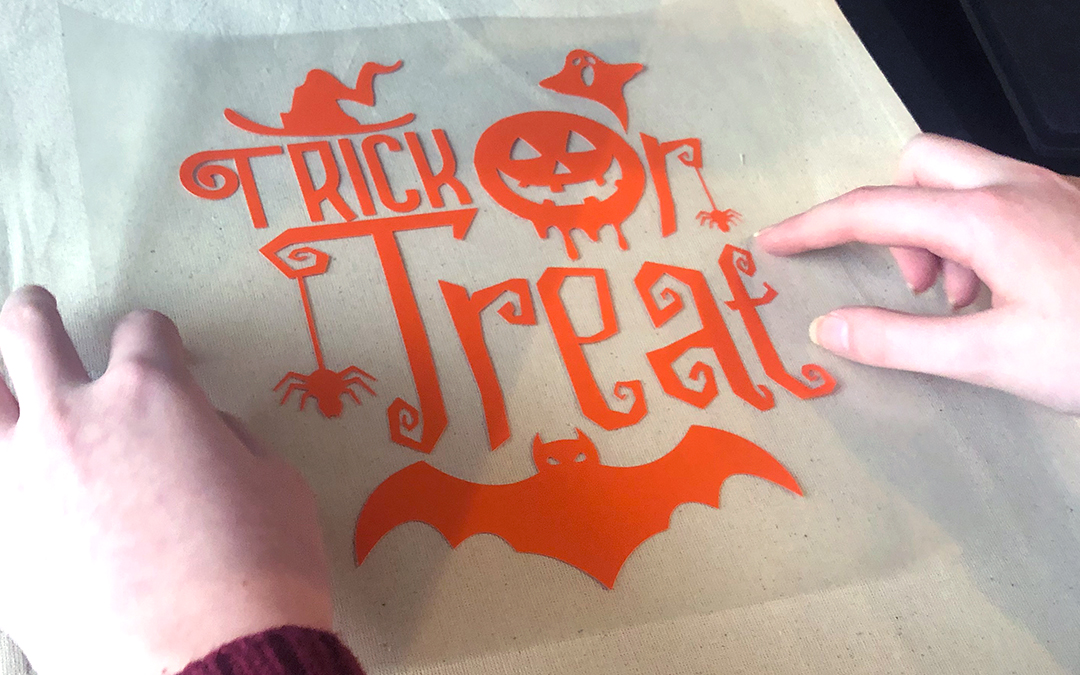
That’s right – a personalised ‘Trick or Treat’ fabric bag, so no one can take any of your sweets away.
Super-easy and quick to make, of course, with our creative technologies!
Trick or Treat – Design your own cotton bag – Here’s how
Materials
- Flex film, e.g. SEF FlexCut X4 neon orange
- Cutting plotter, e.g.Secabo C60 V
- Weeding aid, e.g.film tweezers
- Heat transfer press, e.g.Secabo TC5 SMART
- Simple cotton bag, available here
Step 1: Create a spooky design
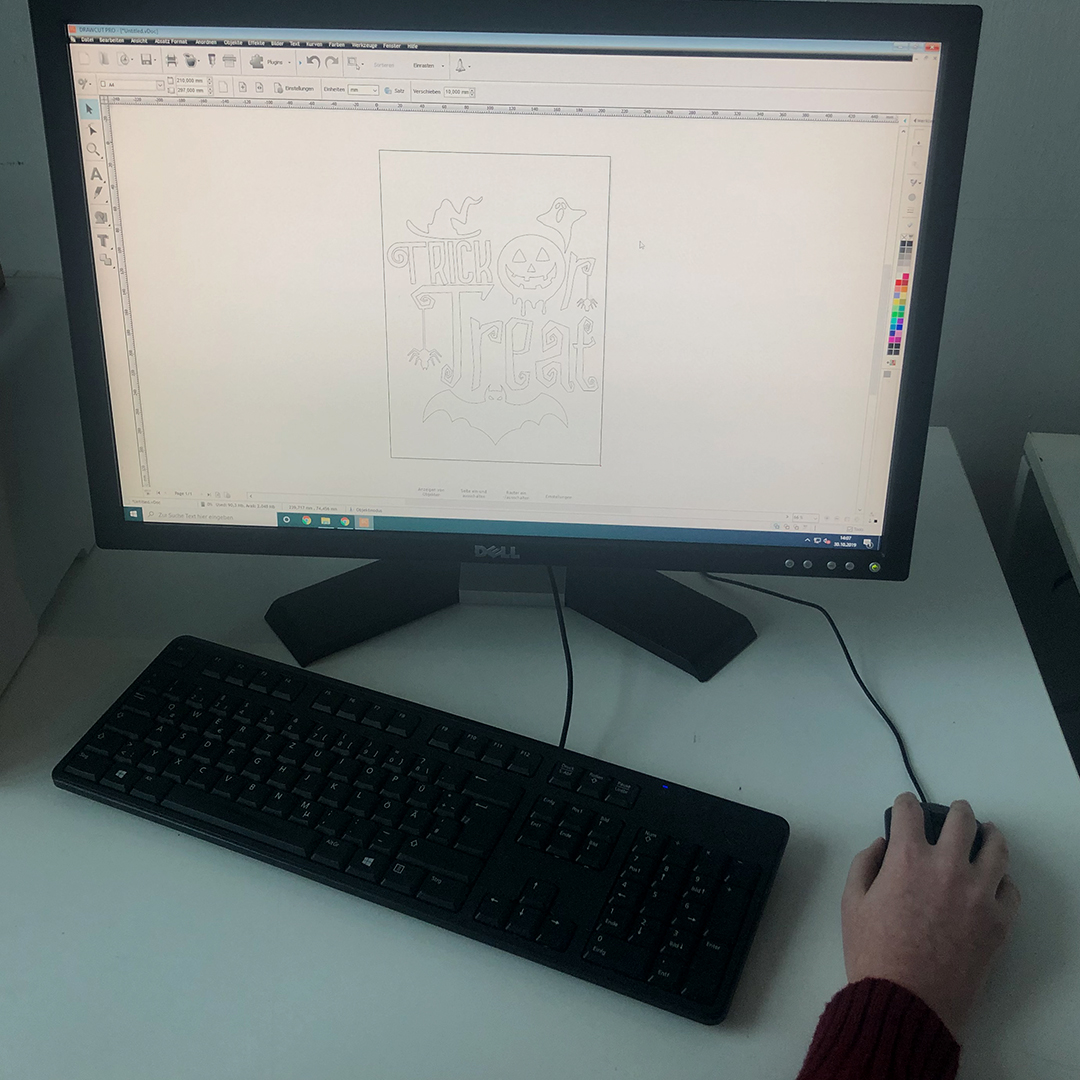
If you want to design a bag like this yourself, the first thing you need to do is find a suitable design. In this case, it was clear what we wanted: TRICK OR TREAT!
There are, of course, plenty of templates available online for this, or you could choose to design something yourself using specialist graphics software.
If you buy a cutting plotter from YOW!, the DrawCut cutting software is included as standard. This allows you to create your desired design directly on your PC. Don’t forget to mirror the design before plotting it from the flex foil.
Step 2: Plotting
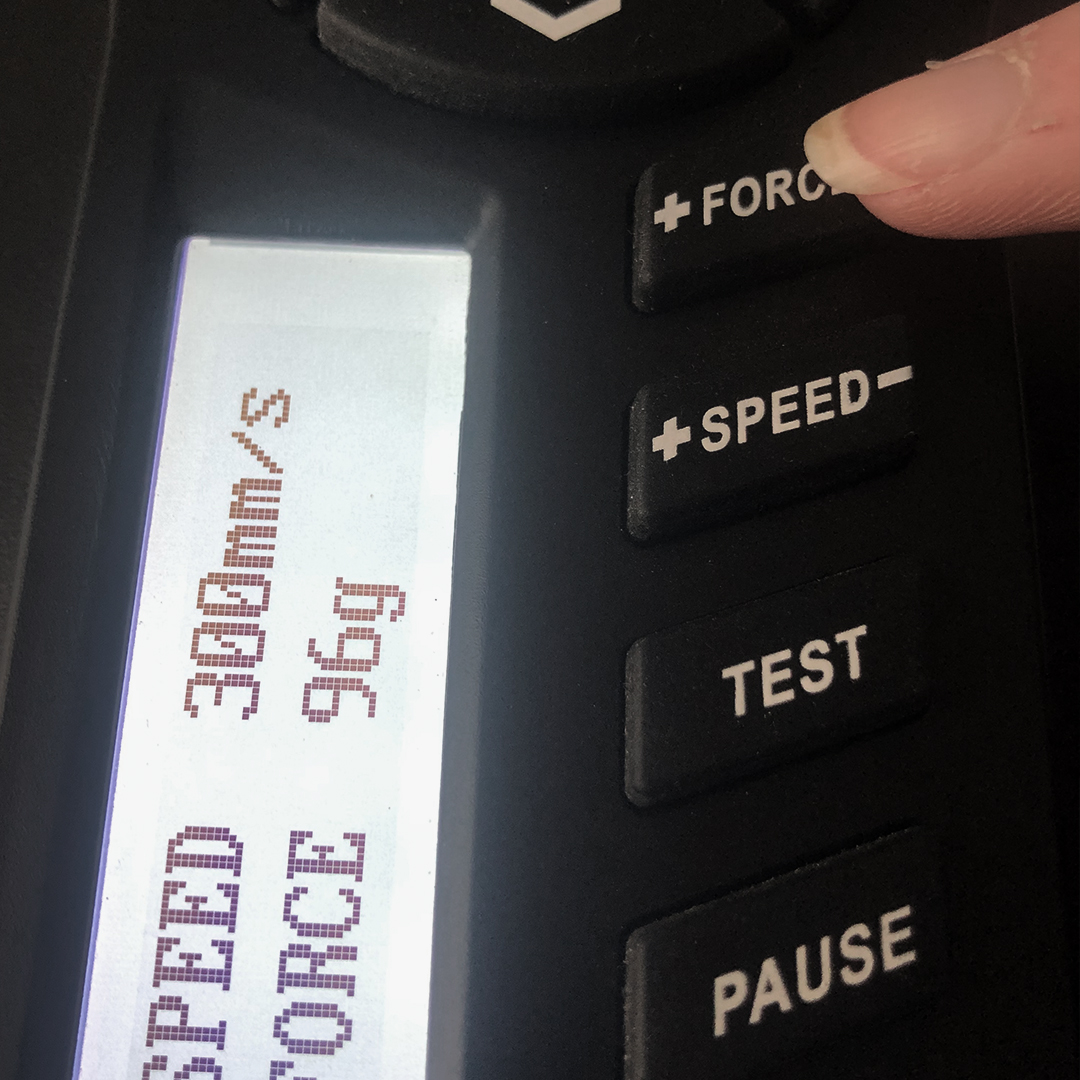
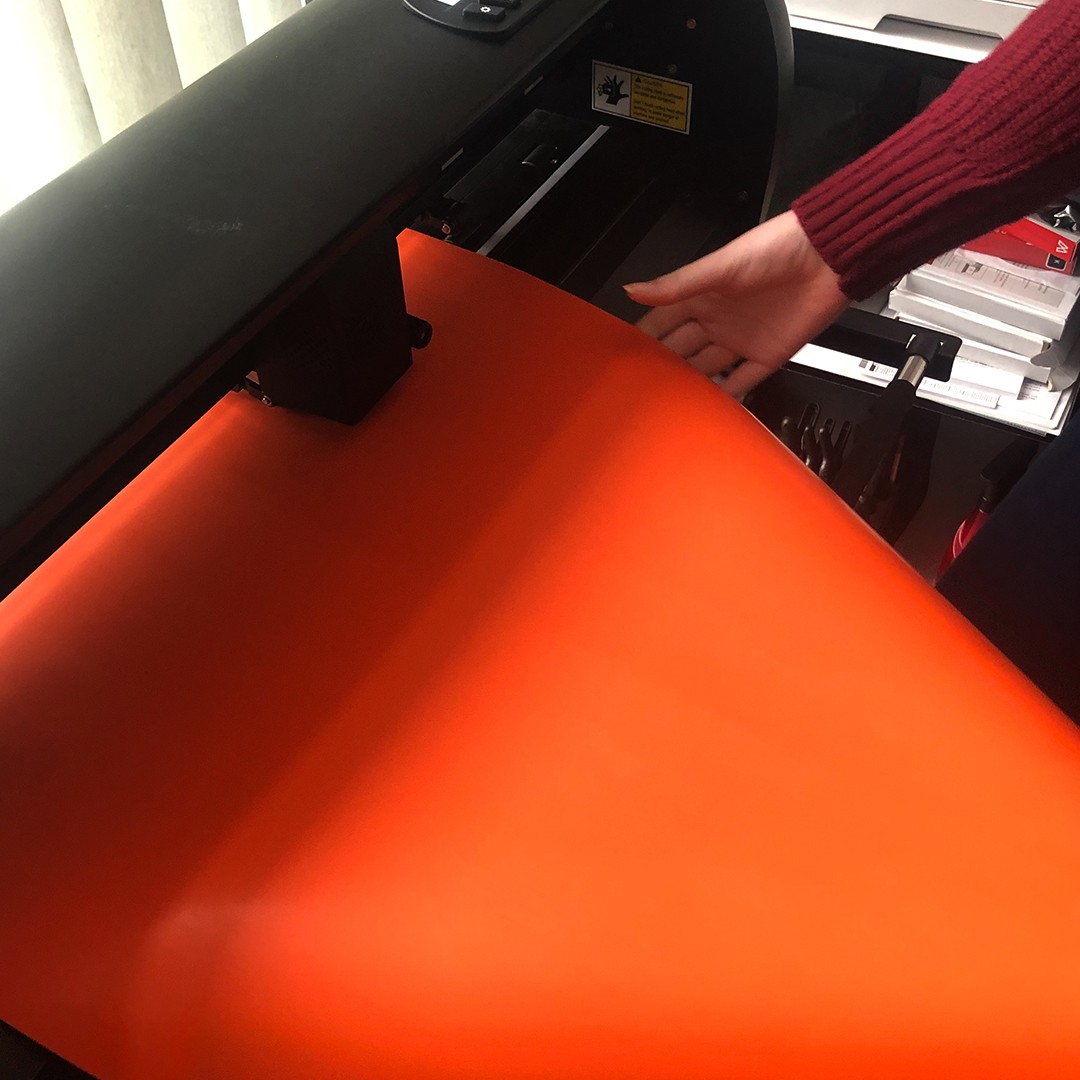
The next step is to transfer the chosen design onto a transfer film. Make sure that the backing material is facing downwards. The best way to check is simply to run your finger over it. You can then adjust your plotter’s cutting settings to suit the specific cutting job. You’ll find detailed information on cutting speed and pressure in your cutting plotter’s user manual. Now load your chosen design into the plotter and start the plotting process. The machine will then carry out the cutting process automatically.
Step 3: Weeding
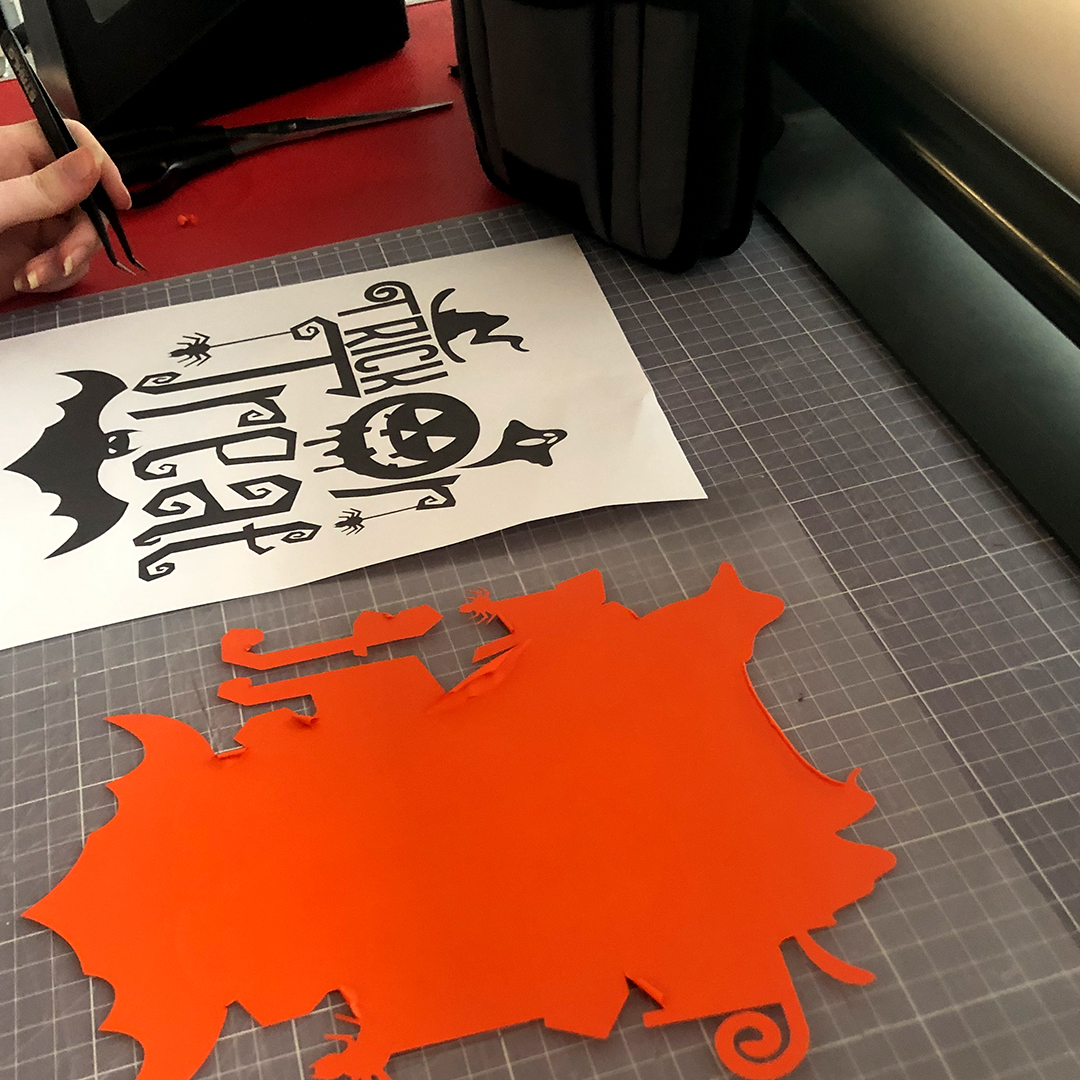
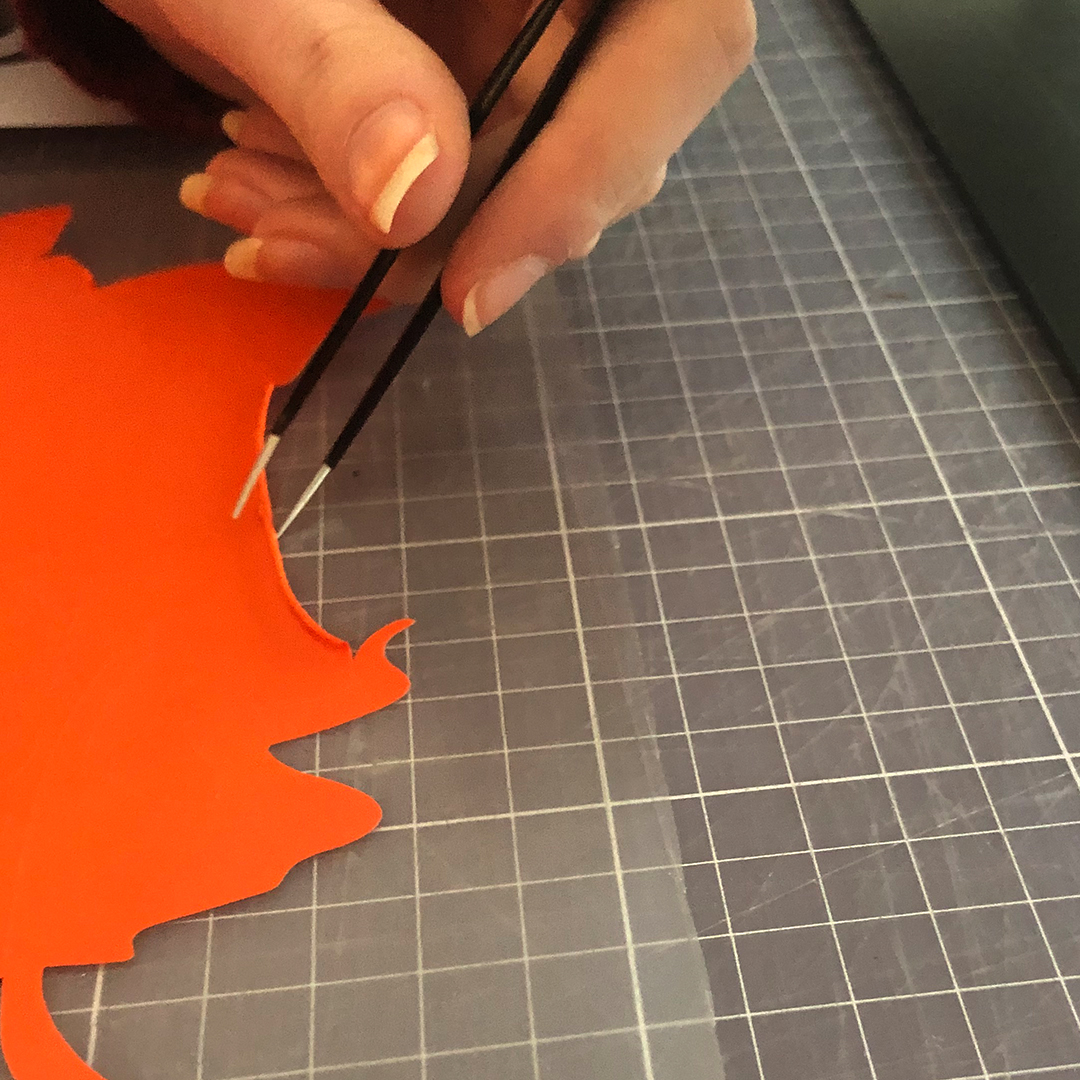
Once your plotter has finished cutting, it’s time to weed the design. It’s best to use a weeding tool for this, such astweezersor aweeder. Weeding hooks help you to neatly separate the excess film from the actual plot. Take particular care with intricate designs so as not to accidentally damage the motif.
Step 4: Printing on a cotton bag
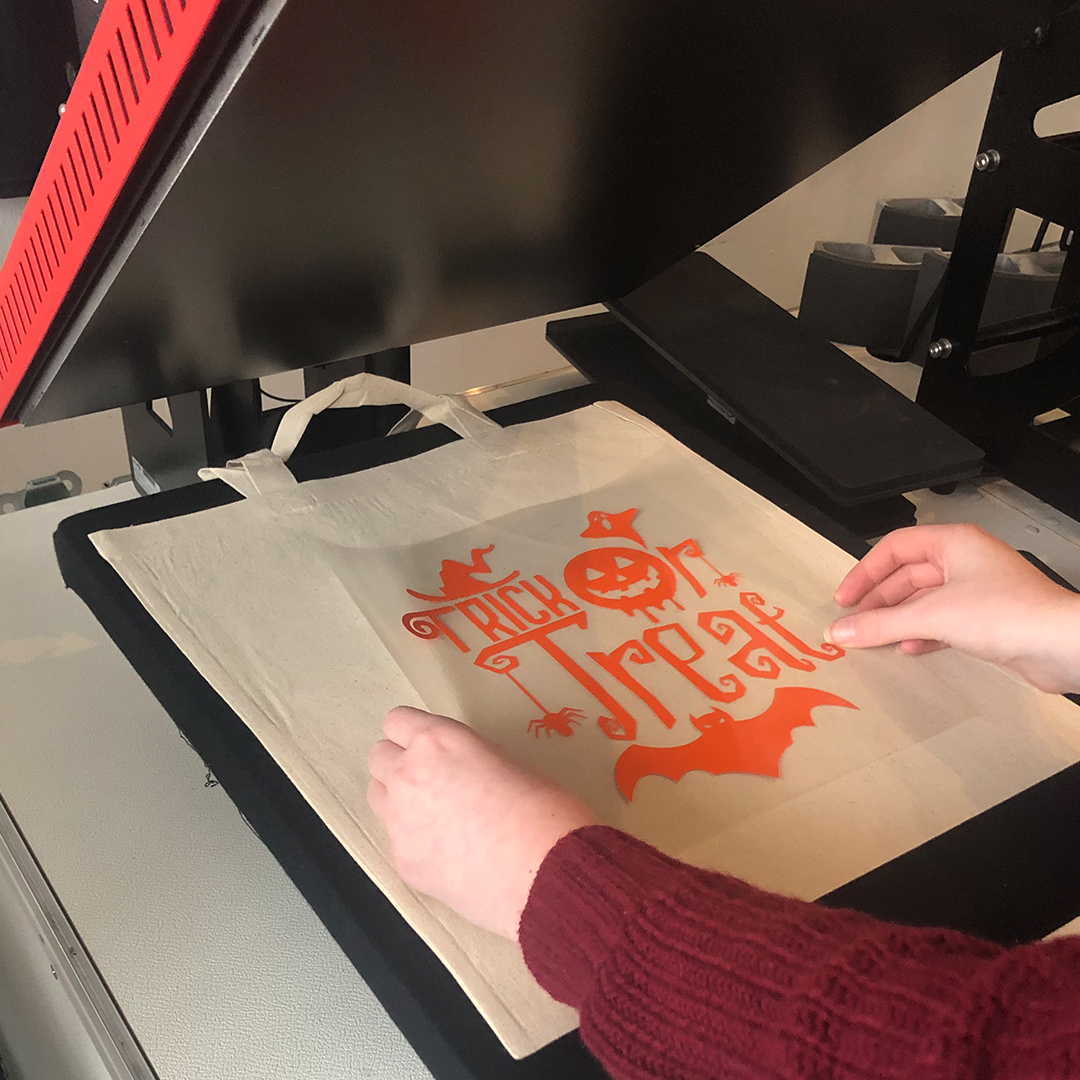
The weeded design is now transferred onto the cotton bag using a heat transfer press. To do this, place the film with the adhesive side facing down onto the bag, in the spot where you want the design to appear. Then place both into the press.
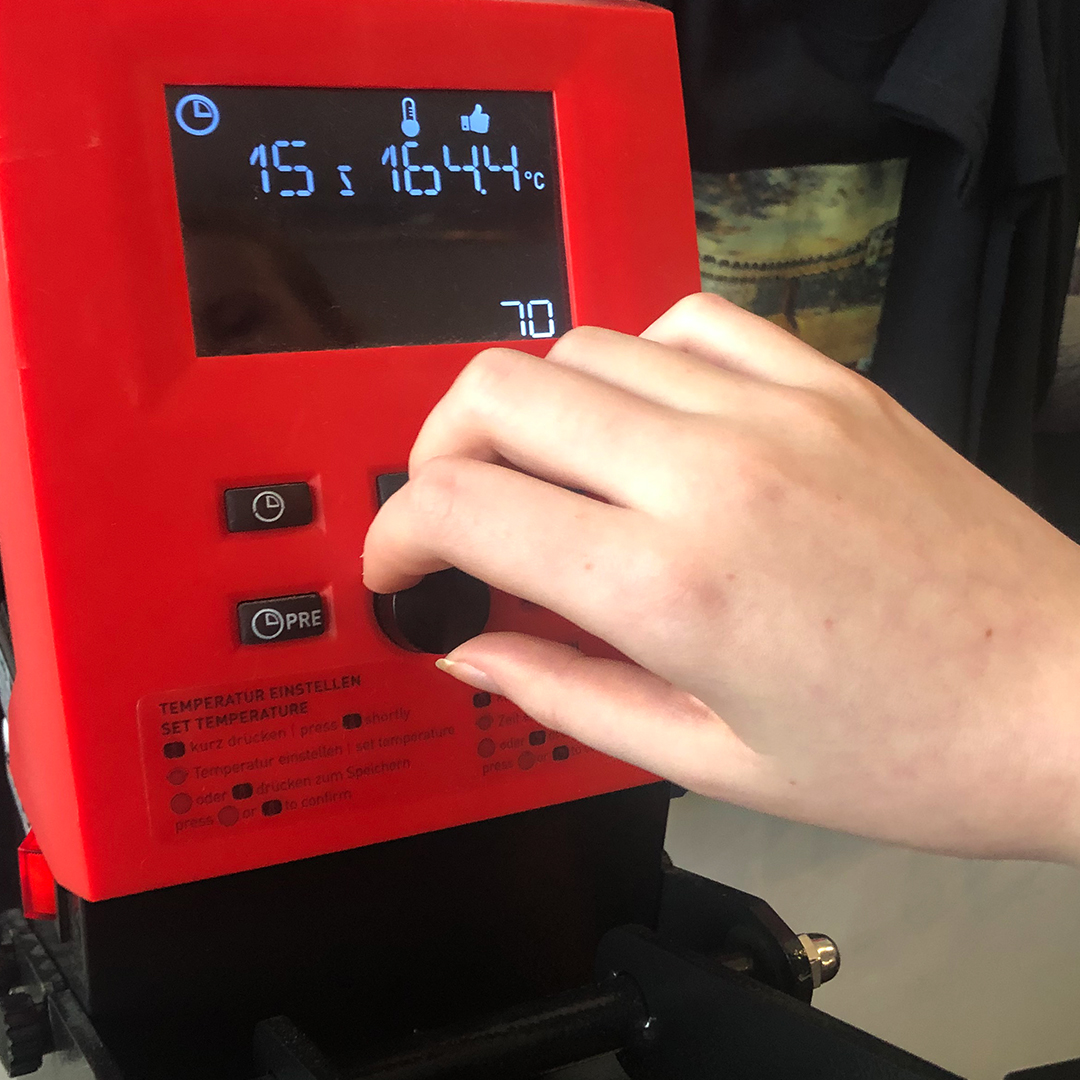
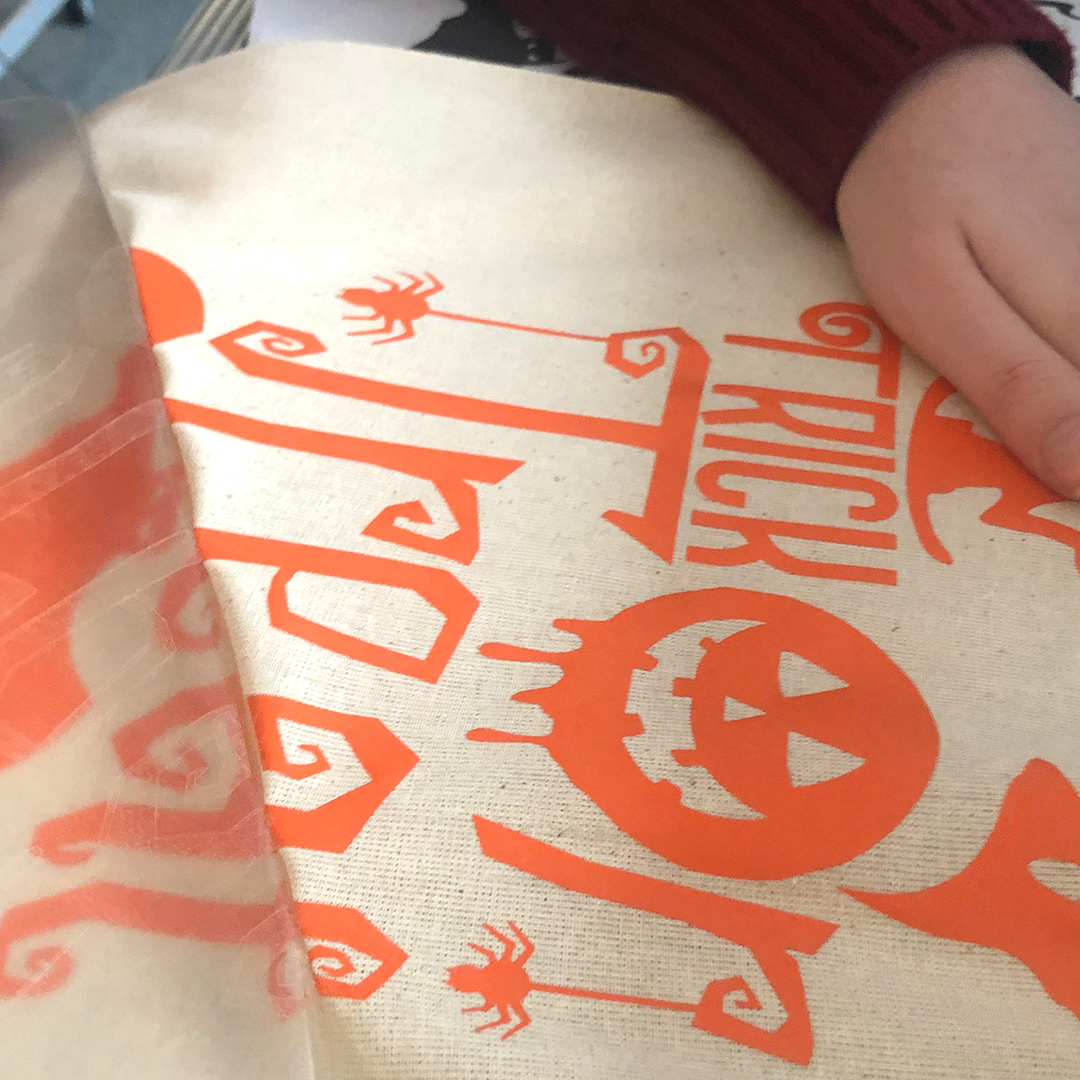
Before you start the actual print run, you should definitely check the pressing temperature and duration and, ideally, carry out one or more test prints. This is particularly recommended for large print runs. Textiles are usually heat-pressed with flex film at 160°C for 20 seconds. However, this may vary. Once you are satisfied with your settings, close the transfer press. Once the set time has elapsed, the Secabo SMART press, for example, opens automatically. All you need to do now is peel off the carrier film whilst it is still lukewarm.
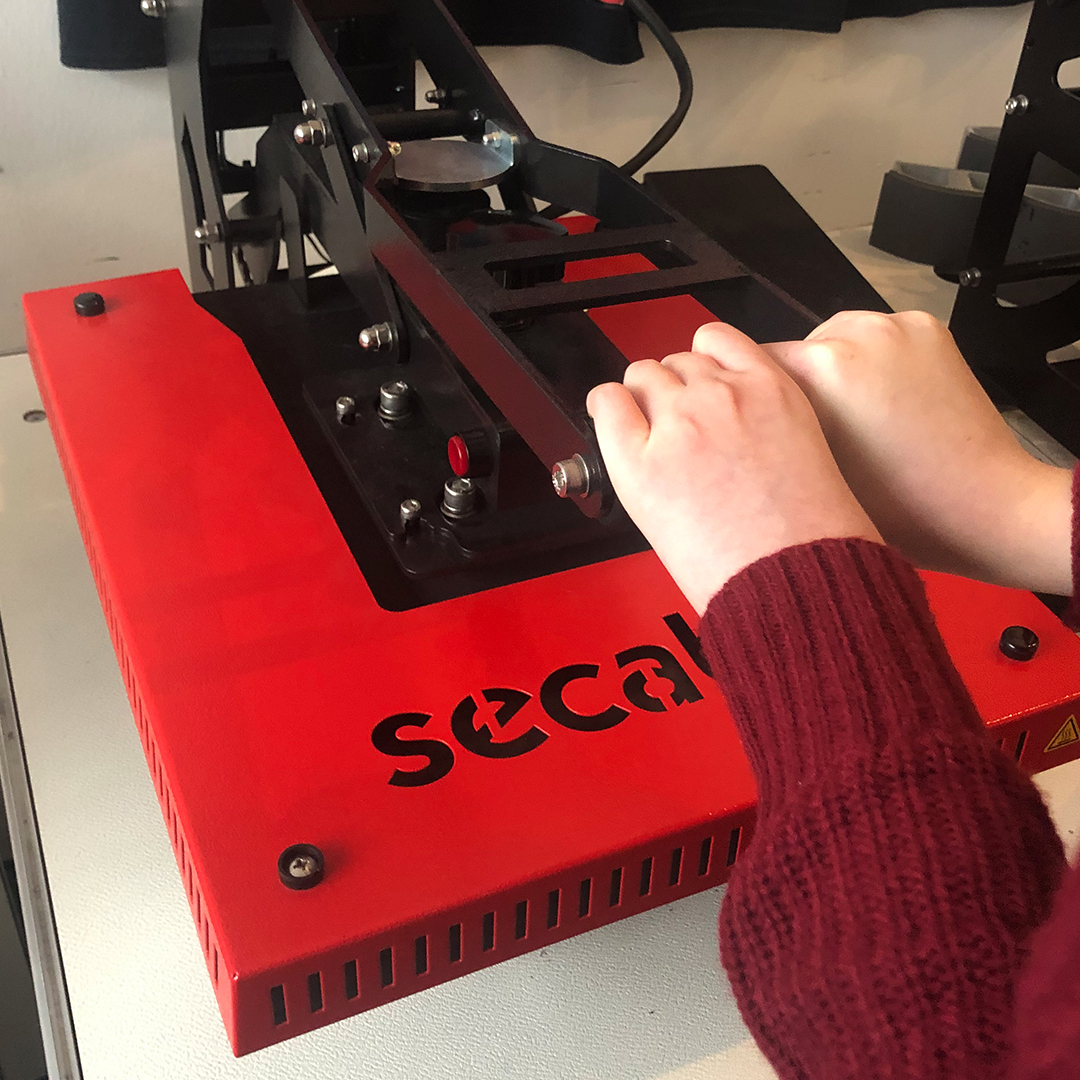
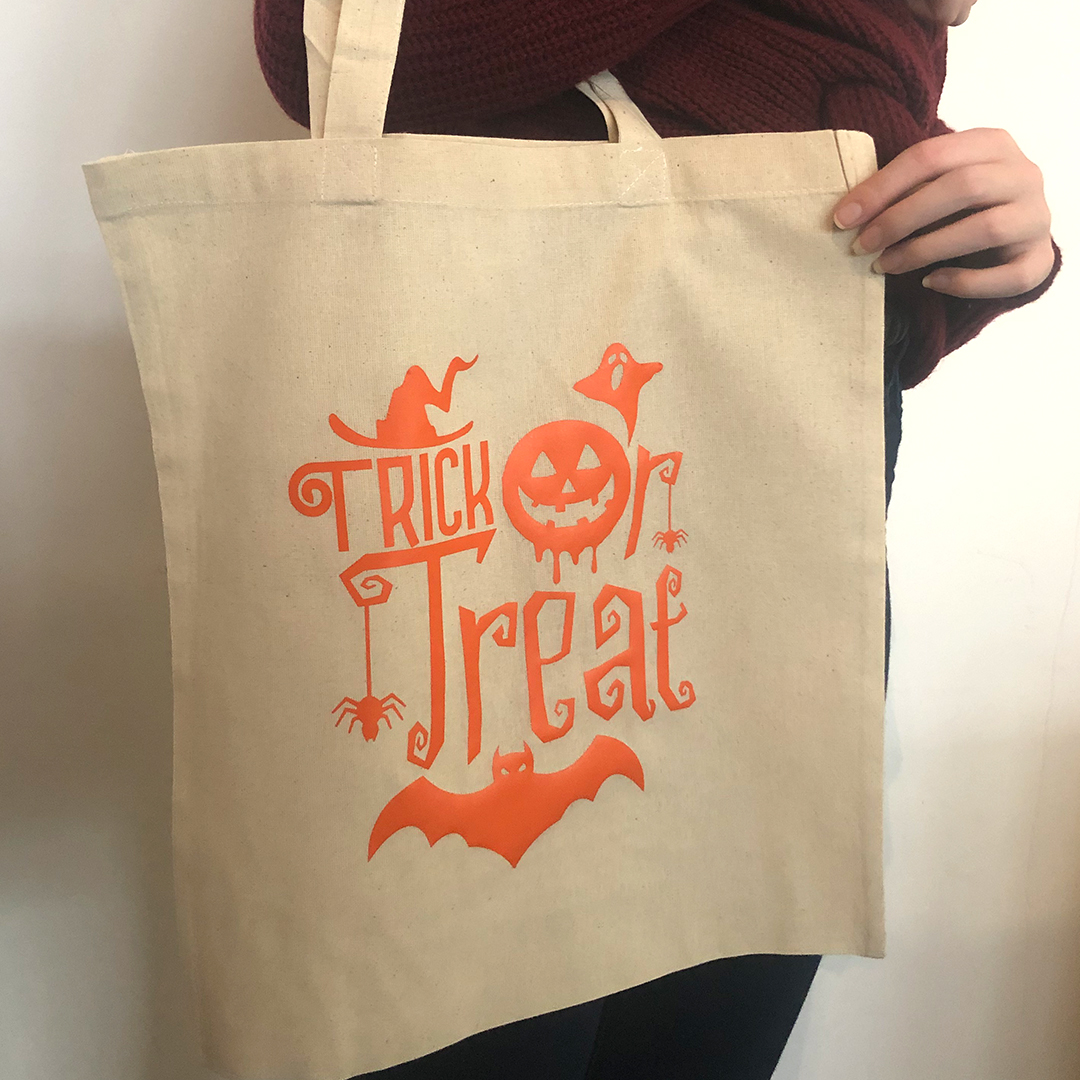
And there you have it – the perfect look for your Halloween night out!
Have fun giving this a go, and if you need the necessary materials or a plotter, for example, why not pop into our shop? Until midnight tonight, there’s a 10 per cent discount on everything when you use the code: 6CGVMMAJ
For further information and advice, please call +49 (0) 8442 95840-40 or emailmail@y-o-w.com