Organised chaos – how to make your annual planner a real highlight
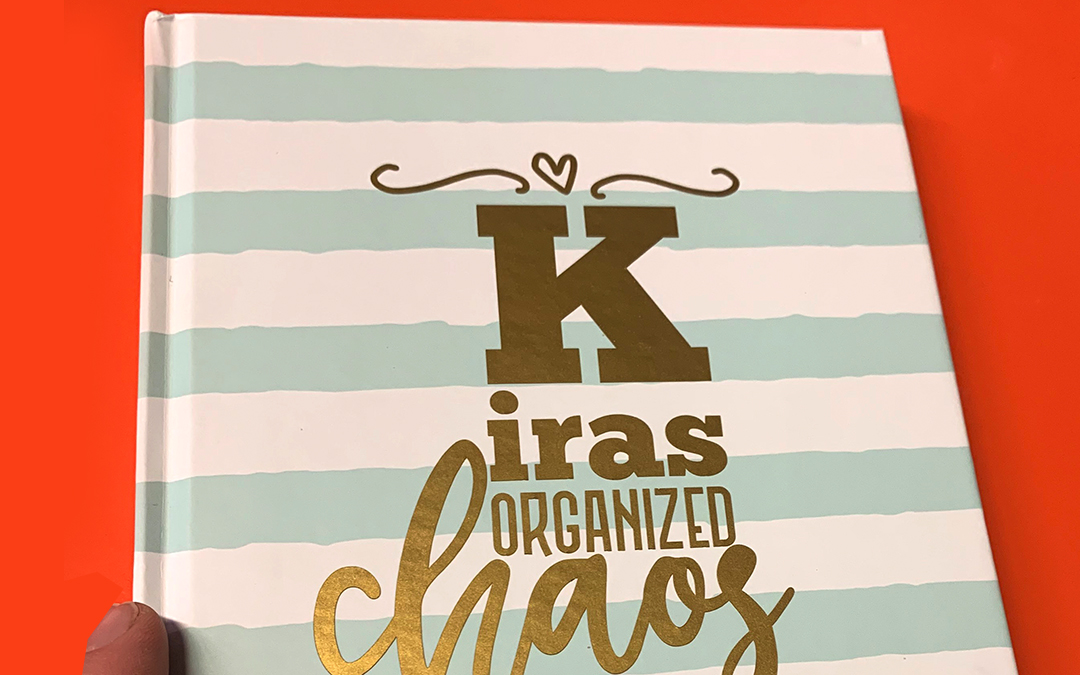
Here at YOW!, we’re naturally already thinking about the many fantastic dates we have lined up this year and the many events we’re planning. Many of us like to use a proper notebook or an annual planner alongside our digital calendar for these important dates, whether personal or business-related. True to the saying, ‘Out of mind, off the paper’.
You can jot down all your important to-dos, appointments and events here in advance. That way, you free up space in your head and build up the excitement for the new year! Don’t you feel the same way?
That’s why – and to make our excitement for the new year even sweeter – we’re designing our very own personalised annual planner.
You will need:
– Annual planner or notebook
– Gold adhesive film; for example, here we used this film: Ritrama L100 standard glossy metallic gold
–Small squeegee
–Scissors
–Craft knife
– Cutting plotter, e.g. Secabo C30IV
–Weeding pen
1. Get a calendar
To get started, you’ll naturally need a suitable calendar first. This doesn’t necessarily have to be an expensive planning system – even a simple paper calendar or a notebook will do. Choose a size that suits you. A5 diaries, for example, are ideal: they’re small enough to fit in your handbag whilst offering plenty of space to let your creativity run wild.
2. Get started and get creative
You can even do ‘lettering’ with the cutting plotter
Of course, we want our new annual planner to be right on trend, so we’re going to try creating a graphic in a ‘lettering’ style. You can also achieve this using
existing fonts. Of course, if you want to create your own lettering and plot out your personalised design, you can do exactly that by vectorising the graphic.
We’ve now tested a ‘quick and chic’ version.
A. Finding attractive typefaces
First of all, you’ll need some lovely fonts. Try to find fonts that look as ‘handwritten’ as possible. Pinterestis a great place to look, as there are loads of collection pins featuring different typefaces. Why not take some inspiration from our Pinterest board?
If you like a particular font, all you need to do is download and install it. Most are free for personal use; otherwise, you’ll need to purchase the font you want.
B. Create text
Open a new document in your graphics programme or in the DrawCut cutting software. If you purchase acutting plotterfrom YOW!, theDrawCut cutting software is already included in the package. Createa separate text boxfor each wordor group of words that is to have a different font; this makes the work much simpler. Use the text control panel to select your different fonts. Adjust the font size either in the text style window or by dragging the element on the workspace to make it larger or smaller. Particularly with script fonts, we recommend adjusting the character spacing as well – this often creates a great effect!
If the letters of a font overlap, you should ‘merge’ them at the end. Depending on the programme, you may need to connect the text after converting it to paths so that there are no unnecessary lines left.
C. Writing creatively
However, lettering also thrives on the attractive arrangement of its individual elements; this is where you should give free rein to your creativity.
Combining different fonts
Would you like to combine different fonts? It looks particularly good if you bear a few things in mind:
- sans-serif capital letters & playful cursive
- simple block letters & bold brushstrokes
- elegant cursive & serif capitals
- dynamic fonts & block letters of uniform height
As is so often the case, the same applies here: opposites attract. Give it a go!
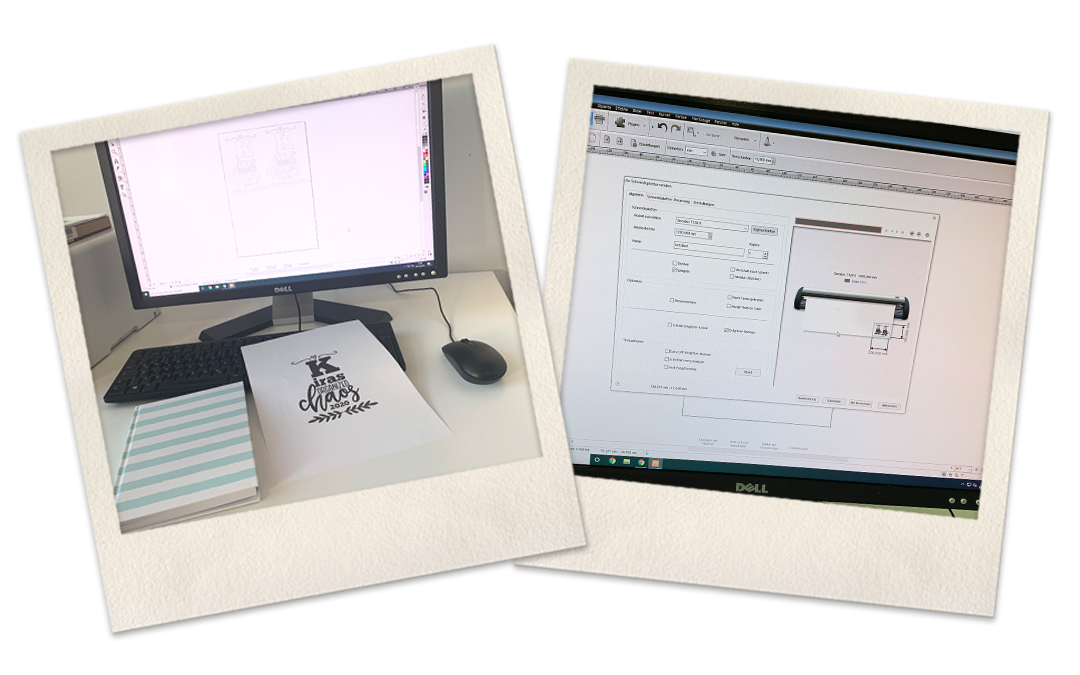
2. Plot out your chosen design
Are you now happy with your lettering? Before you start the plotting process, we always recommend carrying out a test cut to check that the blade is set correctly and that the cutting pressure is right. Once everything has been configured correctly, start the plotter. It will now operate entirely automatically, precisely cutting out even the smallest and most intricate designs, as well as curved lettering.
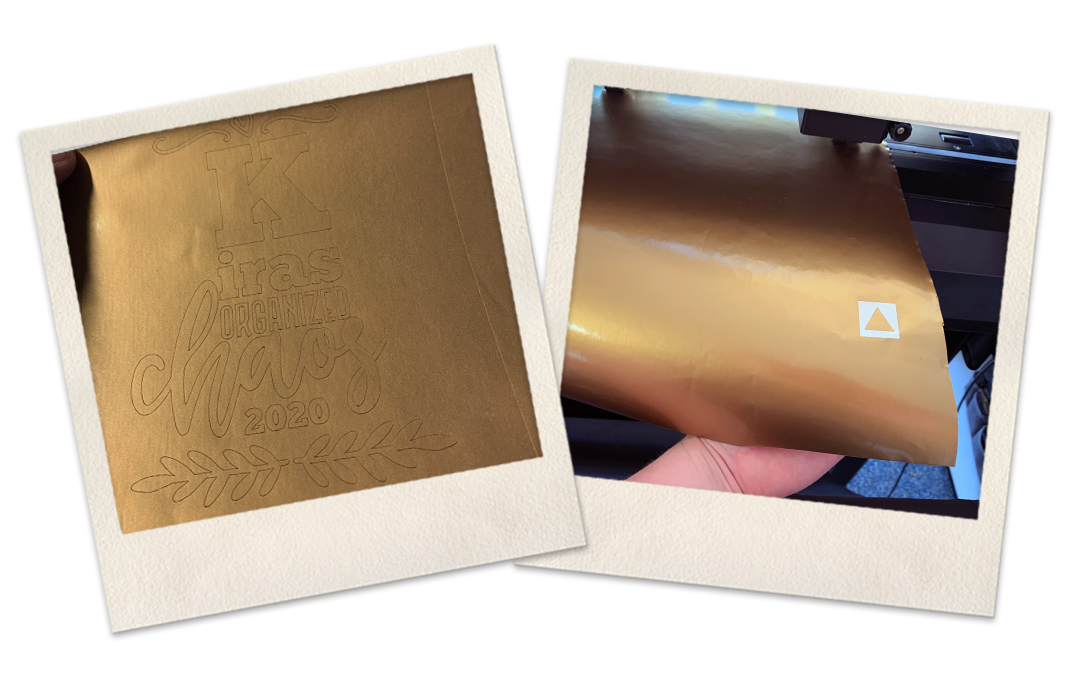
If you’re not sure which cutting plotter is best for you, find out more here.
3. Weeding and applying
Once your plotter has finished cutting, it’s time to weed the design. It’s best to use a weeding tool for this, such as tweezersor aweeder. Weeding hooks help you to neatly separate the excess film from the actual plot. Take particular care with intricate designs so as not to accidentally damage the motif.
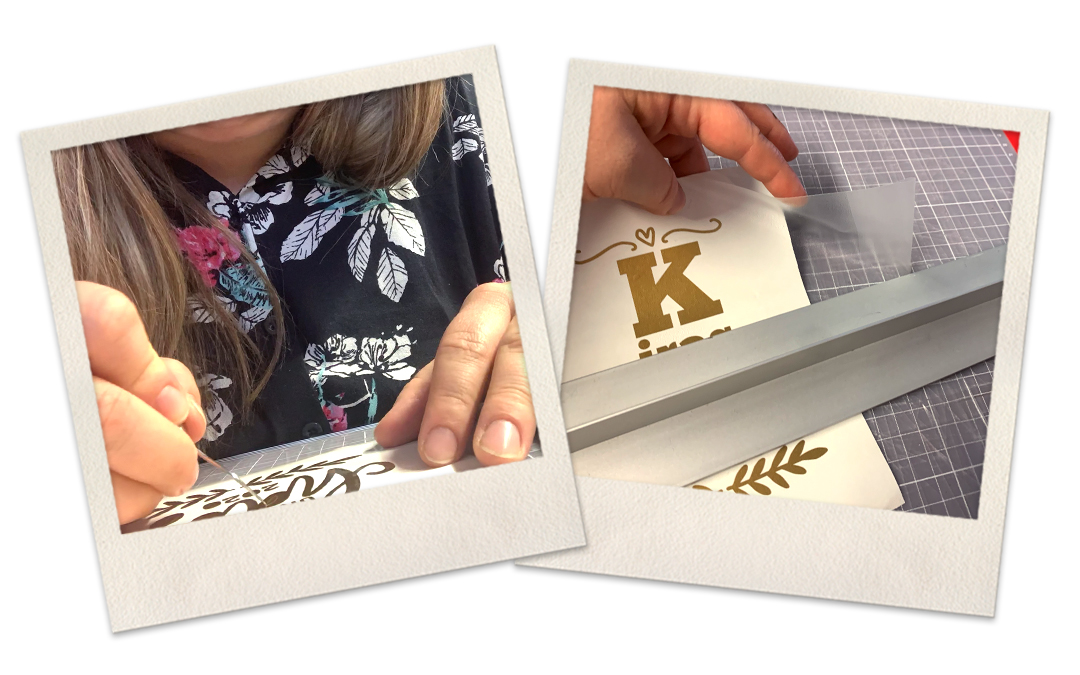
Once the design has been weeded, you’ll need a transfer film so that we can then stick it onto the annual planner. It’s important to smooth out any air bubbles from under the film to ensure a perfect bond. Then peel off the backing film bit by bit whilst sticking it onto the annual planner. A small squeegee will help you smooth out the film and remove any small air bubbles. It’s best to use a felt squeegee to avoid scratching the design.
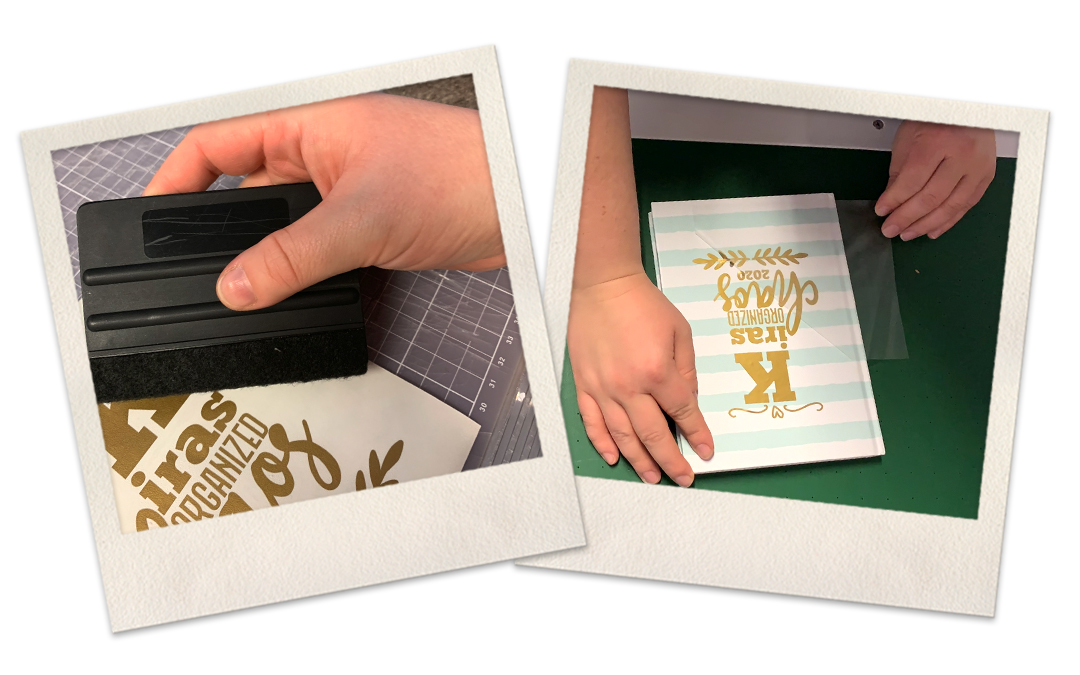
3. Done
Well, you’ve done it – your personalised annual planner is ready! To give you a brief overview of our films, we’ve also included some key information below.
After all, it’s not just planners or notebooks that can be decorated – our various films naturally offer many more ways to use them, allowing you to give free rein to your creativity.
Details on plotter films
Self-adhesive films are often referred to as plotter films or simply cutting films, as they are processed in cutting plotters, amongst other things, to produce stickers, lettering and so on. There are essentially many different types: From simple plotter films, which can be used outdoors for a few years, to professional, cast adhesive films that can withstand many years of use even under extreme conditions. Most of the cutting films are available to buy in our shop in various widths from 21 cm and various lengths.
Ritrama self-adhesive films: Adhesive film for any surface
Whether for indoor or outdoor use, for commercial purposes or simply as decoration – adhesive films have been hugely popular for several years now. This is due not least to their versatility. As well as being suitable for large-scale application on a wide variety of surfaces, self-adhesive films are also ideal for use with a cutting plotter. It’s no coincidence that self-adhesive films are also known as ‘plotter film’. At YOW!, you’ll always find a wide selection of self-adhesive films from leading manufacturers. In this blog post, we’ll introduce you to the four main ranges of self-adhesive films from Ritrama. Depending on the model, these differ in terms of durability, flexibility and price, making them suitable for almost any application and any budget!
Ritrama Standard Adhesive Film: A good all-round film at an affordable price
We’ll start with Ritrama’s standard adhesive films. These are what are known as monomeric PVC films. They are manufactured from blocks of plastic and rolled in a calender until they reach a film thickness of 70 µm. As monomeric PVC film consists of uncross-linked molecular chains, it is not UV-stabilised. Consequently, its outdoor lifespan when exposed to sunlight is limited to around three years. Indoors, however, it looks great for many years and can be applied with ease to all manner of surfaces.
Two types of self-adhesive film are available in the YOW! online shop. The Ritrama L100 standard glossrange is guaranteed to meet all your needs, as you can choose from a palette of 33 colours, including even a transparent self-adhesive film and films with a metallic finish. Ritrama M300 standard mattis available in as many as 34 colours. Both models impress with their ‘Made in Europe’ quality and excellent resistance to all environmental factors, such as seawater, oil and petrol. This makes them ideal for exhibition stand construction, advertising hoardings and shop windows. The only difference lies in the adhesive used. In the Ritrama L100, this is a permanent acrylic-based adhesive, which creates the glossy finish. The matt finish of the Ritrama M300 is achieved using a removable acrylate adhesive.