Vehicle graphics: What tips and tricks make it work?
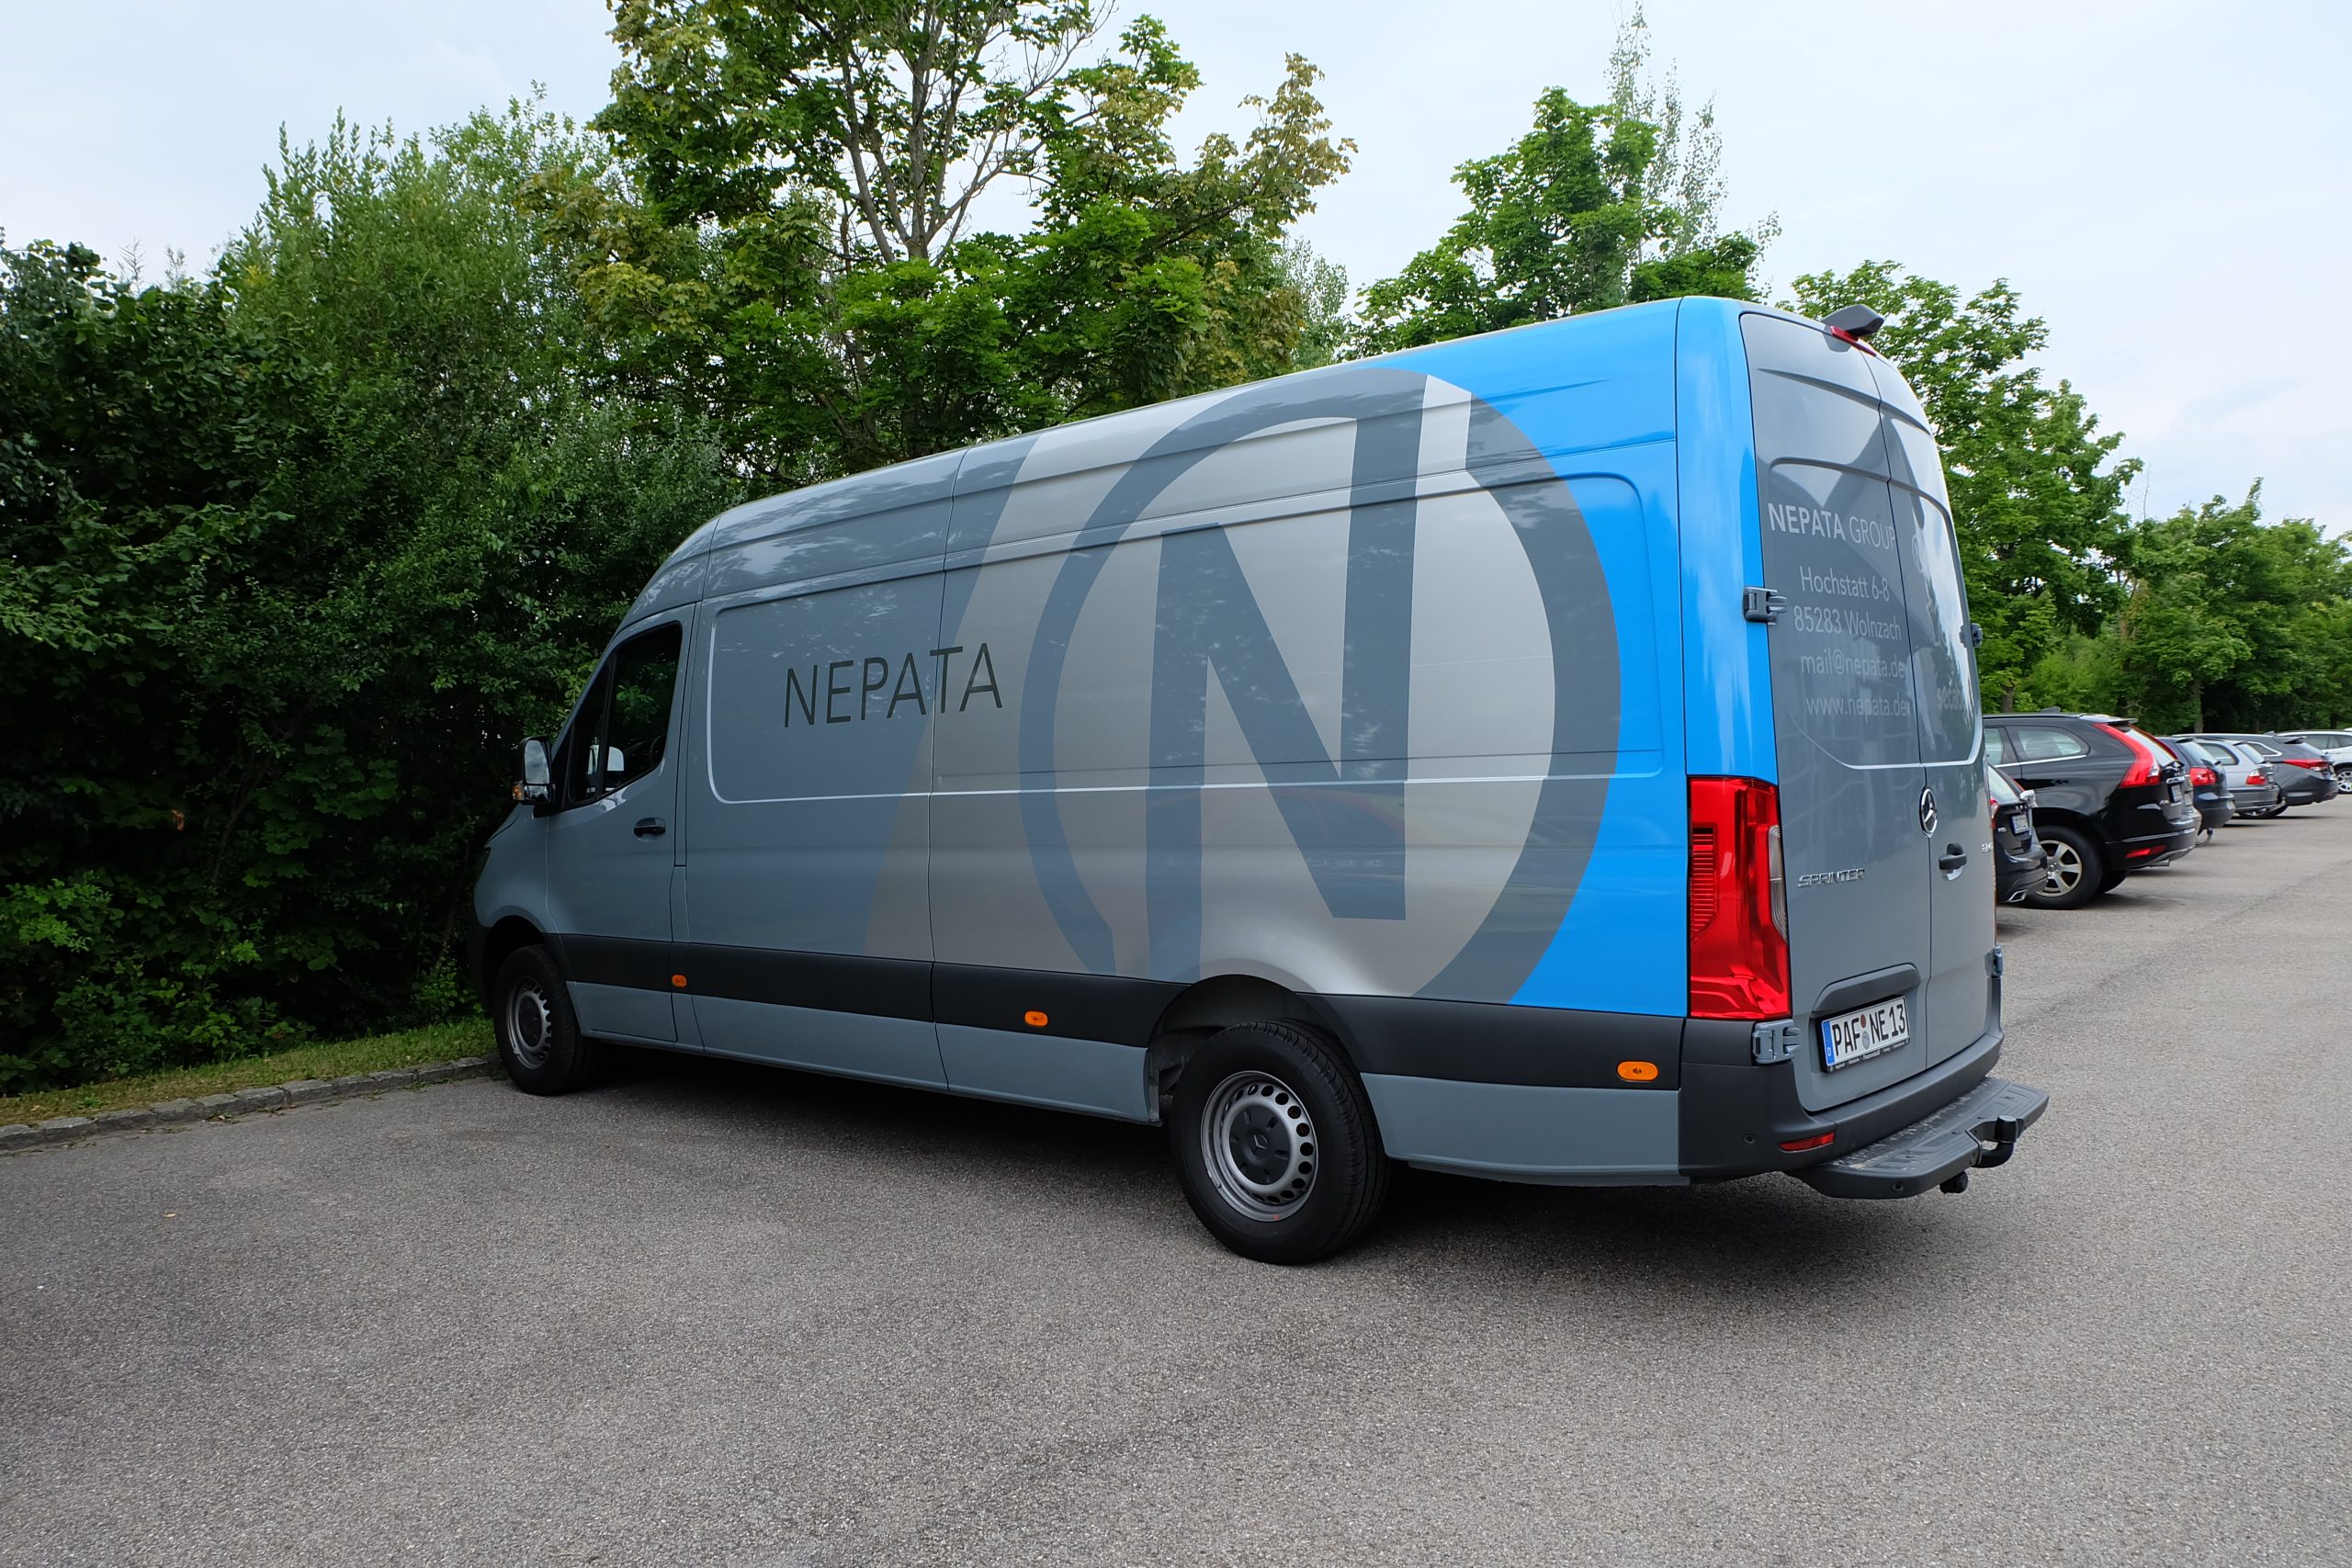
This time, we’re looking at a vehicle wrap that we’ve applied ourselves to our company car. Do have a look!
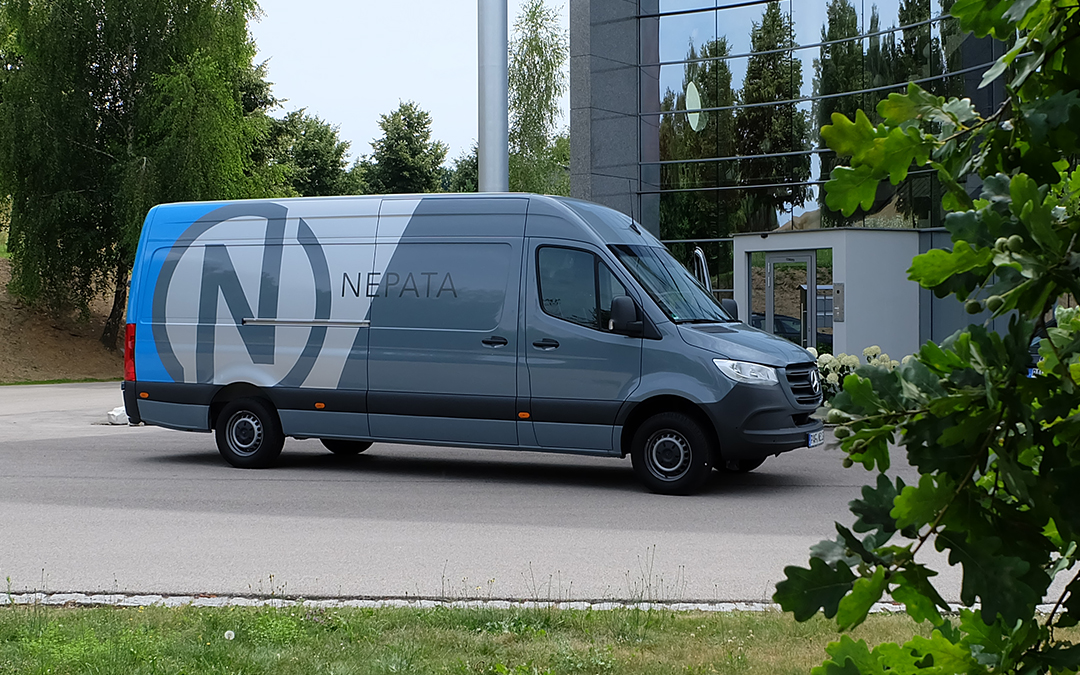
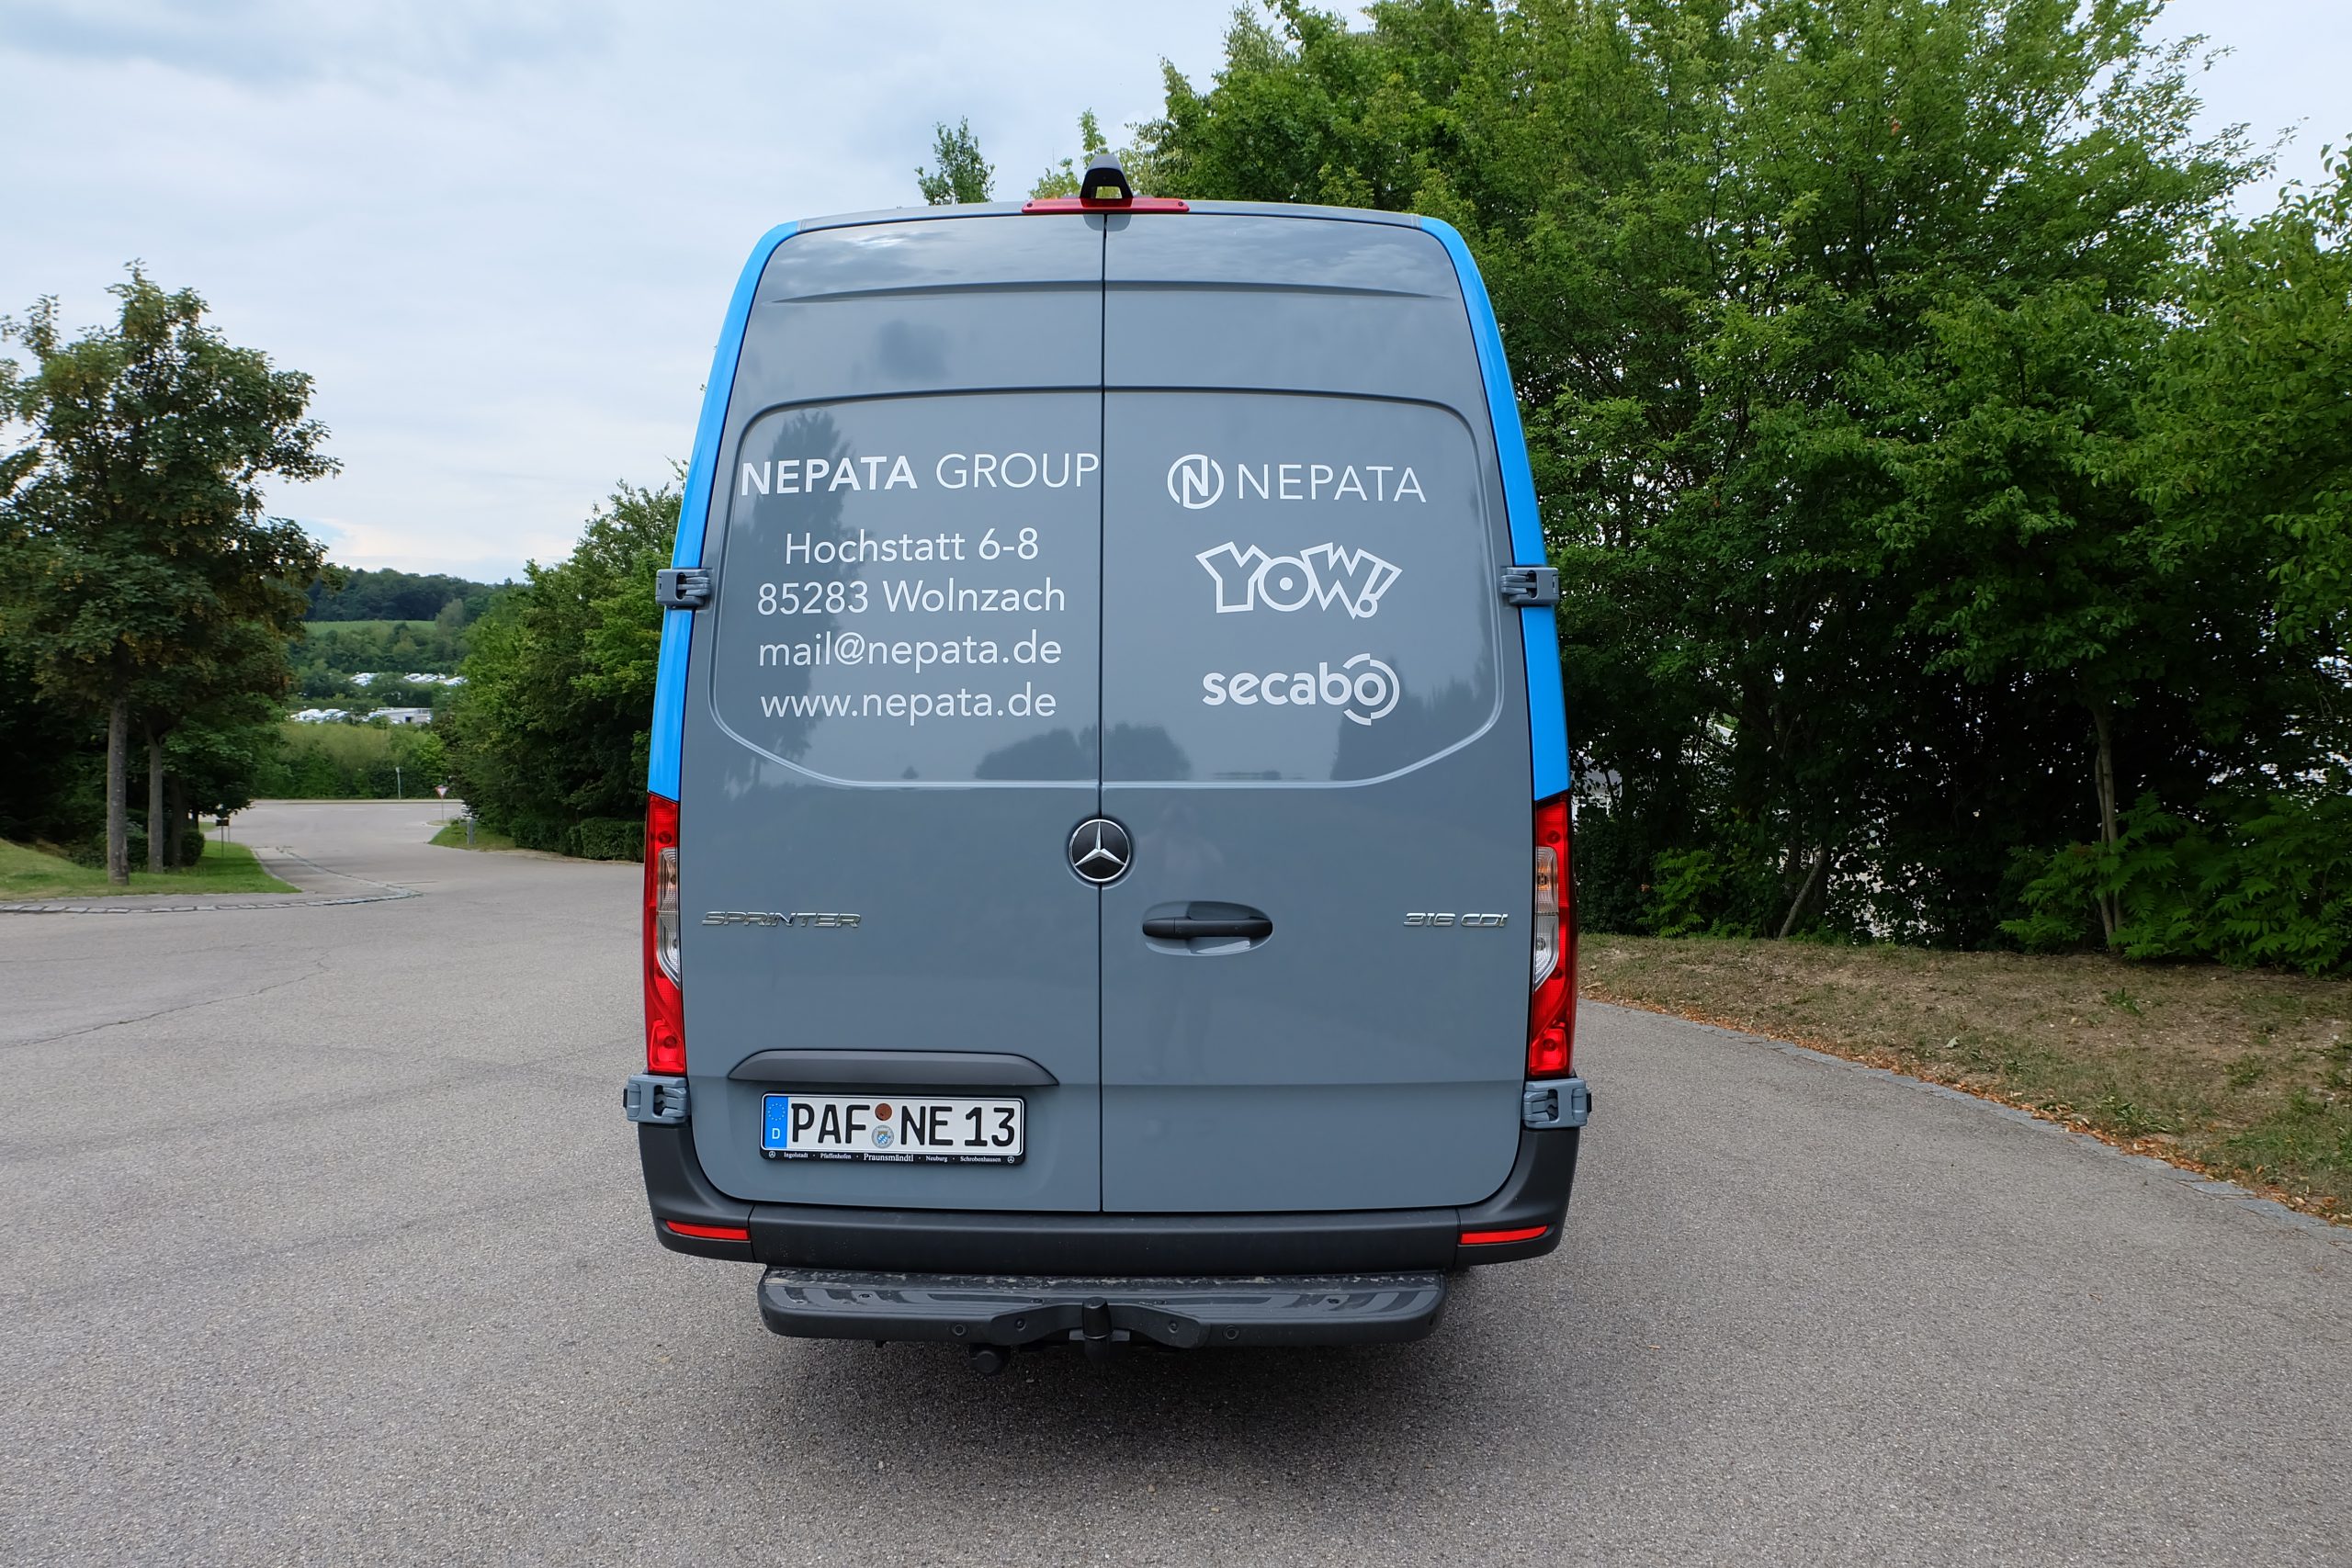
We’re delighted to be able to share another exciting topic with you today. This time, we’re looking at vehicle graphics, which we’ve applied to our own company car. The result looks brilliant!
So we’d like to briefly summarise here how you can achieve this look most easily.
Tips for designing your vehicle graphics to the highest standard
As well as the areas on the vehicle where decals are not a good idea, there are also areas that are ideal for them. These include, for example, the bonnet, the side panels and doors, and the tailgate. As a general rule, it is important to ensure that the design does not look overloaded. It therefore makes little sense to cover the entire vehicle in garish colours, numerous slogans and logos – after all, the vehicle is often in motion and passers-by haveonly a moment to understand and take in the message conveyed by the vehicle graphics. As is so often the case, the same principle applies here: less is more. At the very least, a clear structure should be recognisable across the vehicle, one that also looks neat. Key details such as the telephone number or website address should be easy to read even from a considerable distance. To achieve a branding effect, it makes a lot of sense to display the company’s logo on the vehicle. We have adhered to these rules in our design.IMPORTANT!
Particularly with very large-scale wraps, you must divide your design template accordingly, as the width of the film alone is usually insufficient. However, especially with vehicle wraps or other large surfaces, the transition edges are barely visible and easy to adjust.
Which film is the right one?
Our recommendation: ORACAL 751CG High Performance Cast. This is ideal for producing high-quality, long-lasting vehicle and public transport advertising and offers a wide range of colours. We can supply you with a good selection of films, so why not pop into the shop?
Which plotter is suitable?
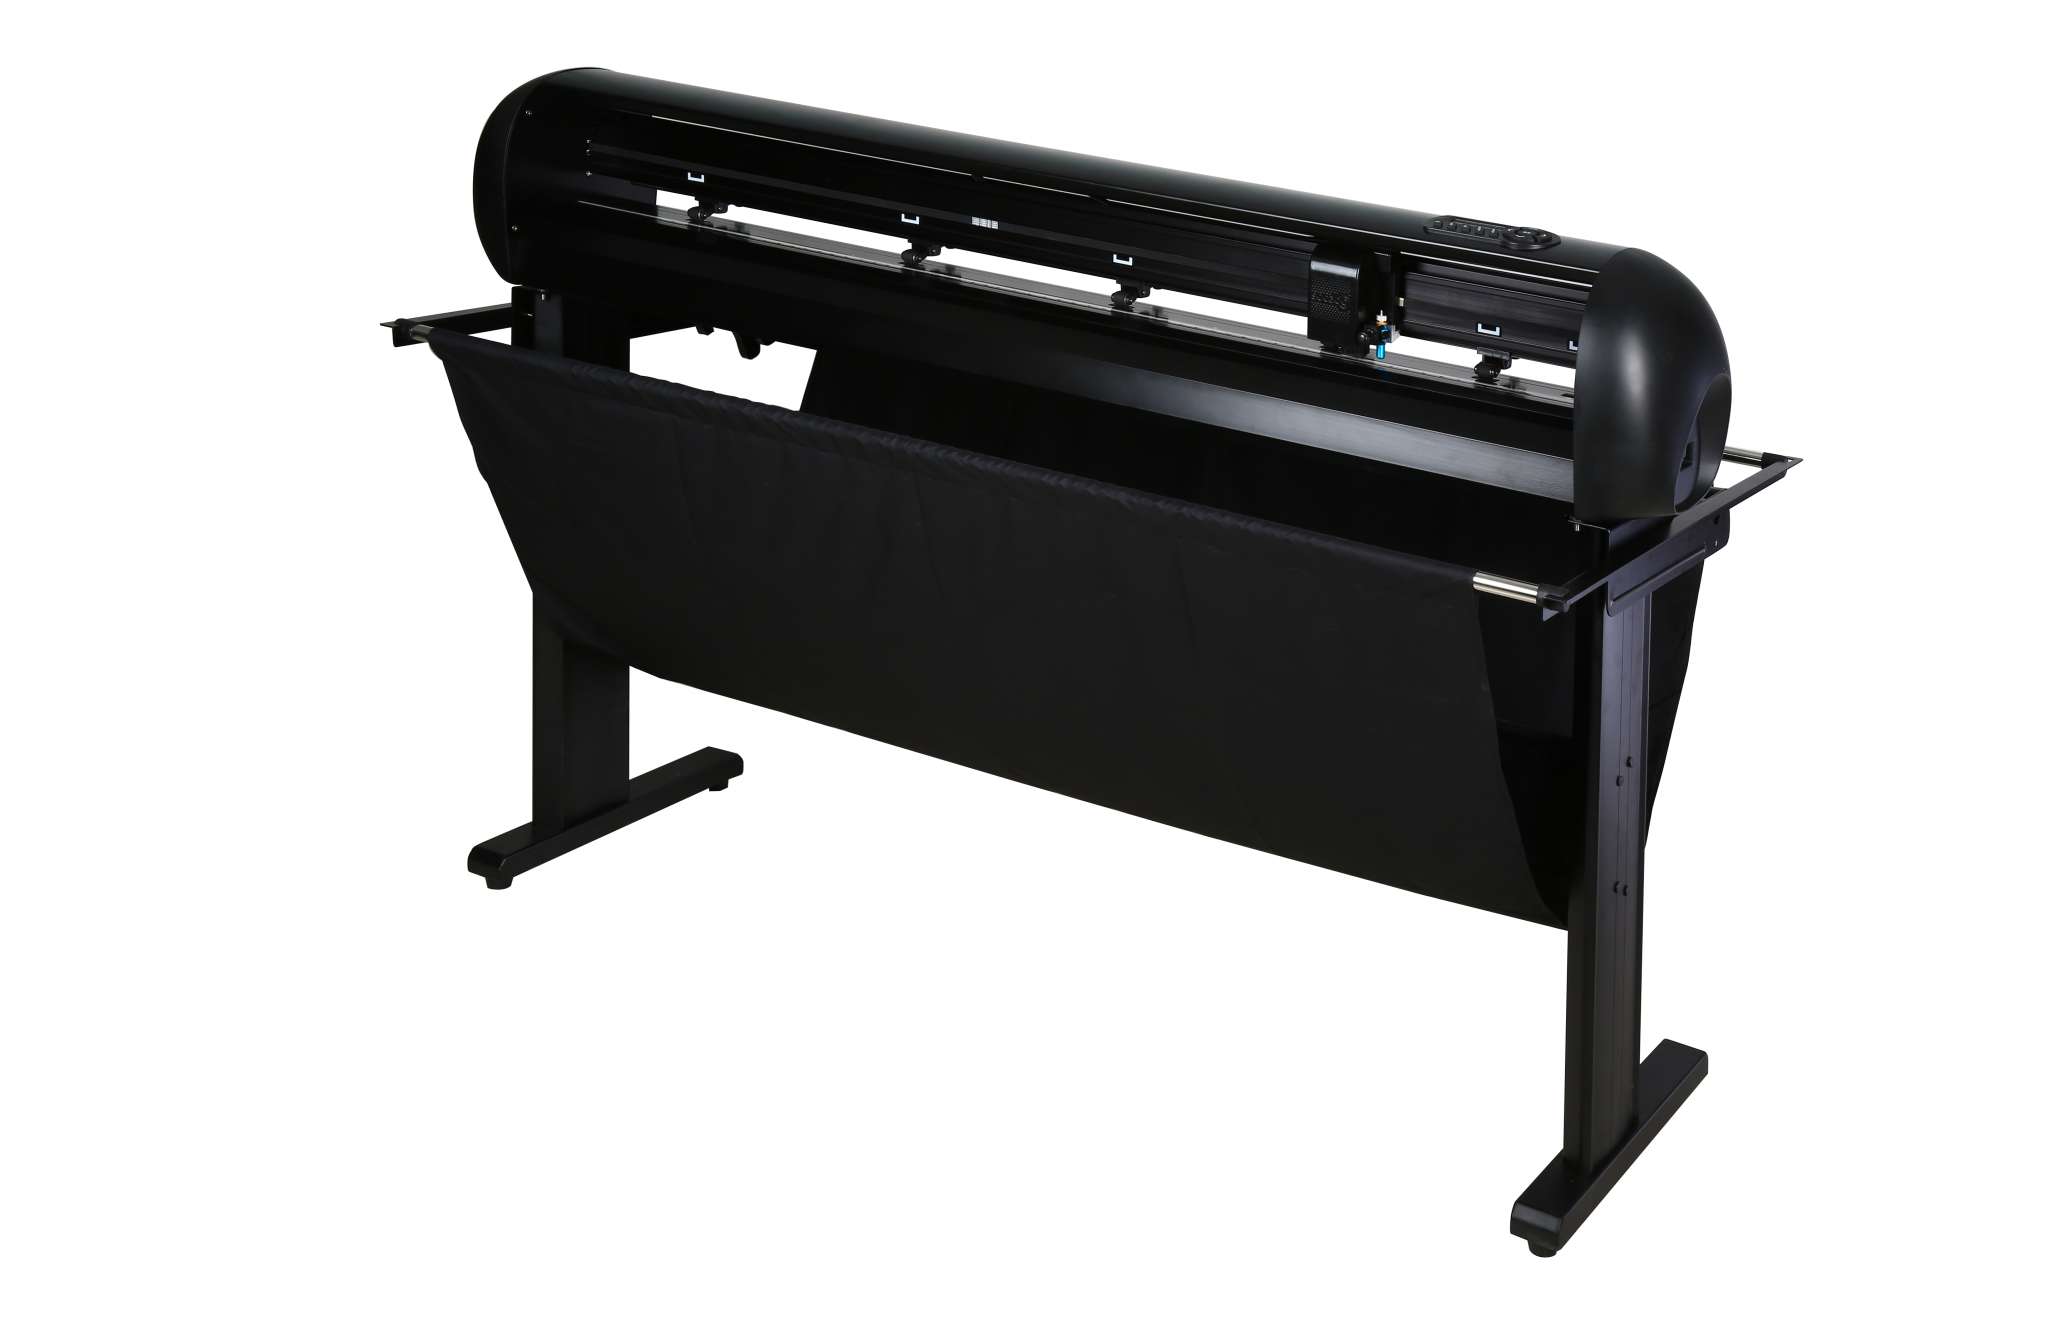
We recommend the Secabo T120 II cutting plotter for plotting the films, as it is particularly suitable for large-scale lettering. When clamping the film in place, use the clamping mechanism on the plotter to ensure the self-adhesive film remains secure and does not slip. The film is then unwound or wound up there during the cutting process.
What do I need to bear in mind when configuring the settings?
When adjusting the settings on the machine itself, ensure that the blade does not protrude too far. Only the tip should be visible. Furthermore, for long passes that the blade makes, a lower speed should be set. The contact pressure (in combination with the correct blade setting) can be set to approx. 80g. Always carry out a test cut first. This will allow you to make any necessary adjustments. The rectangle should then be peeled off, whilst the triangle must remain attached. If this is the case, your settings are correct. Next, peel off the triangle to check whether the cut edges of the blade are visible. These should be visible but not too pronounced. Otherwise, the blade is protruding too far or the pressure is set too high. However, this can easily be prevented by carrying out a test cut.
For the remaining settings, the designs for vehicle graphics should NOT be plotted in mirror image. This is because they will be applied to the exterior of the vehicle. Set up the correct cutting plotter, align the design – vertically or horizontally – depending on how it fits on the film, and activate the weeding frame if necessary. For the Vinyl Spooler, we use the value 2.50. Under ‘Cutting Order’, we almost always select ‘Reduce Feed’, which means that the blade should take the shortest route when cutting. Finally, click on ‘Cut’ and off you go!
After plotting, cut out the printed film and lay it on a large table. Now it’s time to weed. Feel free to have a look at our cutting and weeding guides. These will make your work easier. Here’s a little tip from us: use a craft knife to score the top layer of the film between the individual elements. You can then peel them off individually. This makes weeding easier for larger designs. Letters or numbers might come away with the film. That’s why we recommend a steady hand and a bit of patience. If necessary, hold the symbols firmly in place whilst you’re weeding them.
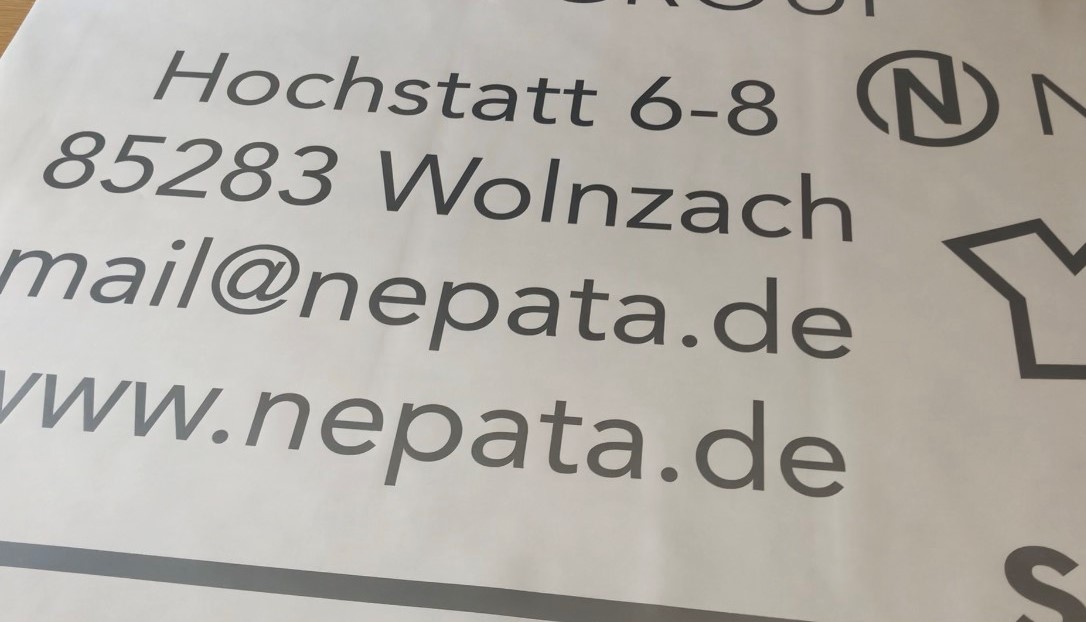
Now let’s move on to the transfer film. Cover all your plots with it. If the transfer film isn’t wide enough, simply cover the remaining side as well. The two transfer films may overlap, but that’s not a problem. It won’t cause any issues later on during the transfer process. As always, make sure to smooth it down firmly with the squeegee.
Which tools and resources are useful?
- Hot air dryer
- Squeegee
- Cleaning products
- Masking tape or magnets
- Folding rule
- Craft knife
Let’s head over to the car now!
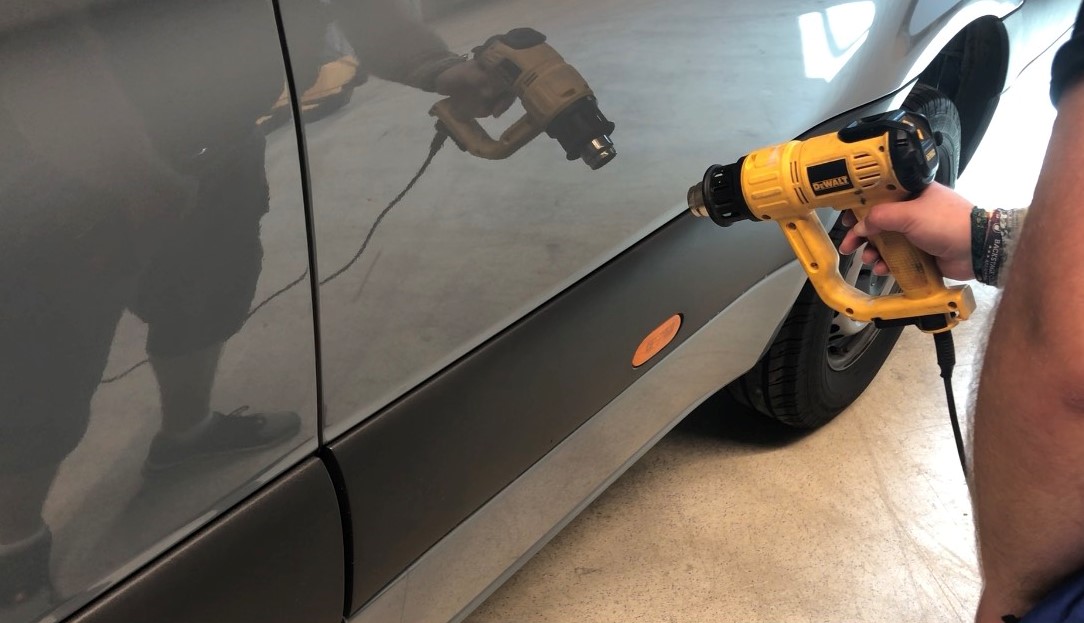
Start by cleaning the surface. All surfaces and edges to be covered with the film should be thoroughly cleaned to ensure no residue remains beneath the film and that it adheres properly. To reach every nook and cranny, you can place a cleaning cloth over the squeegee and use it to clean all hard-to-reach areas. Some edges may still contain residual moisture, so you can use a hot-air gun here. It is really important that the film does not curl up at the edges of the vehicle.
First, measure the areas you want to cover. Position your decals exactly where you want them using masking tape or magnets. You can use the horizontal guides as a reference. Important: The transfer film should remain on the paper for now. It will be peeled off later. Here’s a tip for you: if you need to apply a large area featuring several phrases or symbols, cut the individual parts apart now, taking care not to let anything slip out of place. This way, you can apply each part to the vehicle one by one.
Now let’s move on to vehicle graphics!
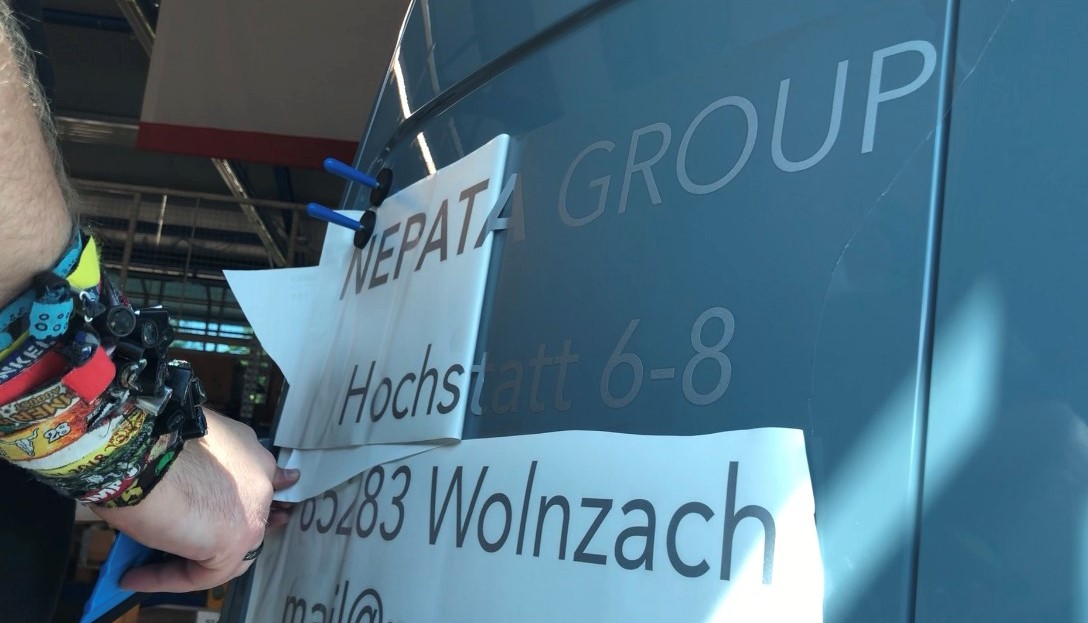
There are actually several tricks to this. Our adhesive expert pulls the paper off from the back on one side, then sticks the layer with the letters onto the surface and continues to peel the paper off towards the other side (in the opposite direction to the film that’s already firmly stuck down). Use the squeegee repeatedly in between. For very large designs, it’s best to squeegee from the bottom up. The advantage of magnets here is that you can easily slide them back and forth as required. For creases, you can use a hairdryer, as this prevents the film from being stretched too tightly and allows the creases to be smoothed out. However, make sure you do not blow the air too close to the self-adhesive film. Keep using the squeegee to help smooth it out as you go.
If the transfer films overlap in some places, use the squeegee to squeeze all the air out of these areas as well. The final step is to carefully peel off the transfer film.
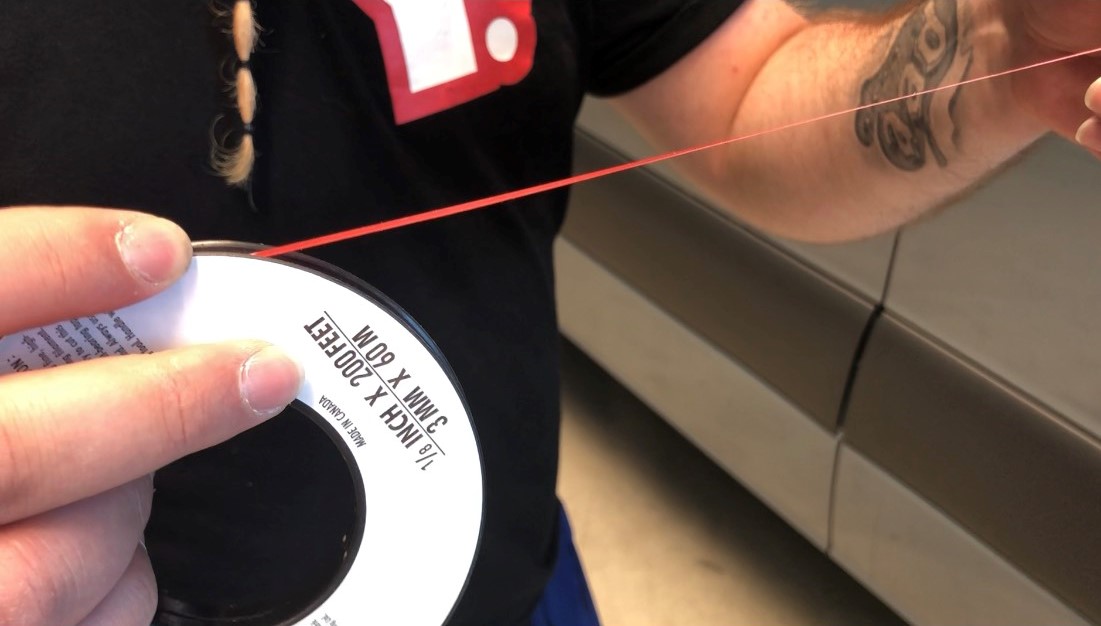
If there are sharply angled edges, you should cut the film; otherwise, it may start to curl up over time. To avoid the risk of cutting into the paintwork with a craft knife, there is a special cutting tape available for this purpose. To do this, position the tape along the edges (underneath the self-adhesive film). Later, once the film has been applied, you can peel off the tape and run it from one side to the other. This will then cut through your design.
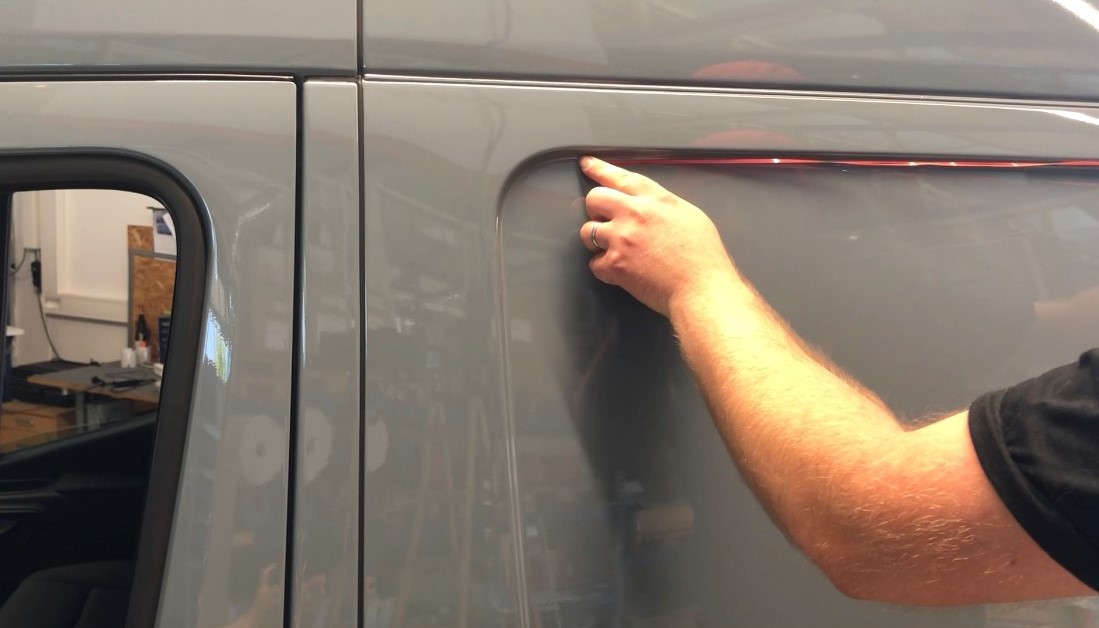
For slight edges, you can apply the film as normal. However, it should not be stuck down too tightly, but should cover all surfaces. If bubbles form, you may need to use a hot-air gun; at the ends of the bonding area (such as the edges of car doors), trim off the excess film, and similarly, where there are gaps (for example, between car doors), cut through the film with a craft knife.
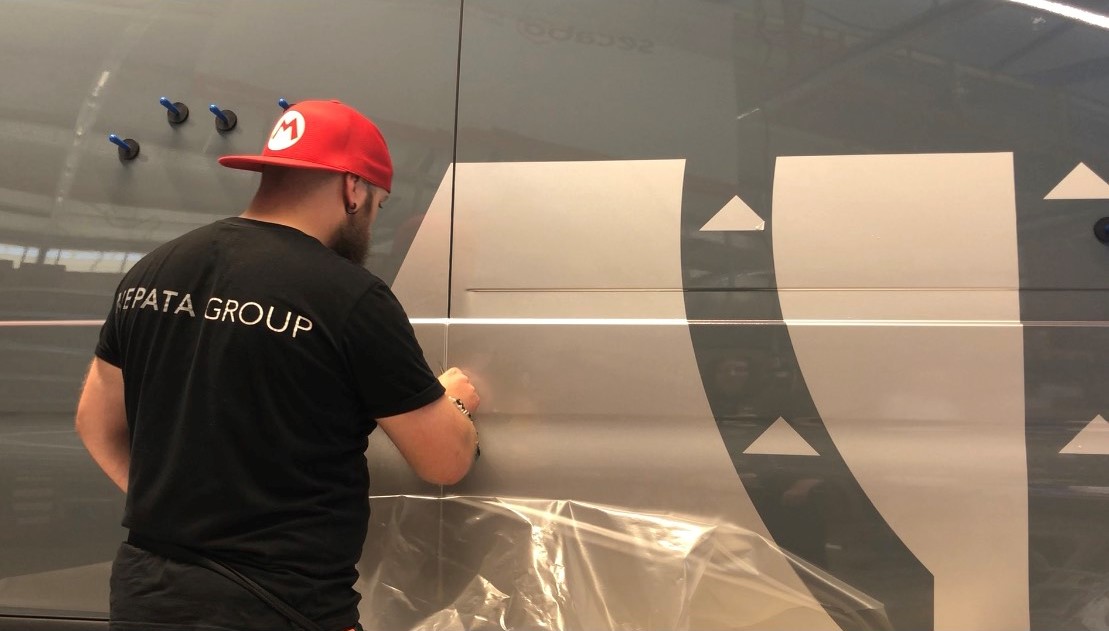
Important tip: To help with alignment and ensuring the vehicle graphics are straight, you can use registration marks, which you plot out alongside the design. We’ve used large triangles here as a guide.
You can, of course, also watch the whole thing on our YouTube channel! If you haven’t subscribed yet, do so now to stay up to date.
Have you seen our blog post on applying frosted glass film to windows? You can read it here.
If you have any questions or would like further information, please send your enquiry to mail@y-o-w.comor call our customer service hotline on 0800 – 9697467 – we’d be delighted to help.
Best regards from your YOW! team