Working with the YOW! READY transfer printing service
We recently introduced the new YOW! READY textile transfer printing service in a blog article. Here is a practical example.
As the READY transfer is, after all, a very complex product, we’d like to show you the individual steps involved in creating a professionally finished textile using the READY printing service.
The project presented below involved the production of 60 band T-shirts for the band Die dicken Schnösel.
1. Source file
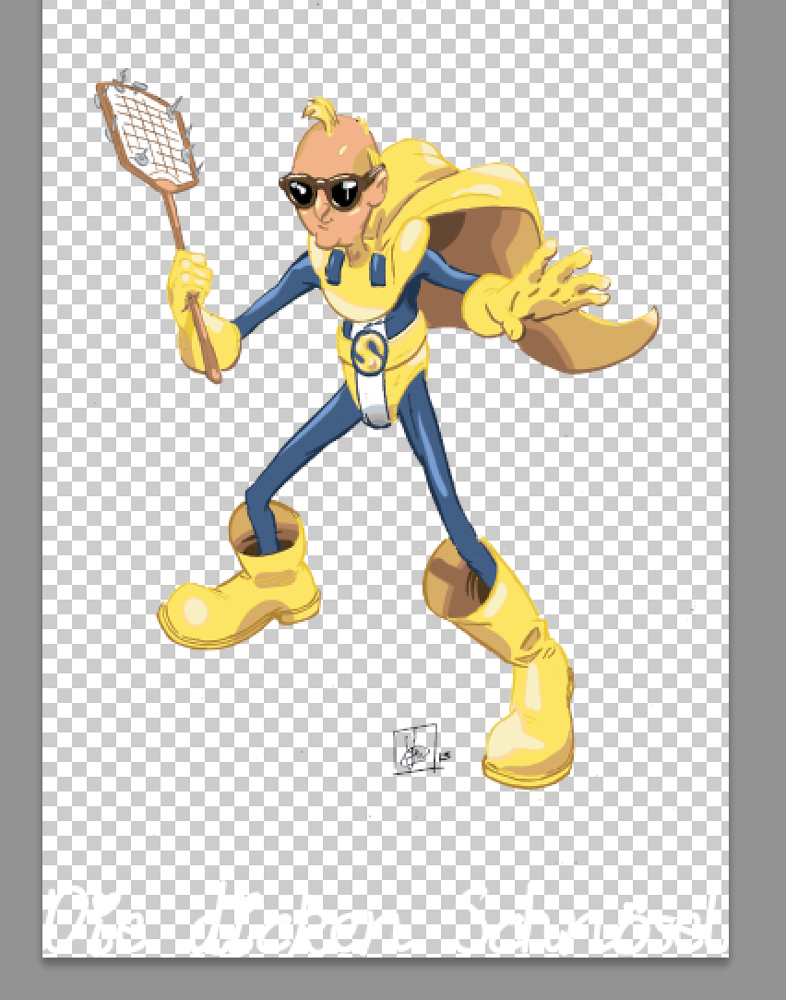
The starting point was a graphic of the fictional character ‘Sorgi Grübel’, which was provided as an EPS file with a transparent background and the accompanying lettering ‘Die dicken Schnösel’ in white text.
2. Creating the print file
In Photoshop CS6, a graphic measuring 42 cm × 29.7 cm at 300 dpi was created in CMYK, and the usable print area of 40 cm × 28 cm was defined using guides.
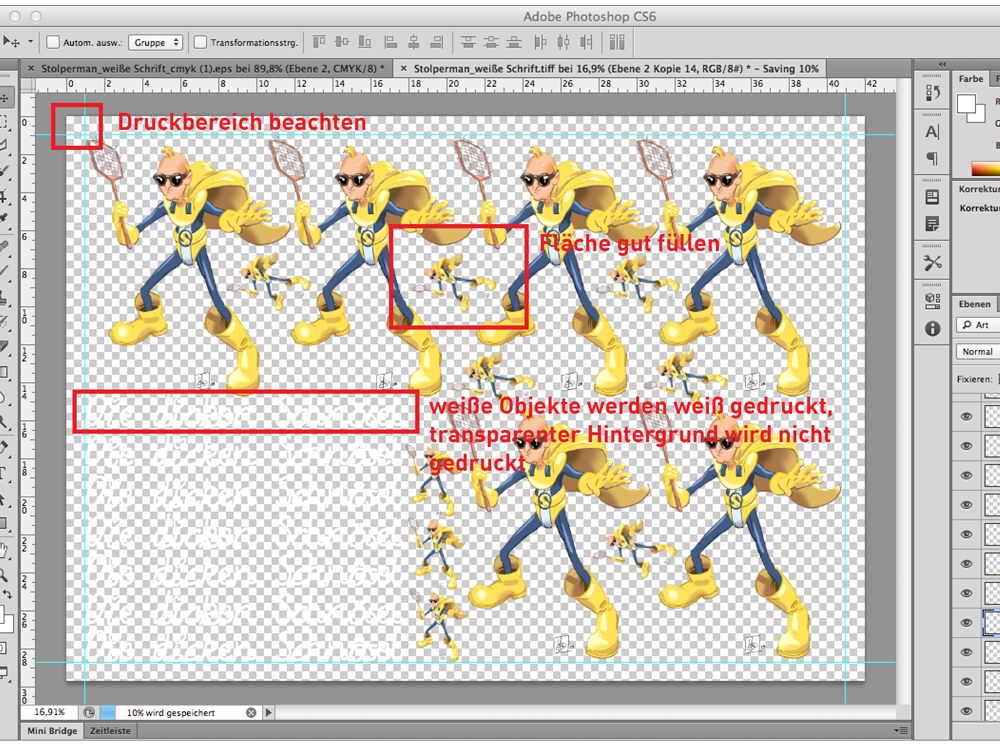
The two elements, ‘figure’ and ‘lettering’, were inserted into this document and arranged in such a way as to make the best possible use of the print area. Six large figures and seven letterings fitted into the print area. The gaps were filled with smaller figures, which are intended for use on caps and hats at a later date – as a free bonus, so to speak.
It is important to note that white objects are also printed in white (in this case, the text and parts of the illustration), whilst transparent areas are not printed. This allows cut-out objects to be created.
Colour gradients into the transparent areas are also possible. It is important to specify the correct colour of the T-shirt or garment later in the ordering process so that the gradients can be perfectly colour-matched.
3. Exporting the print file
The finished file was exported as a TIFF to preserve full image quality and, above all, the transparency – as this makes it possible to obtain transfer designs that are already cut-out.
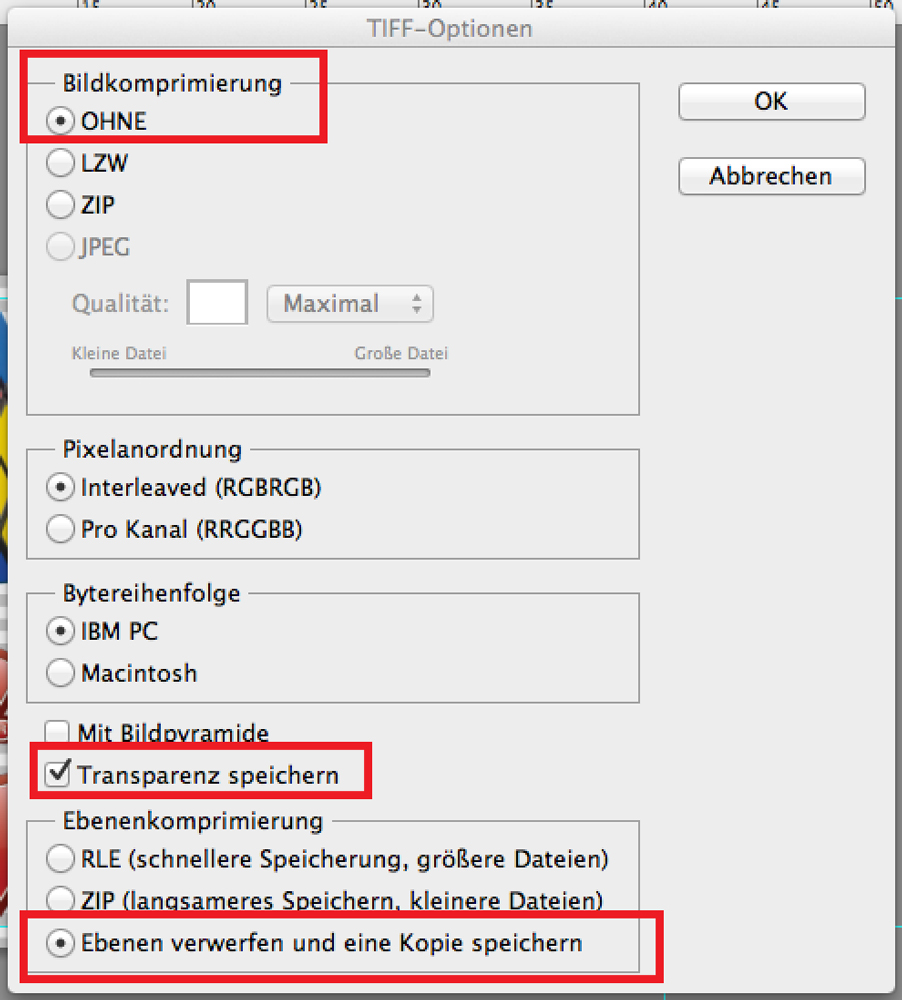
A complex TIFF file of this size can range from 70MB to 90MB, and in some cases may even be larger.
Other file formats would, of course, also have been suitable; in particular, if no transparency is to be included, JPG and other image formats can also be used.
It is important that the file covers the entire A3 format, that the margins of the print area are observed, and that the file has a resolution of 300 dpi. Ultimately, a suitable file will therefore have approximately 5,000 x 3,500 pixels.
3. Ordering in the YOW! Shop
The READY Transfer can be found in the YOW! Shop under the product category Services/Textile Transfers/.
The finished image file (TIFF, 90 MB) has been uploaded to the YOW! Shop.
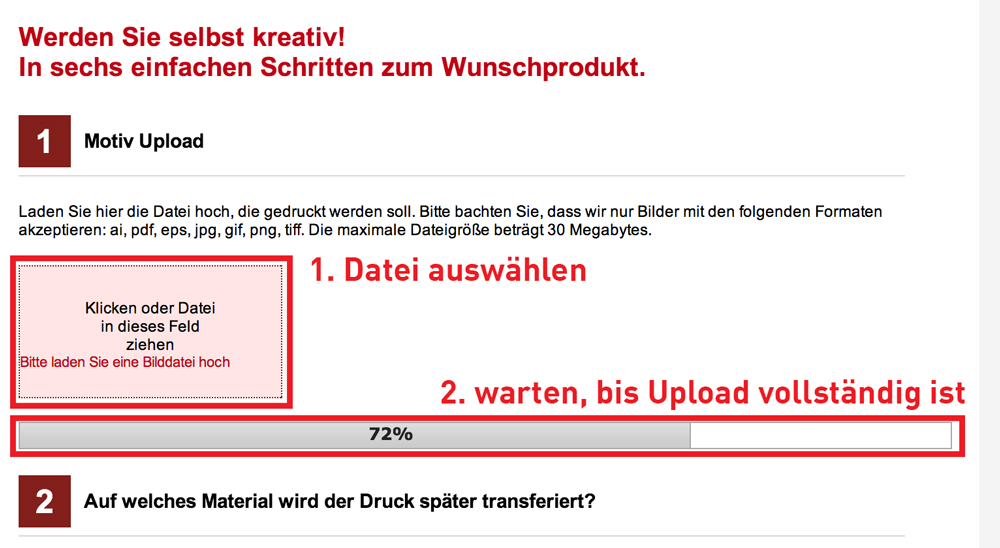
4. Settings for the transfer print order
Once the file has been uploaded, you will need to configure the remaining parameters for the printing service. It is important to specify the correct colour and material of the textiles to be used so that the transfer printing can be tailored accordingly.
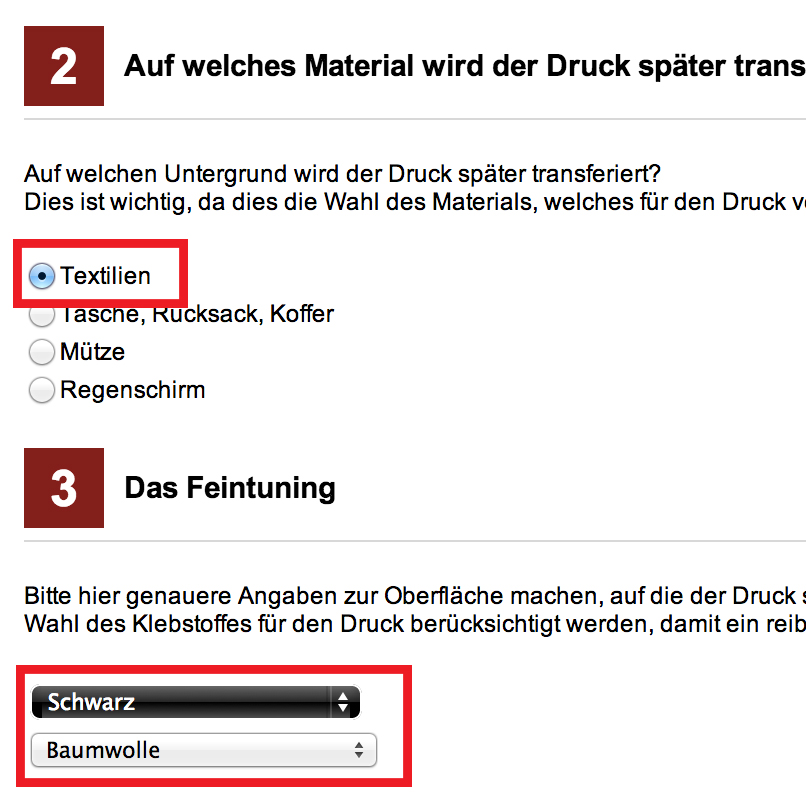
In our case, cotton was chosen as the material and black as the colour.
It should be noted that transfers featuring colour gradients and similar effects can only be applied to items of the specified colour – at least, a correct colour impression can only be achieved on these backgrounds.
5. The transfers are delivered
In our case, we simply ordered the minimum order quantity of 10 sheets for our 60 T-shirts – as there were 6 figures on each sheet, we now have the figures and lettering ready for 60 T-shirts – plus a few extra lettering designs in reserve, and the small figures for other uses.
Depending on the delivery time selected, we only had to wait a few days for the transfers we’d ordered.
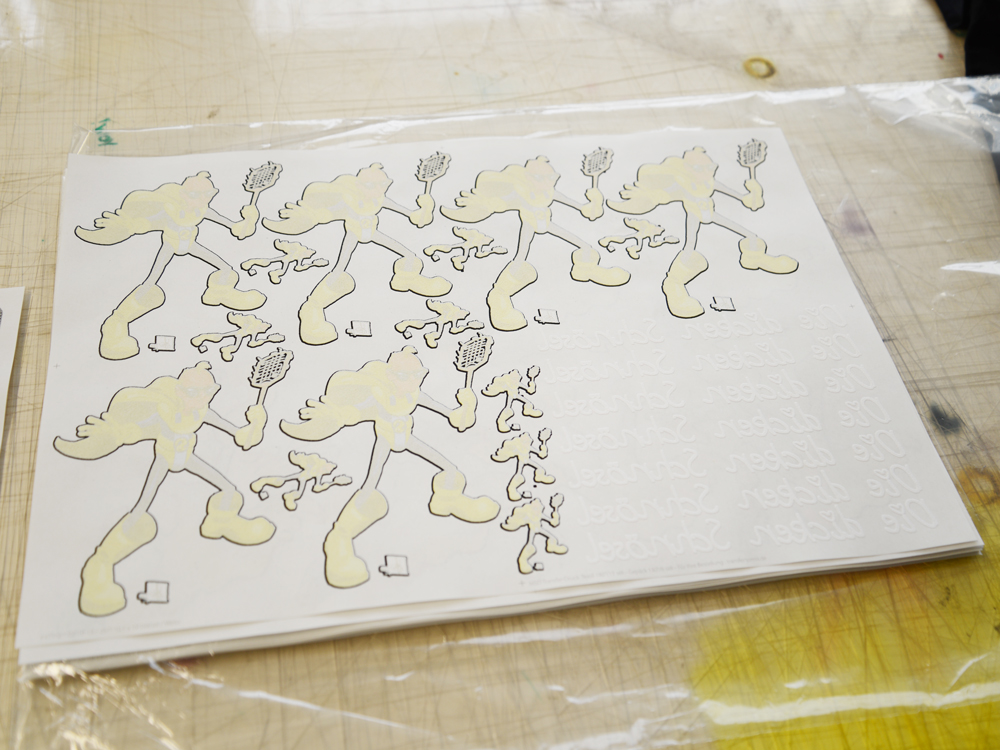
6. Cutting out
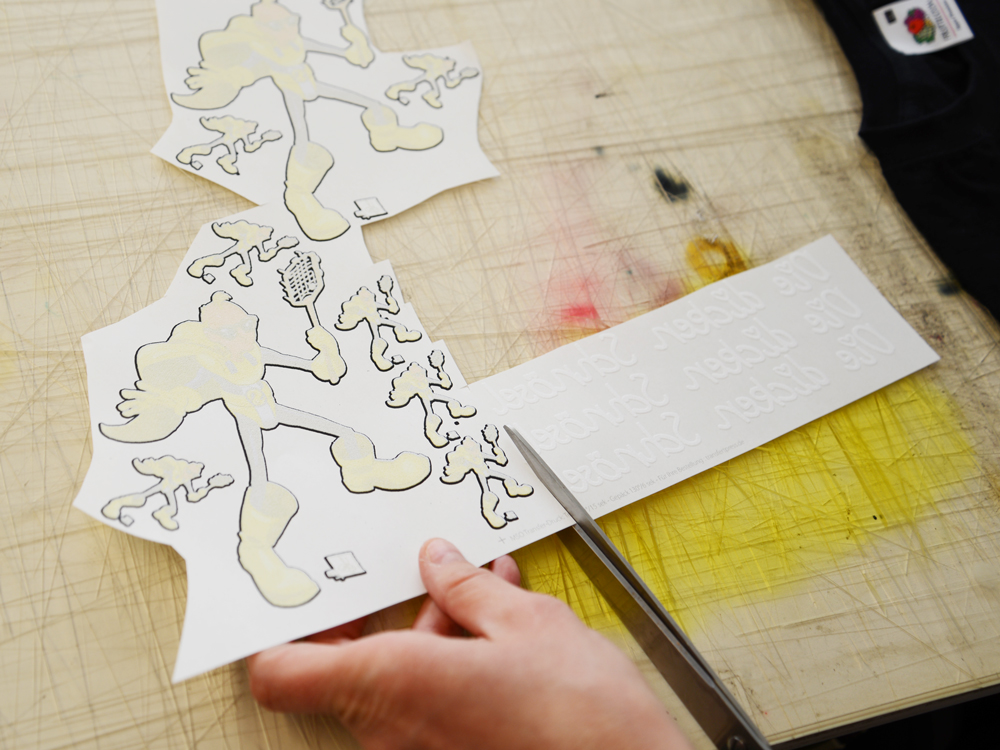
Use a pair of scissors to roughly cut out the individual transfers – just to clarify: the transfers themselves are already fully cut out (due to the transparency in the print file) and do not need to be cut to shape or plotted afterwards – we’re simply separating the individual figures and lettering from one another here!
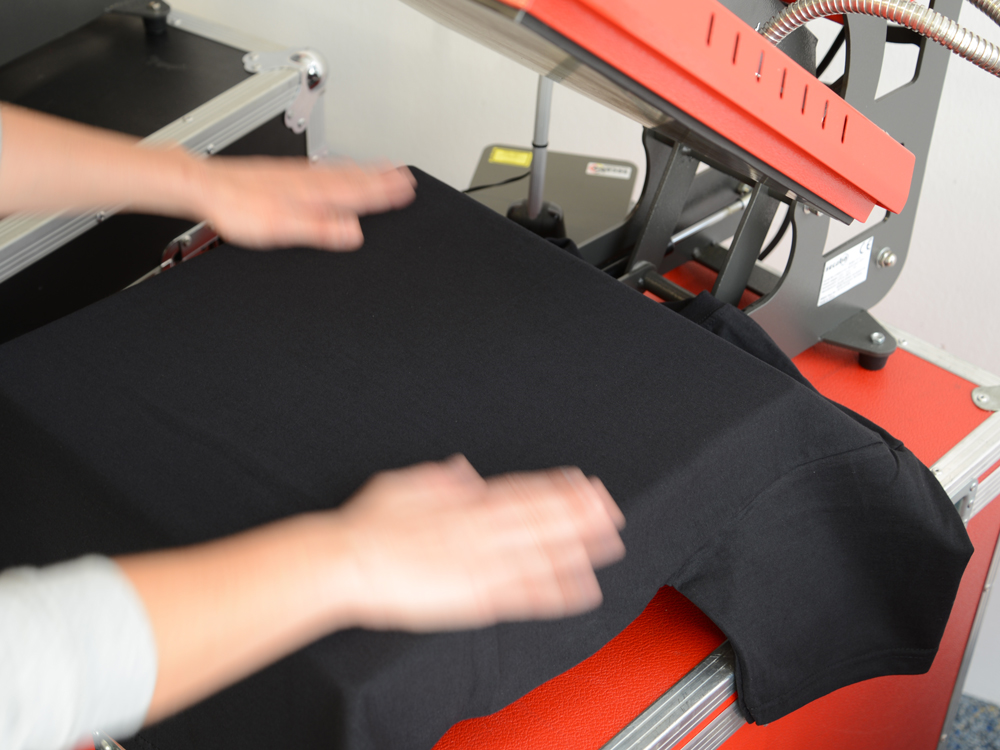
7. Place the T-shirt in the transfer press
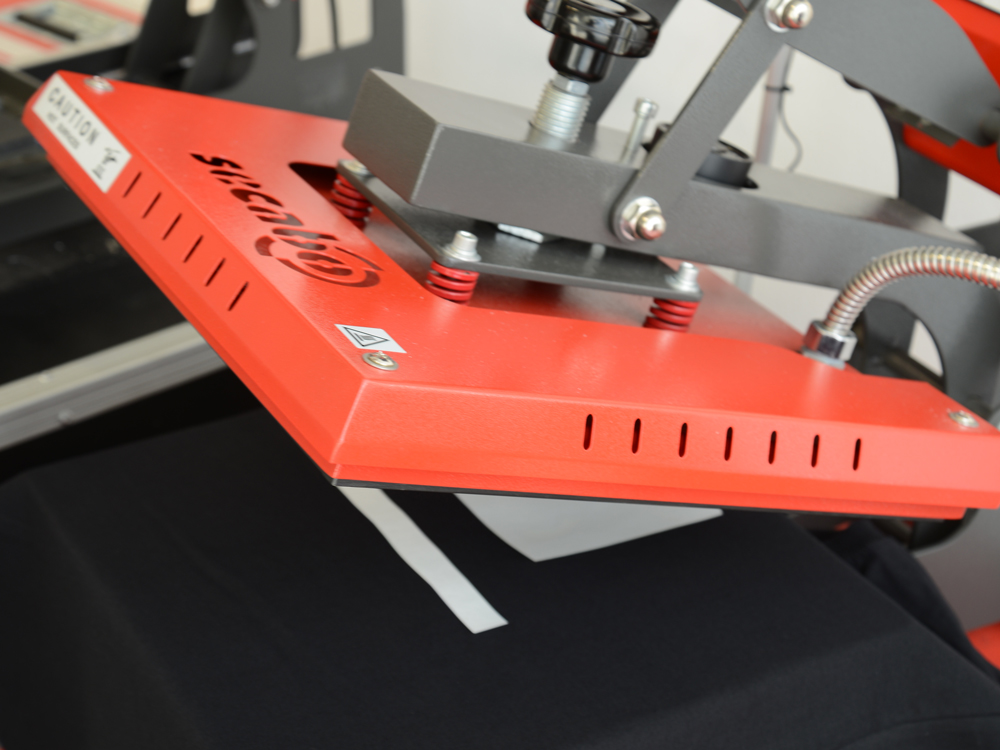
One by one, the black cotton T-shirts are now placed into a standard Secabo TC5 transfer press and pressed briefly to ensure the print area is nice and smooth.
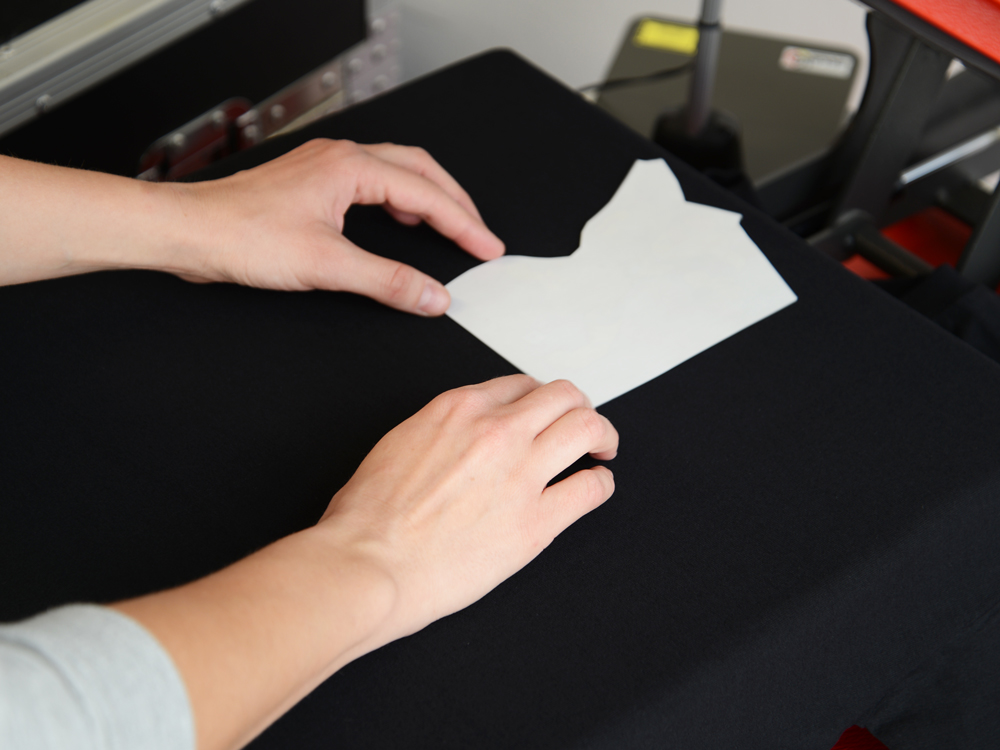
8. Aligning transfers
The design and lettering are now neatly positioned on the smooth T-shirt.
9. Applying transfers
The READY transfer designs are heat-pressed onto the T-shirts at 160°C for 15 seconds.
10. Peel off the backing layer
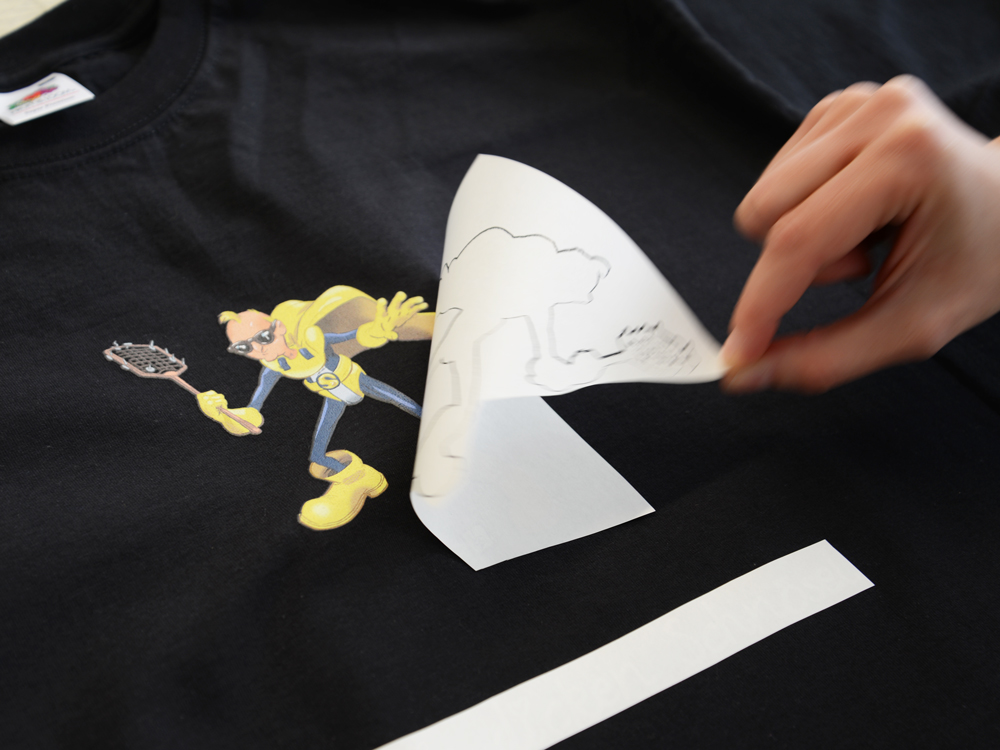
Once the T-shirts have cooled down, the backing layer can be easily peeled off.
11. Rejoice
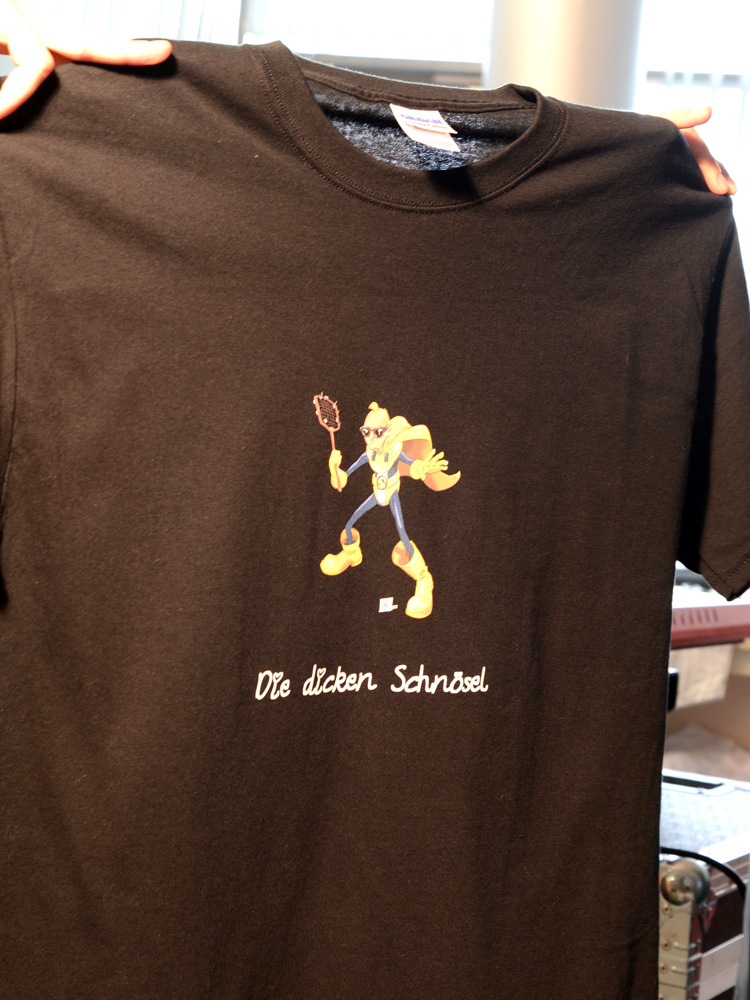
The T-shirts are now ready. Without the hassle of plotting and weeding, we’ve produced 60 professional band T-shirts in an extremely short time and with very little effort on our part, featuring high-quality, full-colour designs.
12. Calculation and costs
The 10 A3 sheets cost us €182.60 including VAT. We fitted 6 complete transfer sets – comprising a figure and lettering – onto each sheet. This means that a transfer for one T-shirt cost almost exactly EUR 3.00 including VAT. We now have 90 small figures and 10 lettering designs left over. On top of this, of course, are the costs for the black T-shirts, which in our case amounted to approximately EUR 3.20 including VAT.
For larger print runs, the unit price would be even lower – for example, with a run of 100 sheets or 600 transfer sets, a set comprising a character and lettering would have cost just 0.97 EUR…