Give old furniture a new lease of life with adhesive film
Fancy a change of scenery? We’ll show you how to breathe new life into old furniture easily and cheaply using adhesive film. Do it yourself!
No matter how lovely your furniture is to begin with – after a few years, even the most beautiful chest of drawers can start to look a bit samey. Anyone wanting to breathe new life into their home often instinctively reaches for a furniture catalogue. But giving your home a makeover is much easier – and, above all, cheaper!
With self-adhesive film, you can give old furniture a new finish in no time at all, with no limits to your creativity. We’ll show you what you need for a makeover and what you need to bear in mind.

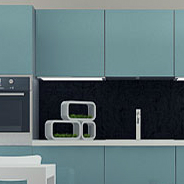
Step 1: The materials
Naturally, to apply the new coating, you’ll first need the right self-adhesive film. We recommend theRitrama PRO seriesor Oracal 751C for this. For special designs and patterns, useOracal 975 Structure Design. Here, you can give your creativity free rein and really let your imagination run wild. As well as a huge selection of colours and patterns, there are also special films, such as blackboard film, which can be written on with standard chalk. When put up in a child’s bedroom, the little ones can decorate it with colourful drawings to their heart’s content and then wipe it clean again very easily.
In the kitchen, blackboard film is ideal for jotting down your daily to-do list, noting down recipes or drawing up a shopping list. In short: there are a multitude of creative possibilities that can be realised with self-adhesive film.
Apart from the film, you’ll only need a few tools, which can usually be found in any well-stocked household: a pair of scissors, a craft knife, a (pastry) scraper or one of our squeegees, and a microfibre cloth. Then you’re ready to get started!
Step 2: Cleaning the surfaces
Even though we often cannot see it with the naked eye, all sorts of dirt build up on our furniture day after day. Whether it’s dust, grease or tobacco residue – all of this can affect the final appearance and even impair the film’s adhesion. So the first step is to thoroughly clean the surface to be covered and remove any dirt. All you need for this is a little warm water with washing-up liquid or a degreaser, and a microfibre cloth that is gentle on the surface. The surface should then either be wiped dry or – particularly in the case of wood – left to air-dry for a while.
Step 3: Cutting the film to size
Measure the surface area you wish to cover with the film. Take care to be precise so that the film does not end up being too short. In addition to the actual surface area, allow for 3–5 cm on all sides. These excess edges will be folded over or trimmed off if necessary.
Step 4: Applying the film
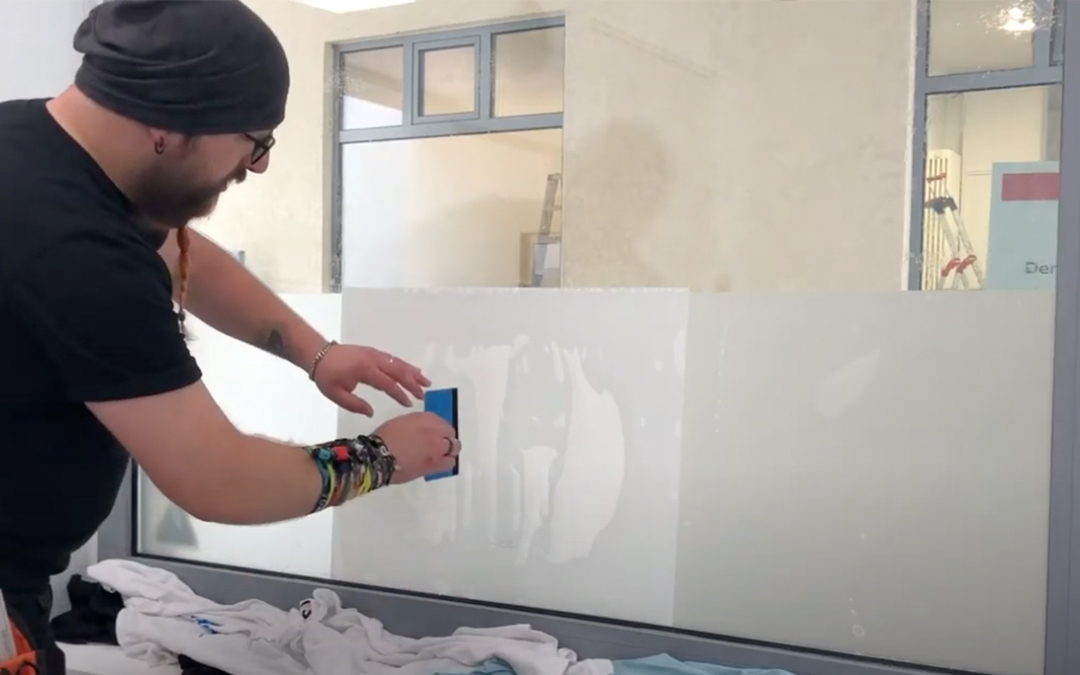
To ensure that surfaces are fully bonded without any air bubbles, it is best to apply the adhesive films using the ‘wet application’ method. To do this, it is advisable to remove the fronts as far as possible; at the very least, handles and knobs should be taken off. Moisten the cleaned and degreased surface evenly with a solution of washing-up liquid and water (use approx. 1 tsp of washing-up liquid to 1 litre of water), then place the appropriate film loosely over the surface and align it. The main advantage of wet application is that the film can be easily moved into the correct position. Once the correct position has been found, simply press the film down from the centre outwards towards the sides and use a plastic squeegee to smooth out the water and air bubbles. The surface should be used with care until the water has completely evaporated to prevent the film from accidentally peeling away, particularly at the edges.
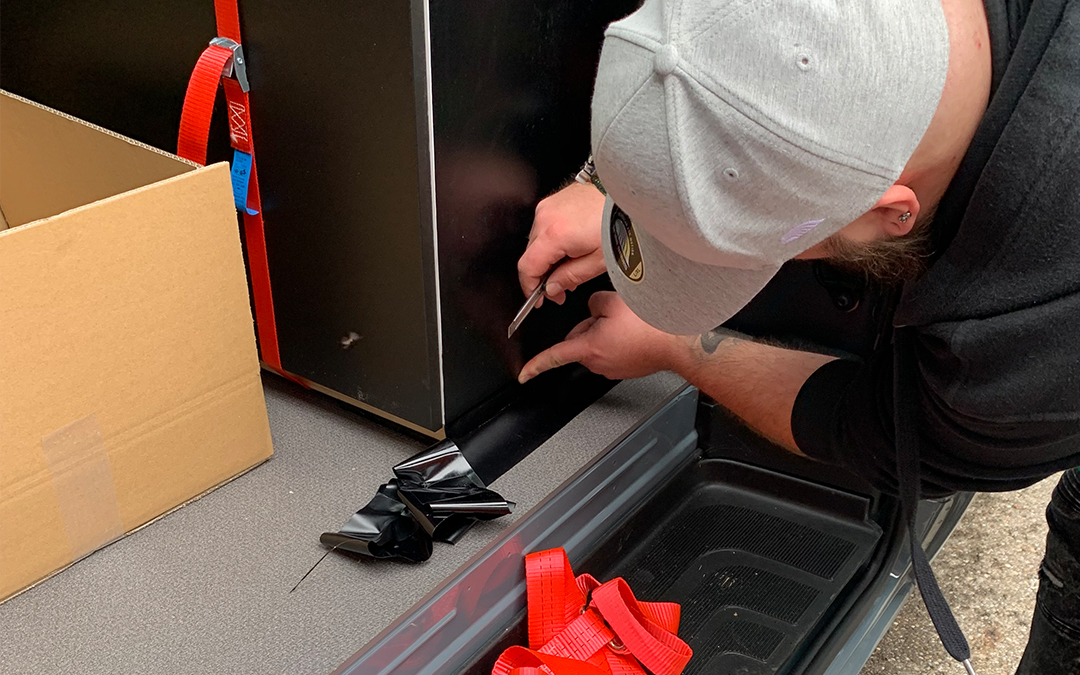
For smaller areas, you can alternatively use the ‘dry application’ method. To do this, position the film at one edge and peel off the backing at the same time. If the film sticks at a corner, take the squeegee or scraper and run it over the film from top to bottom. Finally, fold over the excess edges at the sides or trim them to size with a craft knife. Done!