Window film installation with frosted glass film – explained simply!
We’ve also made a video on the topic of frosted glass film, which you’re welcome to watch as well. Do pop over to our YouTube channel to have a look.
Hello, dear YOW! friends,
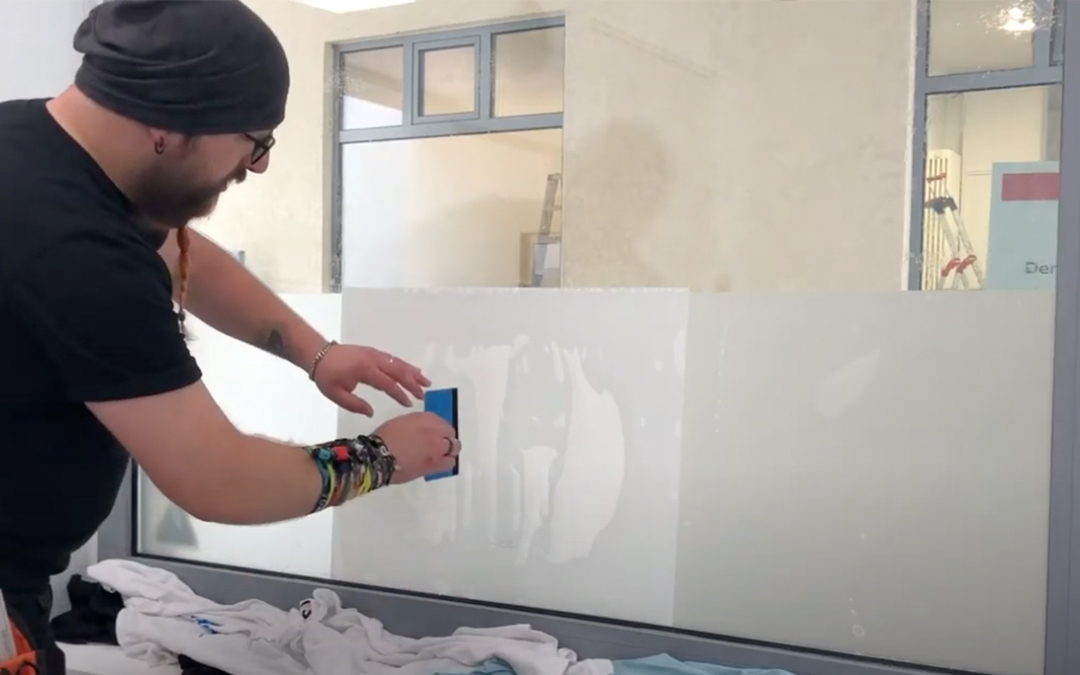
Today we’d like to show you how to apply frosted glass film to a window. We’ve also made a video on this topic, which you’re welcome to watch as well.
Do pop over to our YouTube channel. We regularly post videos there about our products and the latest technologies. Subscribe to us so you can stay up to date!
Enjoy watching!
What you’ll need:
- Squeegee
- Scissors
- Utility knife
- Folding rule
- Roll
- Masking tape
- Spray bottle (included, filled with water and washing-up liquid)
Taking measurements
In a nutshell: the first step is to measure the objects. This allows you to edit and create all the surfaces on the computer later so that they fit the window panes exactly.
Plotting and weeding
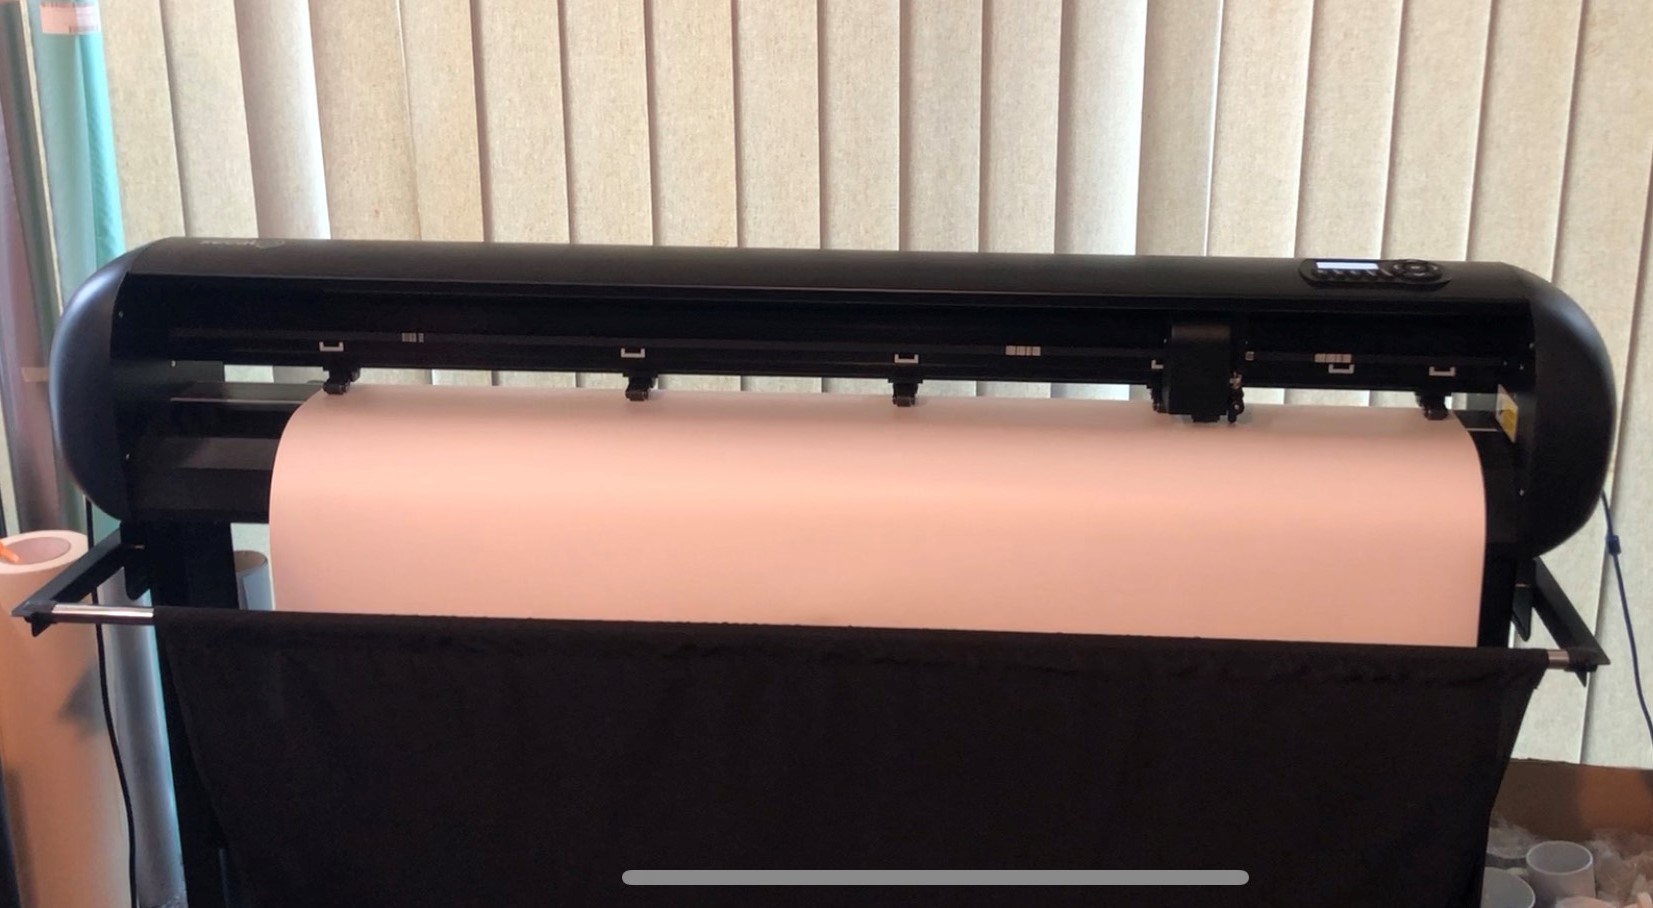
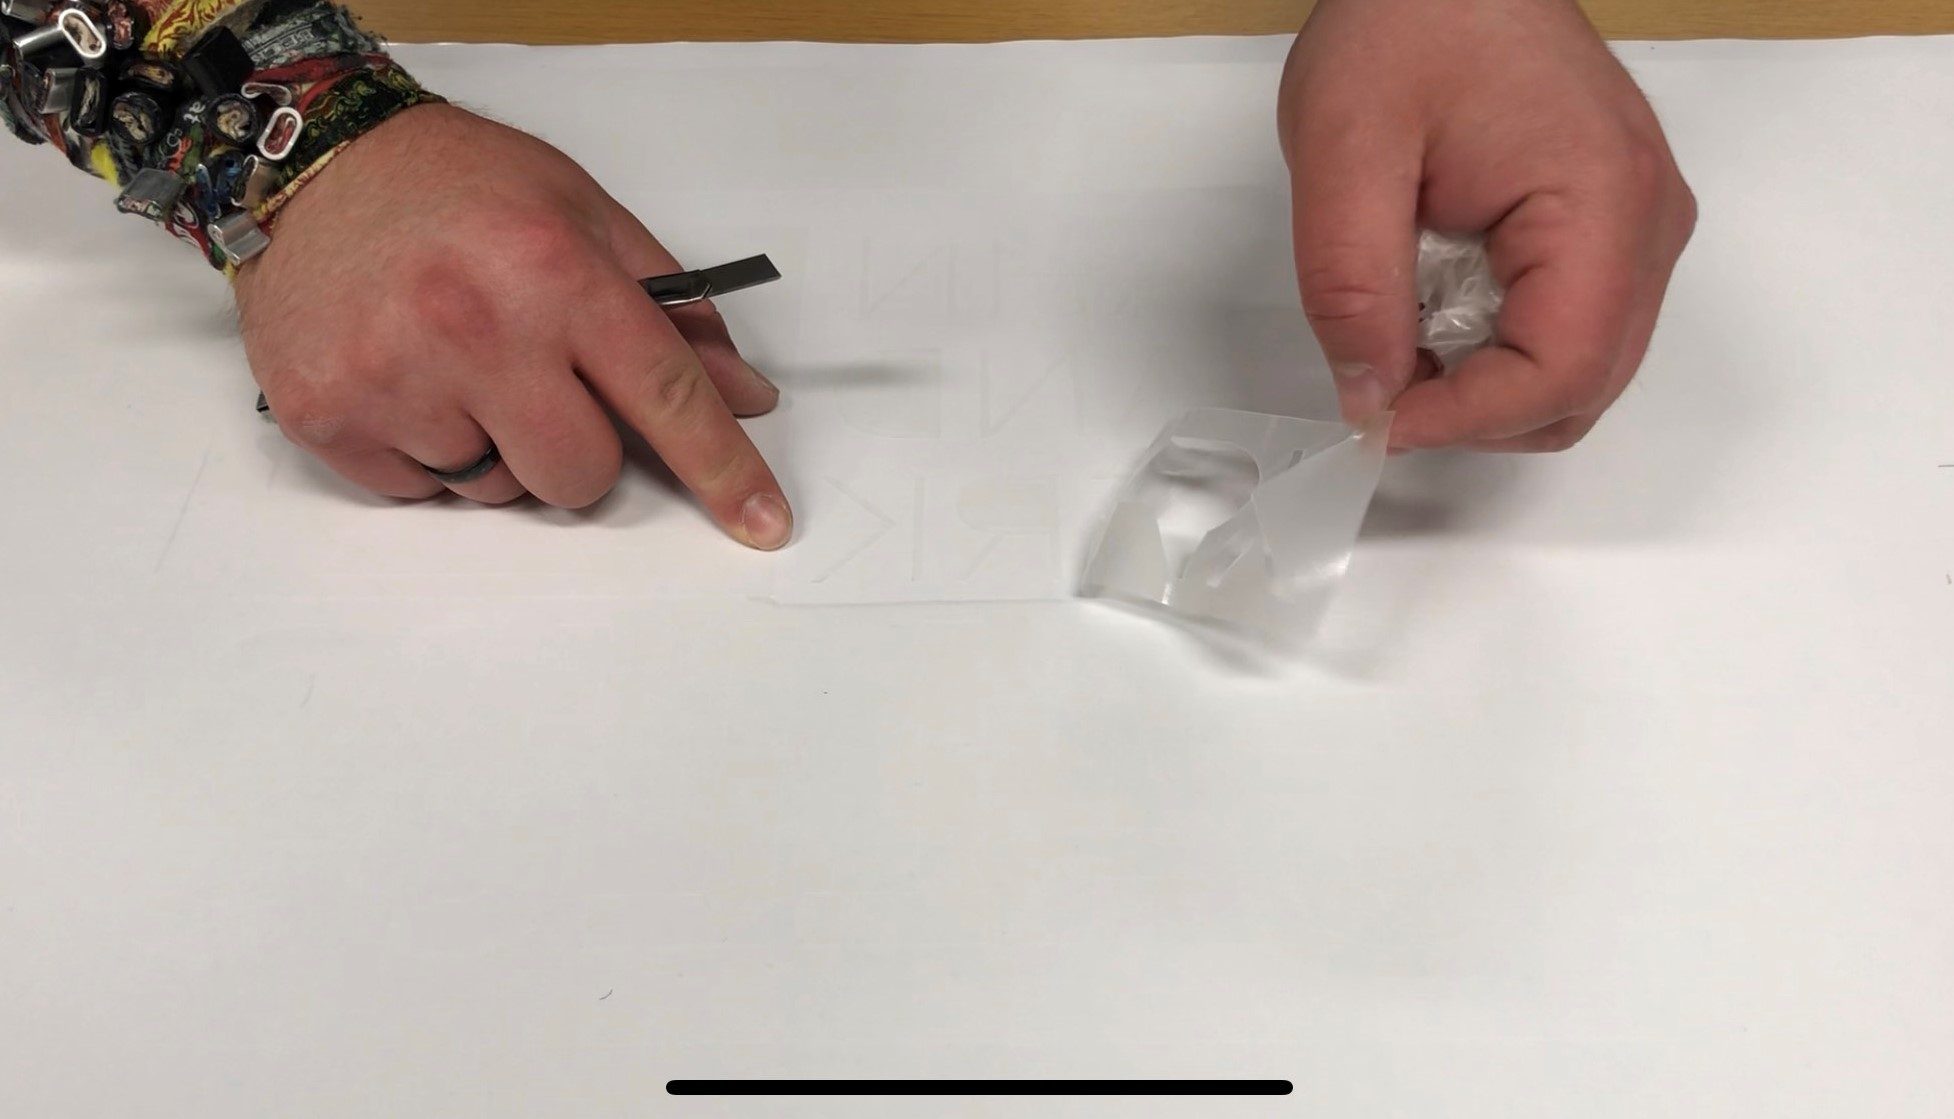
In the second step, you can first plot out all the designs onto frosted glass film using a Secabo cutting plotter and then weed them. We have a wide range of entry-level models on offer, as well as professional-grade machines. Do pop in – you might just find something to suit your needs. When weeding, you’ll need a pair of weeding tweezers to help you. These make this somewhat tedious task much easier. All designs are then covered with transfer film and smoothed down using a squeegee. You’ll achieve the best results by applying firm pressure from the inside out, ensuring the adhesive film and transfer film bond properly.
Cleaning windows
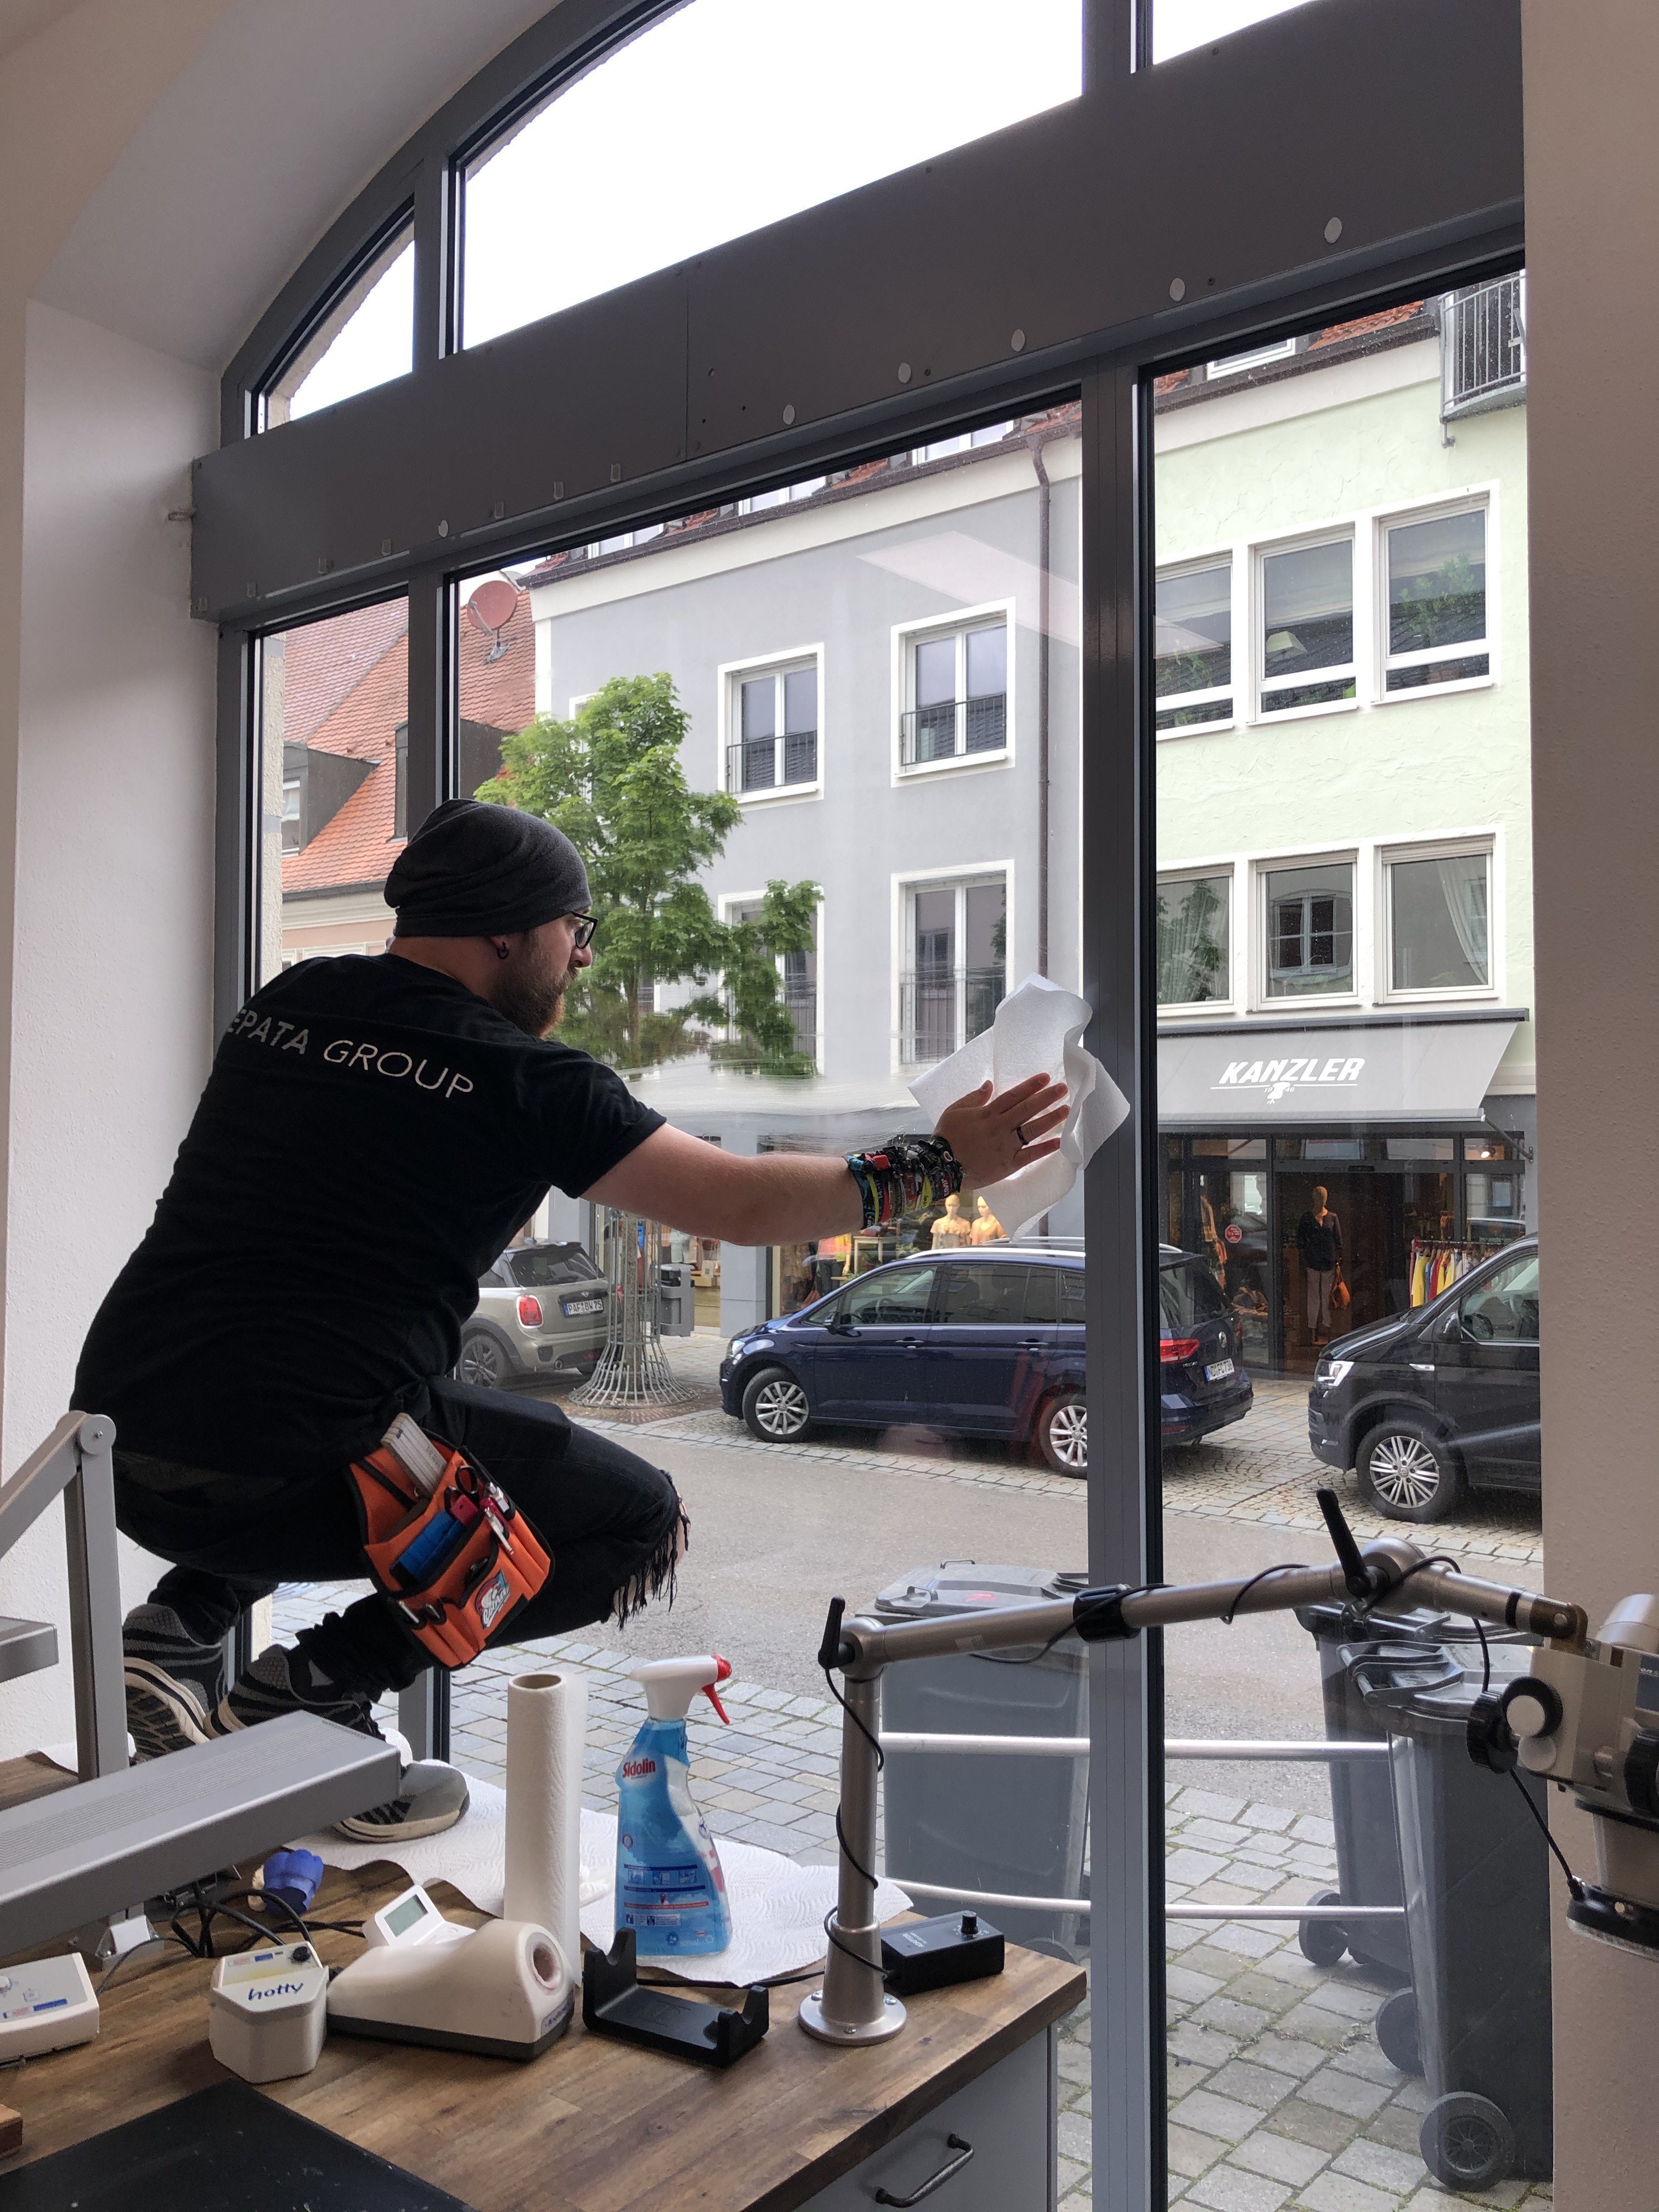
Now all the windows need to be thoroughly cleaned and degreased. You can do this using a simple spray bottle and kitchen roll.
Bonding
Now we come to the most important part: applying the film. To make it easier, you can first dampen the window and then position the desired design BACKWARDS on it (without sticking anything down directly). But start by placing it just above where you actually want to stick it, so that you can slide the film into position later. This is what it should look like:
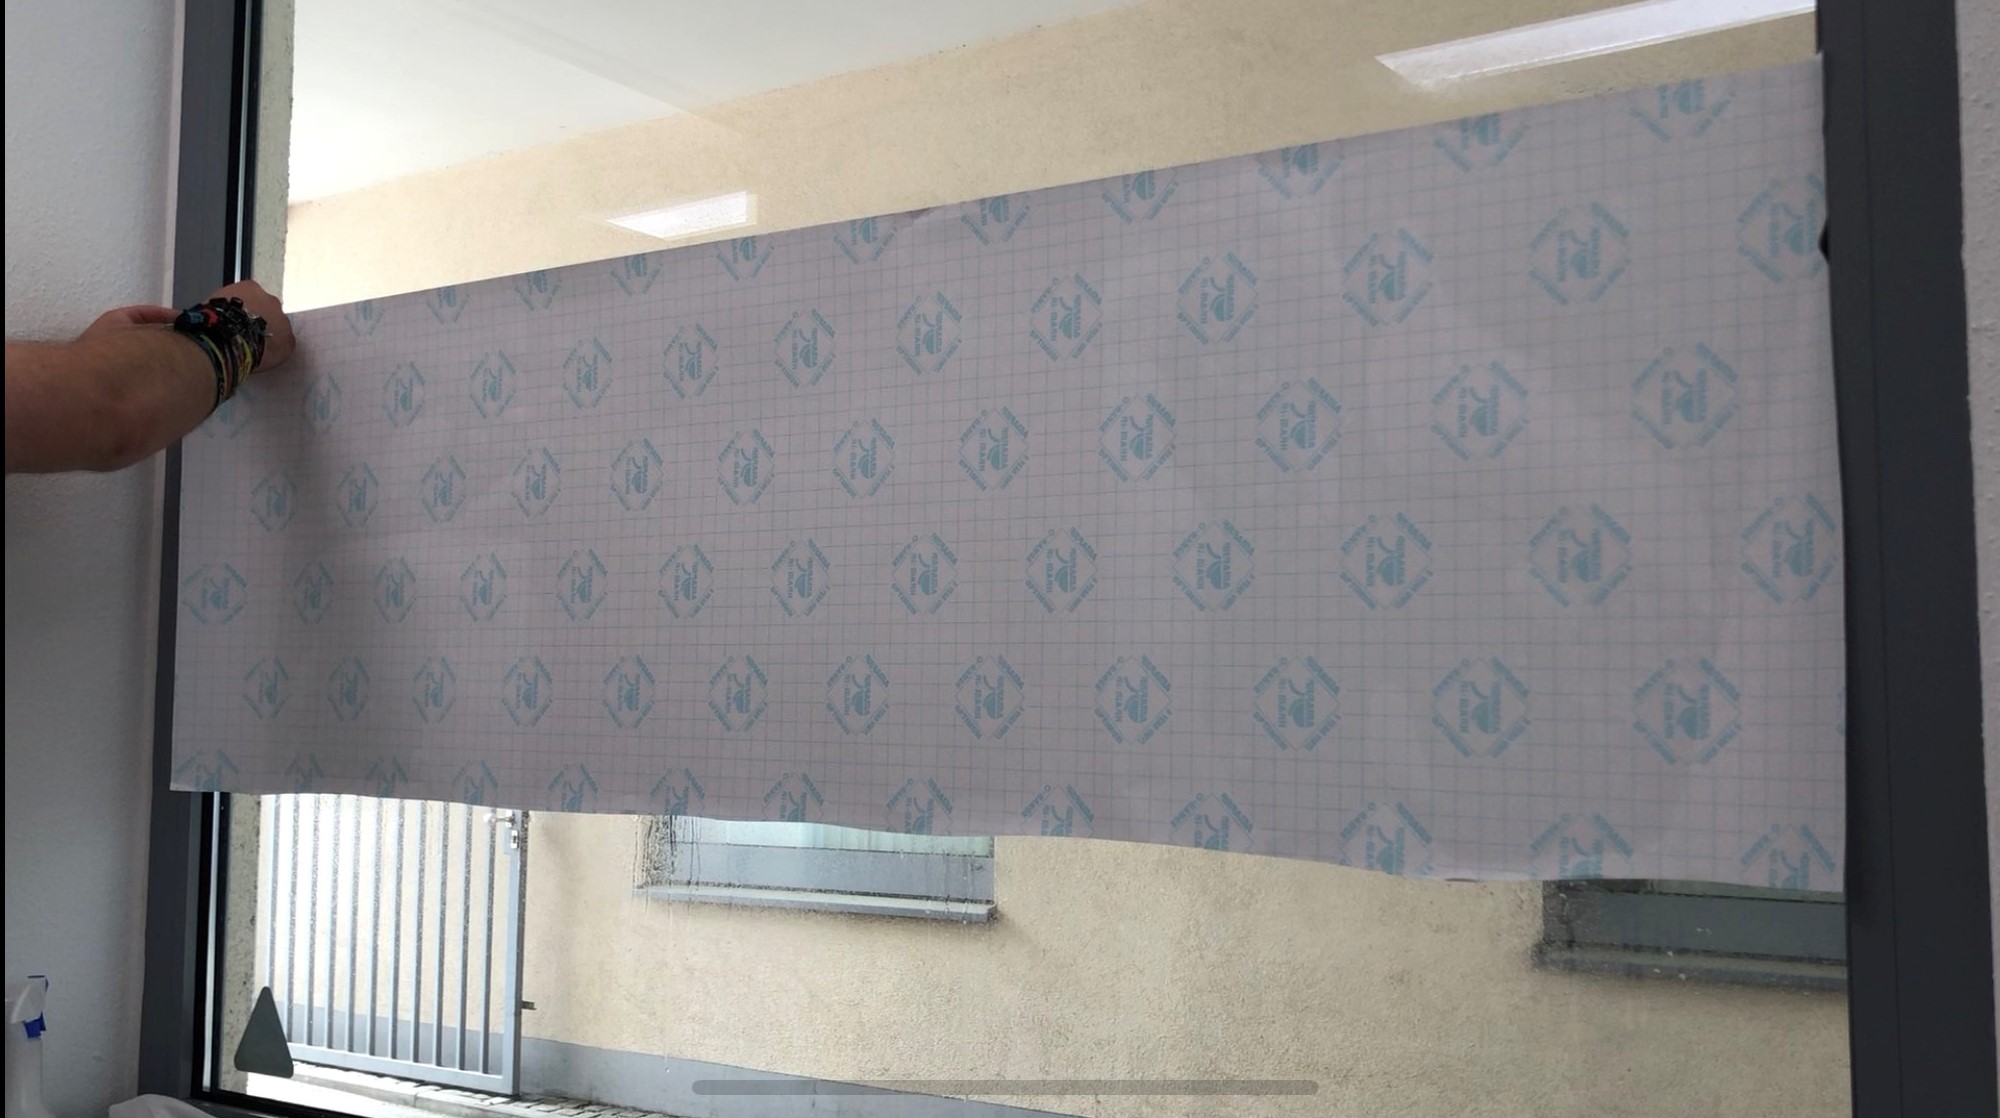
Next, you need to peel off the backing layer. And this is where you’ll realise why you had to dampen the pane beforehand. The reason is simple: the film can be positioned without sticking to the window – a little help, so to speak. This means you can still touch up any minor imperfections or make adjustments. What’s more, it allows you to peel off the backing layer without any trouble.
Once you’ve done that, moisten the area on the frosted-glass film that’s actually intended for this purpose using the spray bottle. Peel the film off completely, turn it over so that the correct side is facing outwards, and slowly stick it onto the correct spot. Move it, align it, adjust it… all of this is still possible thanks to the moistening step.
Take the squeegee and smooth firmly from the inside out again to remove all bubbles and air pockets.
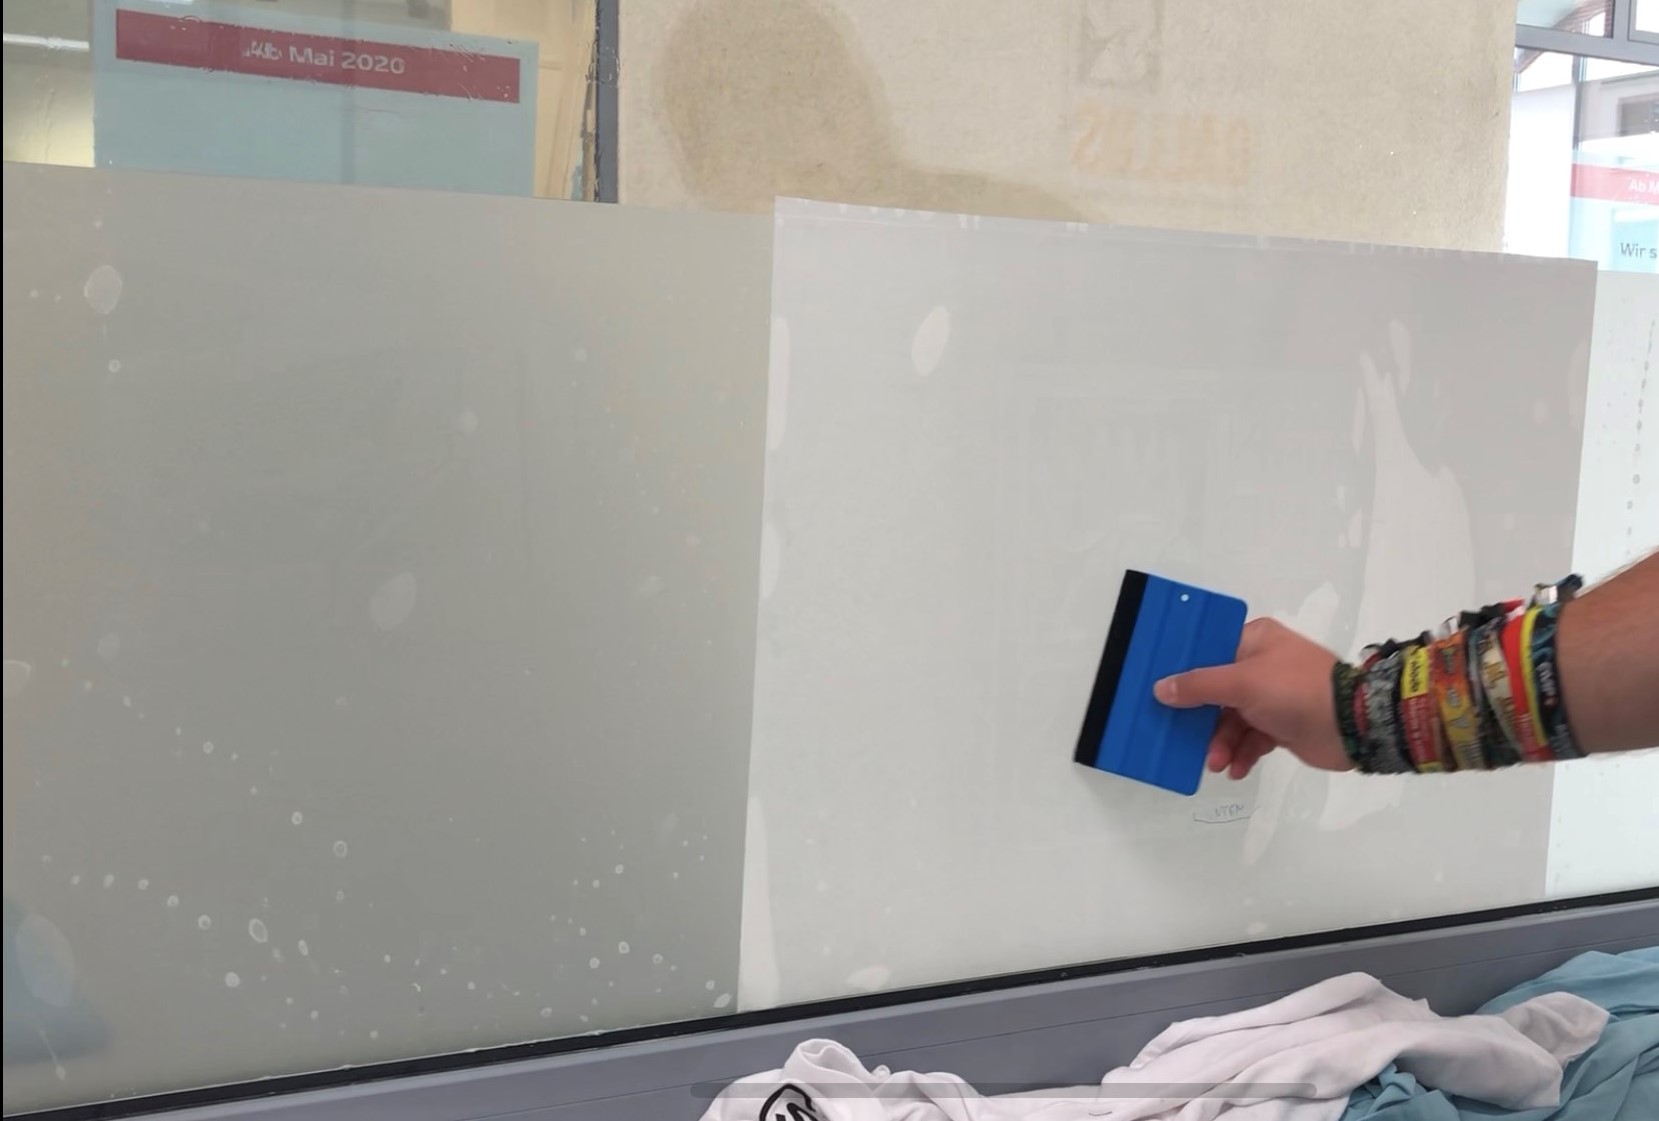
It is recommended that you wait about 24 hours to allow everything to dry. After that, you can peel off the remaining layers – and you’re done! –
If you want to be absolutely sure, you can have a look at the accompanying tutorial. Everything is explained in detail there, and you’ll get a good idea of exactly how it should be done.
If you have any further questions, please do not hesitate to ring us or send an email to mail@y-o-w.com.
Sunny regards, your YOW! team