Skip to main content Skip to search Skip to main navigation
YOW! Advent Calendar

YOW! Advent calendar – door number 21

Packaging with a personal touch.

Create your own gift ribbon featuring greetings, logos, images, lettering, etc.

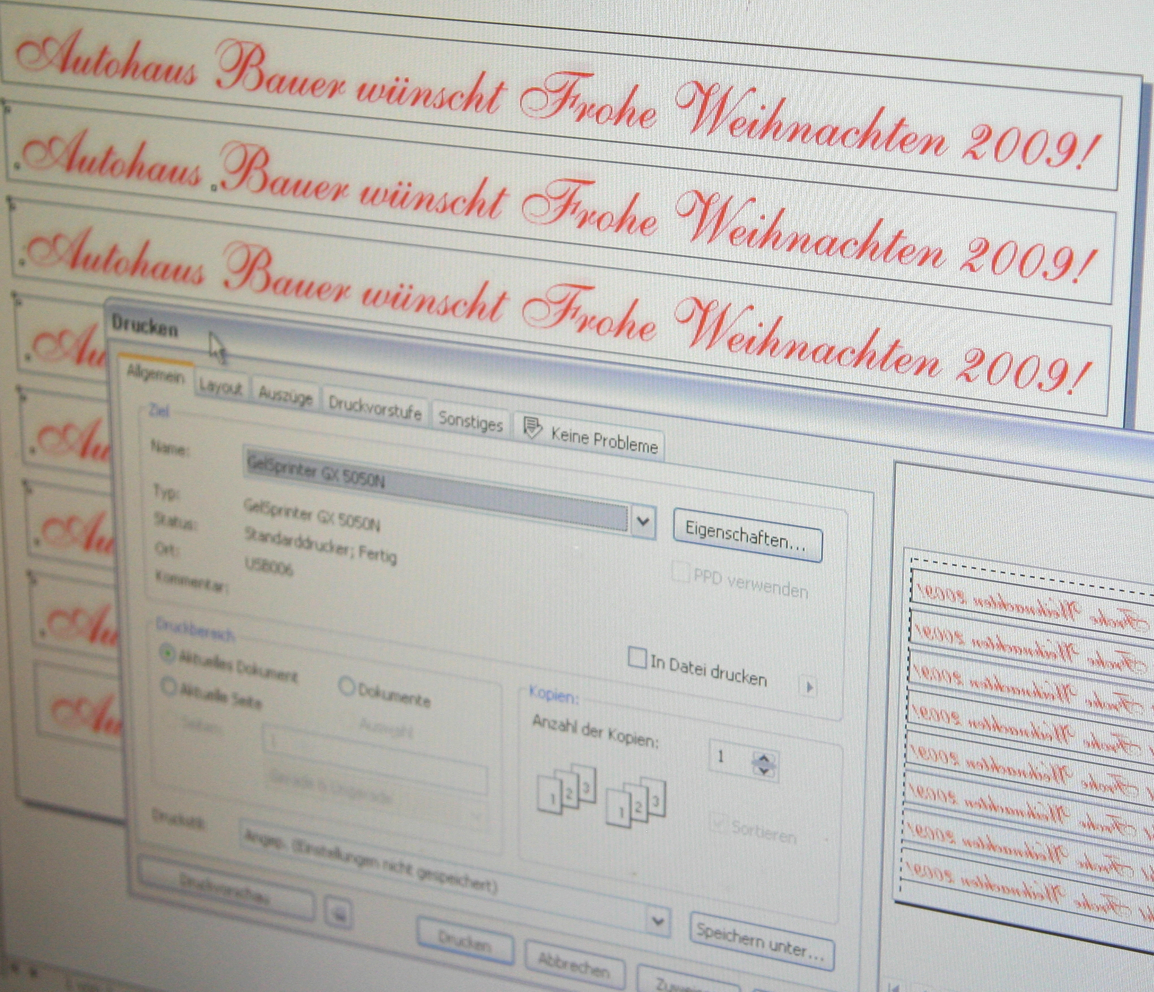
  1. Prepare the design for the personalised gift ribbon on your computer, taking care to allow for the width of the ribbon and leaving a small margin.
  2. Duplicate the design several times and print it sheet by sheet onto sublimation paperusing a sublimation printer.
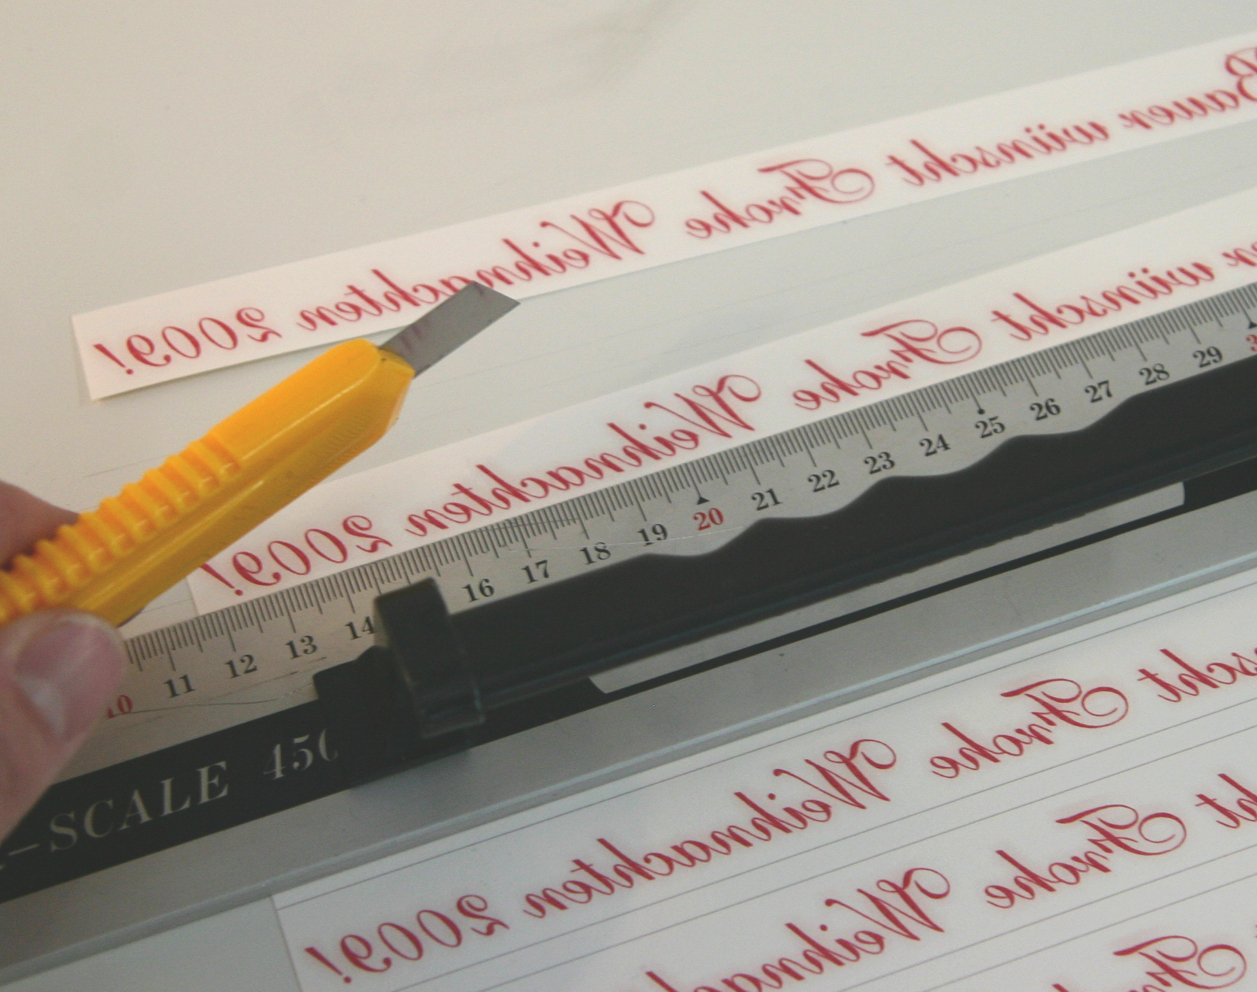
  3. Cut the sheet into individual strips.
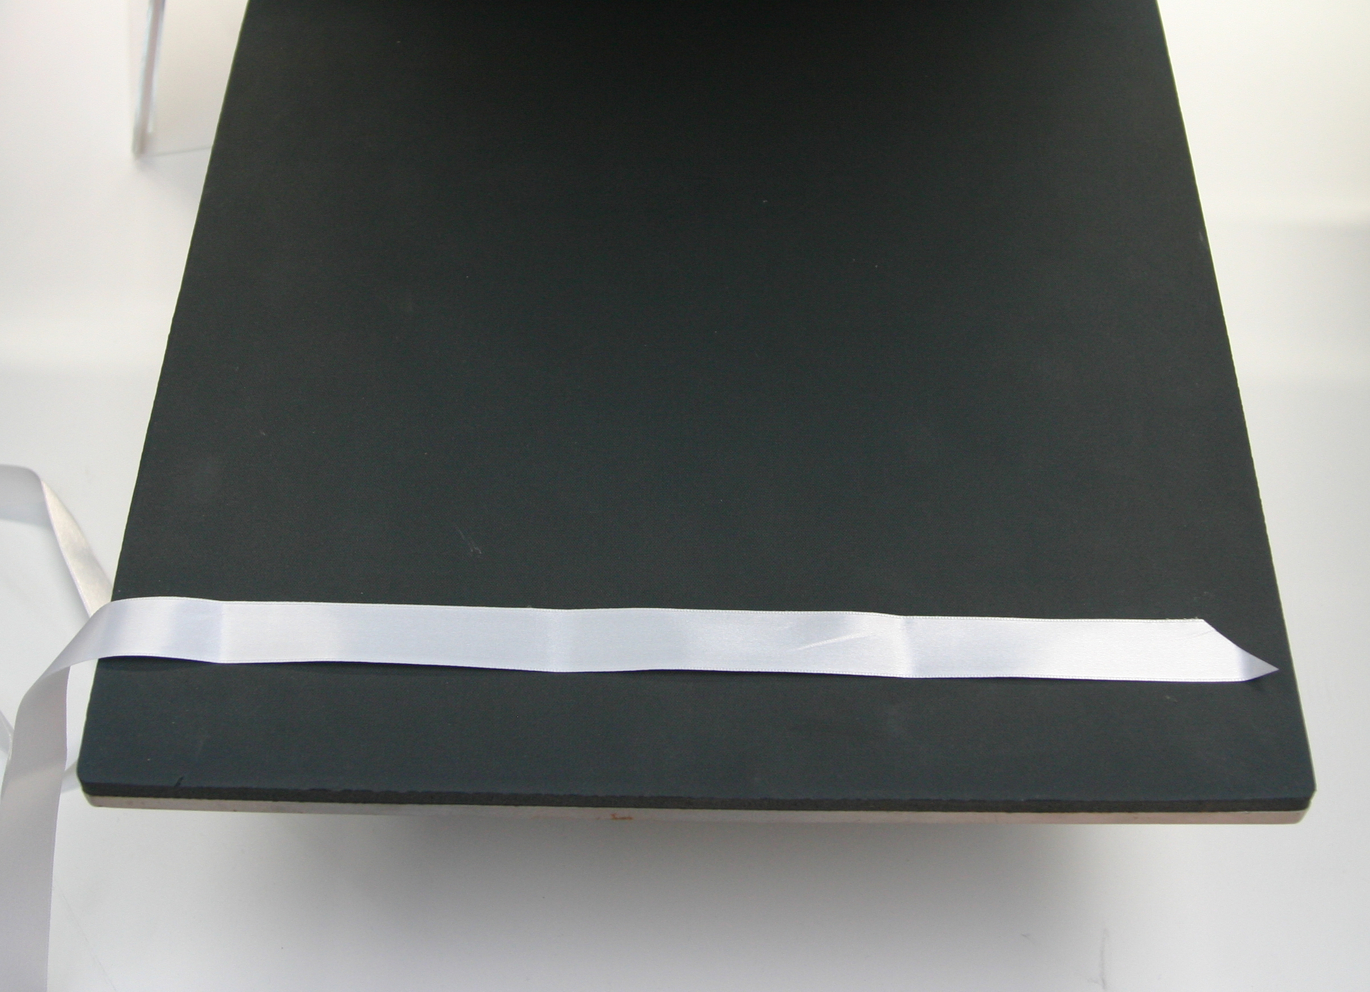
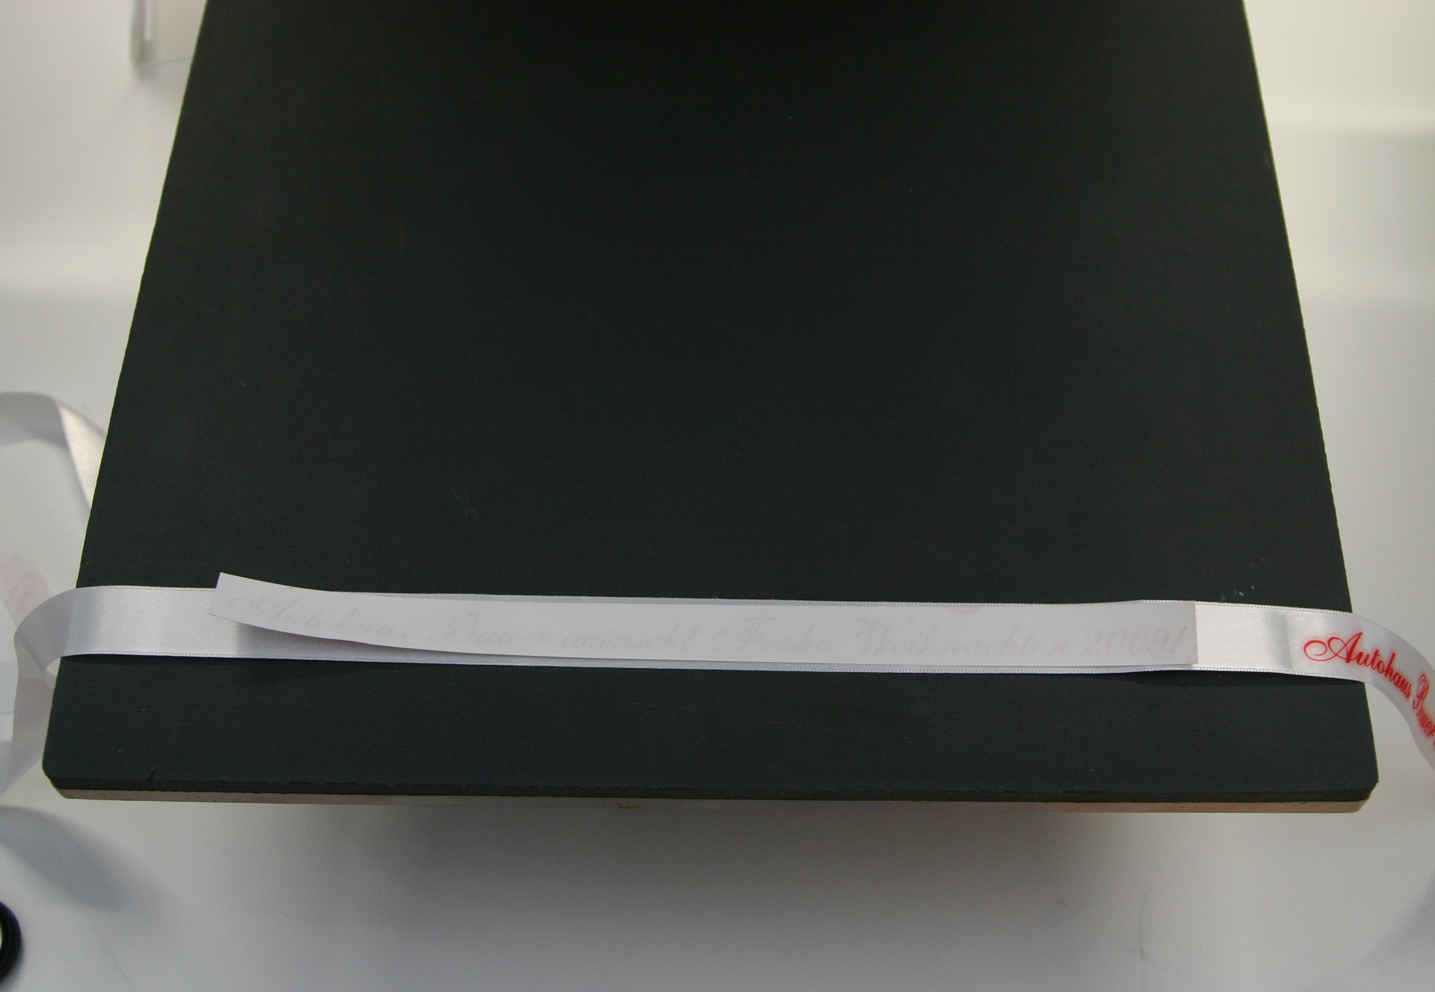
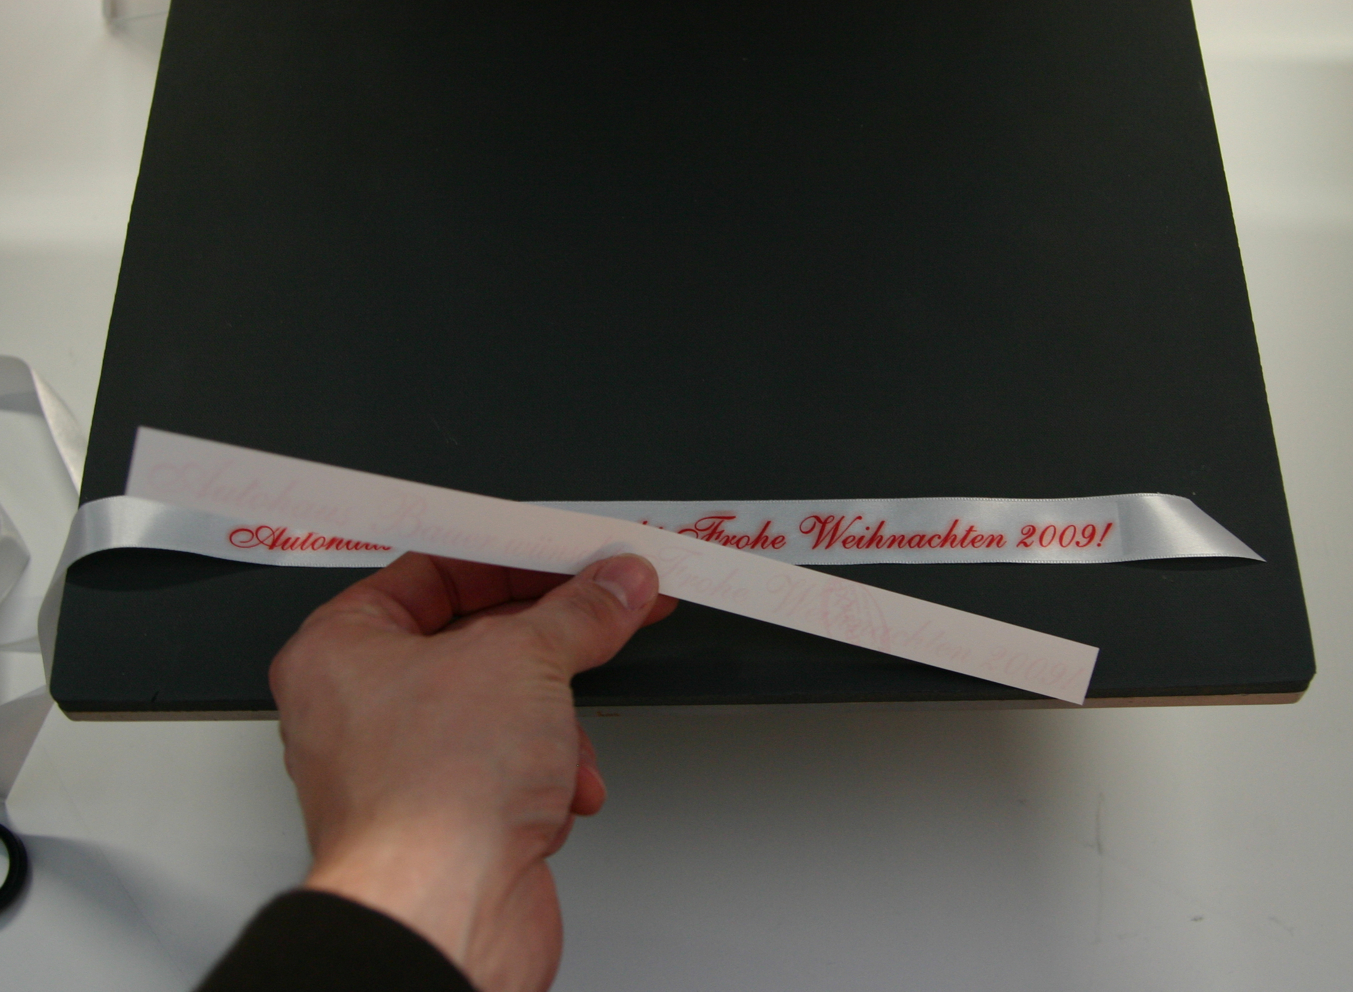
  4. Place the first piece of gift ribbon onto the transfer press and position a strip of sublimation paper straight on top of it.
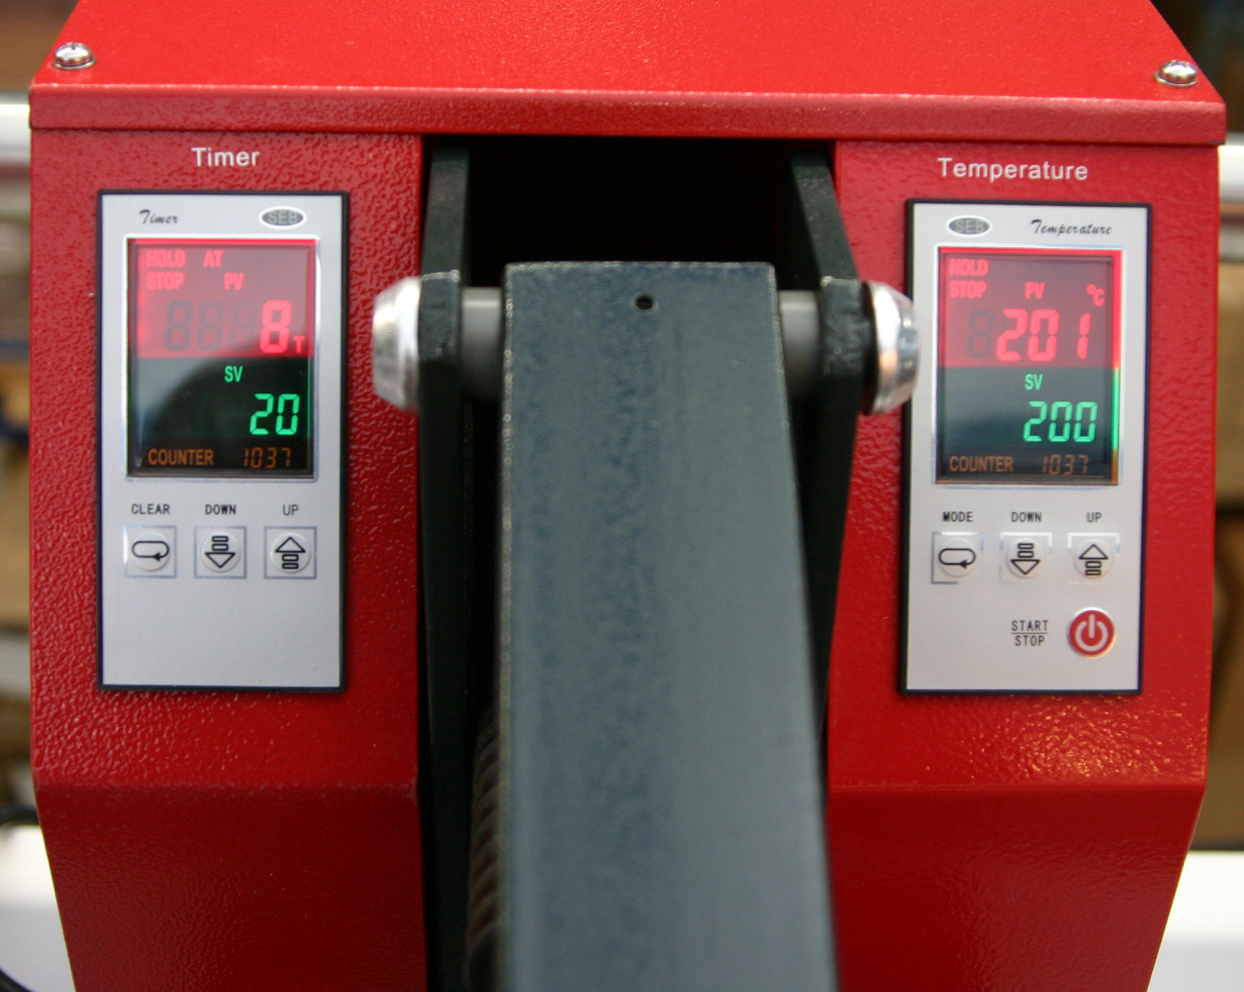
  5. Carry out the pressing process (approx. 200°C, 20 seconds), then remove the sublimation paper.
  6. Move the ribbon along and carry out further sublimation processes.
  7. Done.
Screen showing the text ‘Autohaus Bauer wishes you a Merry Christmas 2009!’ repeated several times, and the print dialogue for the sublimation printer
Printed sublimation paper is cut into strips using a craft knife and a ruler; on each strip, in red and mirror-inverted, it reads: Merry Christmas 2009!
A white satin gift ribbon with a diagonally cut end lies flat on the black base of a transfer press, ready for printing
White gift ribbon on a black heat transfer press, with strips of sublimation paper bearing a Christmas message; on the right, a section already printed in red
Control panel of a red heat transfer press: timer set to 20 seconds, temperature set to 200 °C, currently 201 °C
After pressing, a hand peels the sublimation paper off the white gift ribbon on the transfer press – printed in red: Merry Christmas 2009!
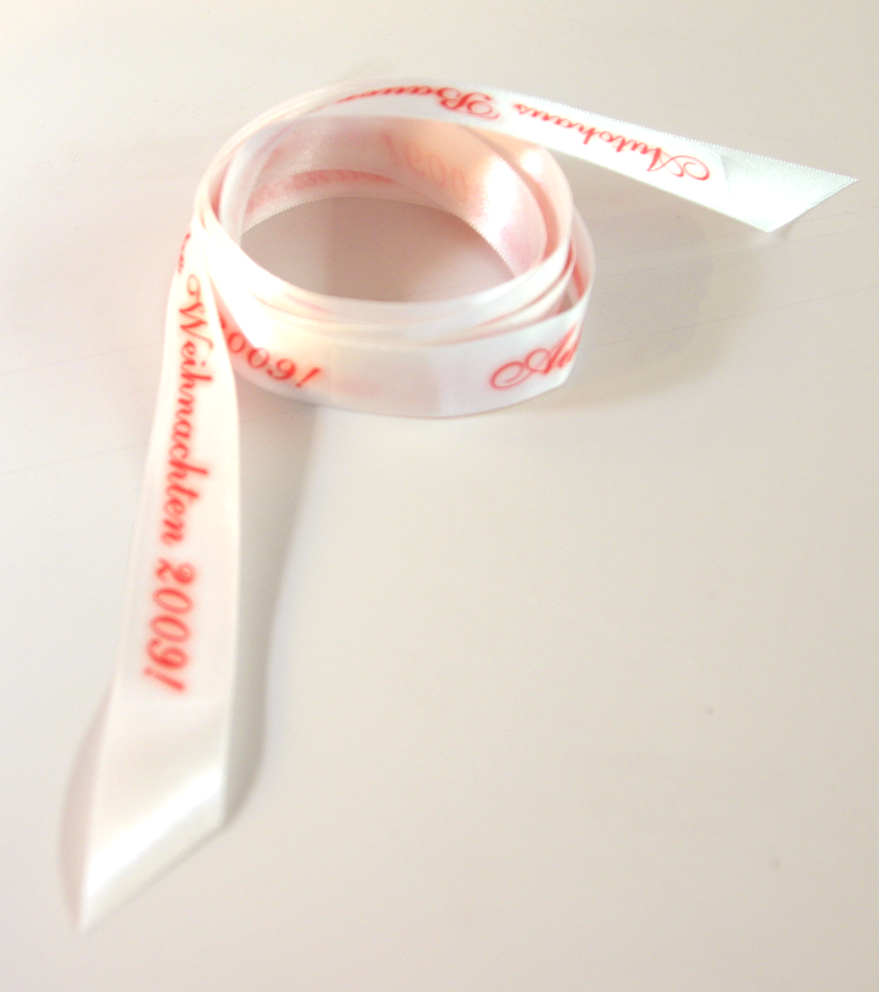
Pre-sublimated white satin gift ribbon, loosely rolled up, featuring the red lettering ‘Christmas 2009!’ and the name of a car dealership
Tags Transfer press Sublimation Sublimation transfer