Cool ideas for an Advent calendar
From 1 to 24 December, we’ll be giving away some great prizes every day. And each time, we come up with some cool packaging, such as brown stars.
Happy New Year!
We can already tell you that we’ll be hitting the ground running again in 2021. It’s important to us to bring you a little joy with every post and to inspire you with our tutorials. So be sure to stay tuned and get ready for a treat, because today we’re going to make stars with you. A homemade Advent calendar, so to speak.
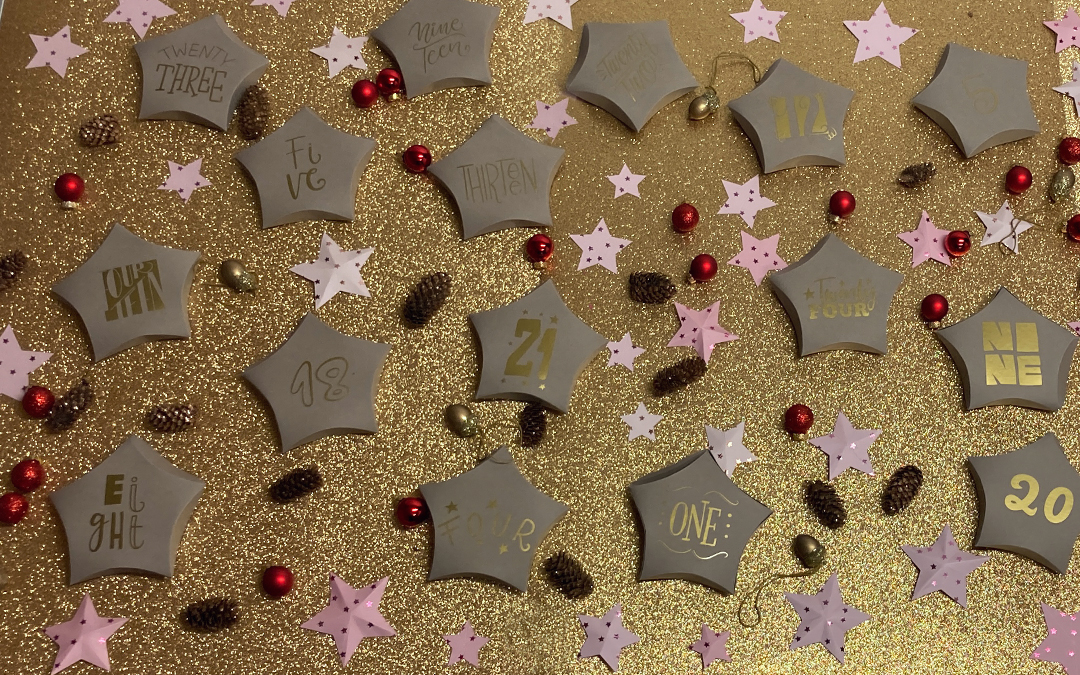
As many of you will have noticed, we ran a cool Advent calendar campaign on Instagram in 2020. Every day from 1st to 24th December, we gave away fantastic prizes. We always come up with suitable packaging for these, such as the little square boxes in 2019 or the fold-out stars in 2020, each of which concealed a slip of paper with the prize details.
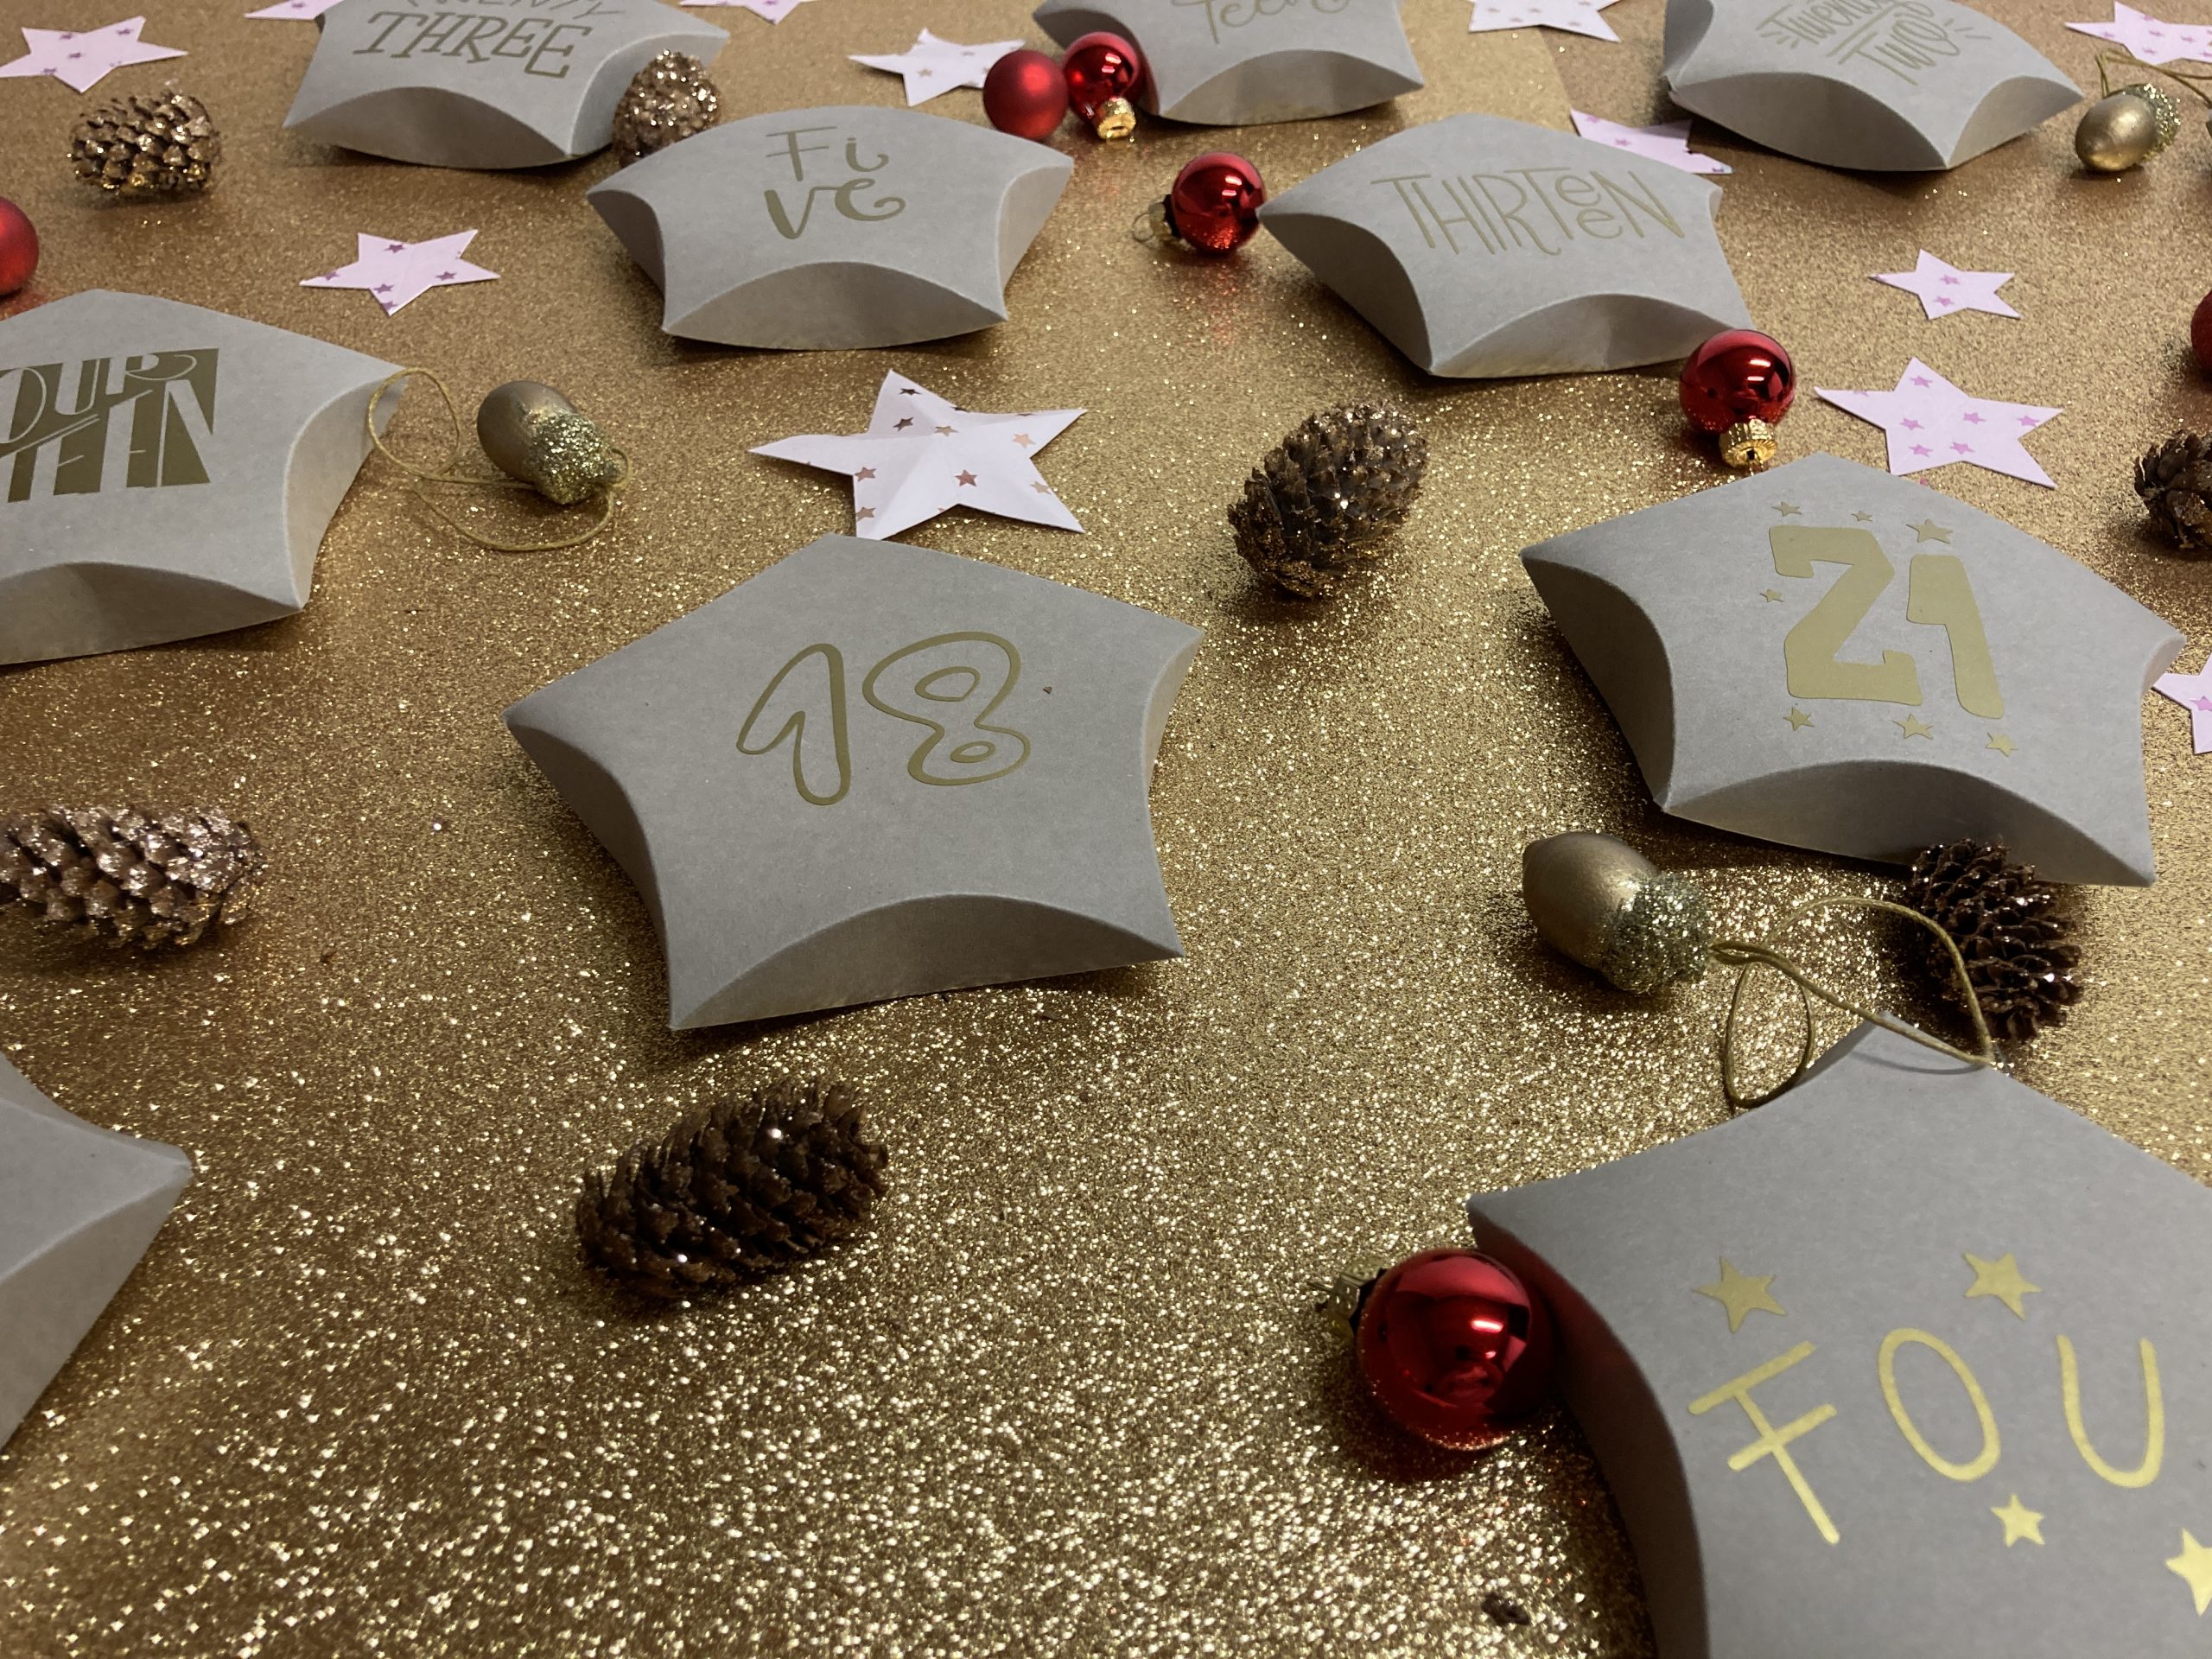
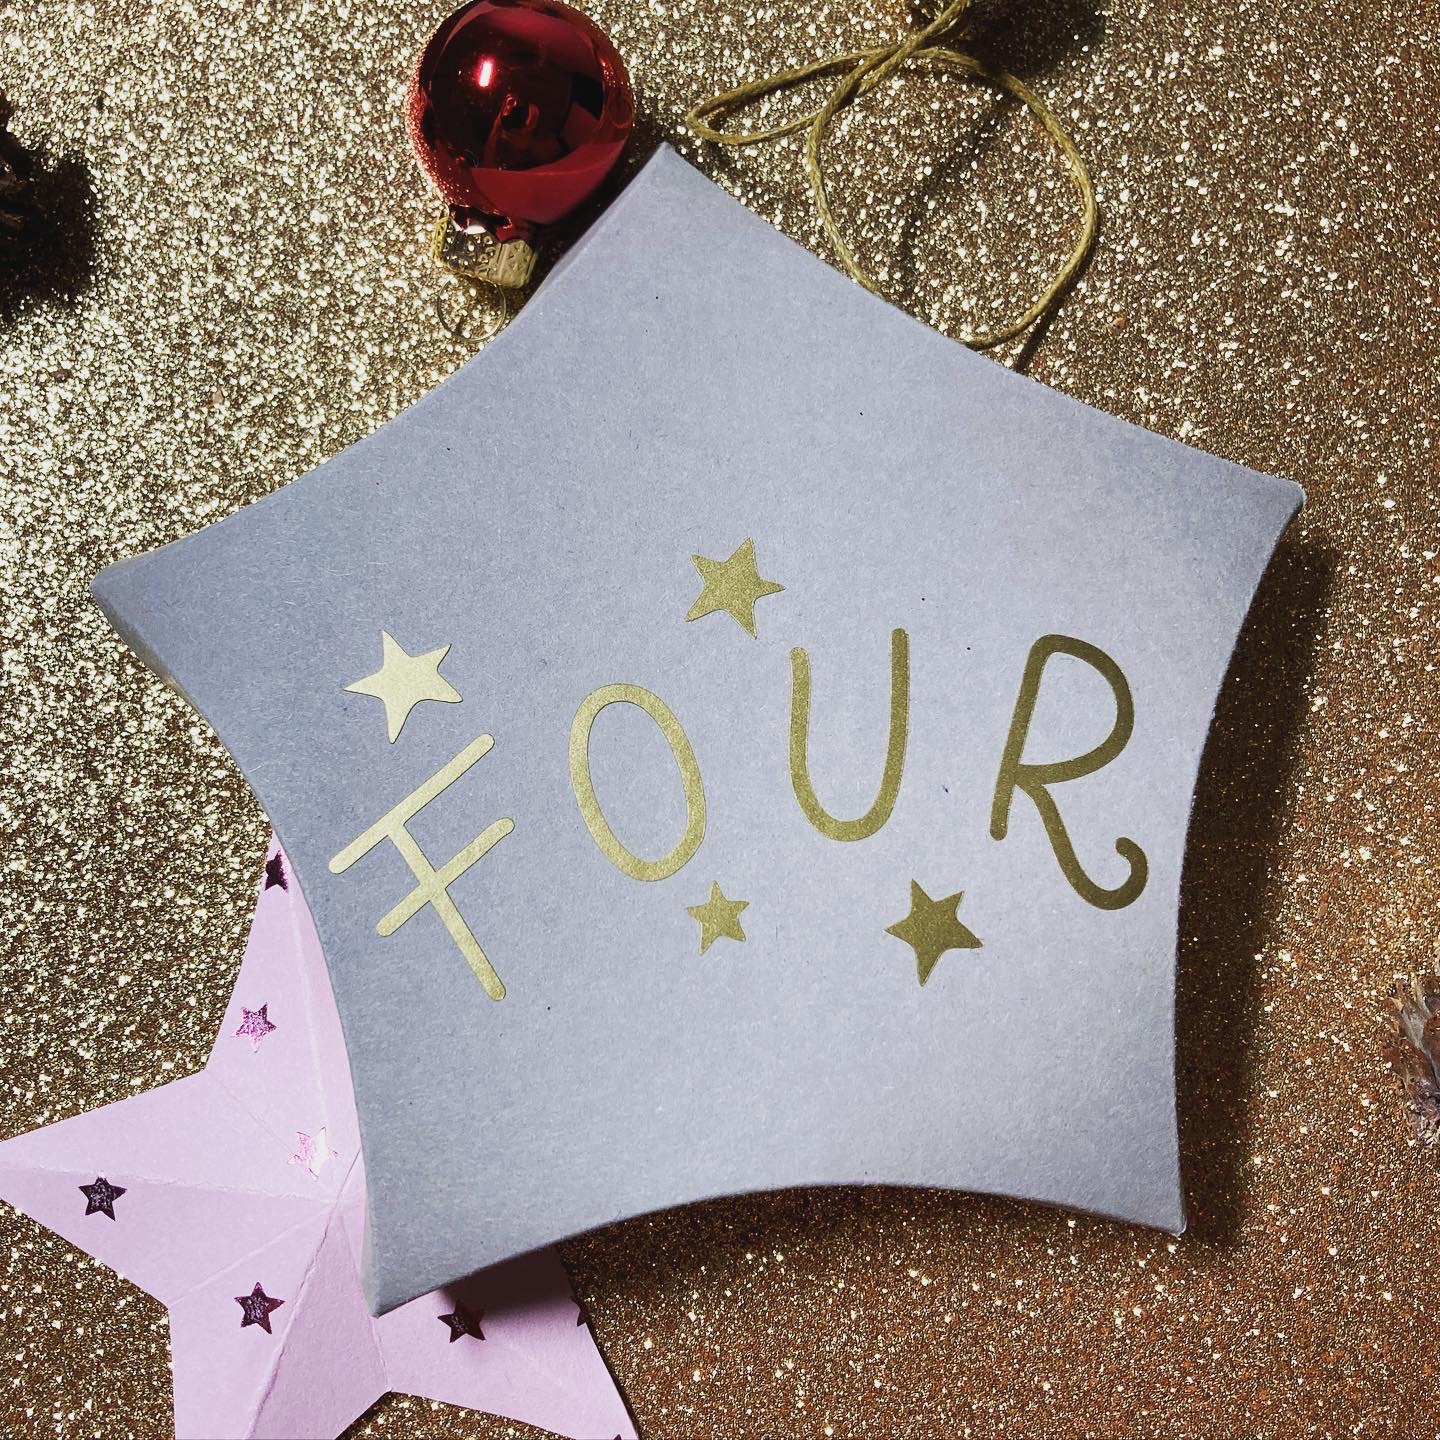
Today we’d like to show you the folding stars, the matching numbers and the decorative stars.
For this tutorial, we used the following machines:
We always use DrawCut Pro as our software.
We start by importing the star templates as PDFs into the software. The most important settings on the machine are speed and pressure. The rule here is: simply experiment, depending on the paper thickness. Unless there are exceptional circumstances, the speed can be set to the highest level.
However, as this star also has contours that are NOT to be cut but only folded, these should be defined first. You can do this using the ‘Cut contour’ and ‘Fold contour’ options in the toolbar.
Finally, click on the pen icon at the top, to the right of the apple icon, to cut.
As this application may seem a little tricky for beginners, it’s best to have a look at the Easter blog post. It explains how to use the FC100 in more detail. You’ll also find other articles on digital finishing here.
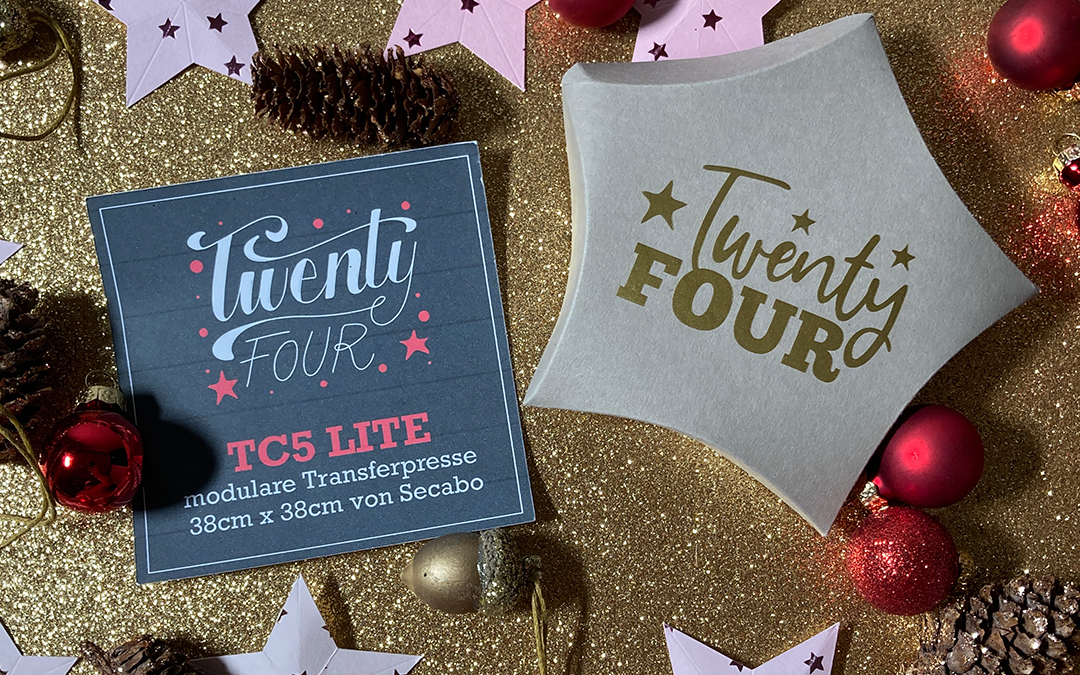
Once cut out, the stars can be folded along the fold lines and then glued together. Here’s a little tip: before gluing the stars, prepare the numbers – made using our self-adhesive films – as this will make them easier to apply.
Golden numbers – it’s easy with self-adhesive film!
Choose a self-adhesive film of your choice from our shop. Create or download a template from the internet (preferably a vector file) and then cut out these numbers/words using a Secabo cutting plotter. There are, of course, various models available at different prices. Click here for more information.
As always, don’t forget to adjust the ‘Speed’ and ‘Force’ settings. Just a quick test cut and then you’re ready to go. After plotting, it’s time to weed the film. You can use weeding tweezers to help with this. But please don’t forget to run a squeegee firmly over the surface first. Now you can simply peel off your stickers and stick them onto the stars.
Now you can stick the different sections of the stars together.
Finally, let’s move on to the decorative stars!
They’re very easy to make. Create a suitable template in DrawCut. Don’t forget the lines in the star so that you can fold it later. As always, the lines can be assigned using the right-hand panel.
Once you’ve cut them out using the Secabo FC100, all you need to do is fold them correctly.
So that was our little Christmas special. We hope you enjoy giving it a go. See you next time!