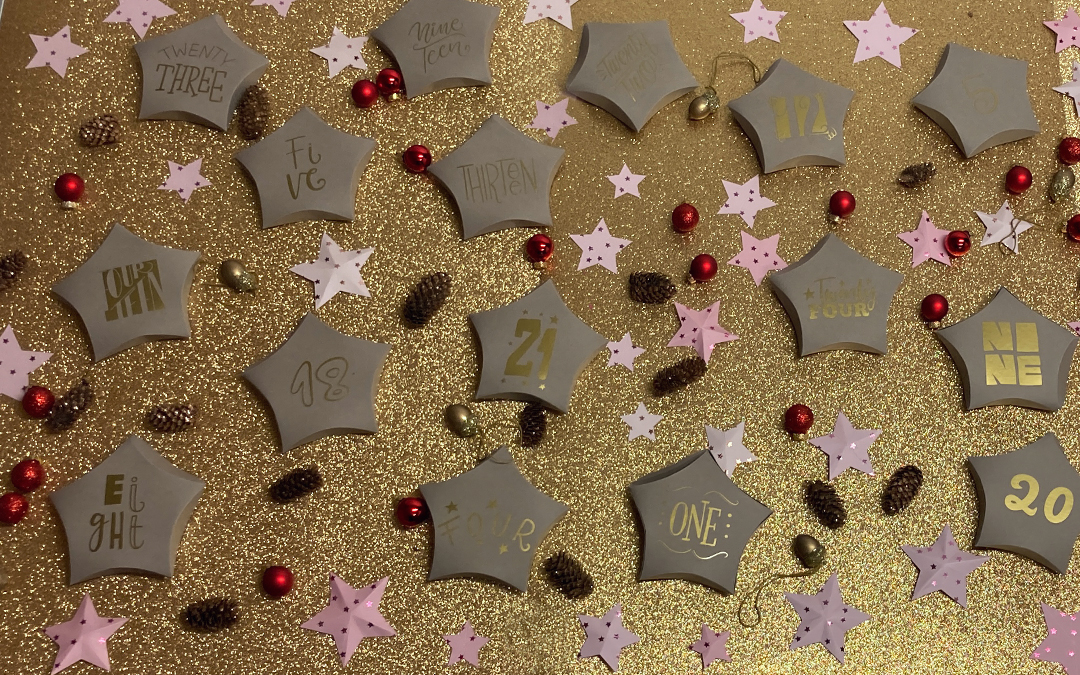
YOW! Advent Calendar ’21
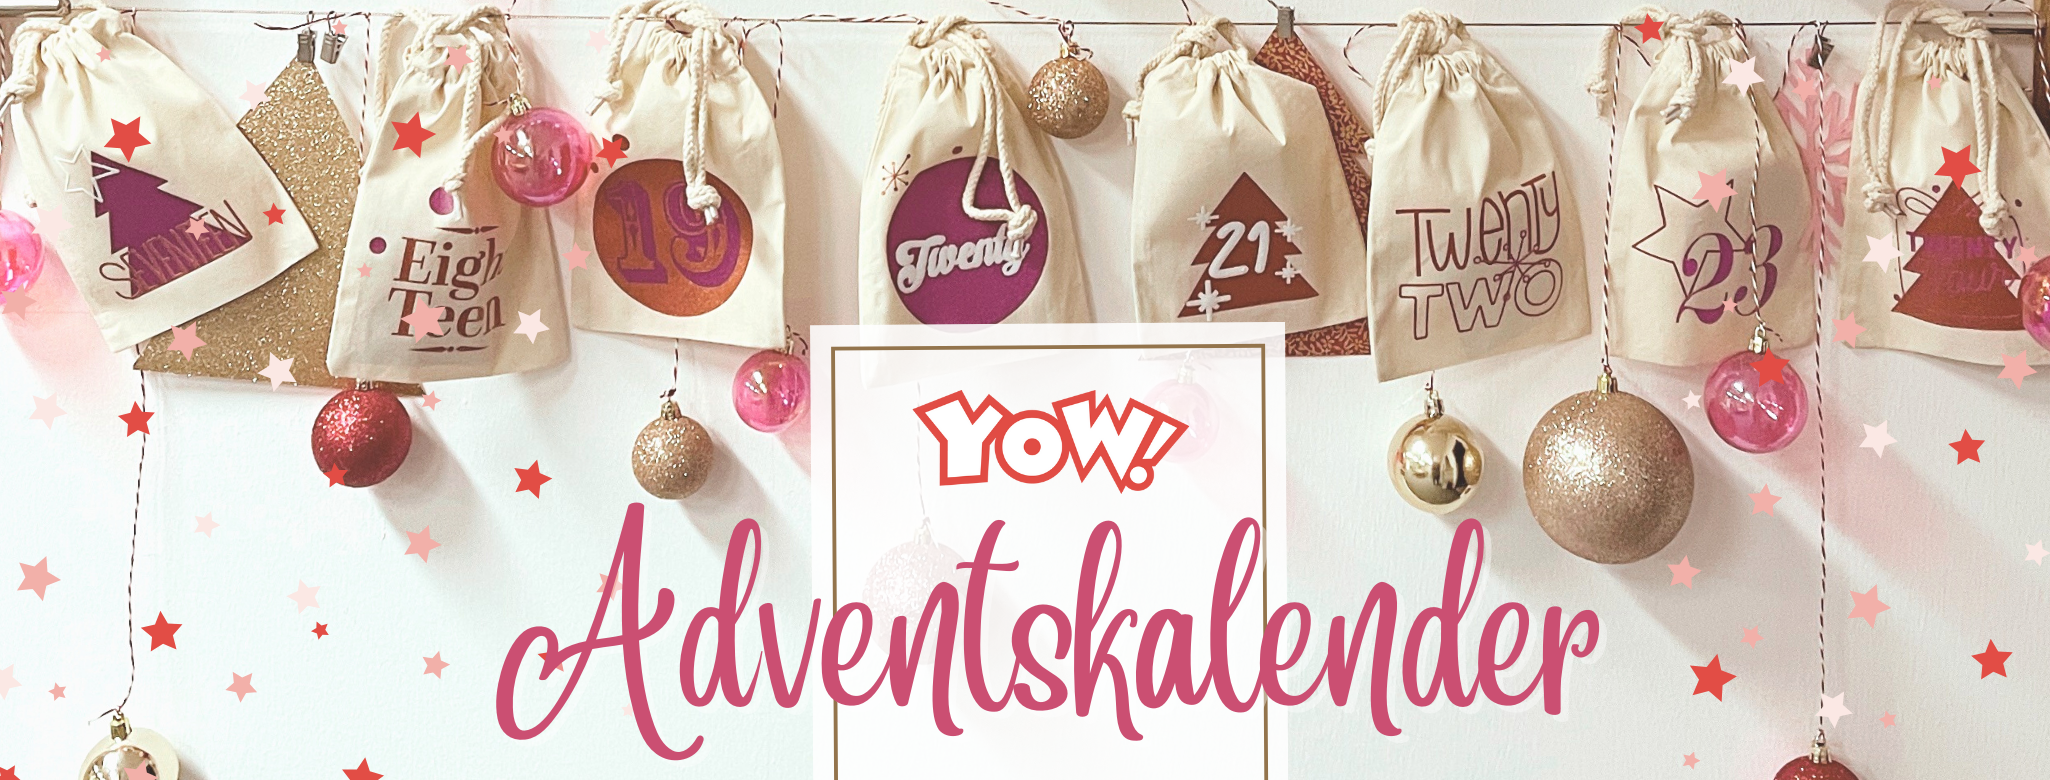
Every year at Christmas, we come up with something new for you. We want to bring you some extra joy with 24 prize draws in the run-up to Christmas, and in doing so, express our gratitude for your loyalty.
Do you remember the stars from last year? This year, we’re sure to impress you once again, especially with our new products in the range. But we’ll be posting a separate blog article about that.
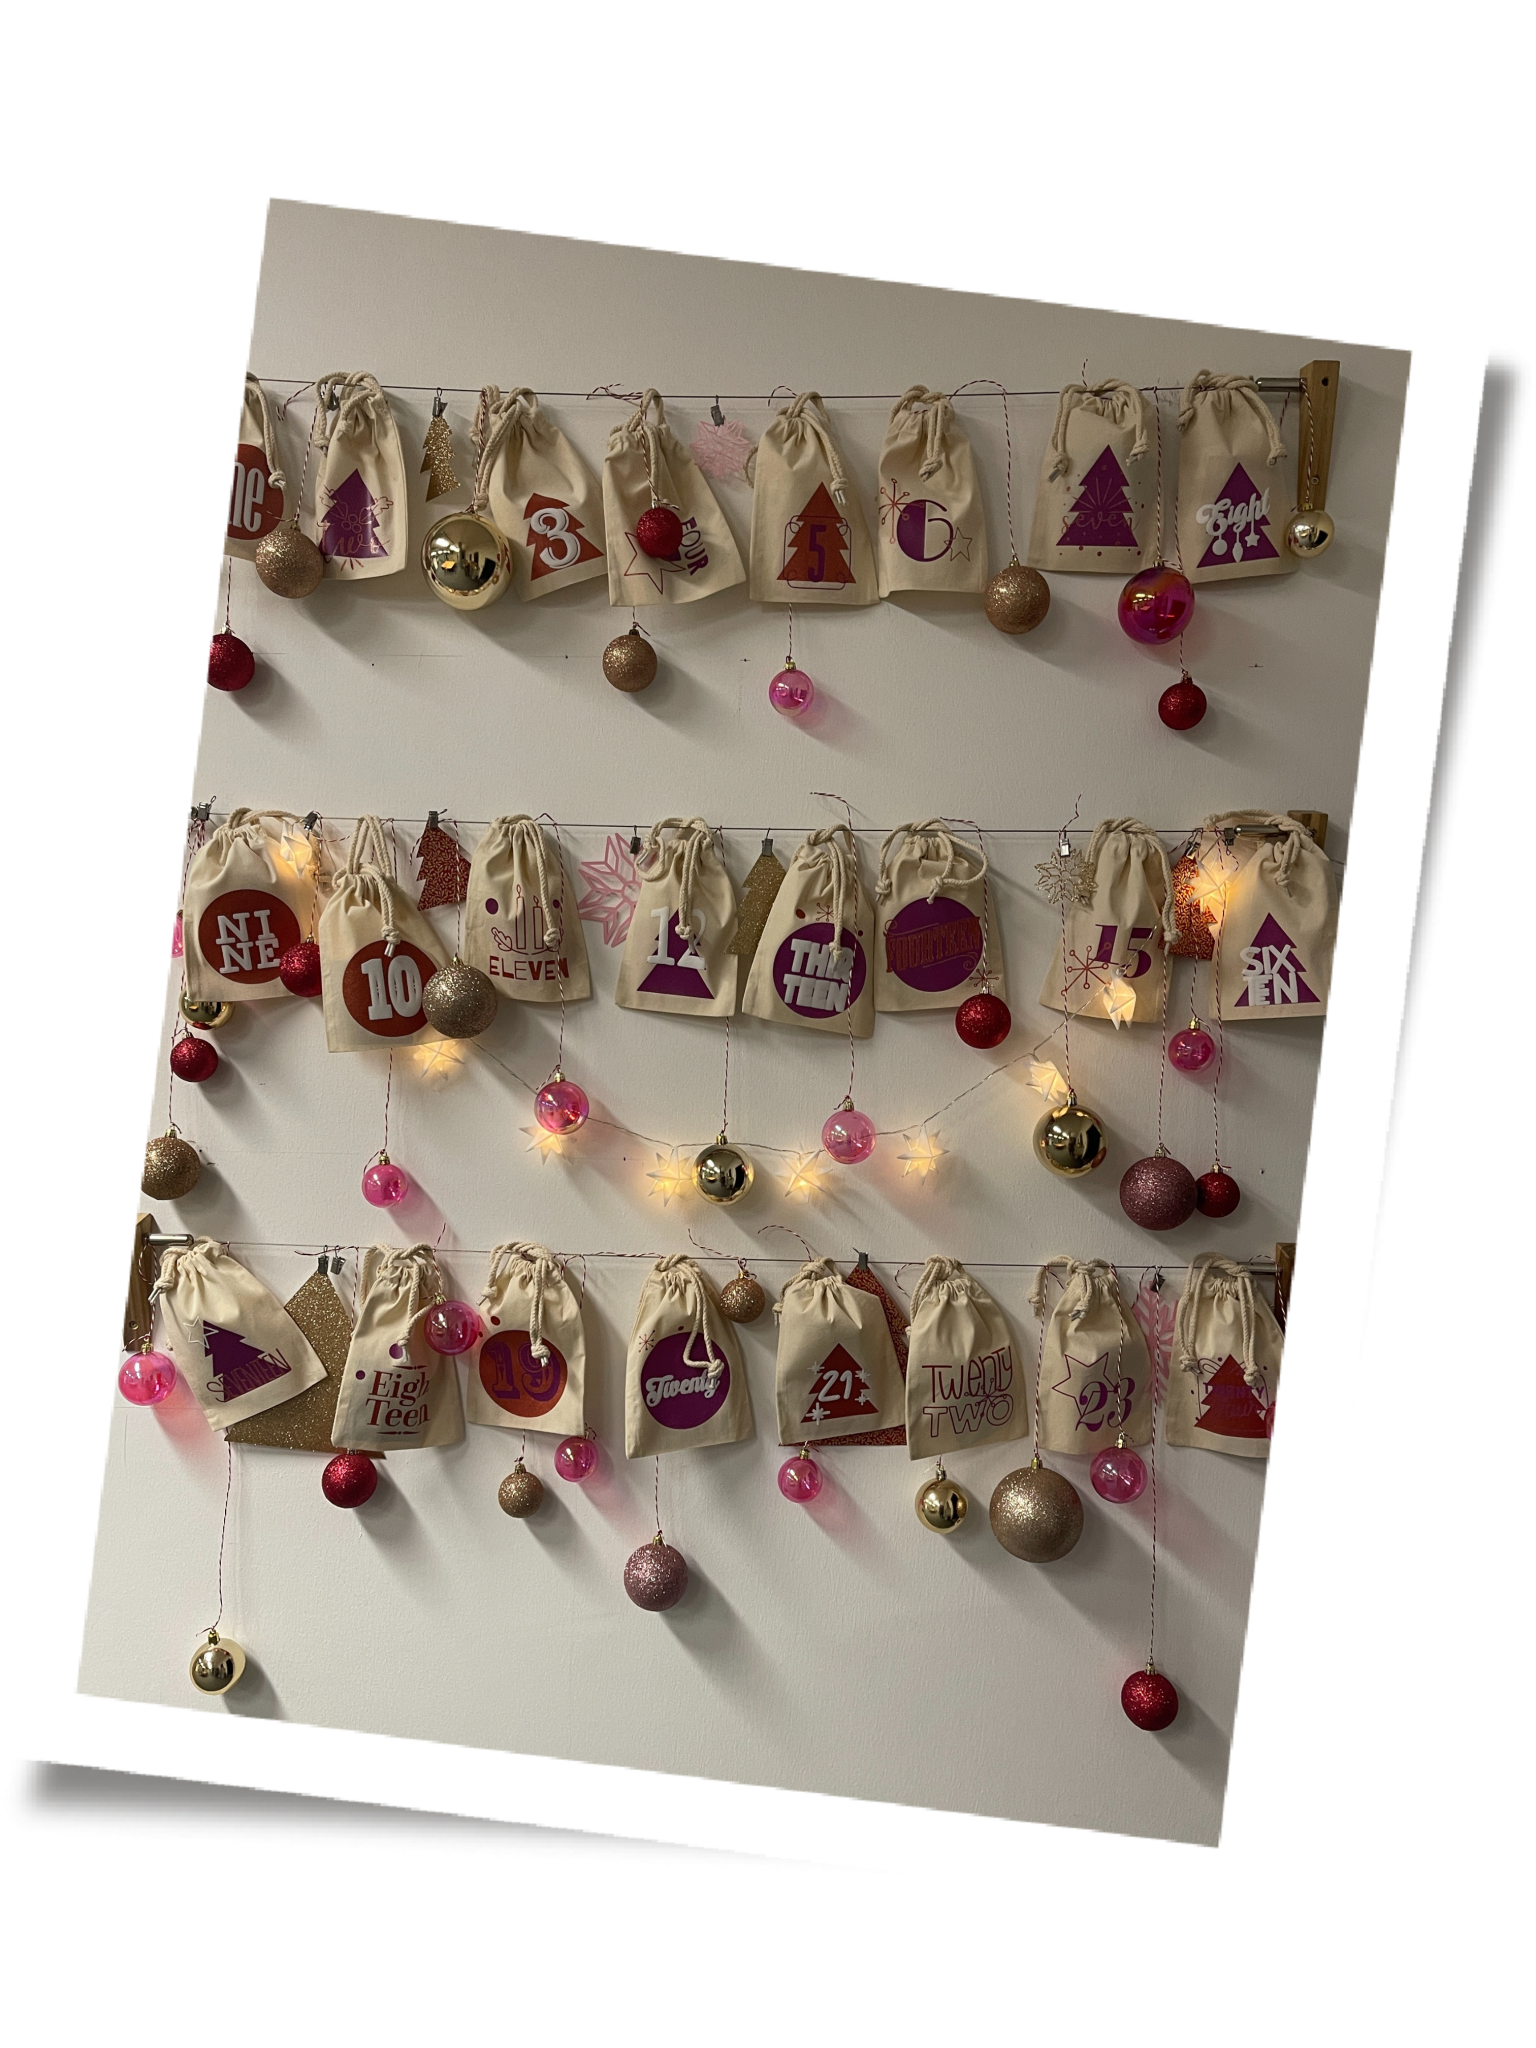
Are you excited about our DIY Advent calendar? Then let’s get straight to the first step.
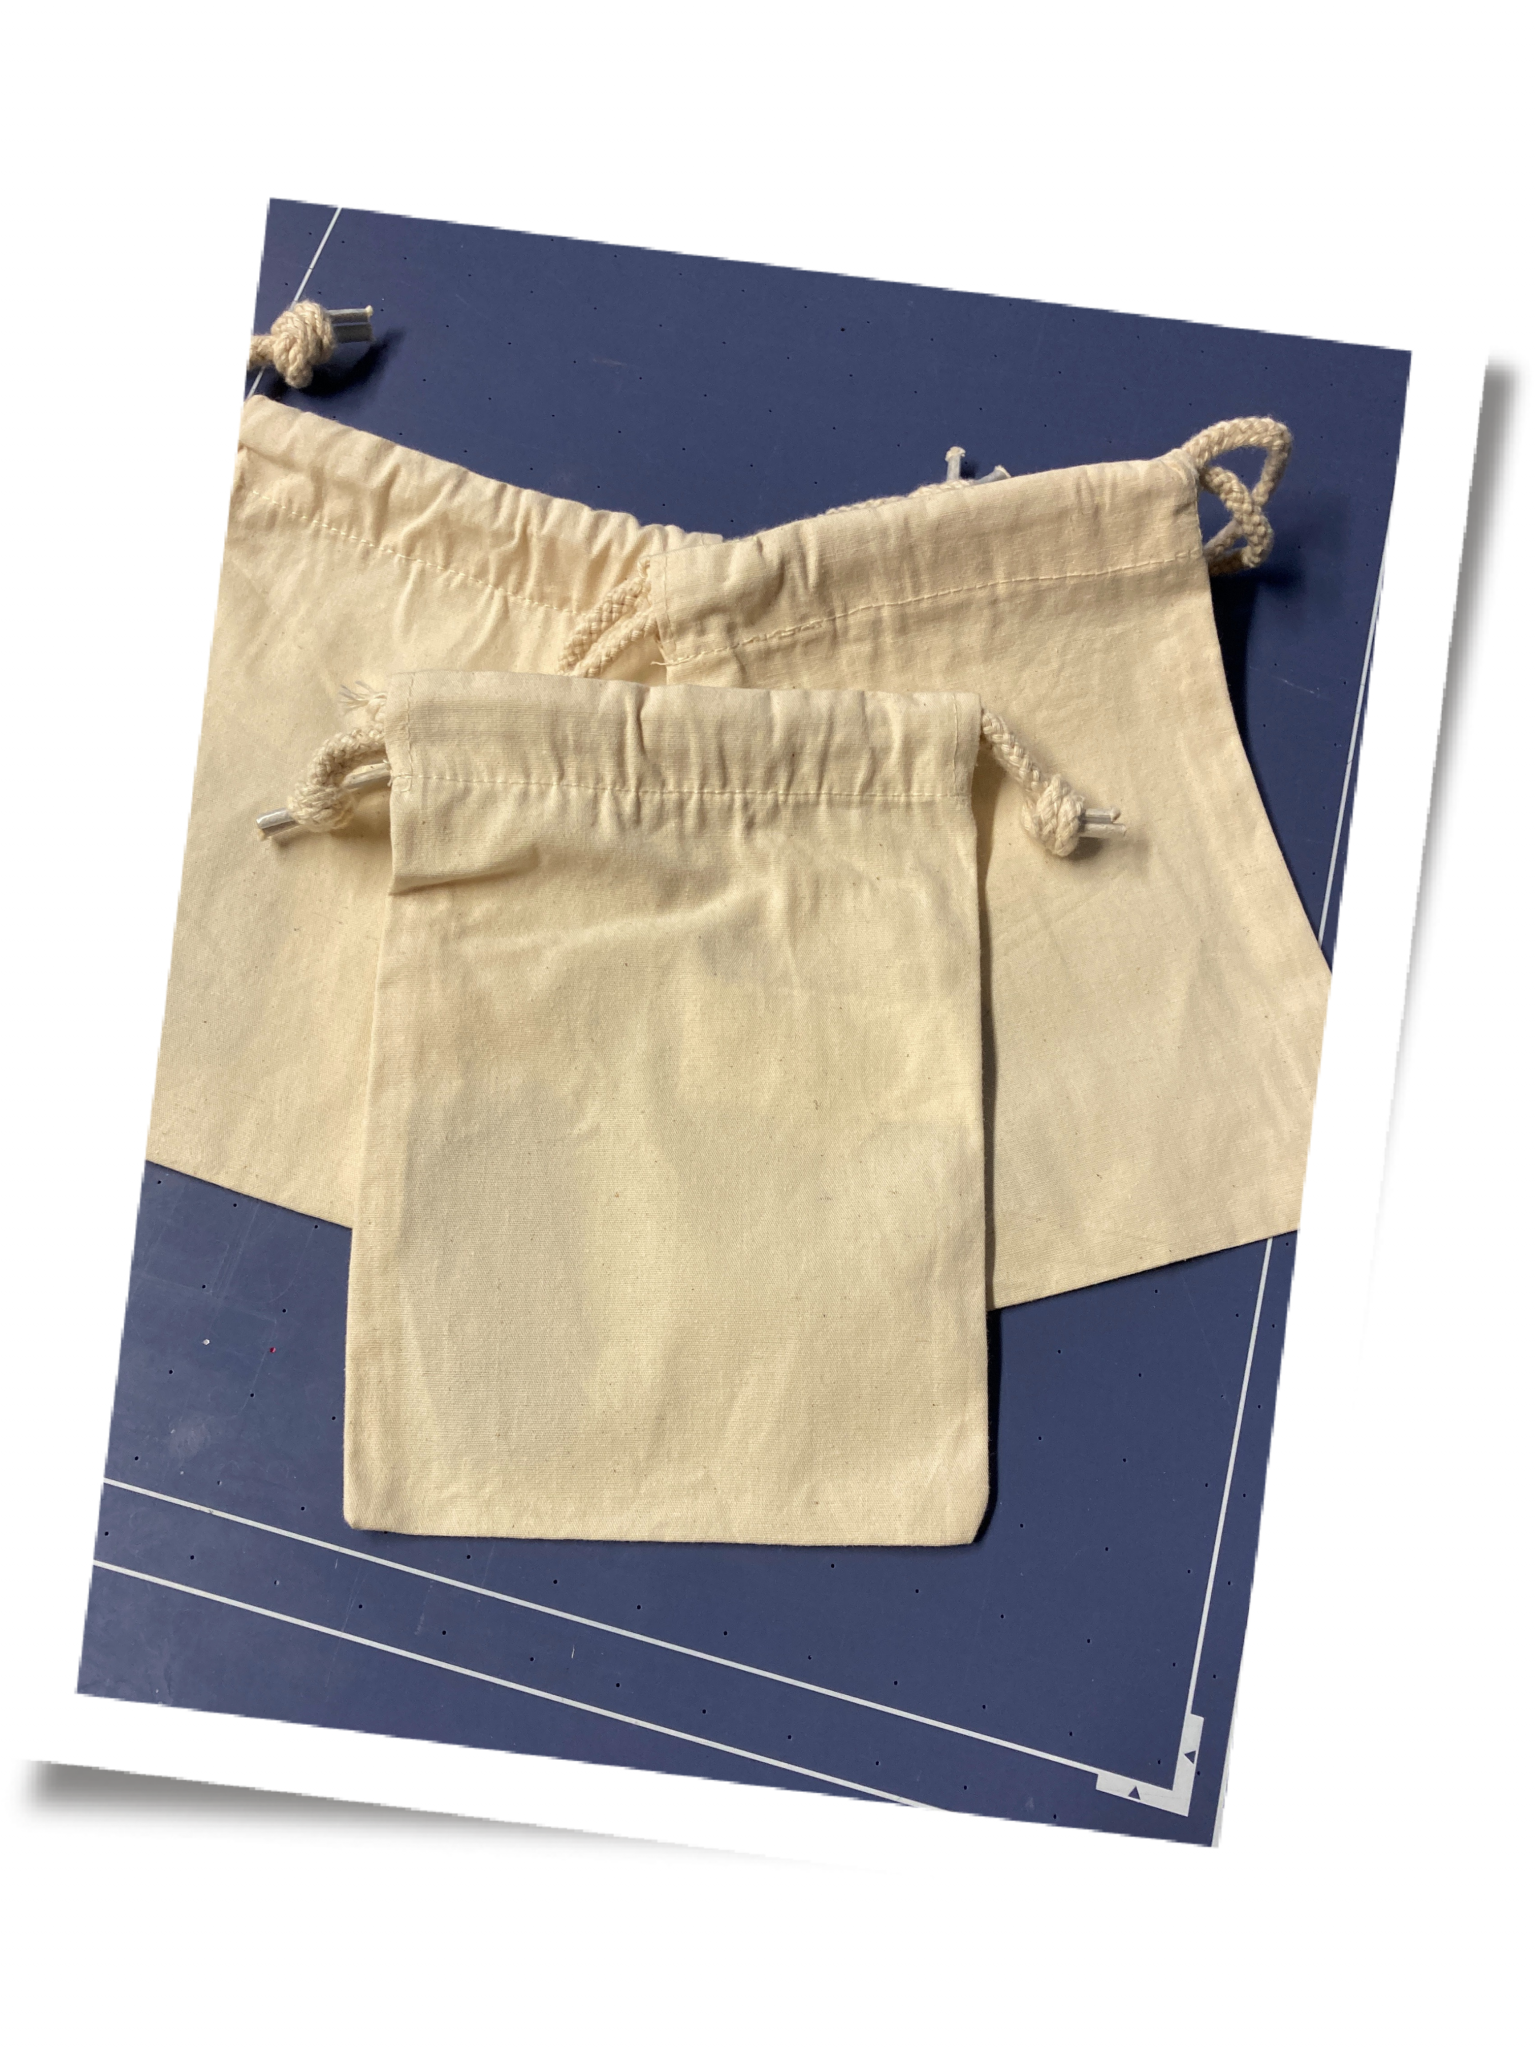
First of all, you’ll need 24 small fabric pouches onto which the numbers are to be heat-pressed. In our case, size XS (14 x 20.5 cm). You can, of course, find these in our yow.shop. The pouches are made from 100% organic cotton with a double drawstring closure.
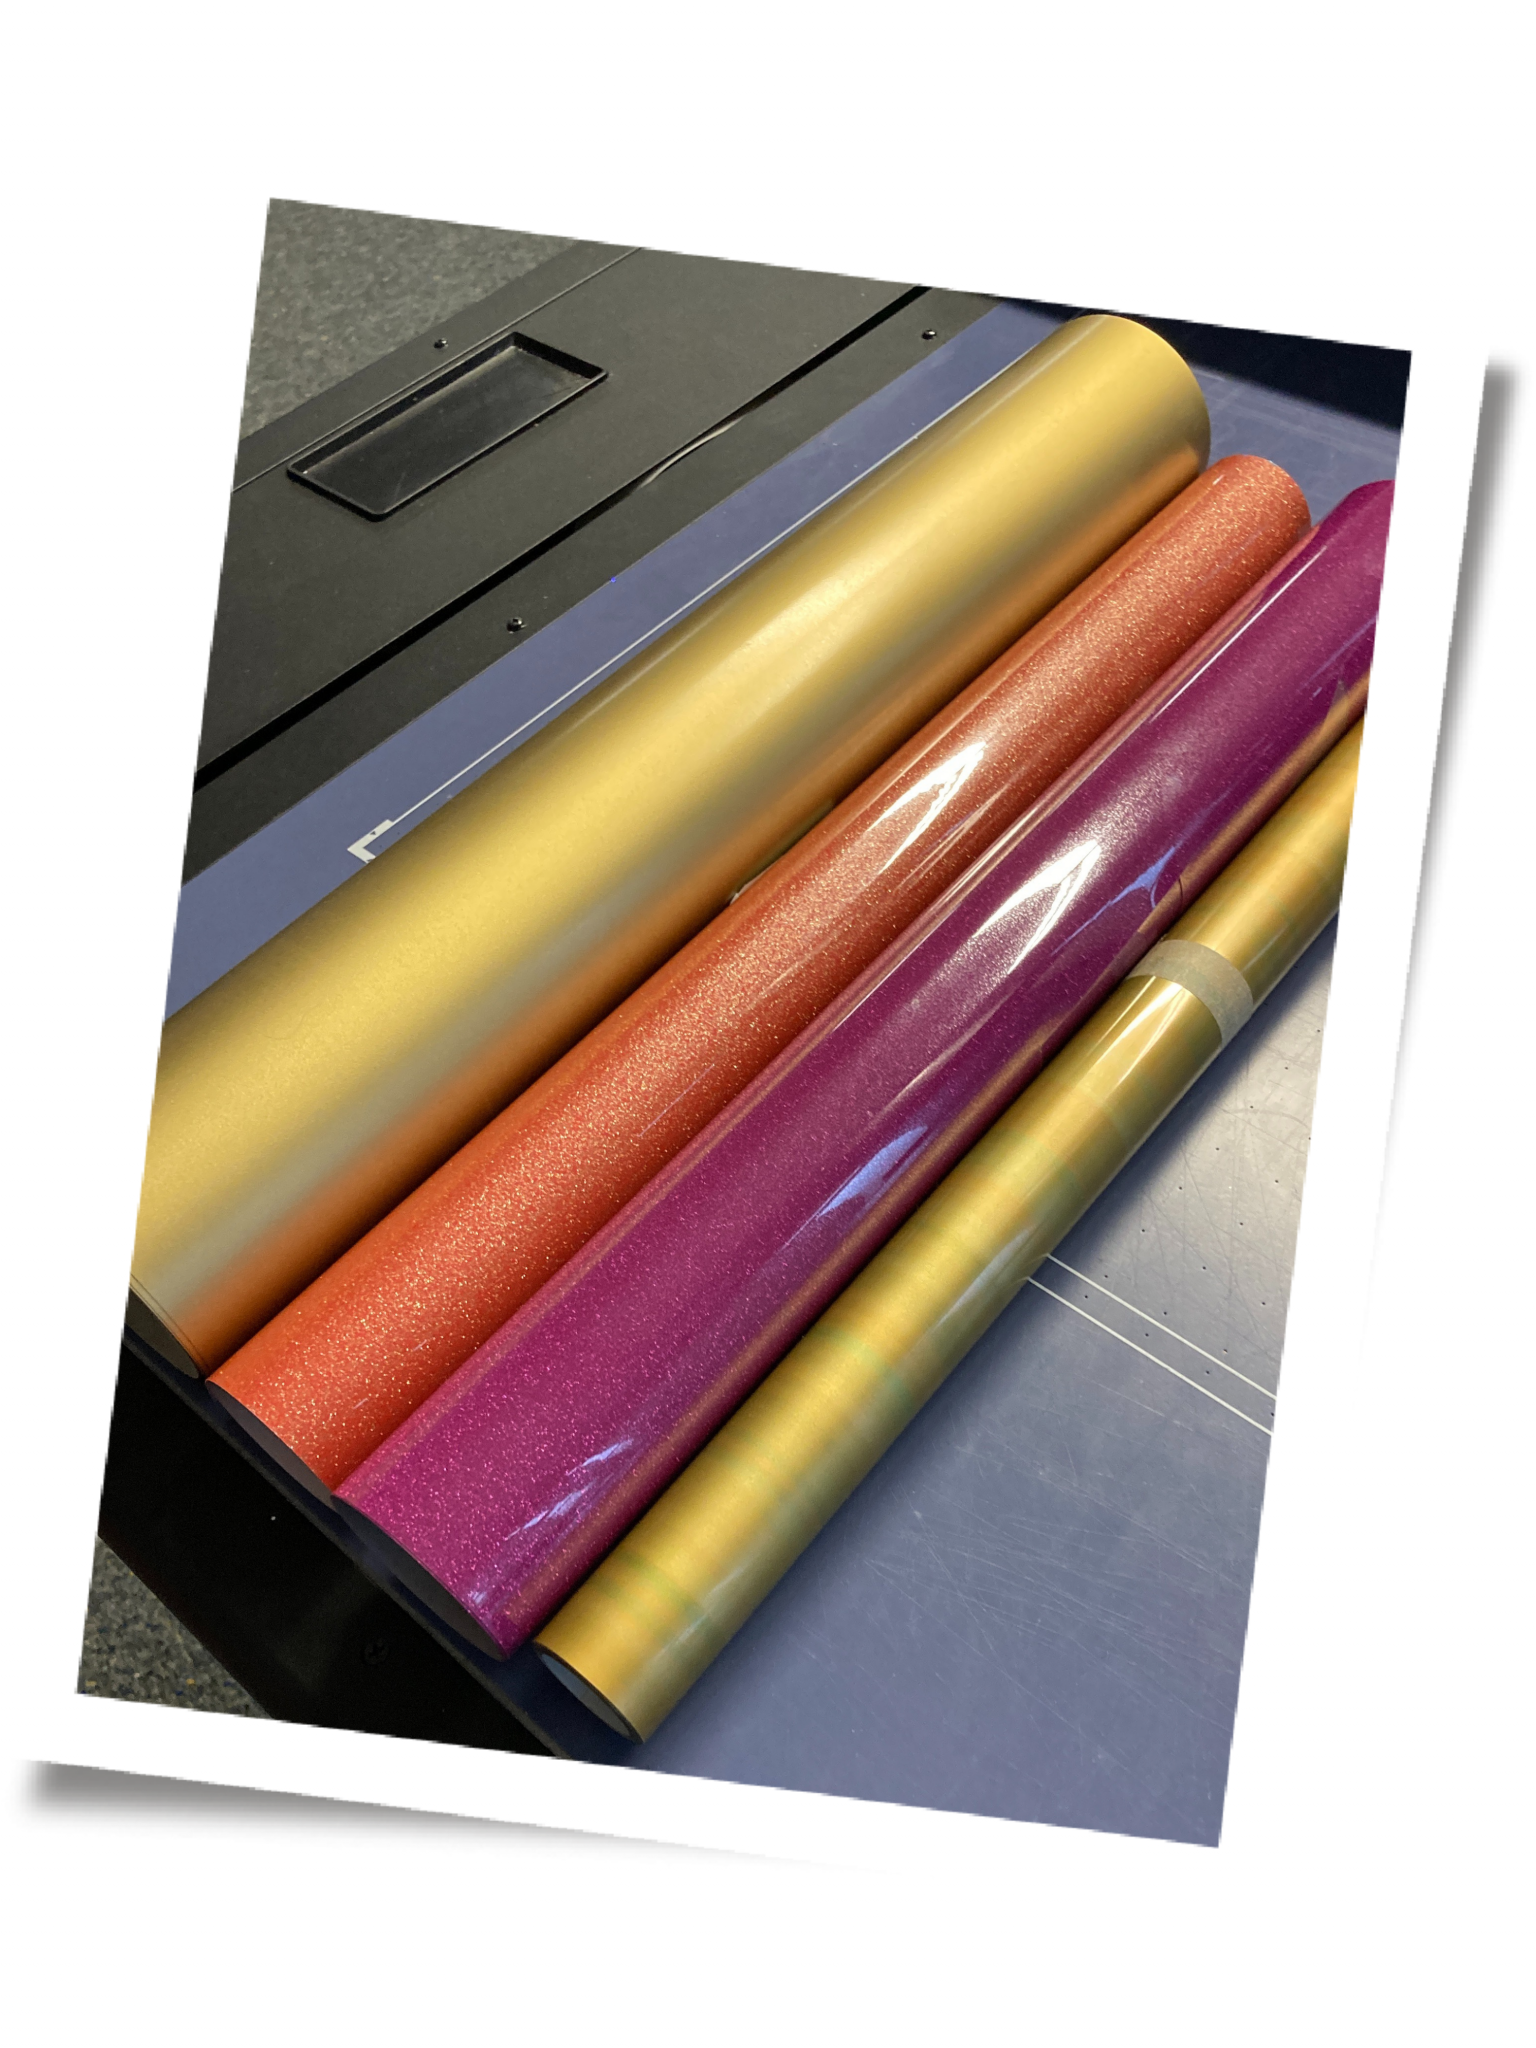
We’ve tried this out with our new foils and definitely don’t want to keep the result from you, because we love the new foil range from SEF!
First of all, however, you’ll need a cutting plotter. We prefer to work with the Secabo T120 II cutting plotter. This is the only medium-sized plotter in the T-series, making it suitable for both businesses and hobbyists.
Prepare your files so that they can be plotted correctly. The experts amongst you will know which software we always use: it’s the DrawCut Pro software. However, there are various options available here too. Our sales team will be happy to advise you on which one is best suited to your needs.
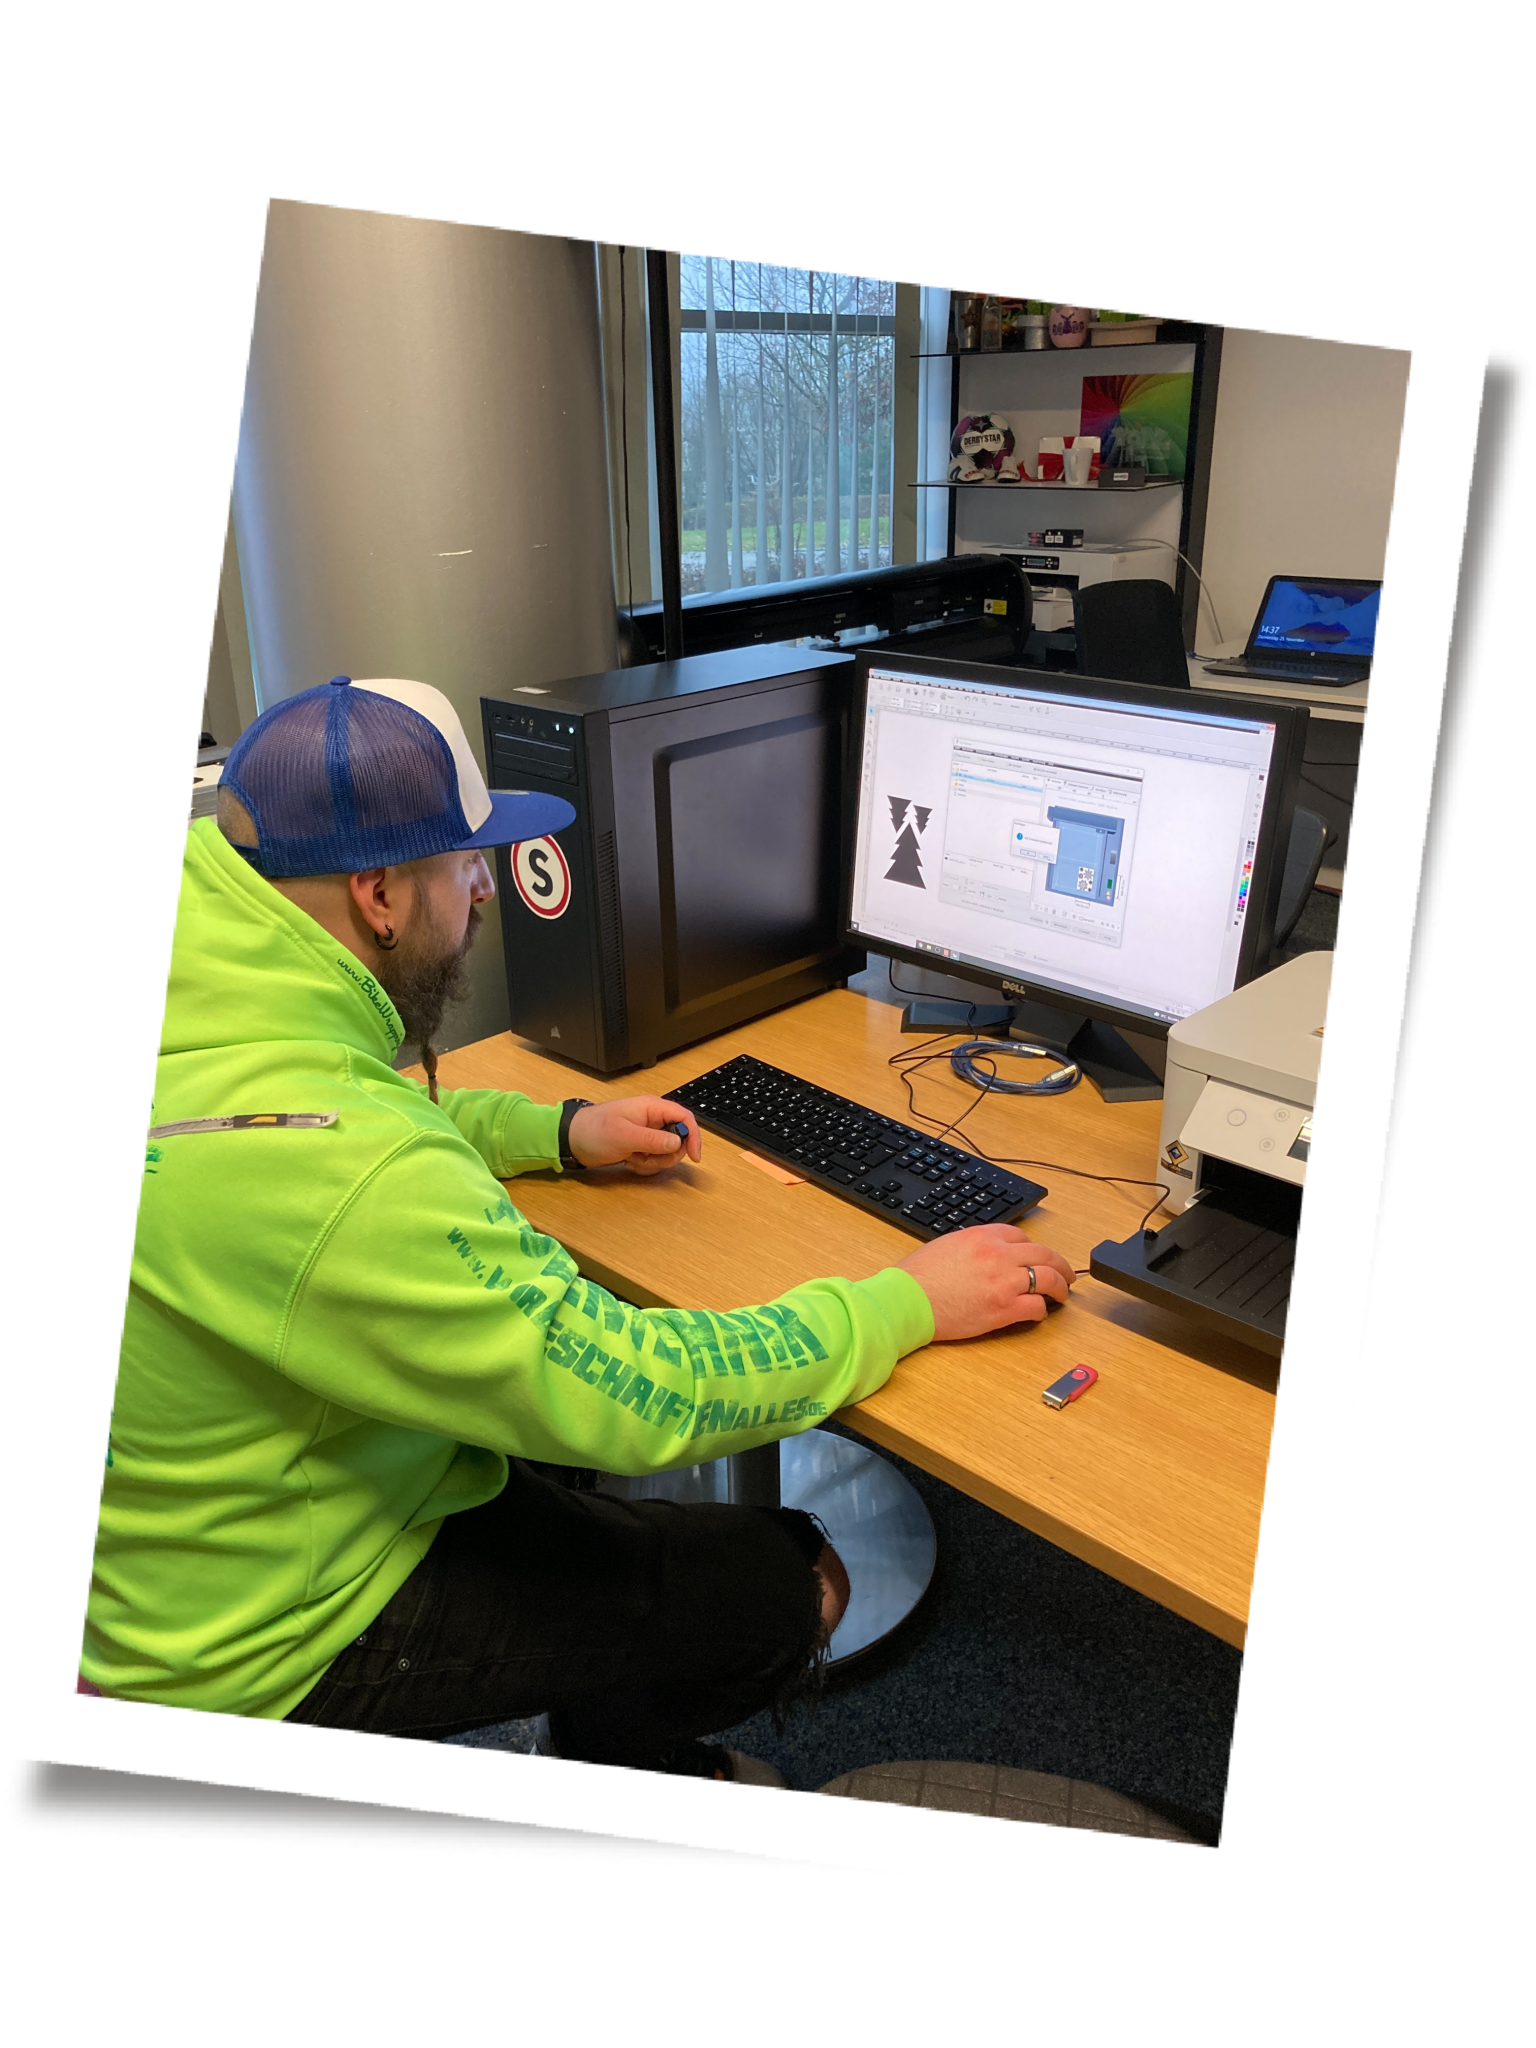
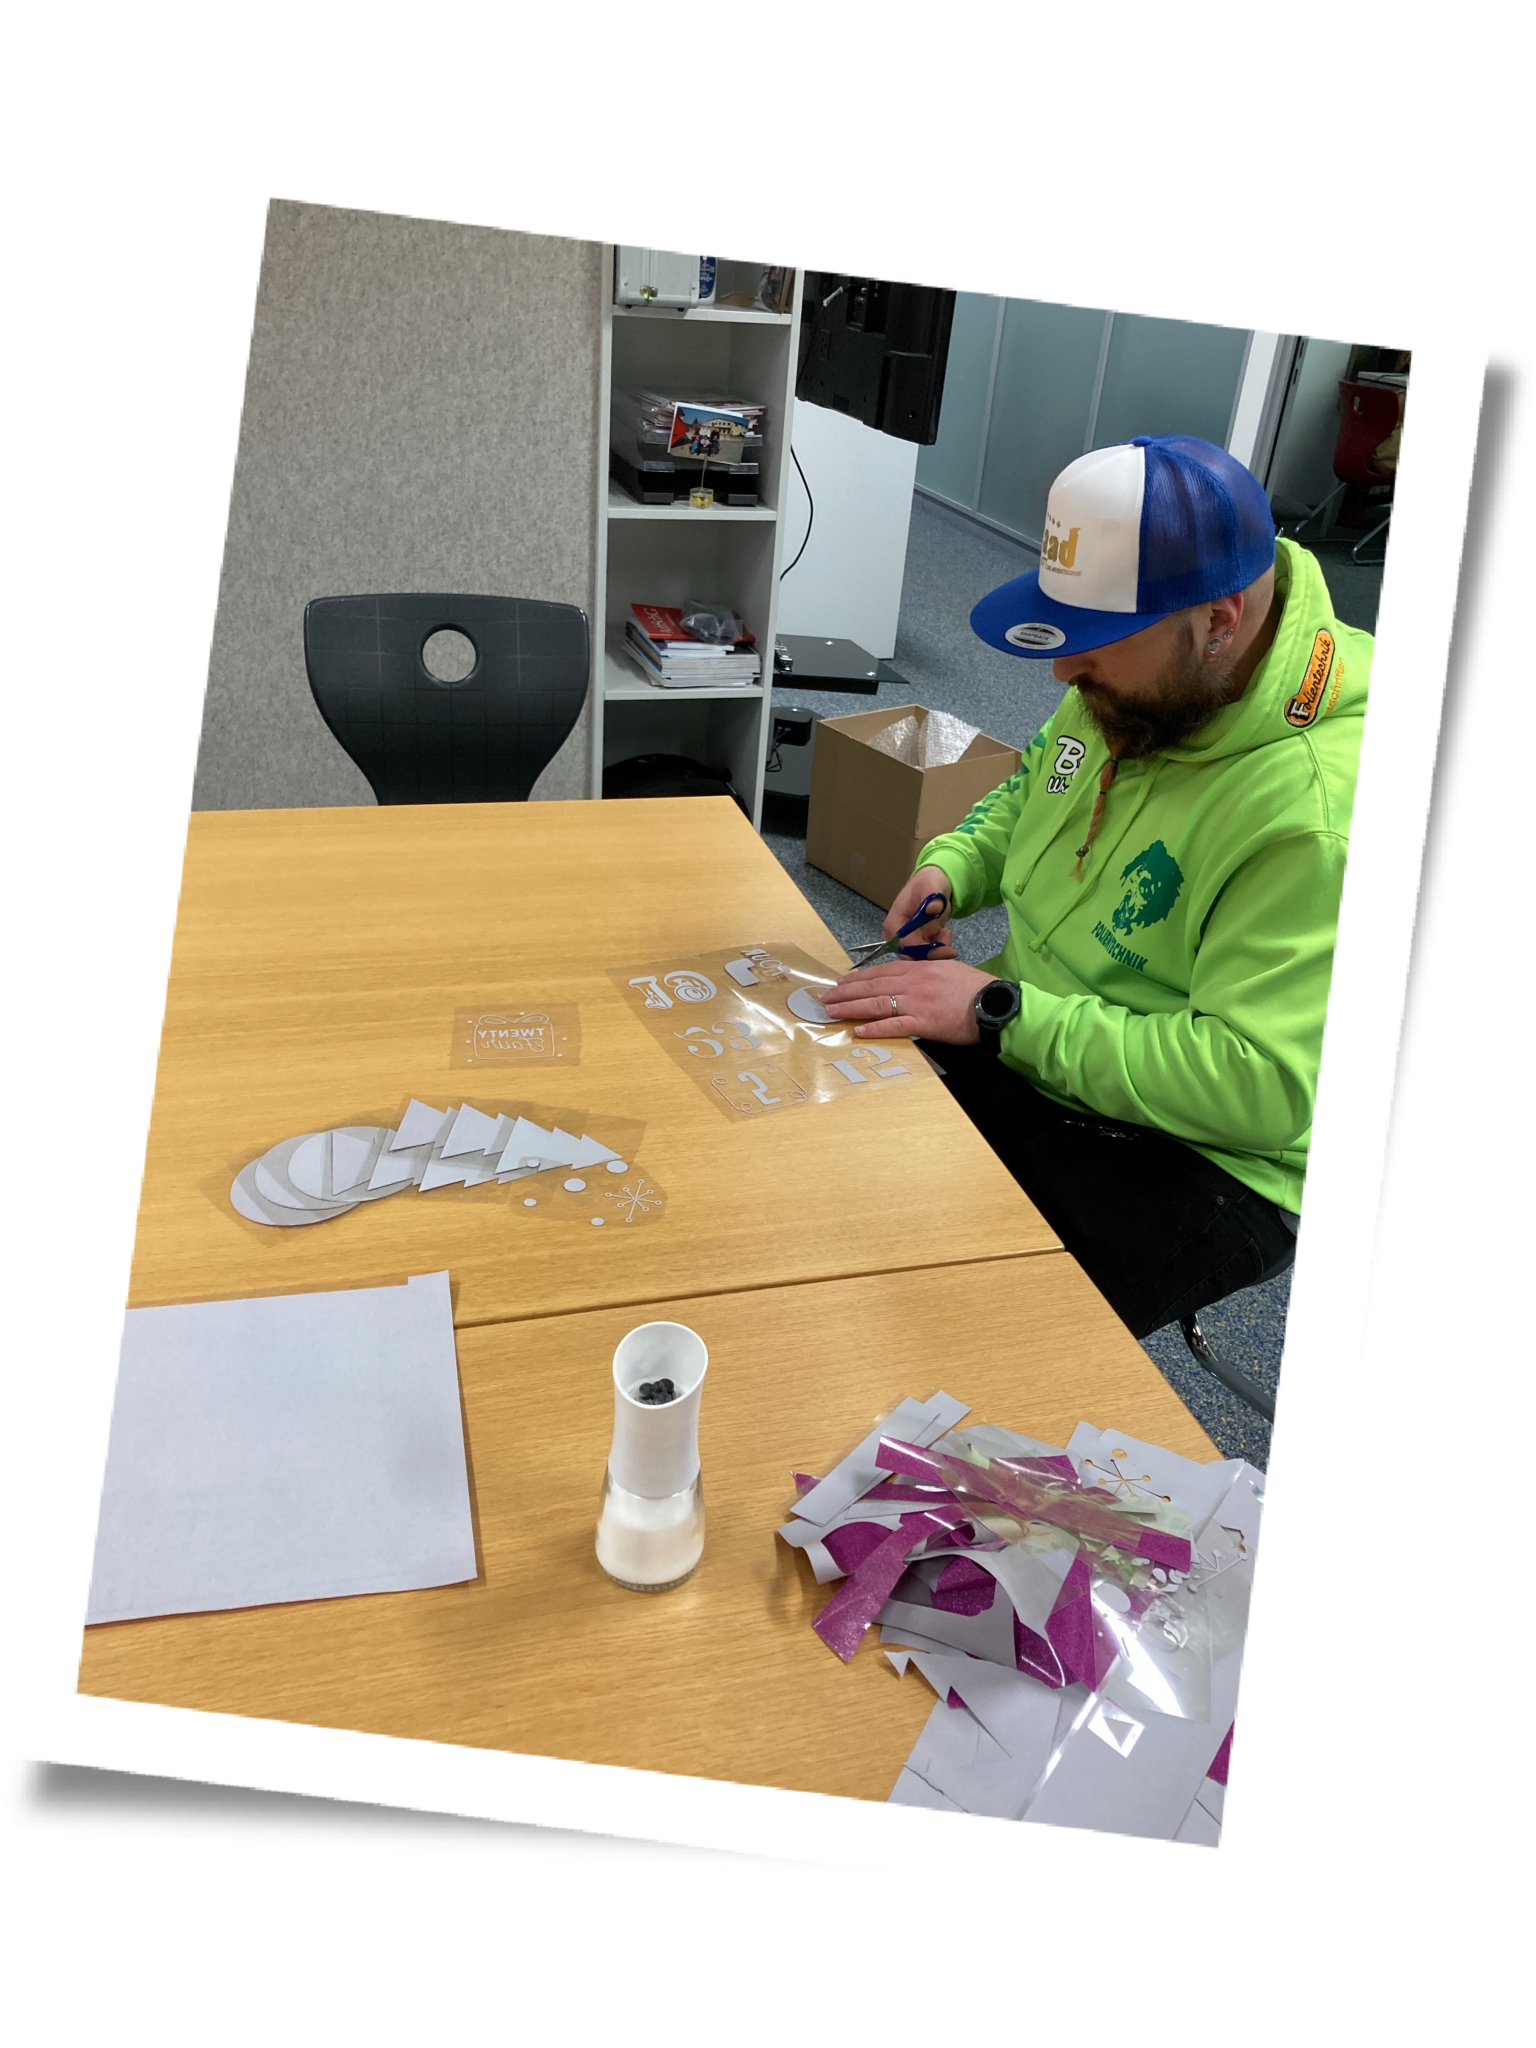
As always, plotting is followed by weeding. We are happy to provide the appropriate tools for this too. The weeding tweezers from our range are particularly popular, but weeding pens and scalpels are also frequently purchased and used.
Now it’s time to start pressing. This time, however, we’re not using a standard folding press, but a cap press. That’s the great thing about Secabo transfer presses – you’re not tied to a specific machine. Depending on the type of transfer or fabric, almost any transfer press can be used (except for mugs and the like, but that goes without saying). Do give it a go and get in touch if you have any questions.
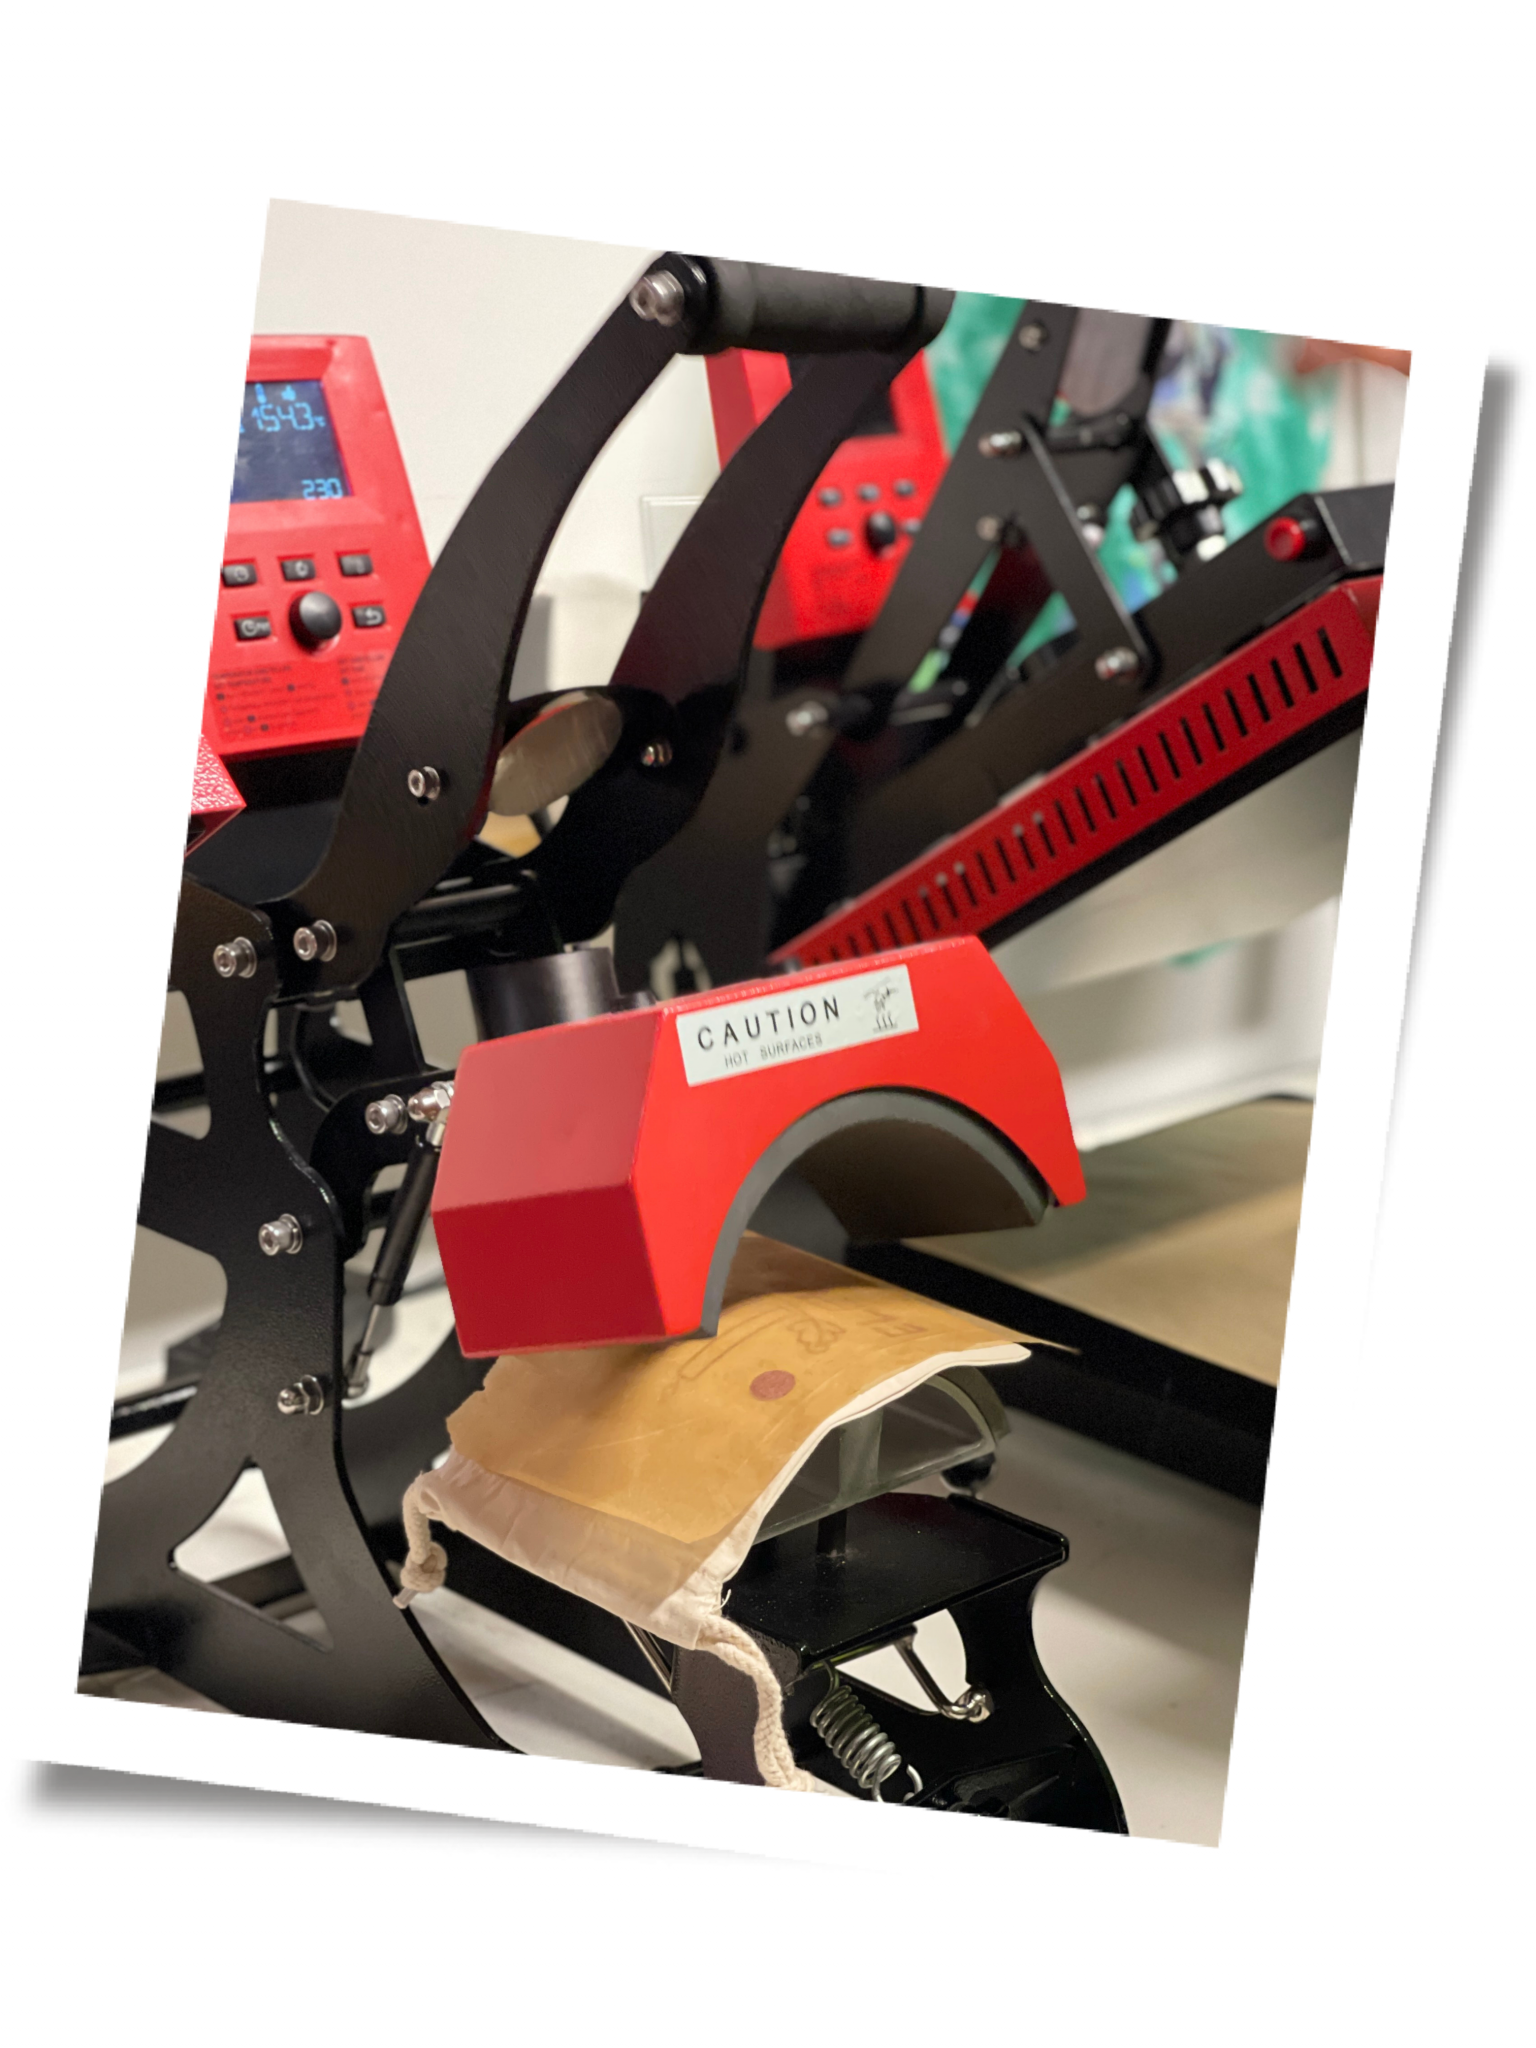
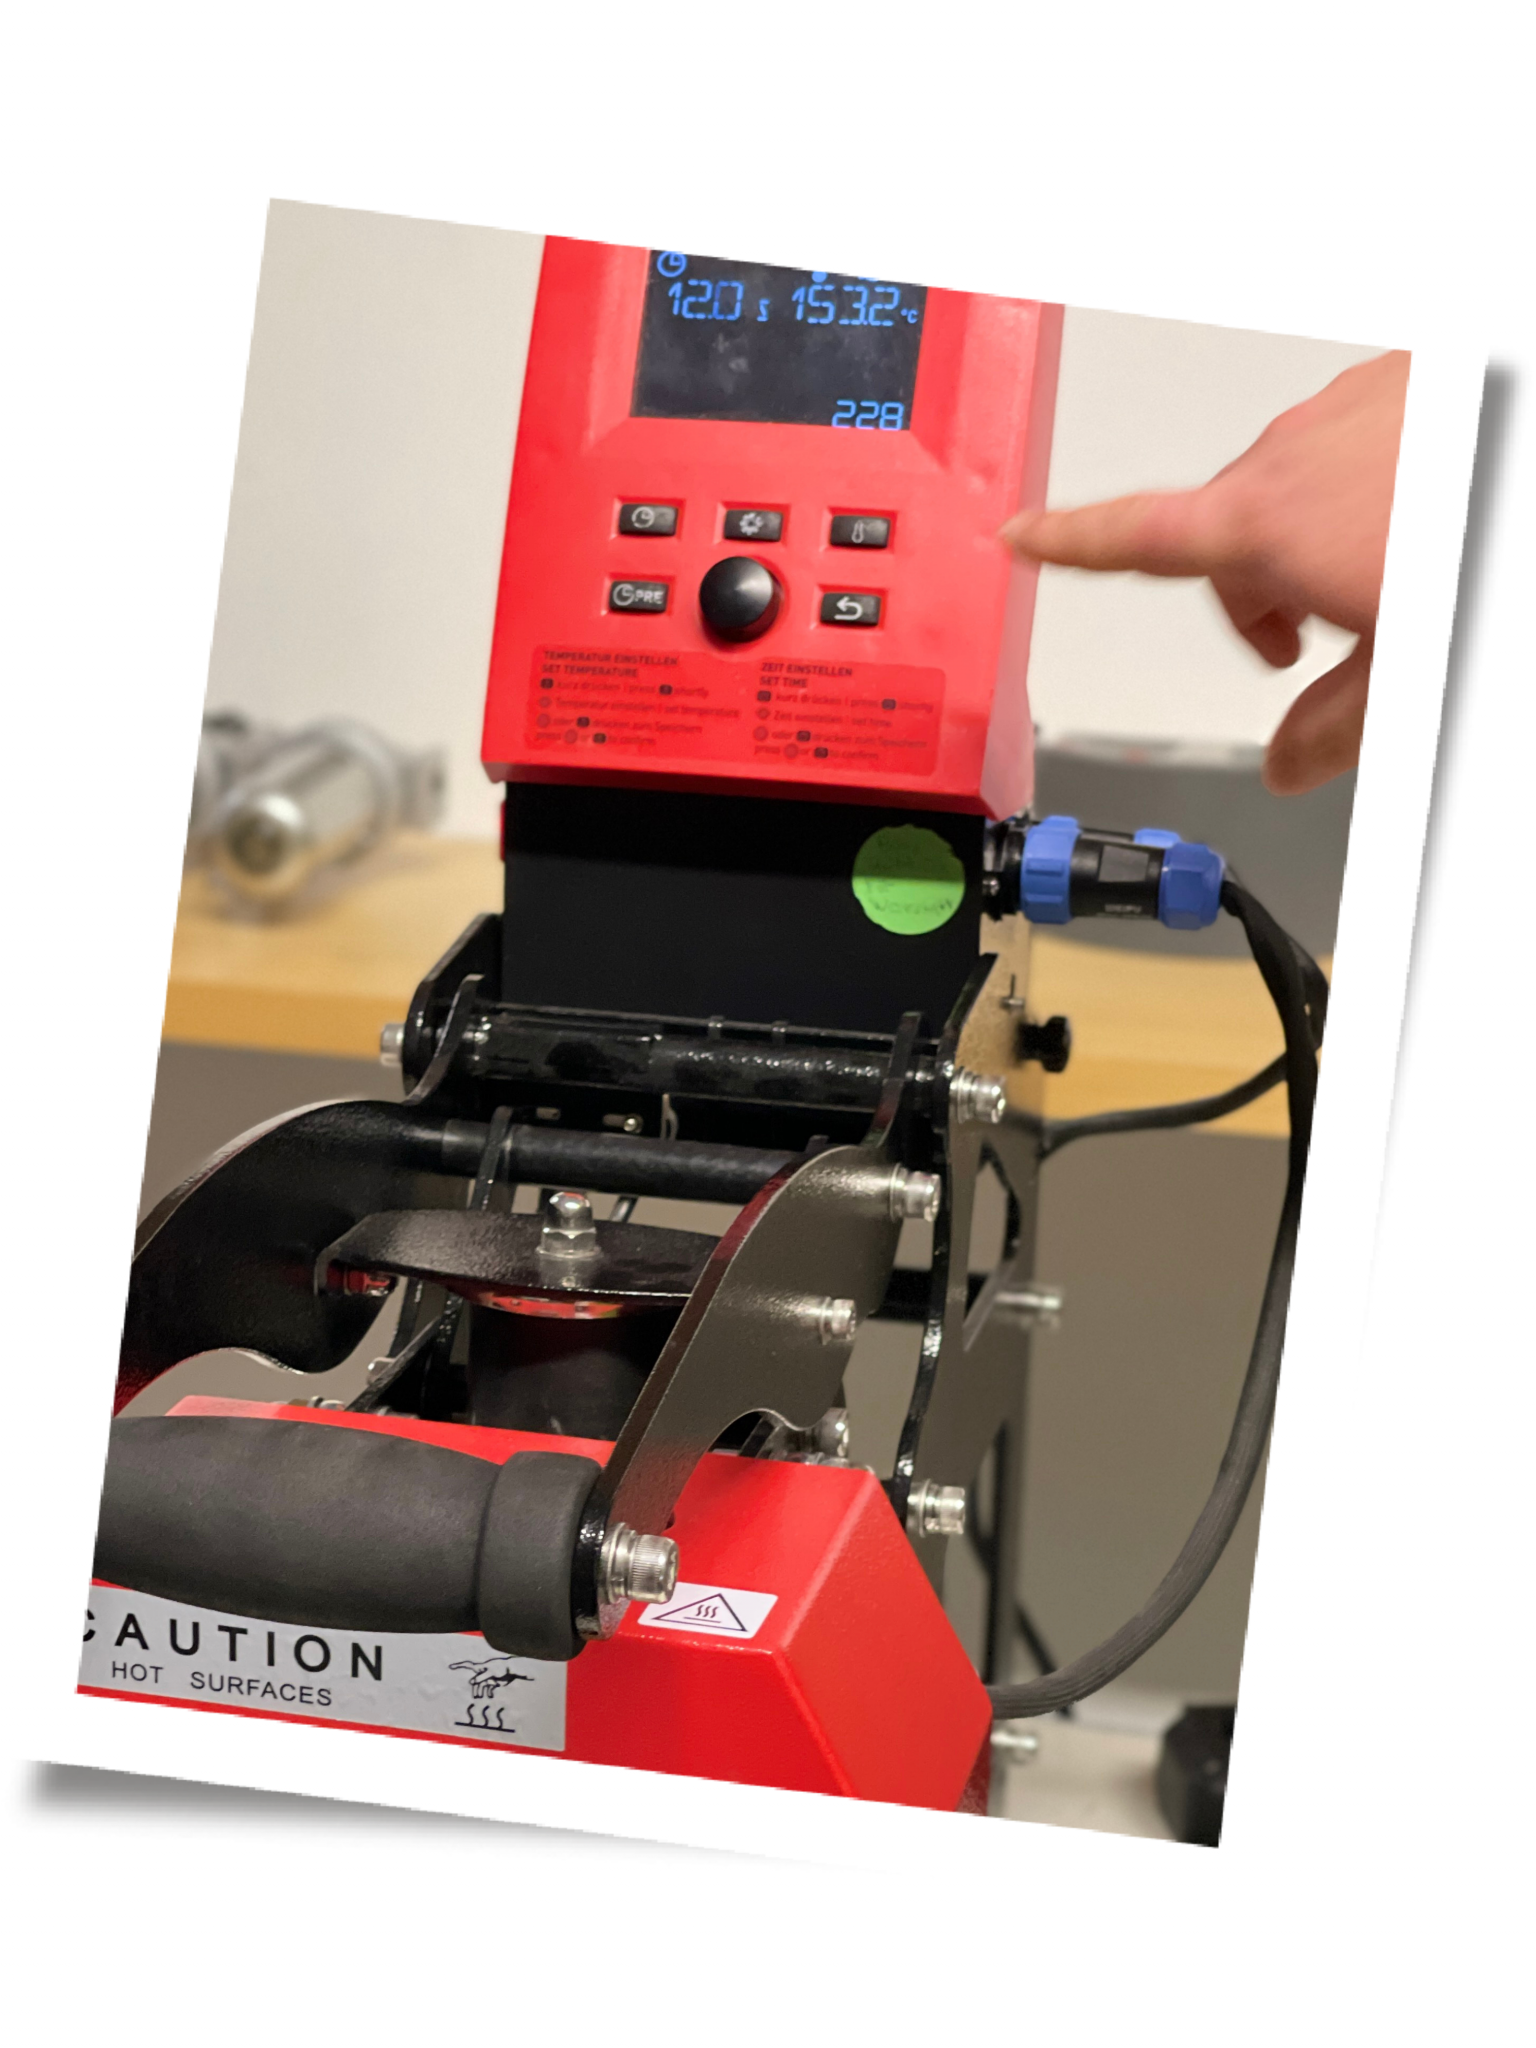
The plots should now all be fully weeded, and the heat press should be preheated to approx. 155 °C. The pressing time varies depending on the film, so please check the technical specifications on yow.shop beforehand. The temperature may also vary depending on the film.
Important: You may have several layers to laminate, so think carefully about which one should be the bottom layer. We’ll start with this one straight away. Position it in the correct place and laminate it for as long as specified in the instructions for each sheet.
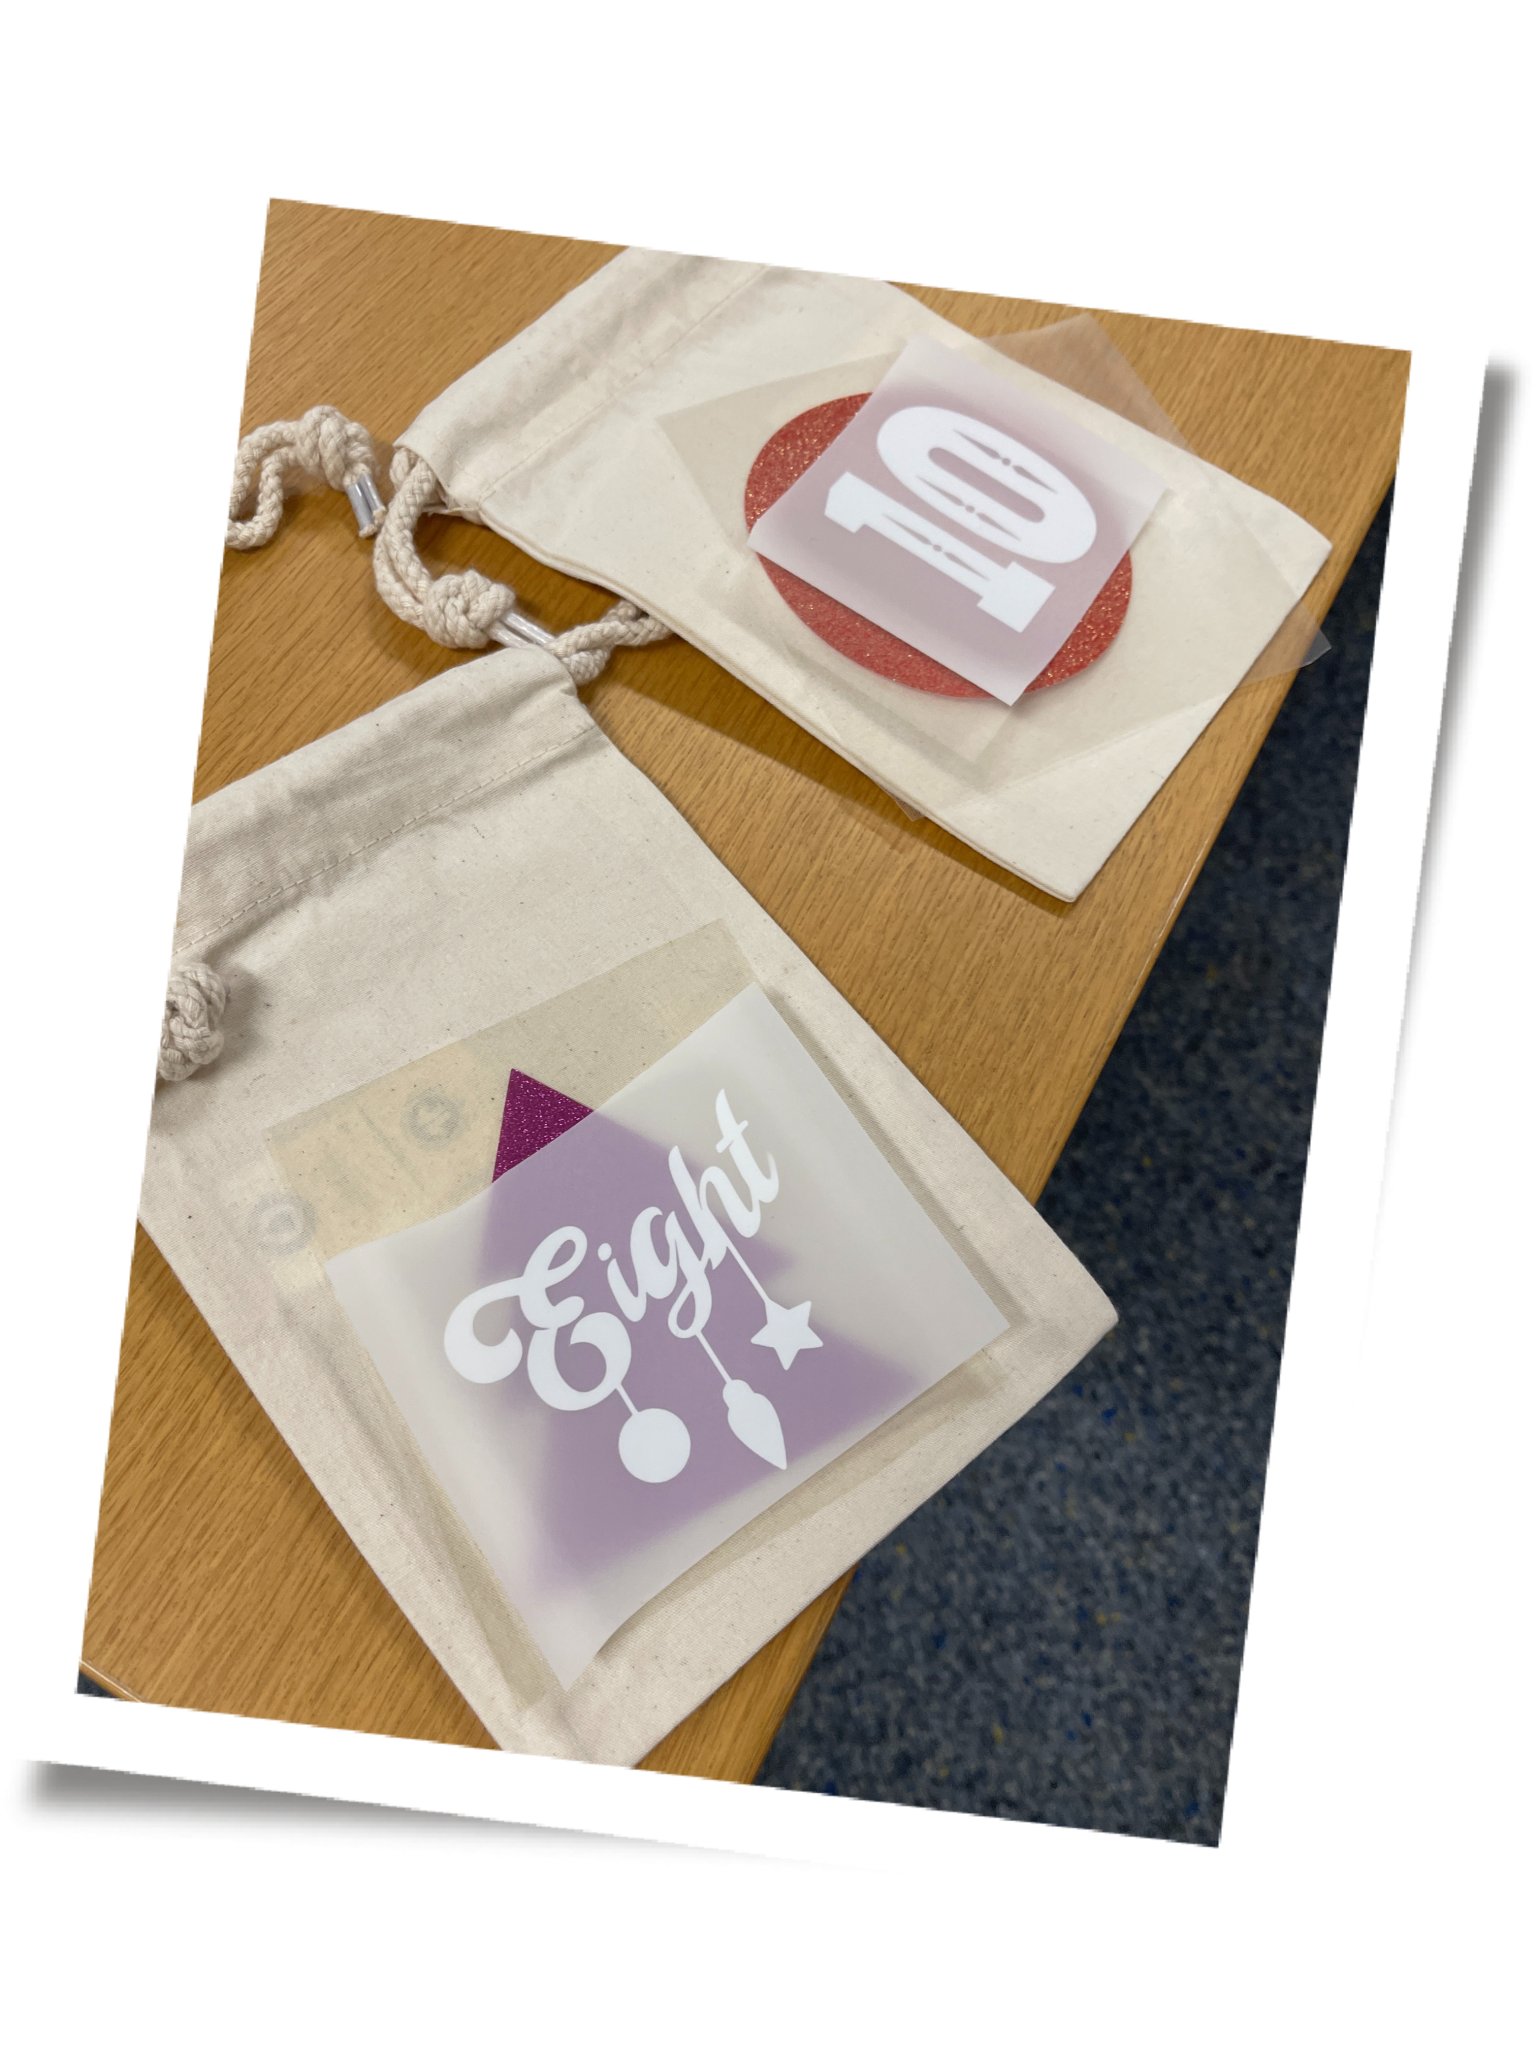
Does the film need to be left to cool after pressing, or can it be peeled off whilst still hot? These details should be taken into account in any case.
The next layer can now simply be pressed onto it. However, once you’ve finished with all the layers, press the whole thing again for 10 seconds.
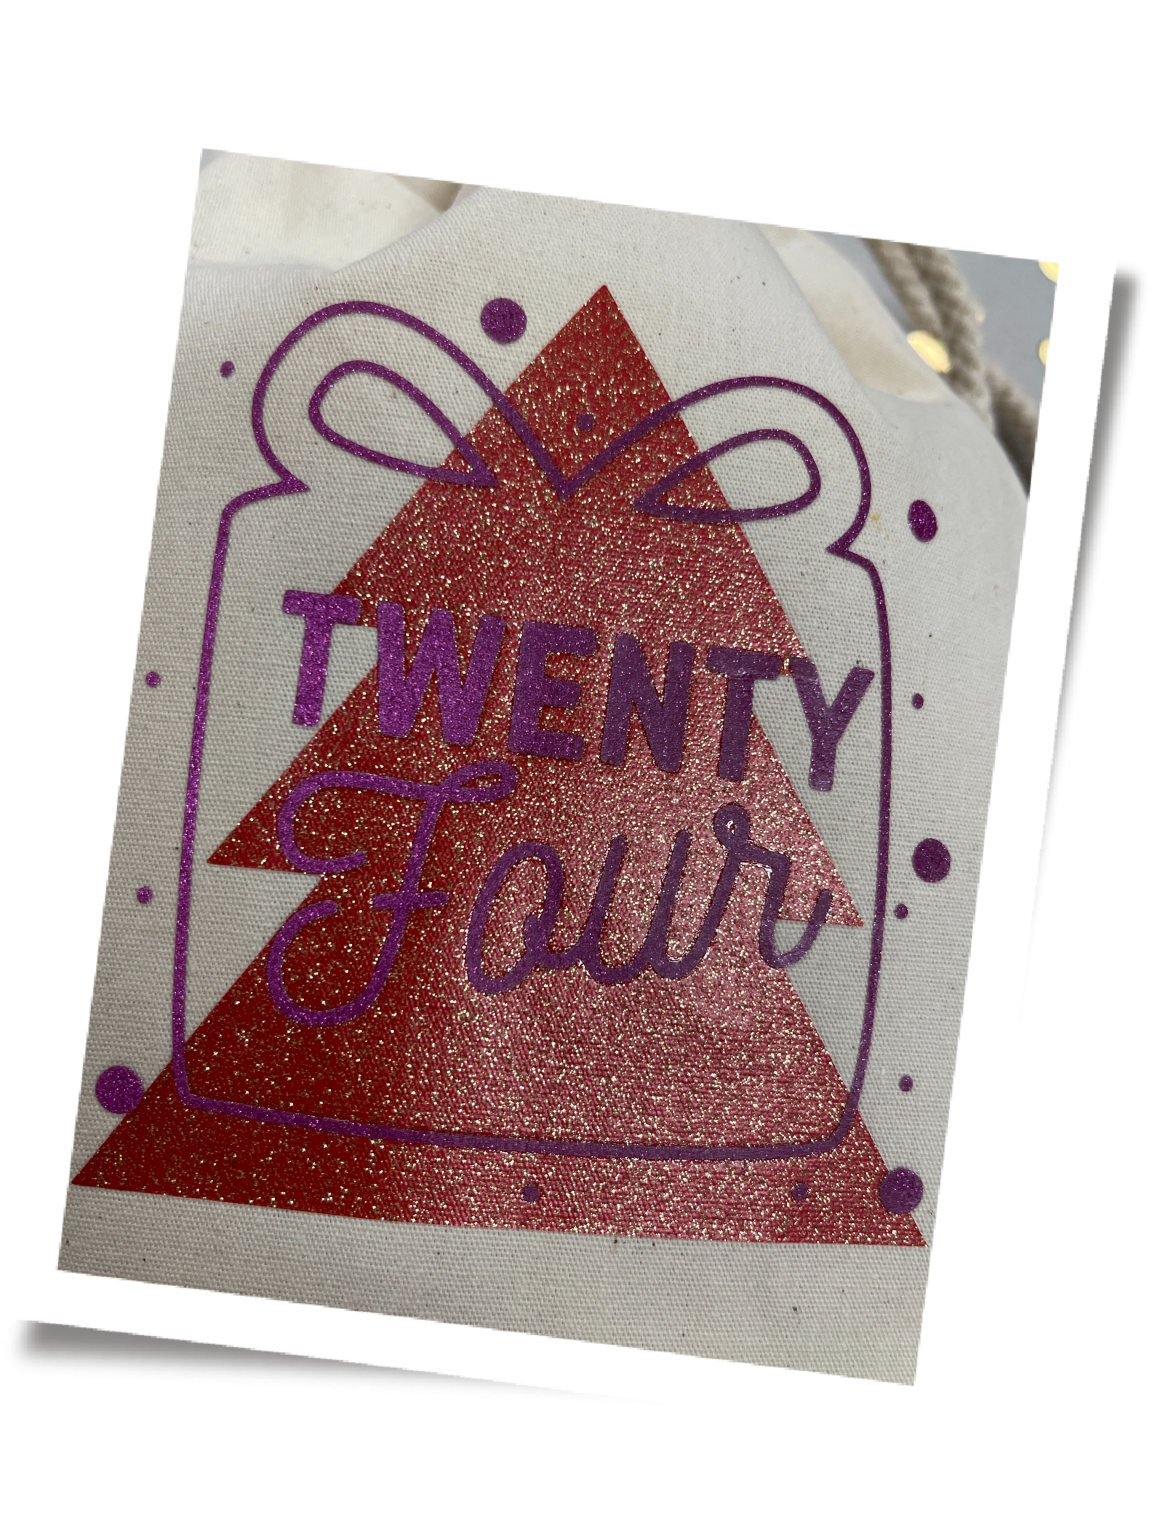
That is exactly the process you should now go through with all the bags.
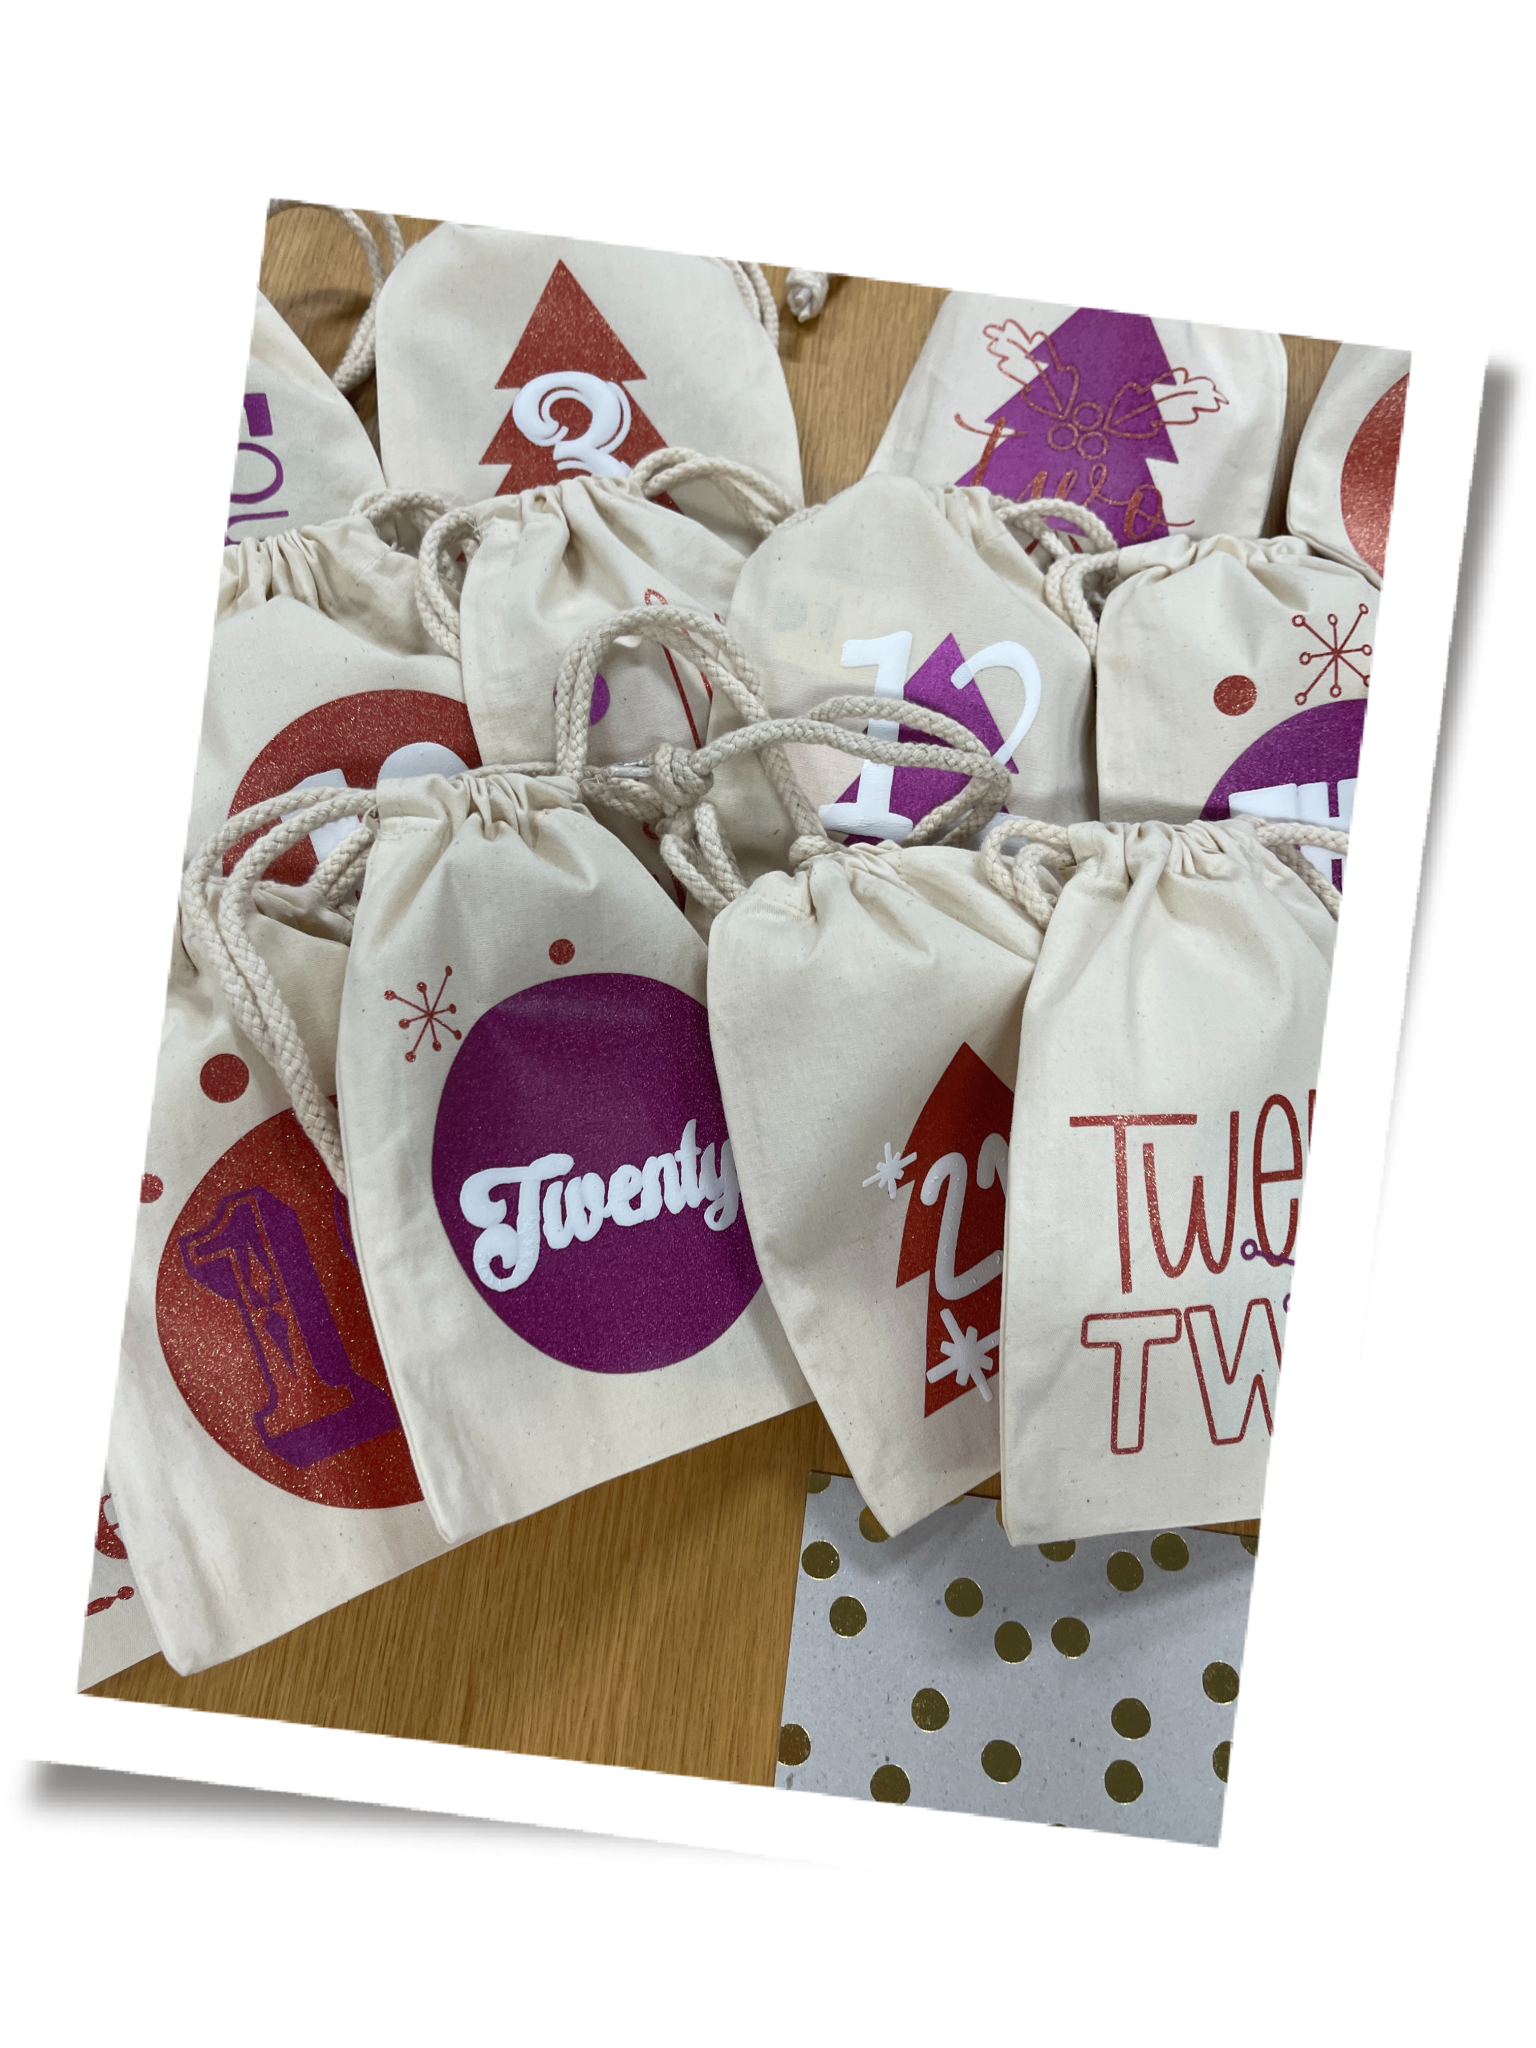
Do you particularly like the films we’ve used? Then have a read of our next blog post about the new SEF film range. Watch this space!
The fabric pouches are now hanging there, but something’s still missing. We’ve added a few more Christmas tree decorations and – which brings us straight to the next point – cut out our own Christmas trees and stars.
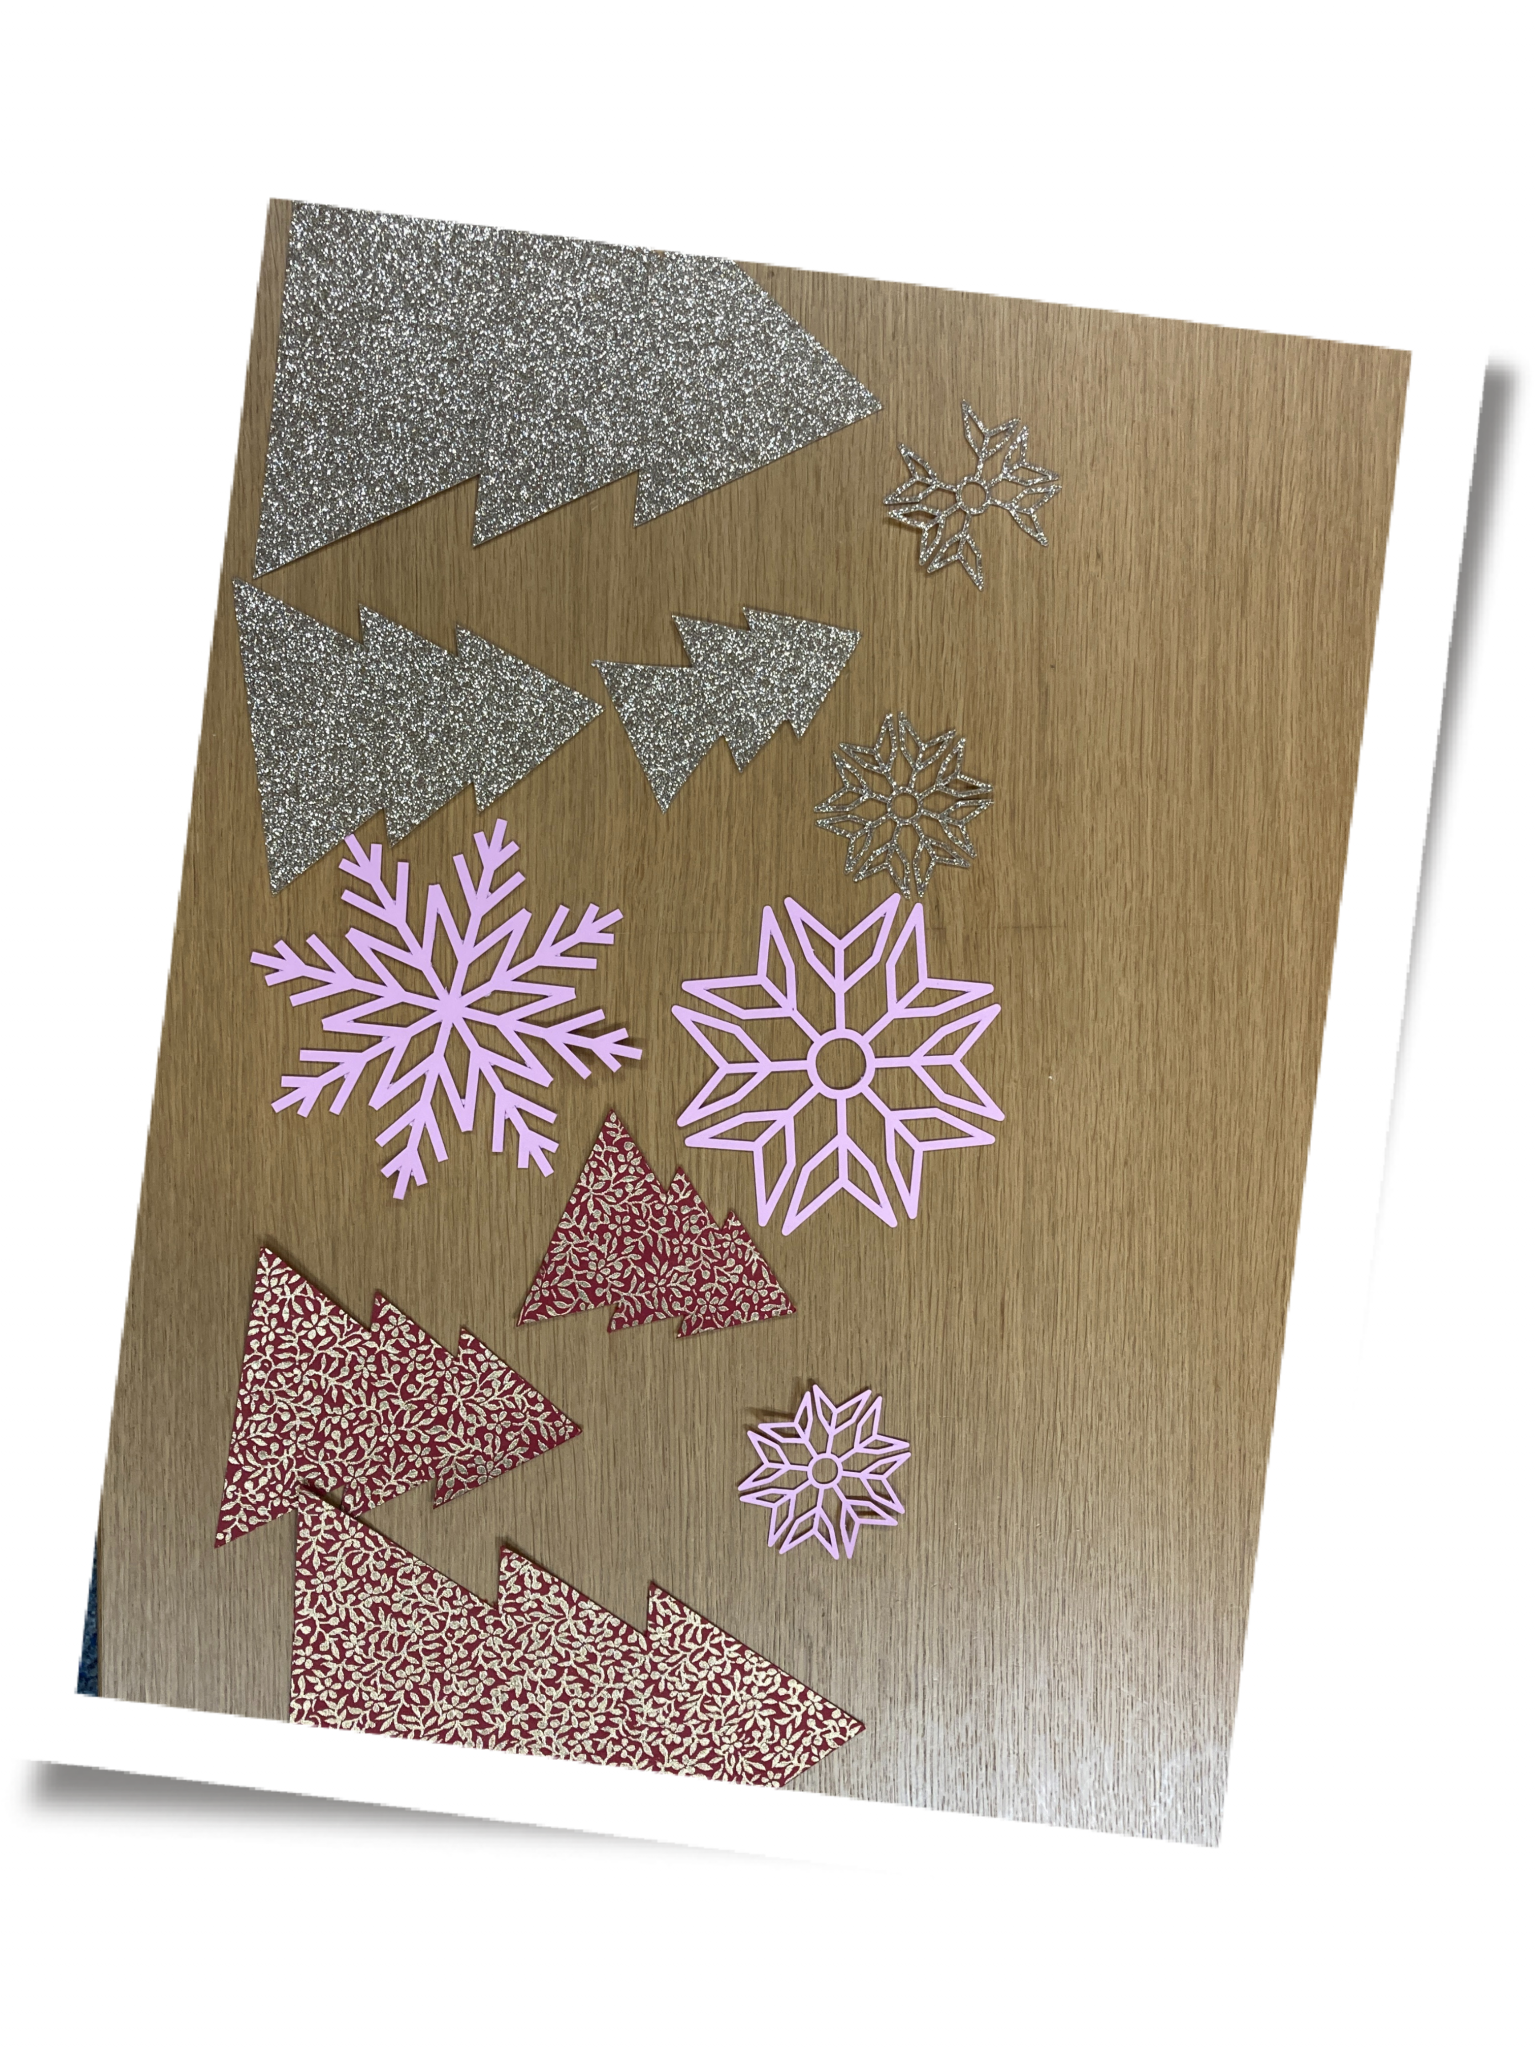
I’m sure you know for yourselves how unsightly it looks when you have to cut things out with scissors whilst doing crafts and end up completely dissatisfied because the edges aren’t straight.
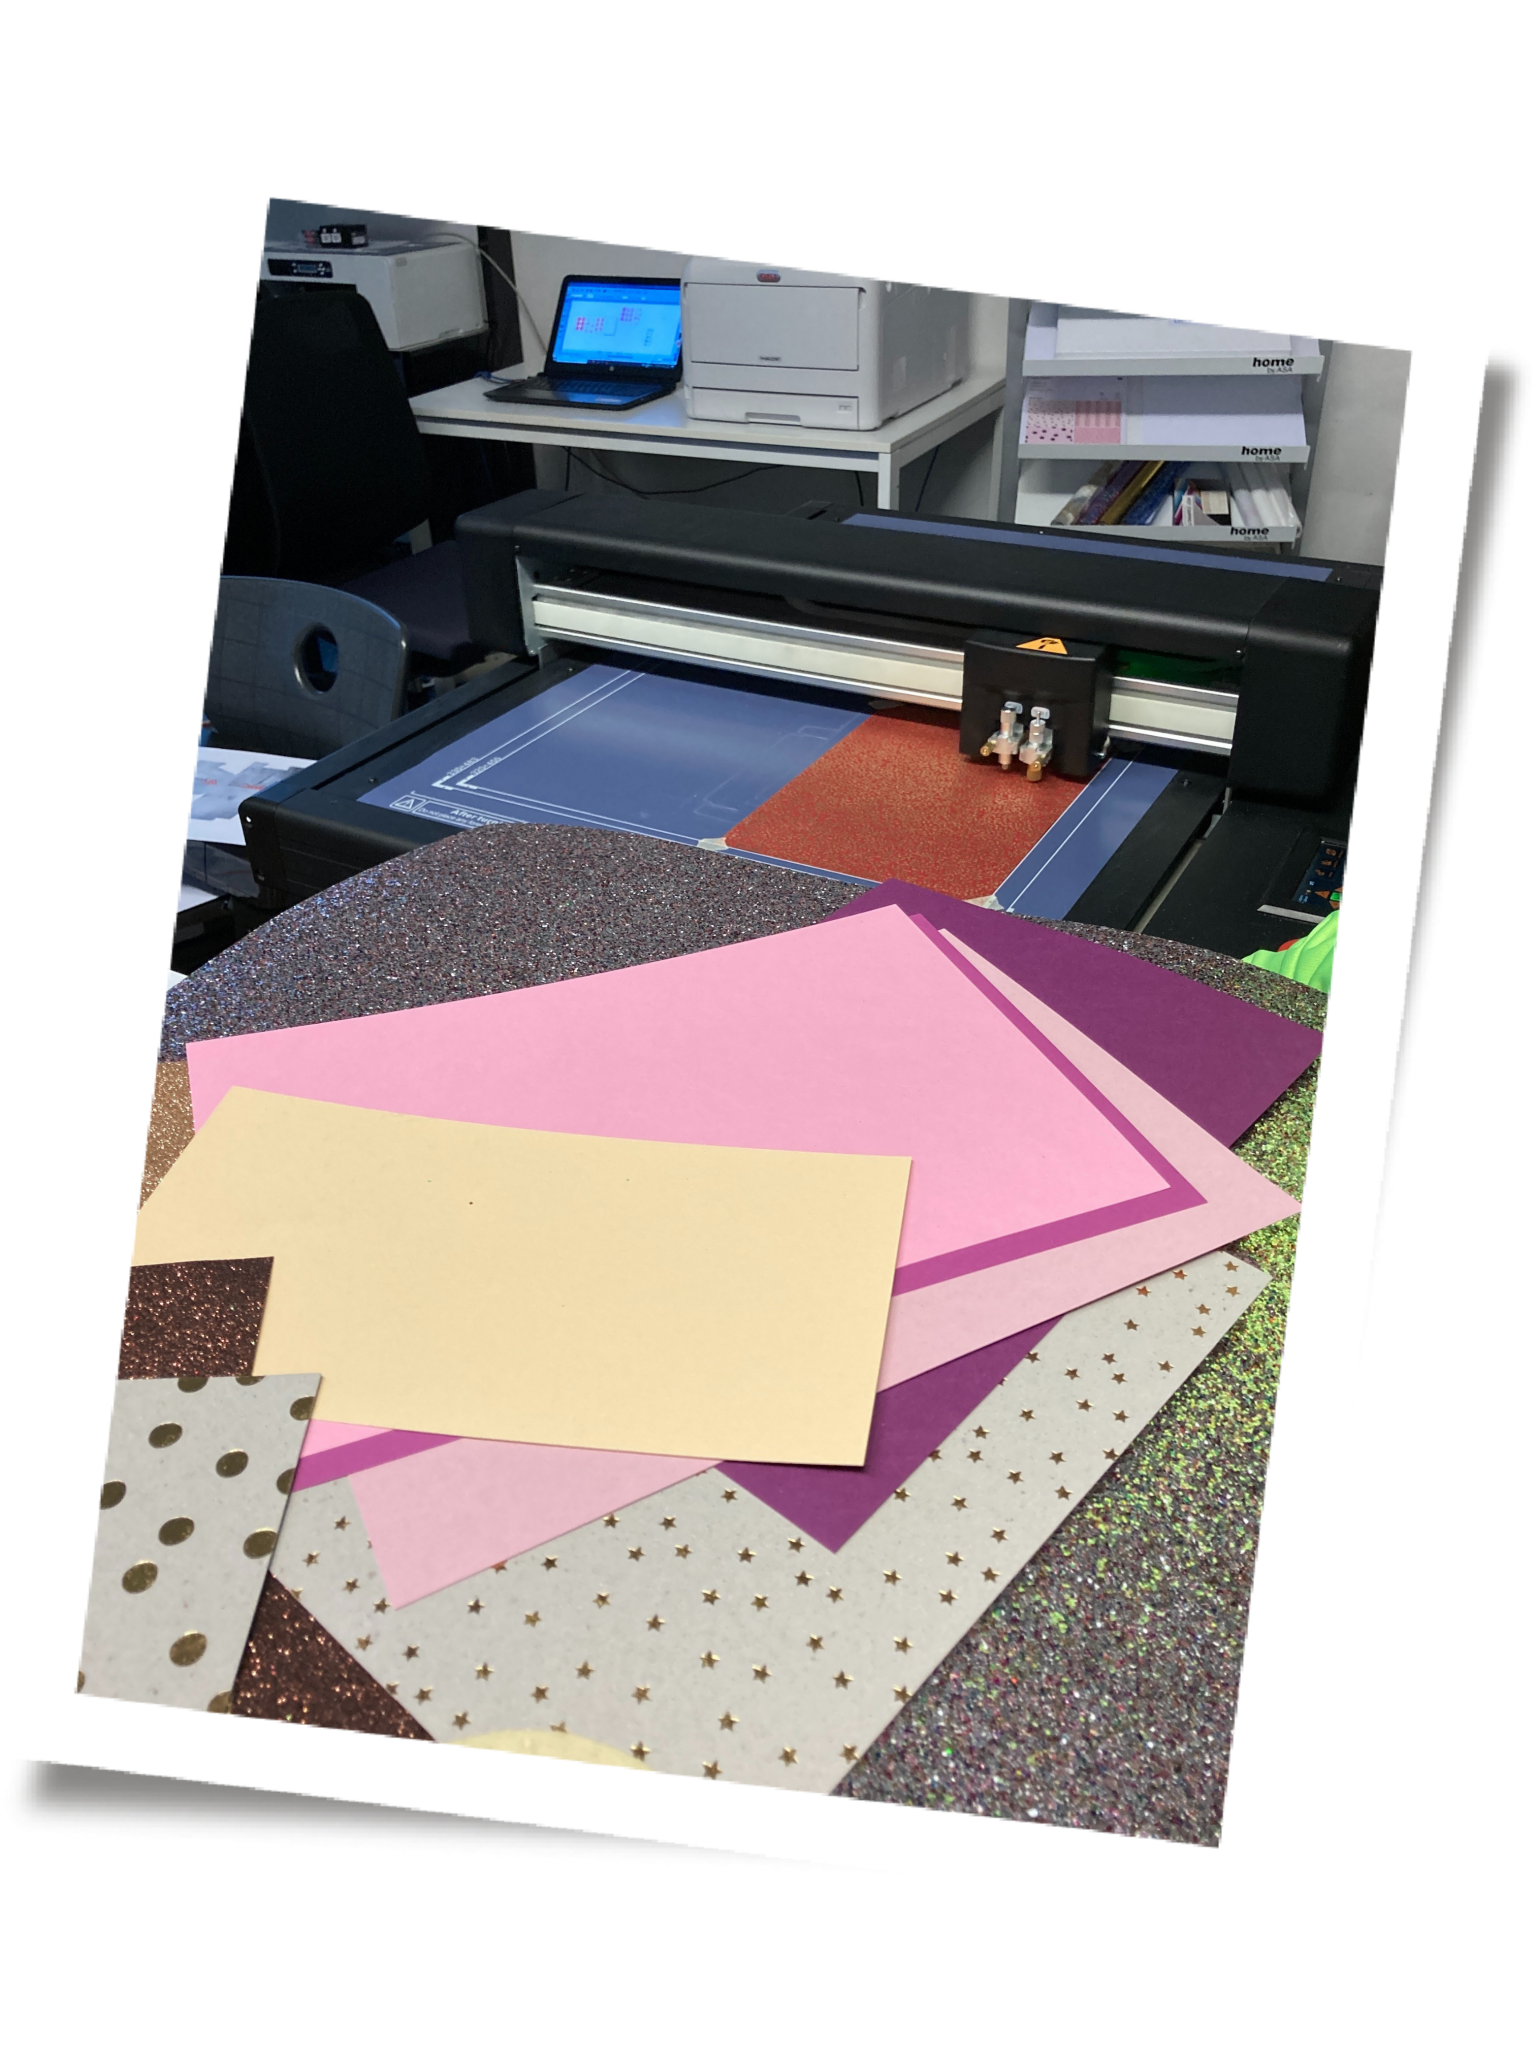
We’ve got the perfect machine for you: the FC-500VC Vulcan cutting plotter. What we particularly like about it is how easy it is to use. You’ll quickly get the hang of it. Click here if you’d like to find out more.
You can also control the Vulcan FC-500VC via DrawCut. Import your designs into the software, set the correct pressure and speed, and off you go. We’ve opted for glitter paper or paper with great designs. That really gets you in the Christmas spirit, doesn’t it?
Finally, all you need to do is hang everything up or position it correctly, and then it should look something like this for you, just as it does for us.
We wish you a lovely Advent season, and don’t forget to take part in our Advent calendar!
Your YOW! Team