Welcome to the run-up to Christmas!
We’re heralding the lovely Advent season; look, the first candle is burning…
It’s that time of year again – the festive season is upon us, the first Christmas preparations have begun and the anticipation of Christmas is building. We’d like to build on our Advent calendar blog from last year and look forward to sharing some creative ideas and inspiration for Christmas over the coming weeks!
It’s still very much the trend to give homemade gifts at Christmas. These are very personal presents, which often aren’t too expensive to make and are therefore ideal as little tokens or as a thank-you for colleagues, the children’s teachers or the friendly neighbour next door. However, as it might seem a bit odd to some people to give the postman or the nursery teacher a pair of hand-knitted socks, in such cases you’re more likely to opt for gifts from your own kitchen. These gifts are also very popular with the recipients themselves and quickly become a habit, as I’ve discovered for myself…
The key thing with these ‘little’ gifts from your own kitchen is that you can easily make them in large batches and then package them nicely in small portions – in little bags and tins, with larger quantities in bags, tins, jars and bottles. To ensure the recipient knows what’s inside, it’s a good idea to label the gifts – this looks nicer than a simple bow and helps avoid unpleasant surprises, particularly with food items that have a limited shelf life.
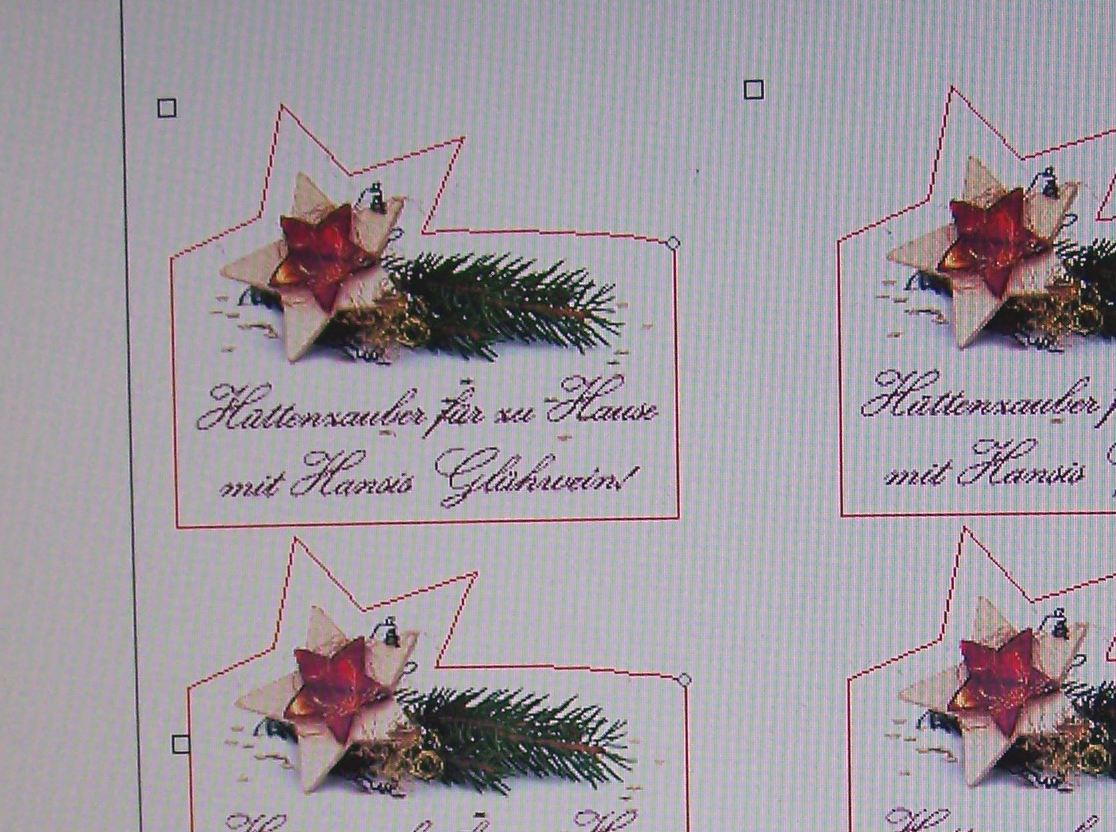
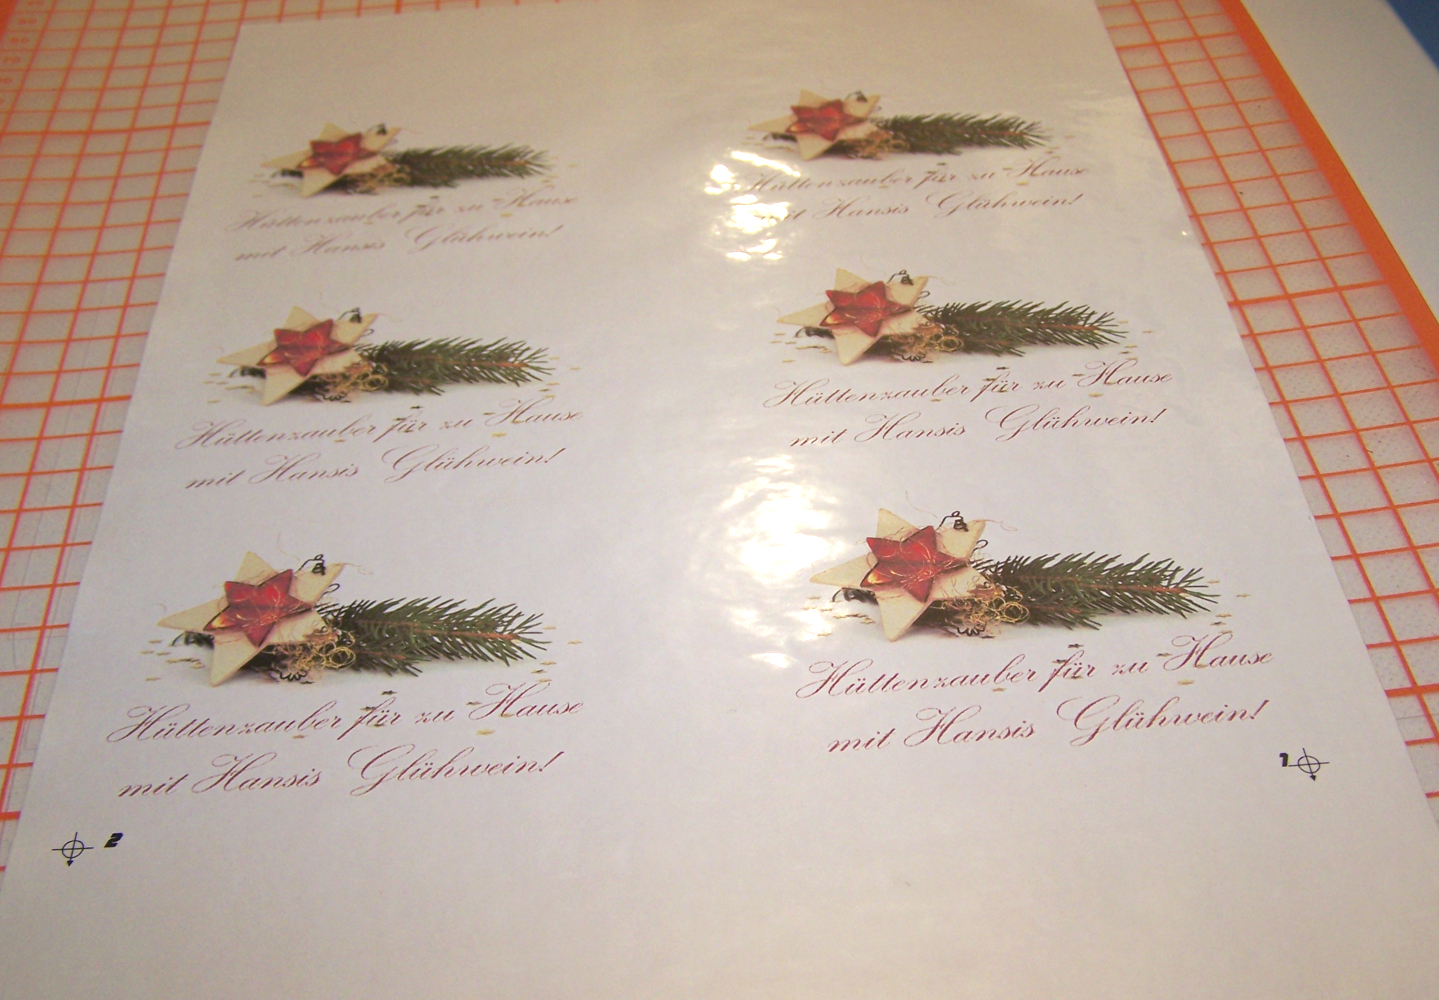
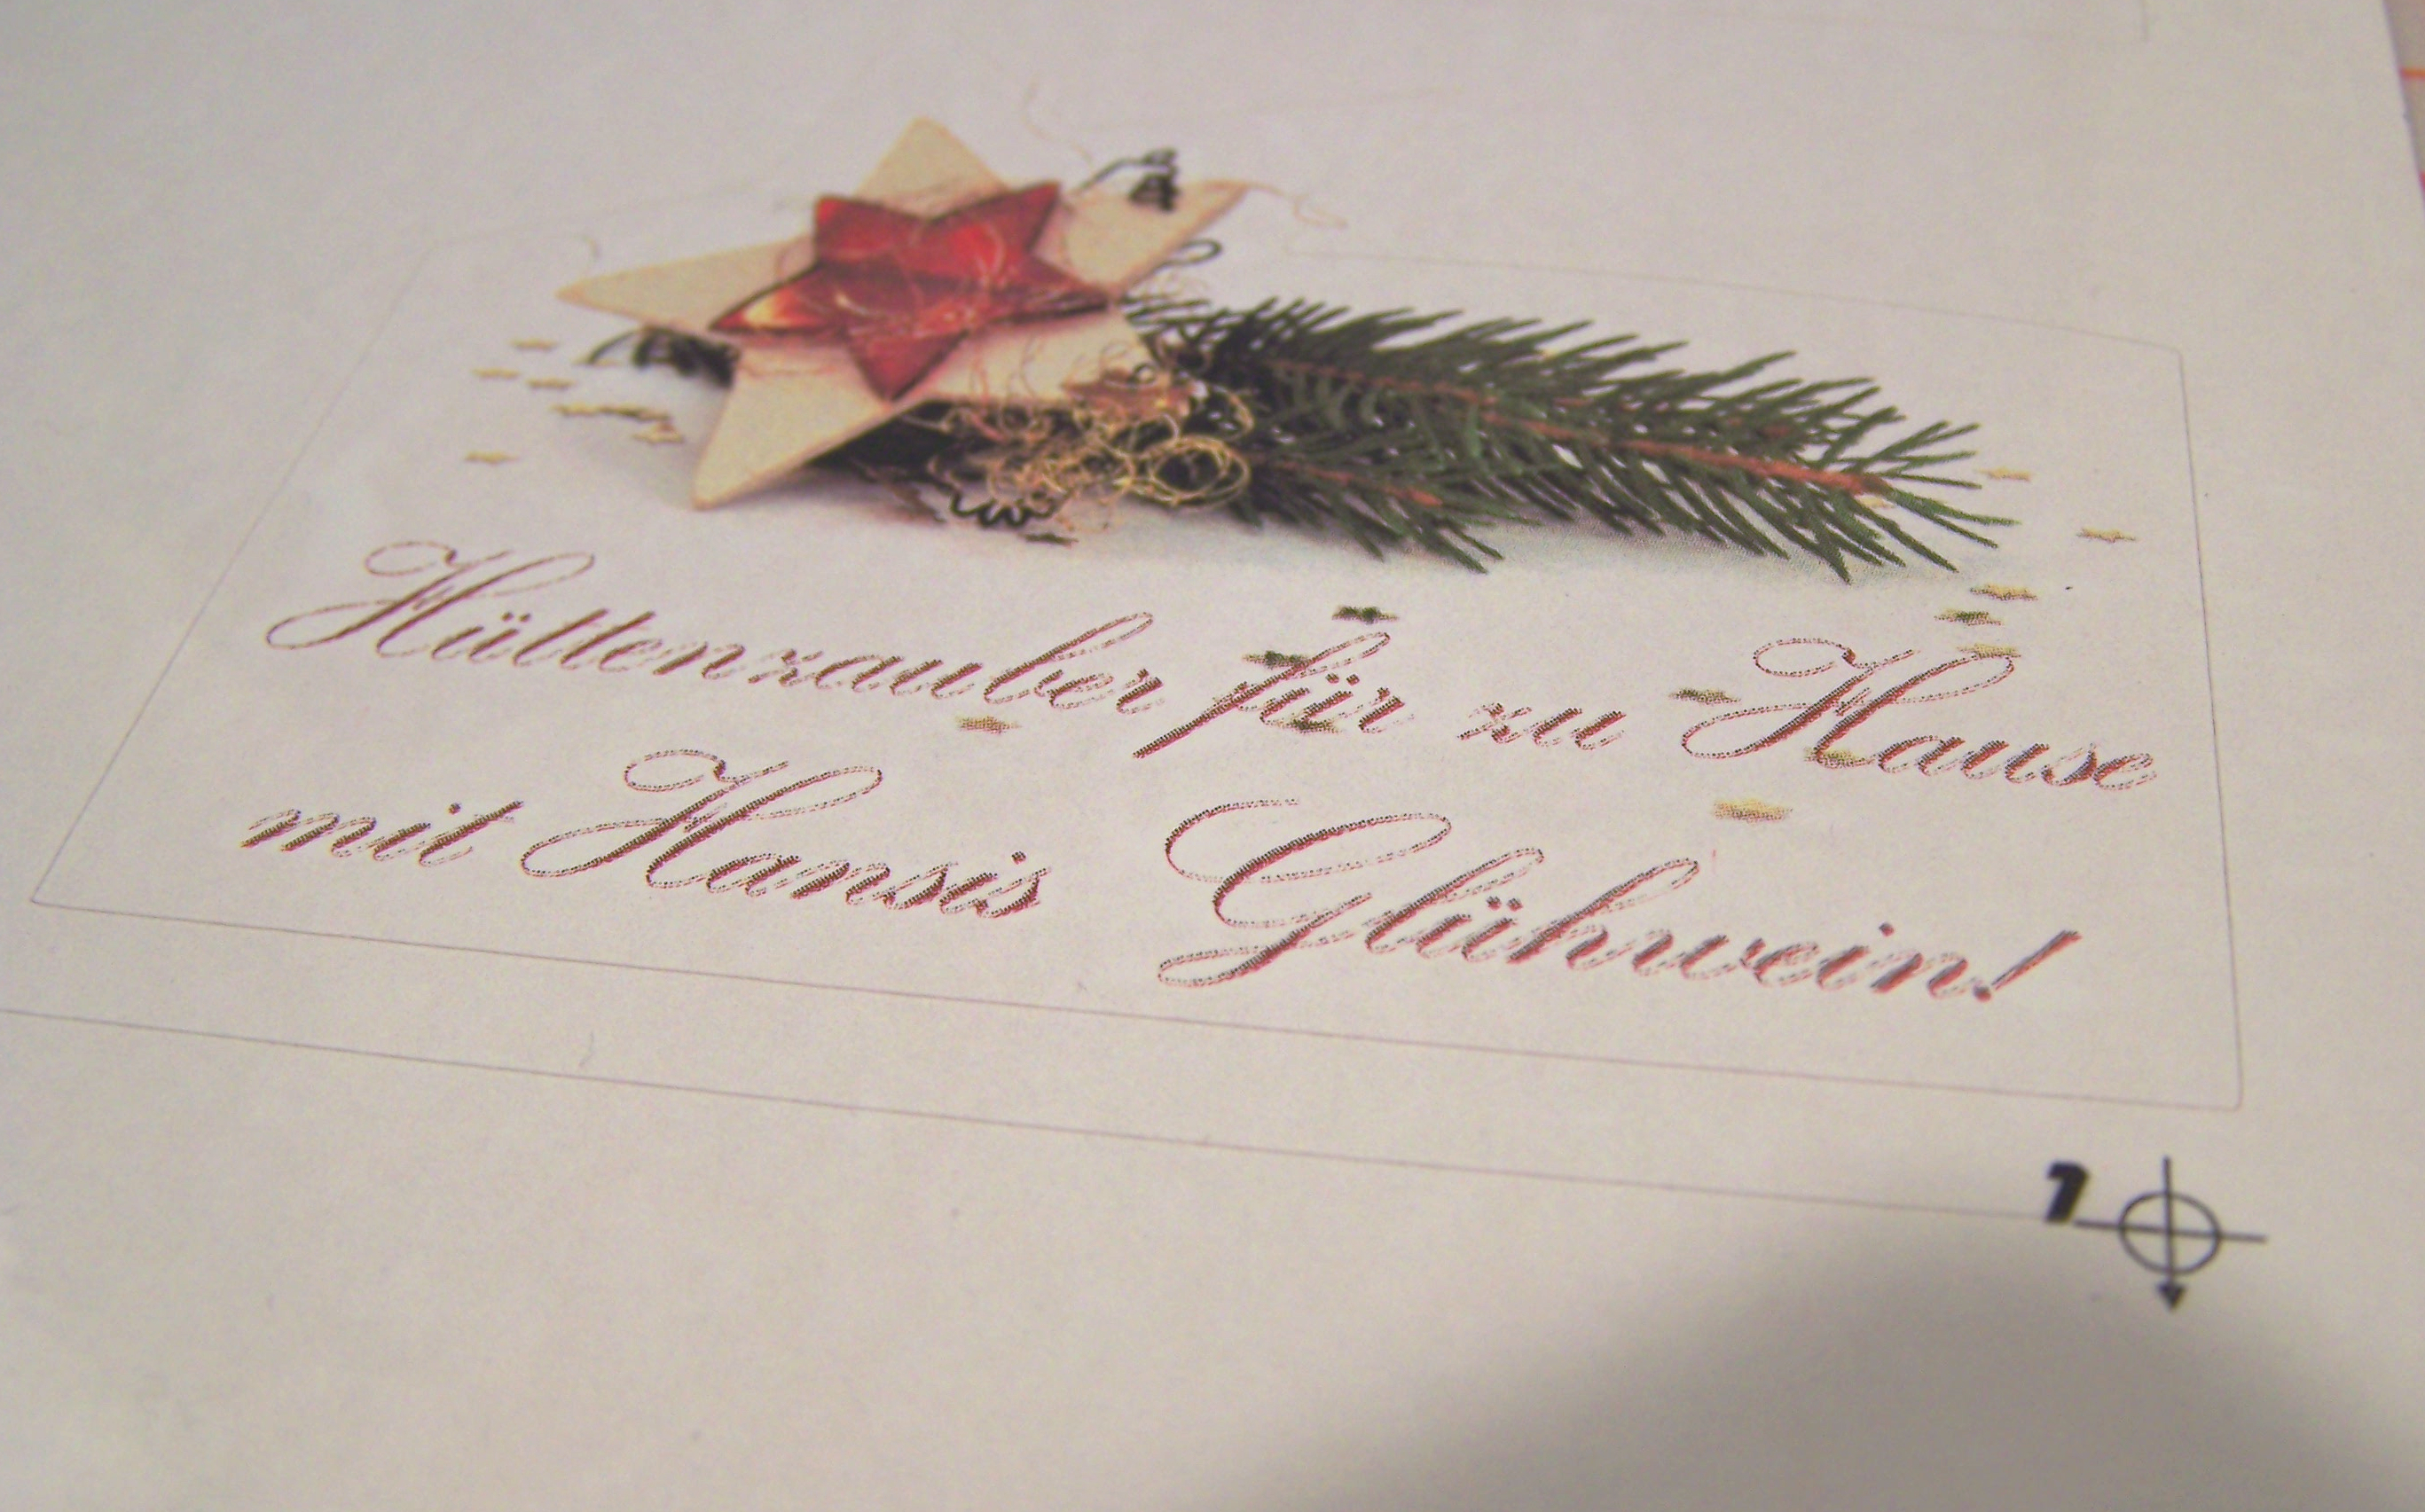
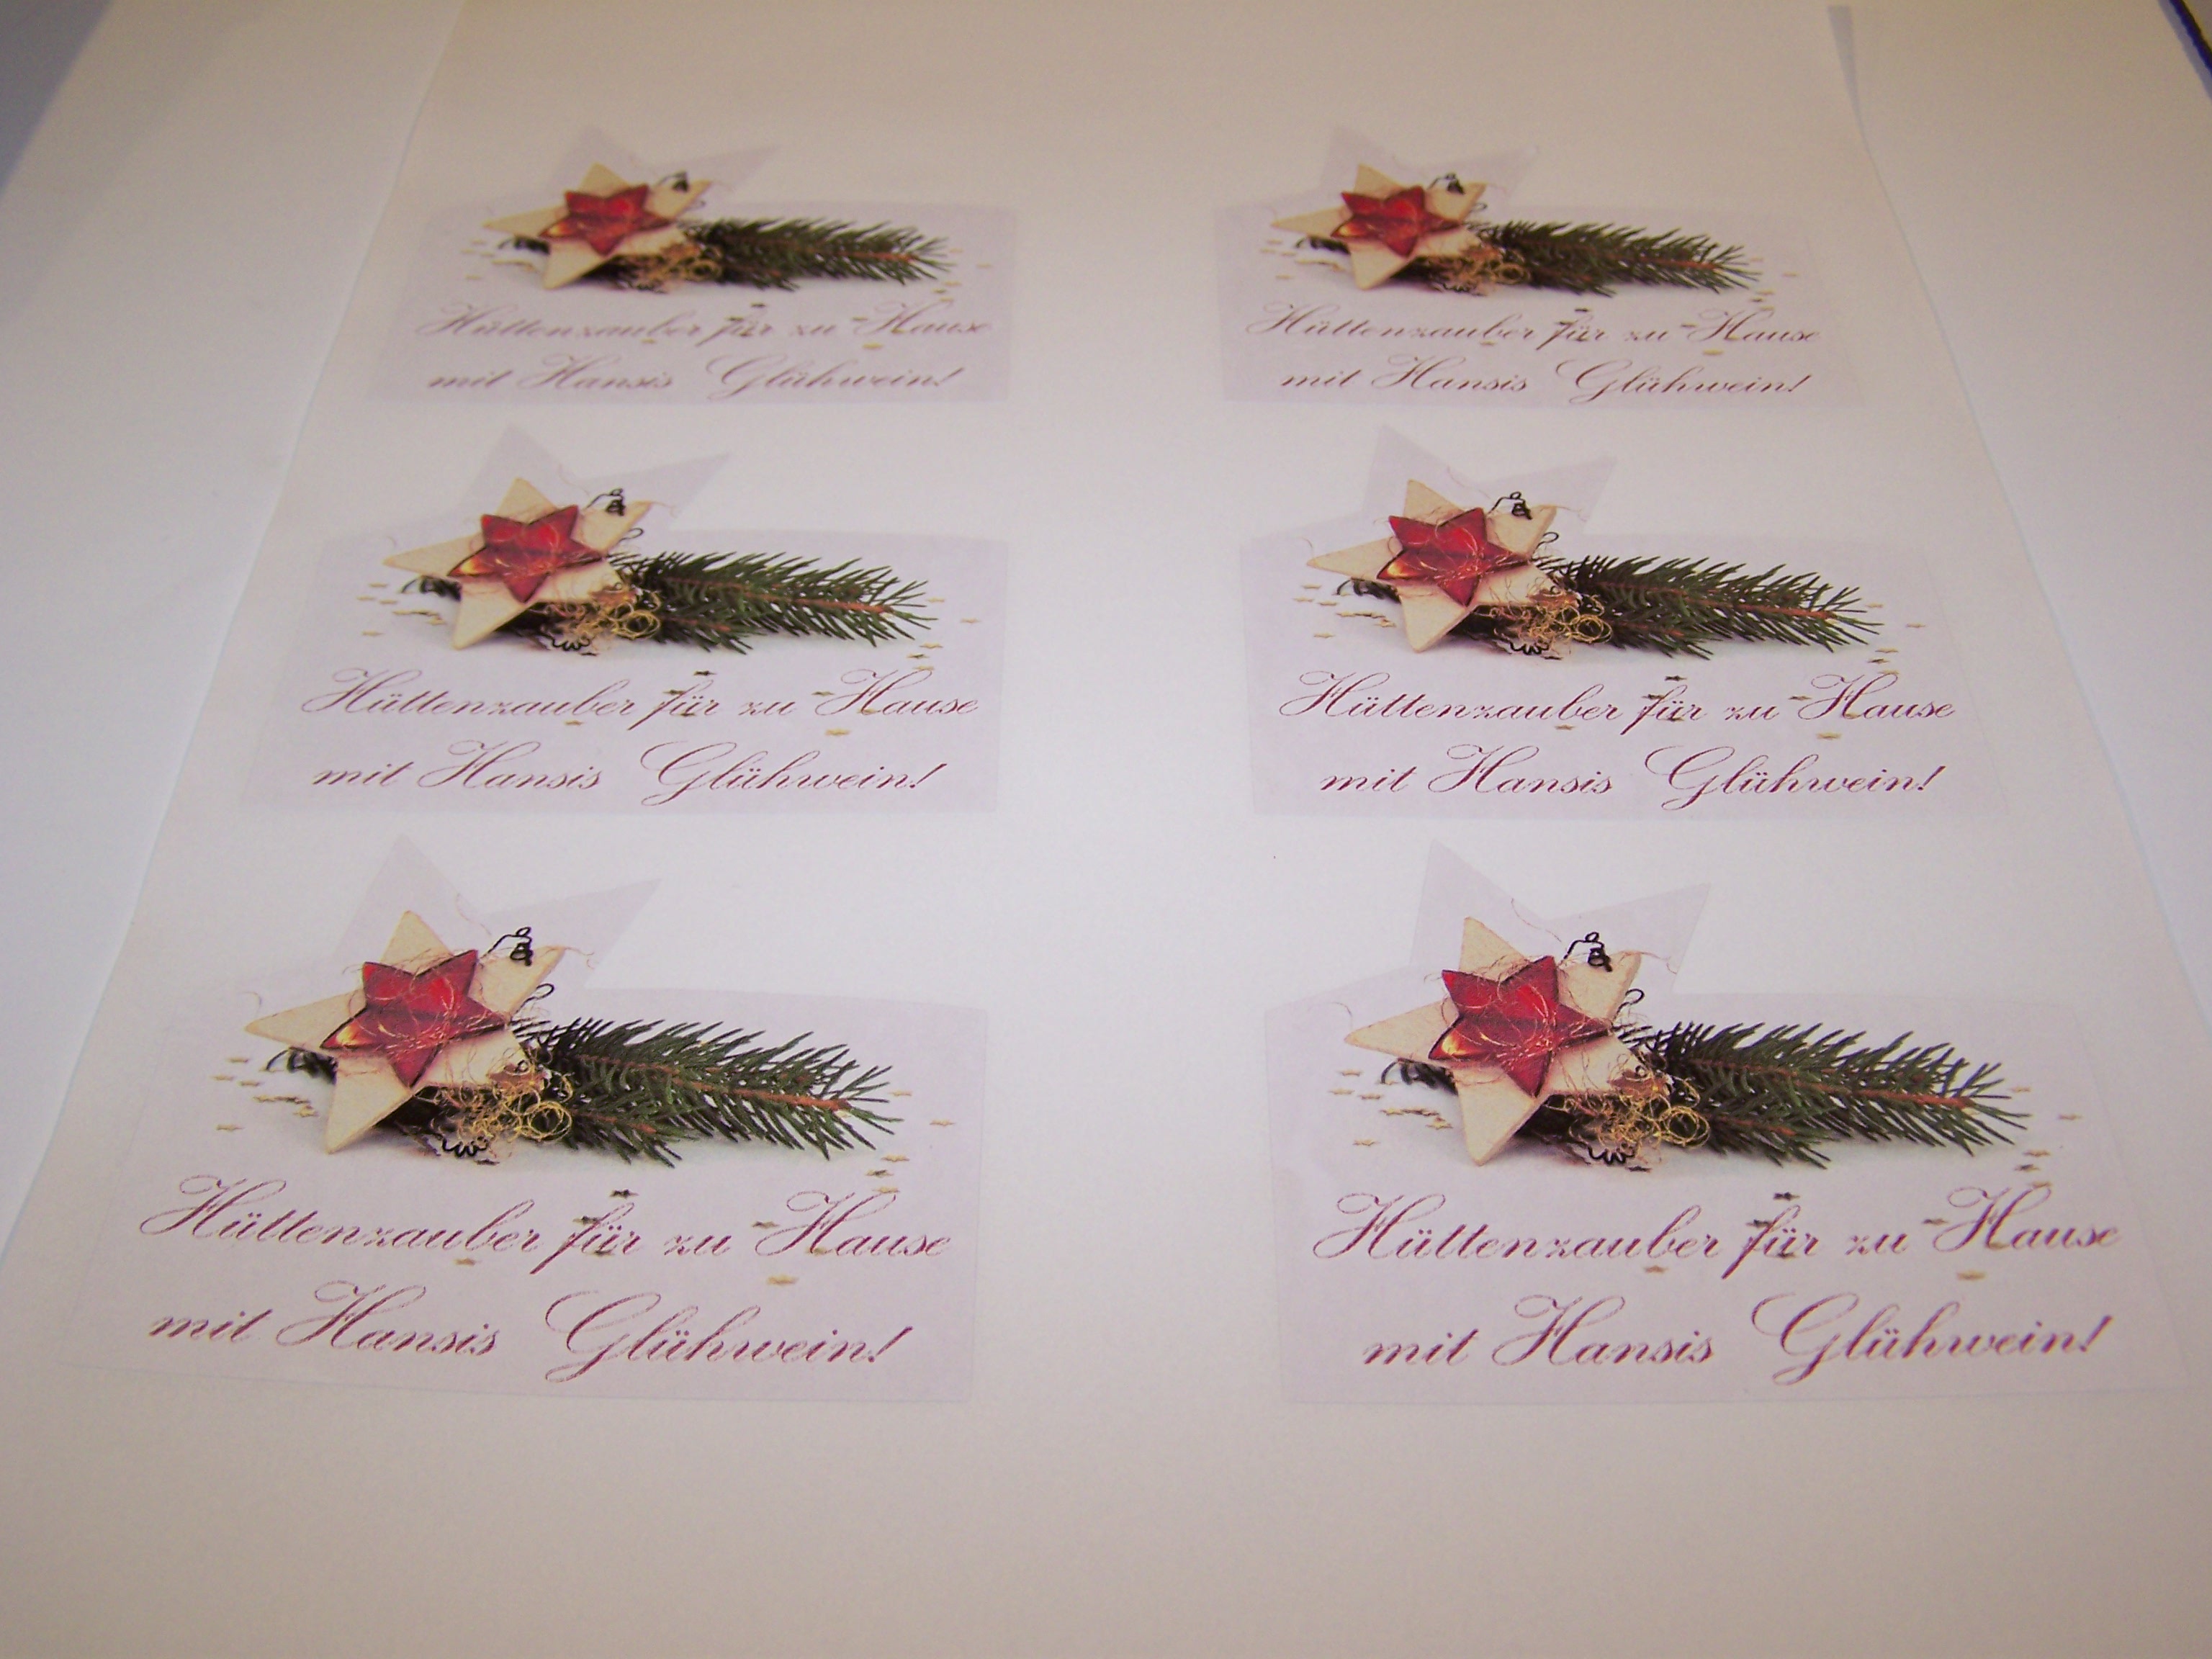
Personalised labels are best for this, and you can make them yourself with very little effort:
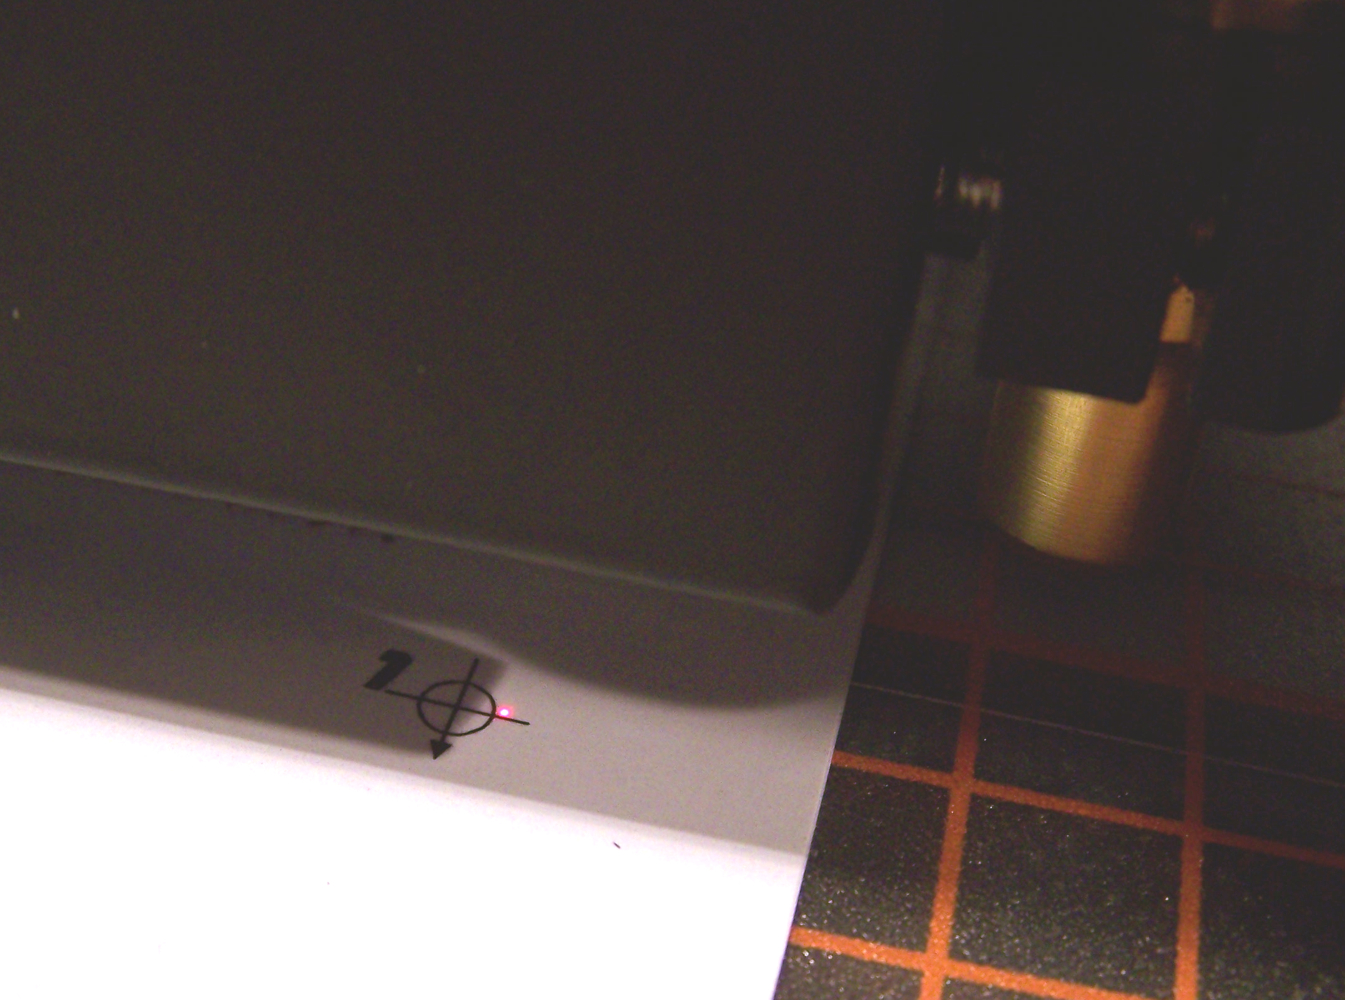
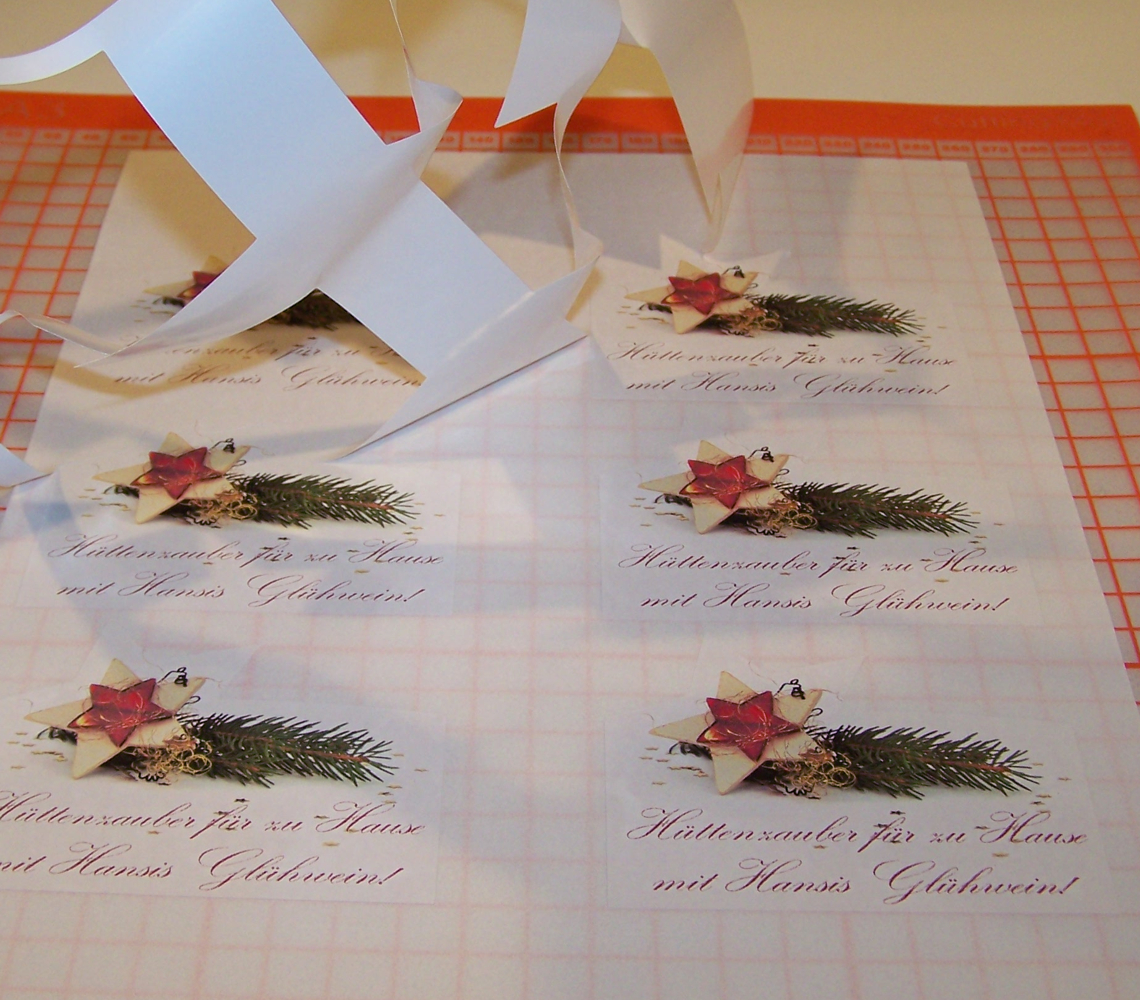
- Create the label in a graphics programme on your computer, print it out on a colour laser printer with registration marks, and then cut out the outline using a cutting plotter. Stick the laser film onto a plot mat whilst doing so.
- Completely weed the sheet with the plotted labels.
- Apply the finished label to the bottle – and you’re done.
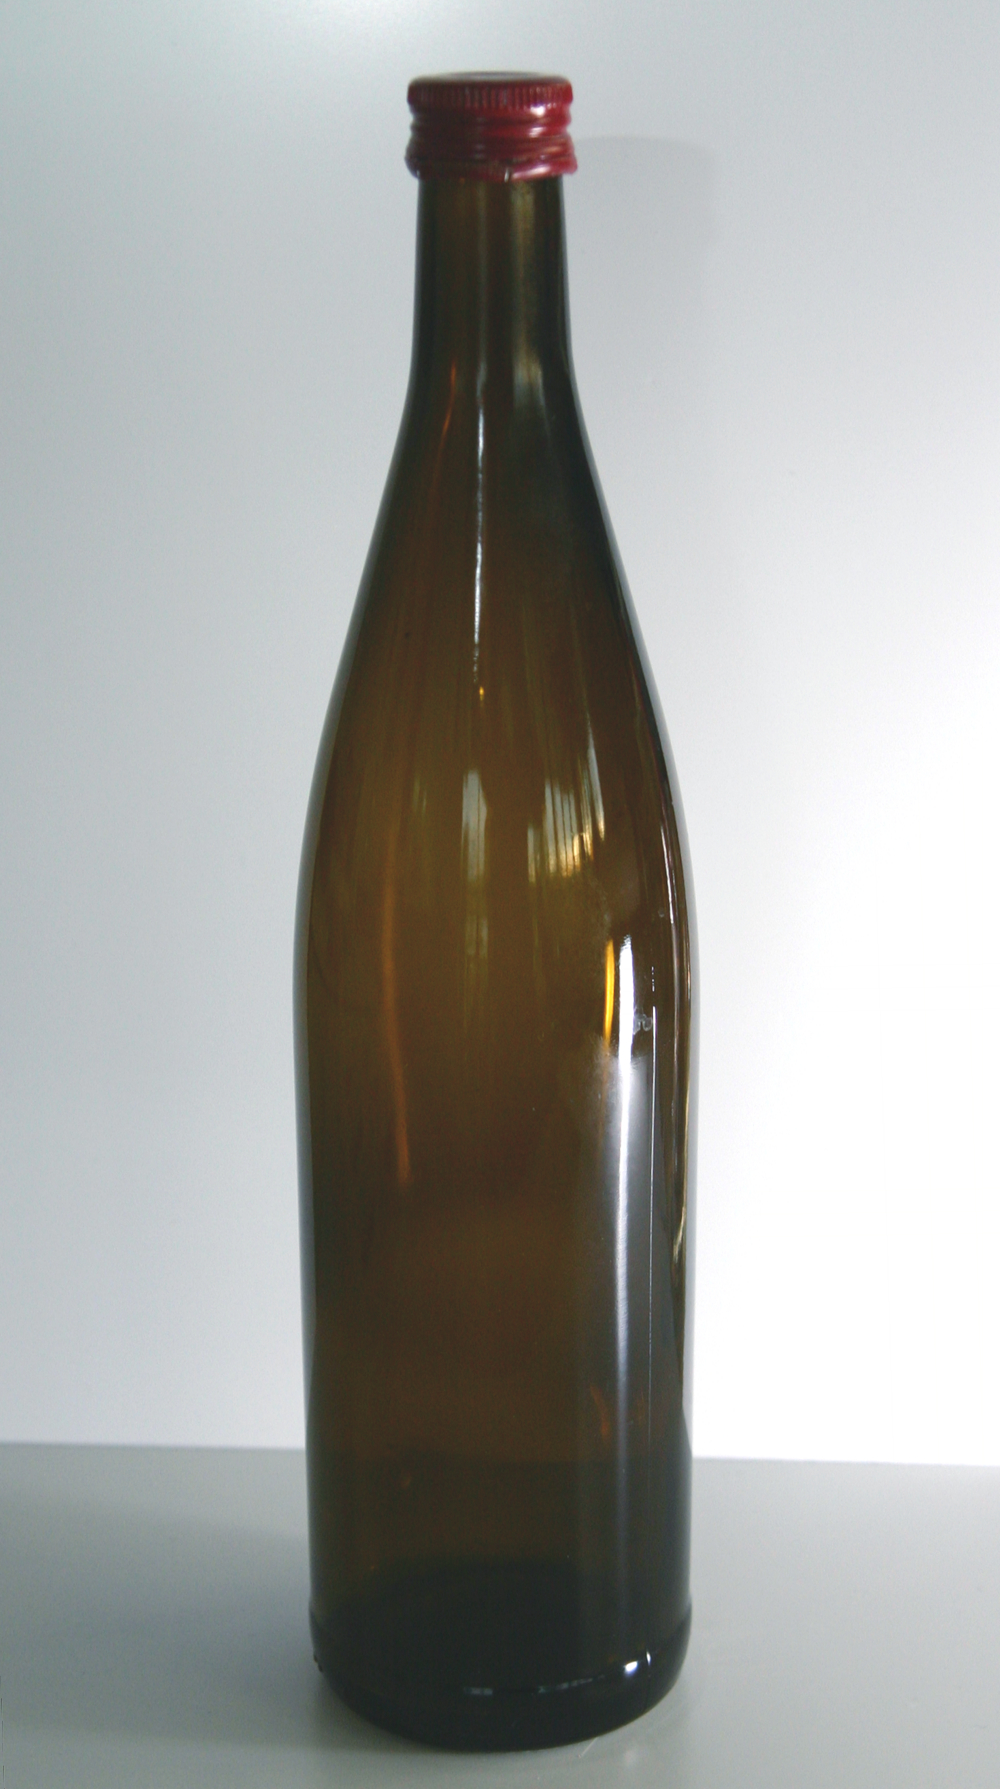
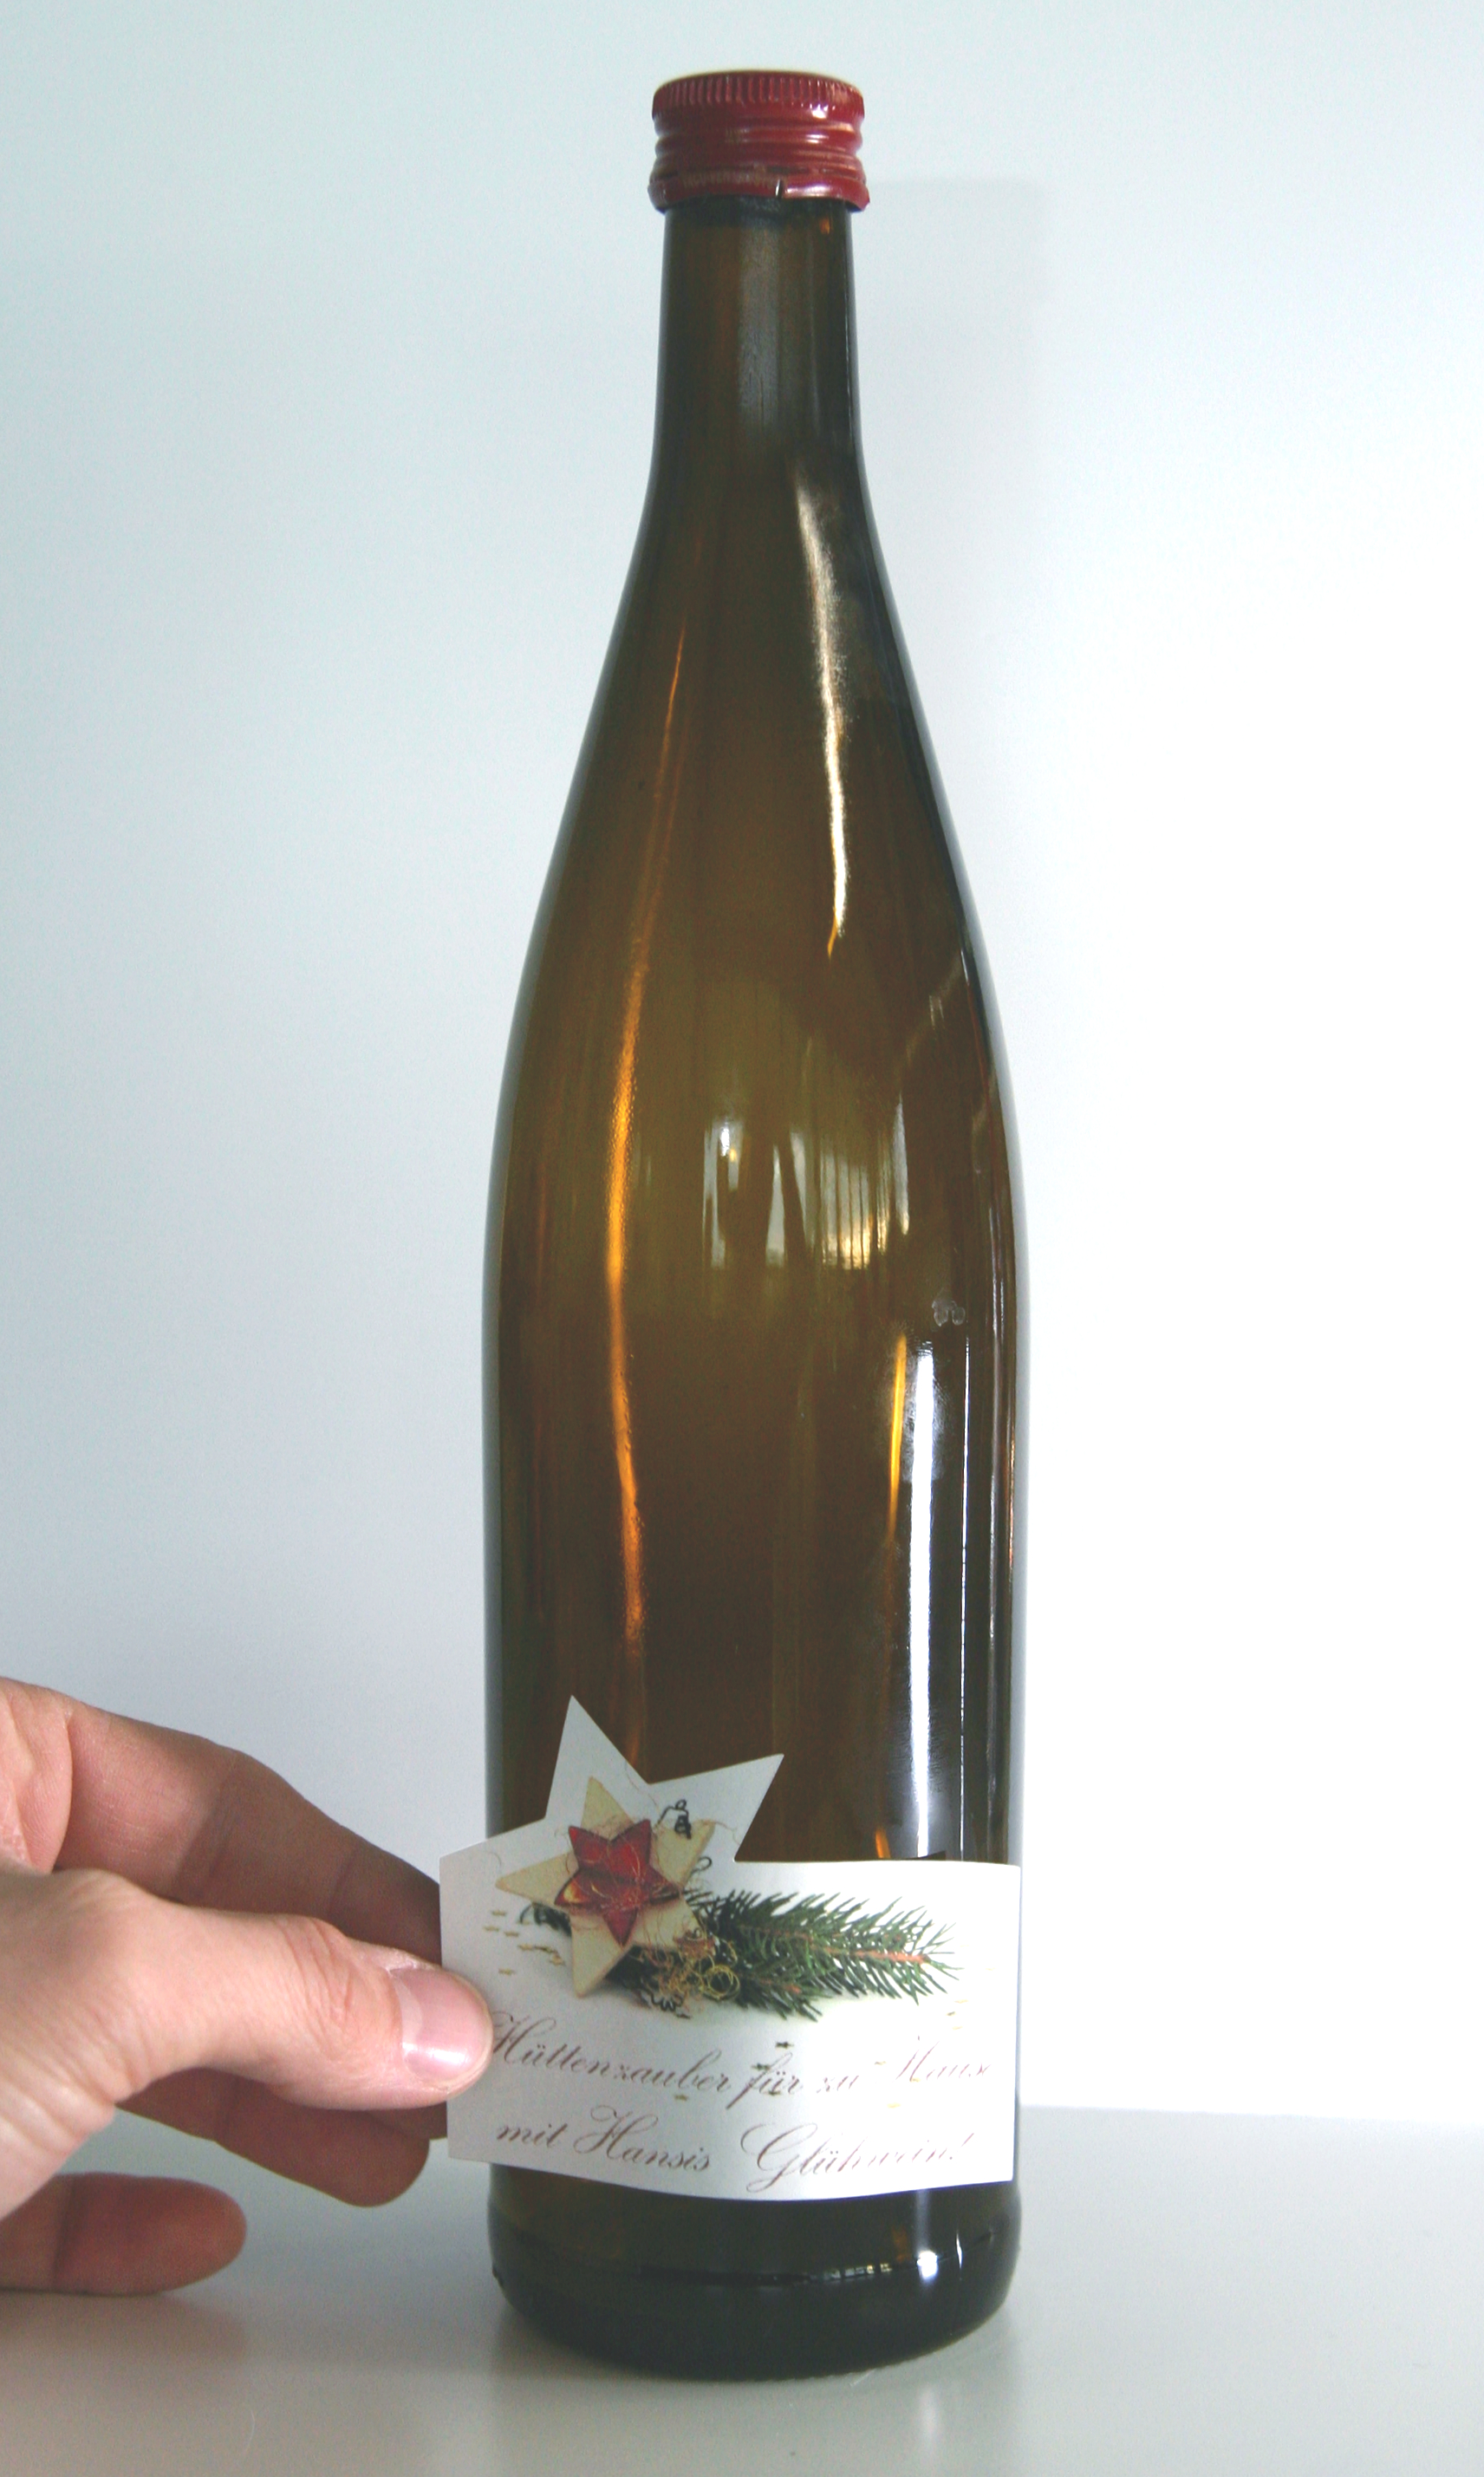
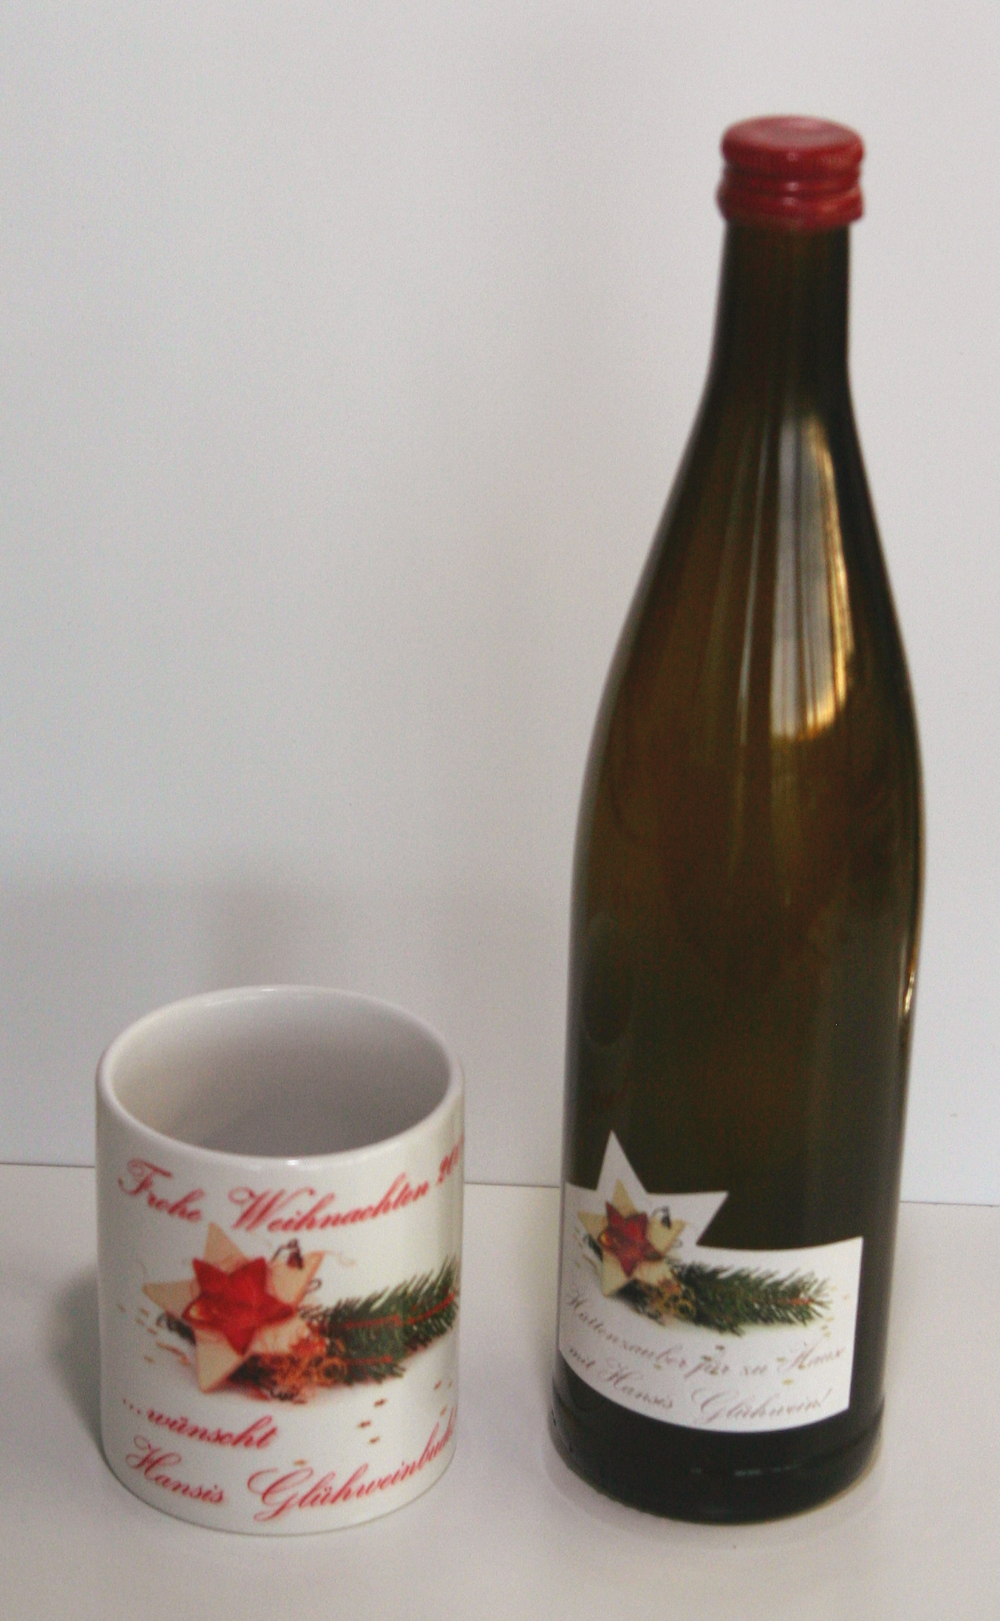
This way, you can personalise not only bottles of homemade mulled wine, but also marinated cheese, home-made jams, oils flavoured with herbs, pralines and sweets, elderflower syrup from last summer, liqueurs, gingerbread, assorted biscuits, etc.
Another positive side effect: if they’ve enjoyed it, the recipient will still know later on what they have to be grateful for – and to whom!