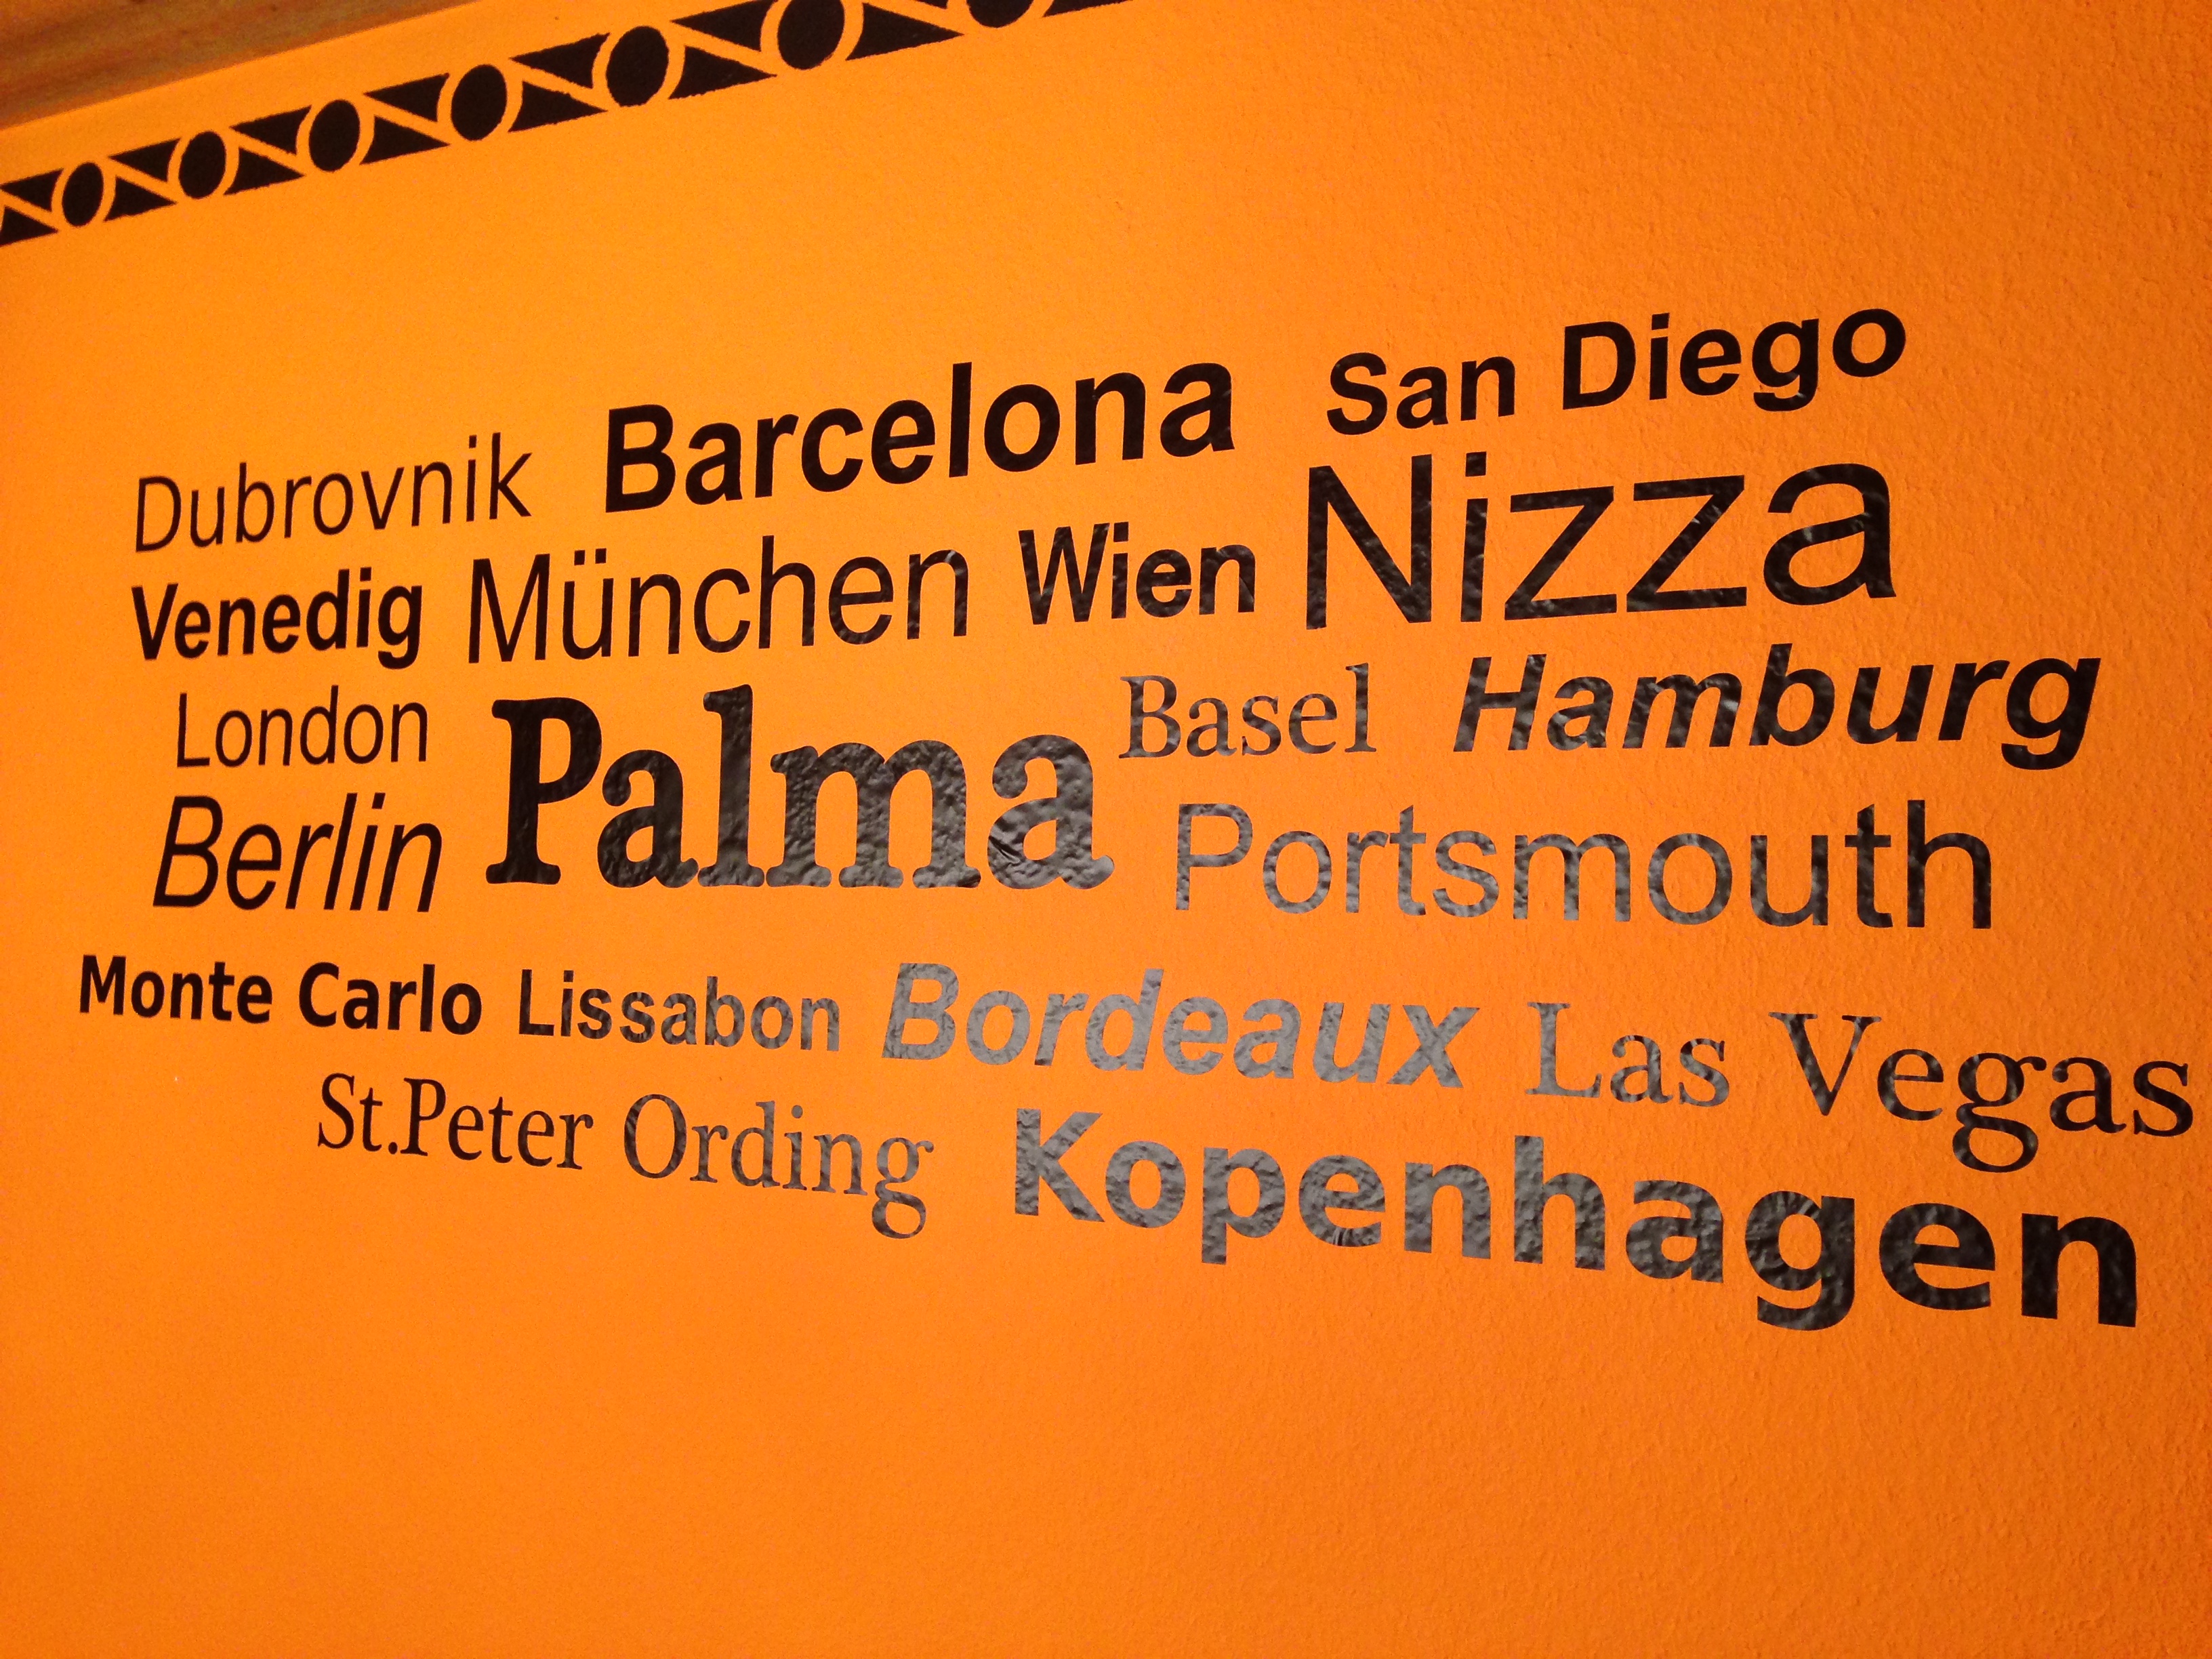
Wall decals made easy
Wall decals are a popular creative way to spruce up your home. They allow you to create a wide variety of designs using a cutting plotter and then apply them to the wall.
The following steps are required
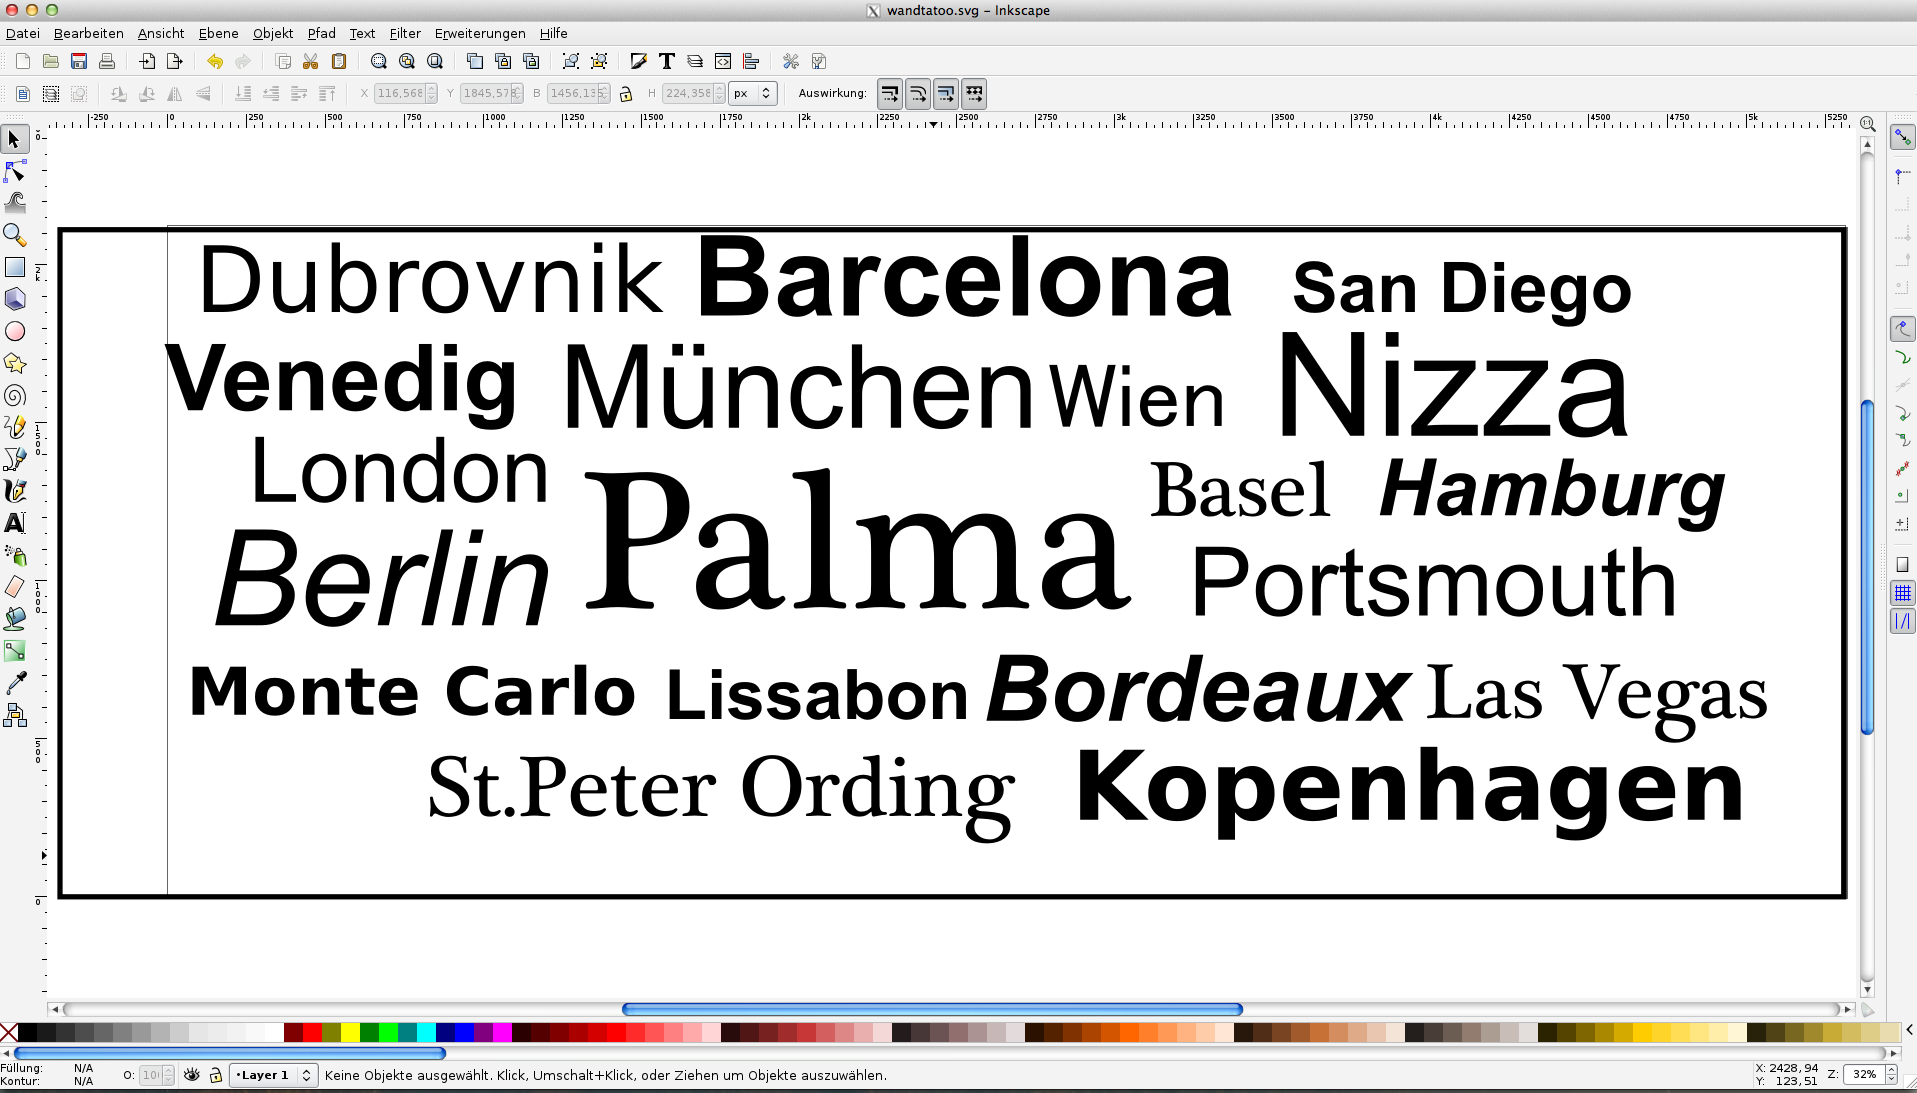
- Creating a design: You can create your design and resize it to the correct dimensions using a vector graphics or cutting programme, such as Inkscape, CorelDraw or FlexiStarter. A popular choice for designs is city names, for example, of cities you have already visited yourself.
- The image should then be scaled to the desired size – the size it is to be on the wall when finished.
- Choose a film. For indoor use, we always recommend using a matt film to avoid reflections. As the film is not exposed to the elements in this case, we recommend the Ritrama Standard Matt range.
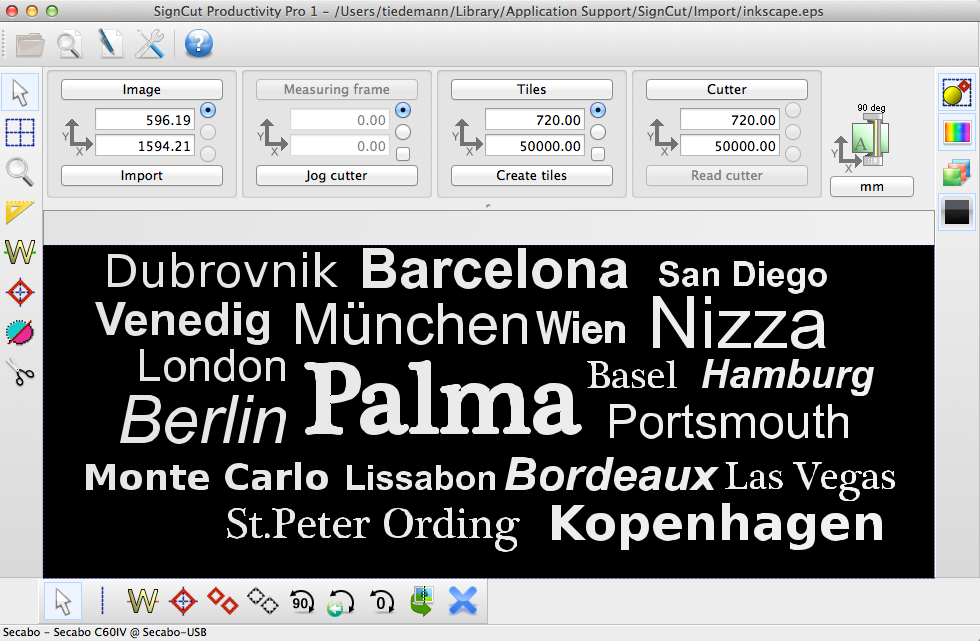
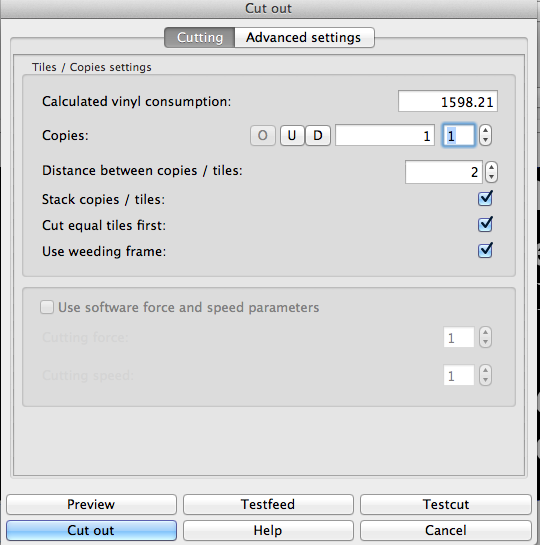
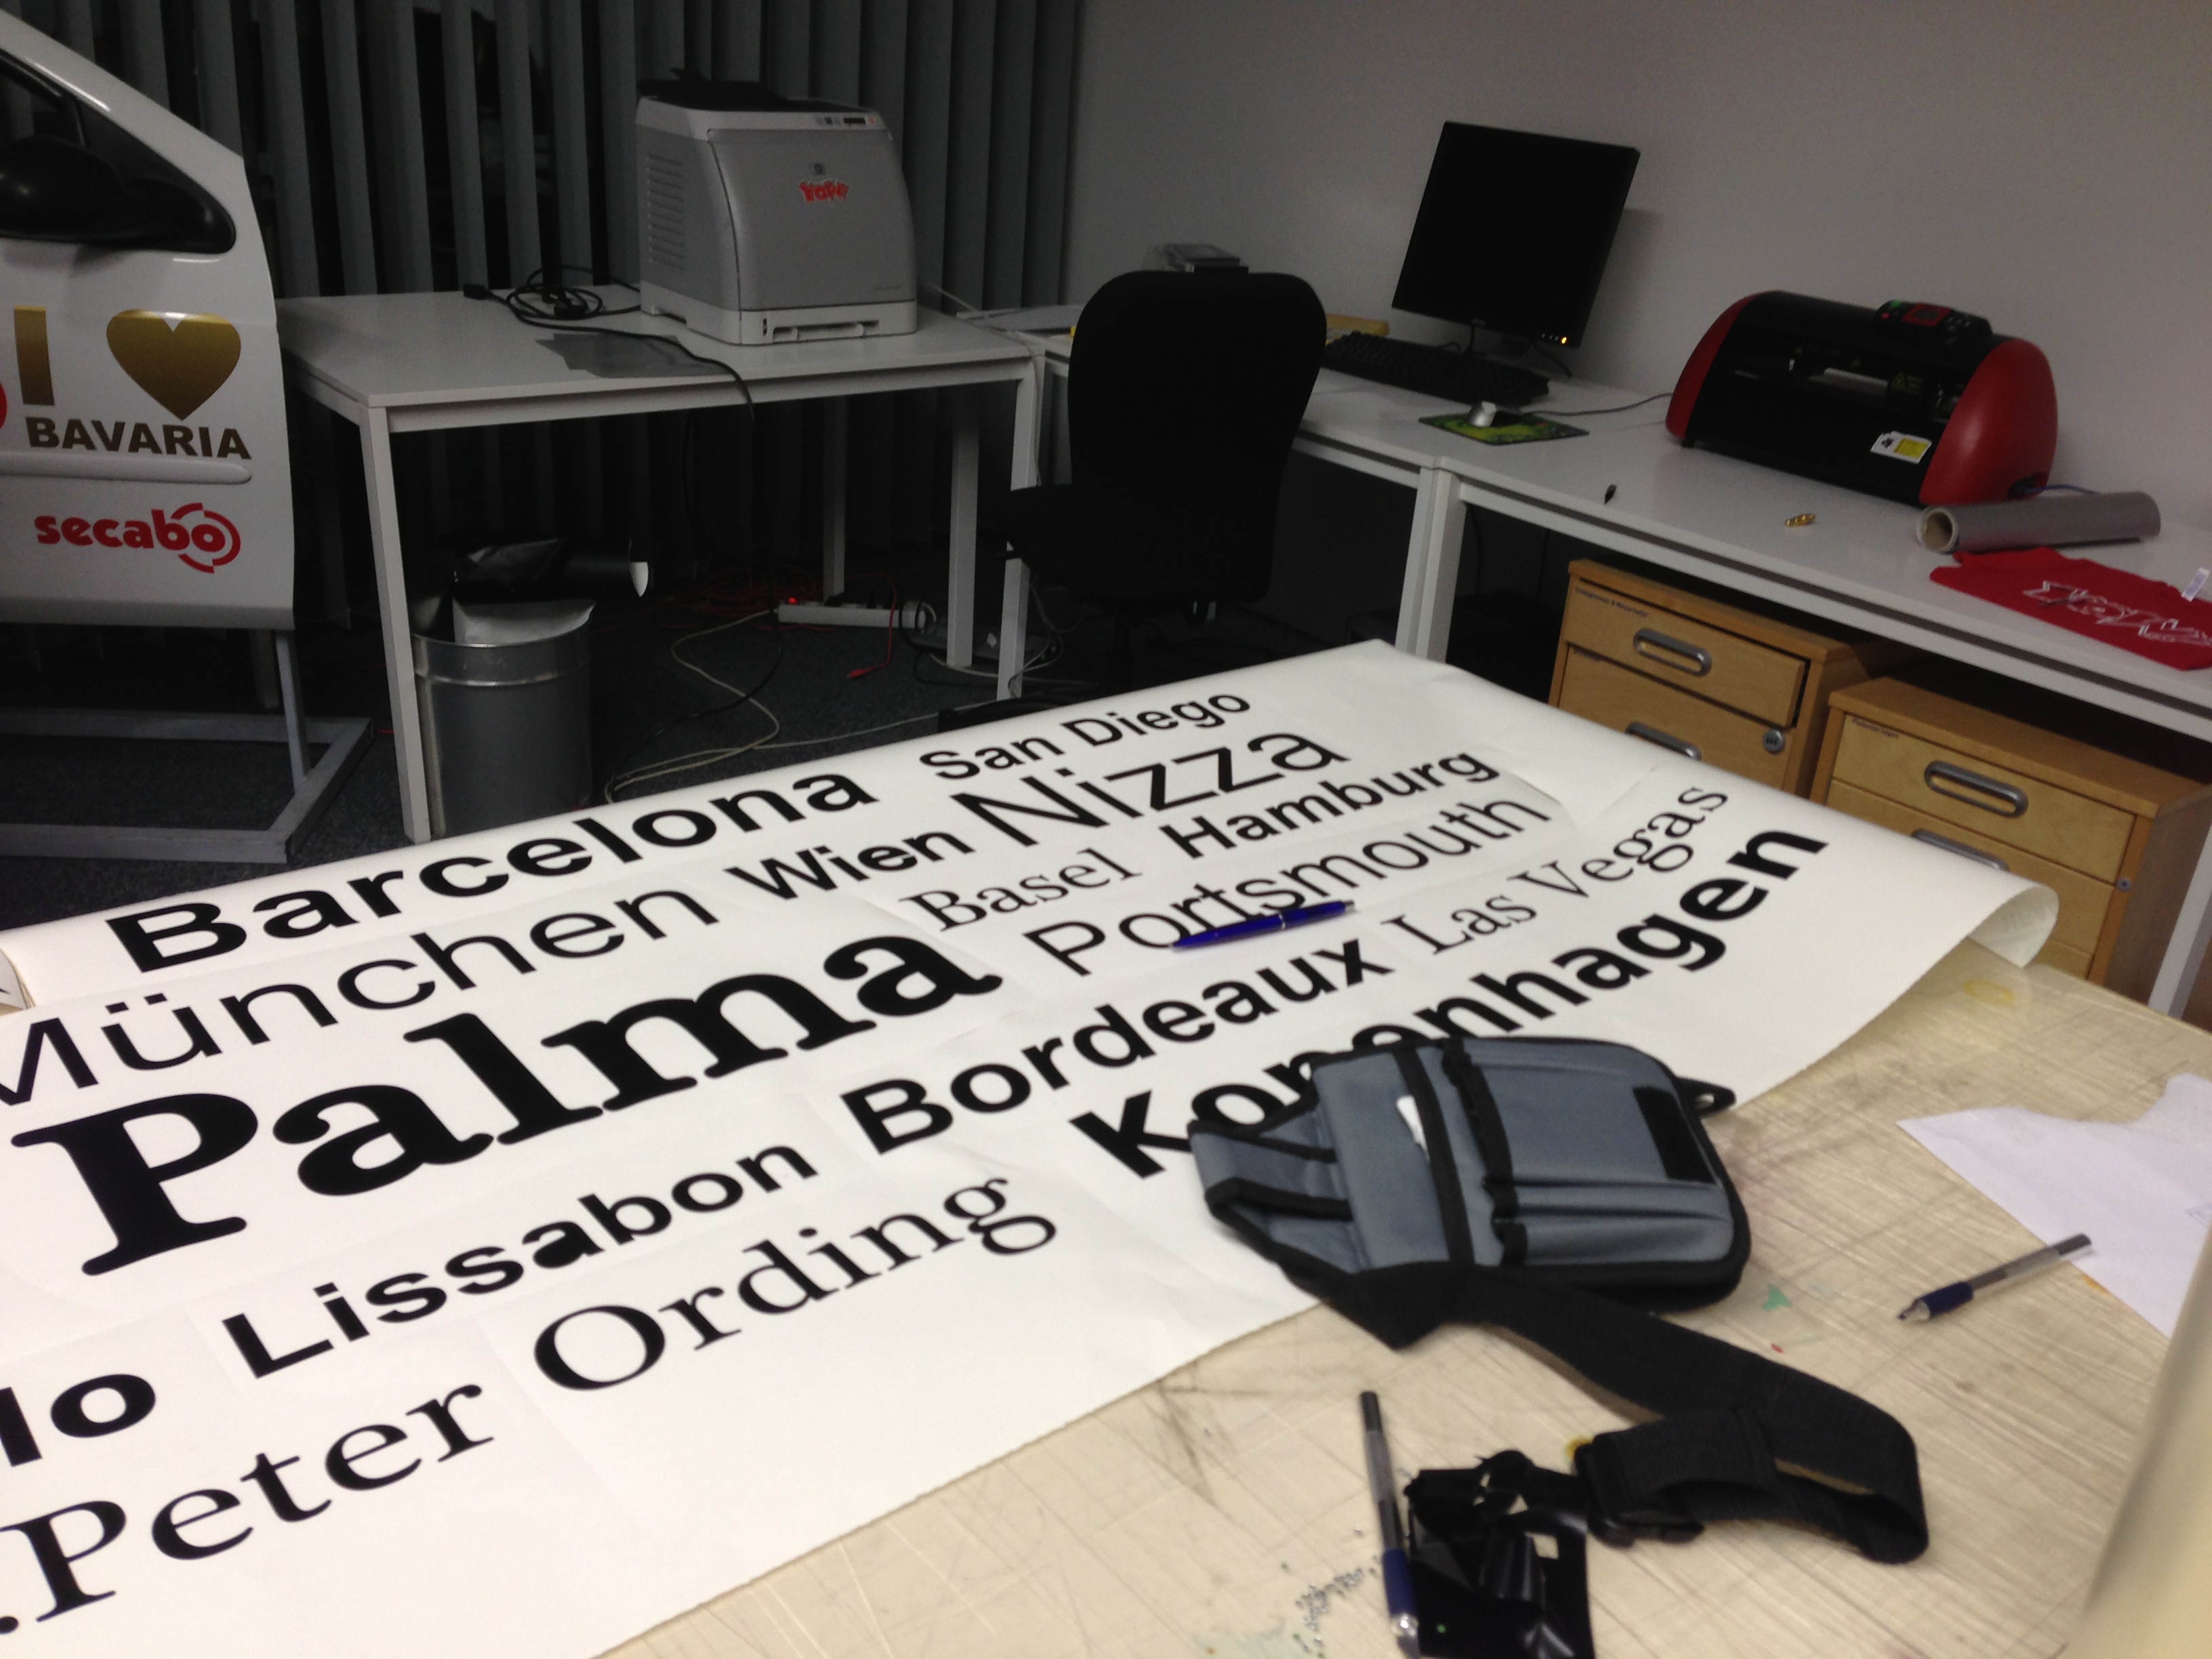
- The design is now imported into the cutting software. This could be FlexiStarter or SignCutPro, for example. For very large designs, it is advisable to set weeding frames to segment the cuts and make weeding easier.
- Once the design has been cut out using a cutting plotter, it must be weeded. This involves removing the excess film so that only the actual design remains on the silicone paper. There are tool sets available specifically for weeding, which contain all the necessary tools such as tweezers, knives and piercing tools.
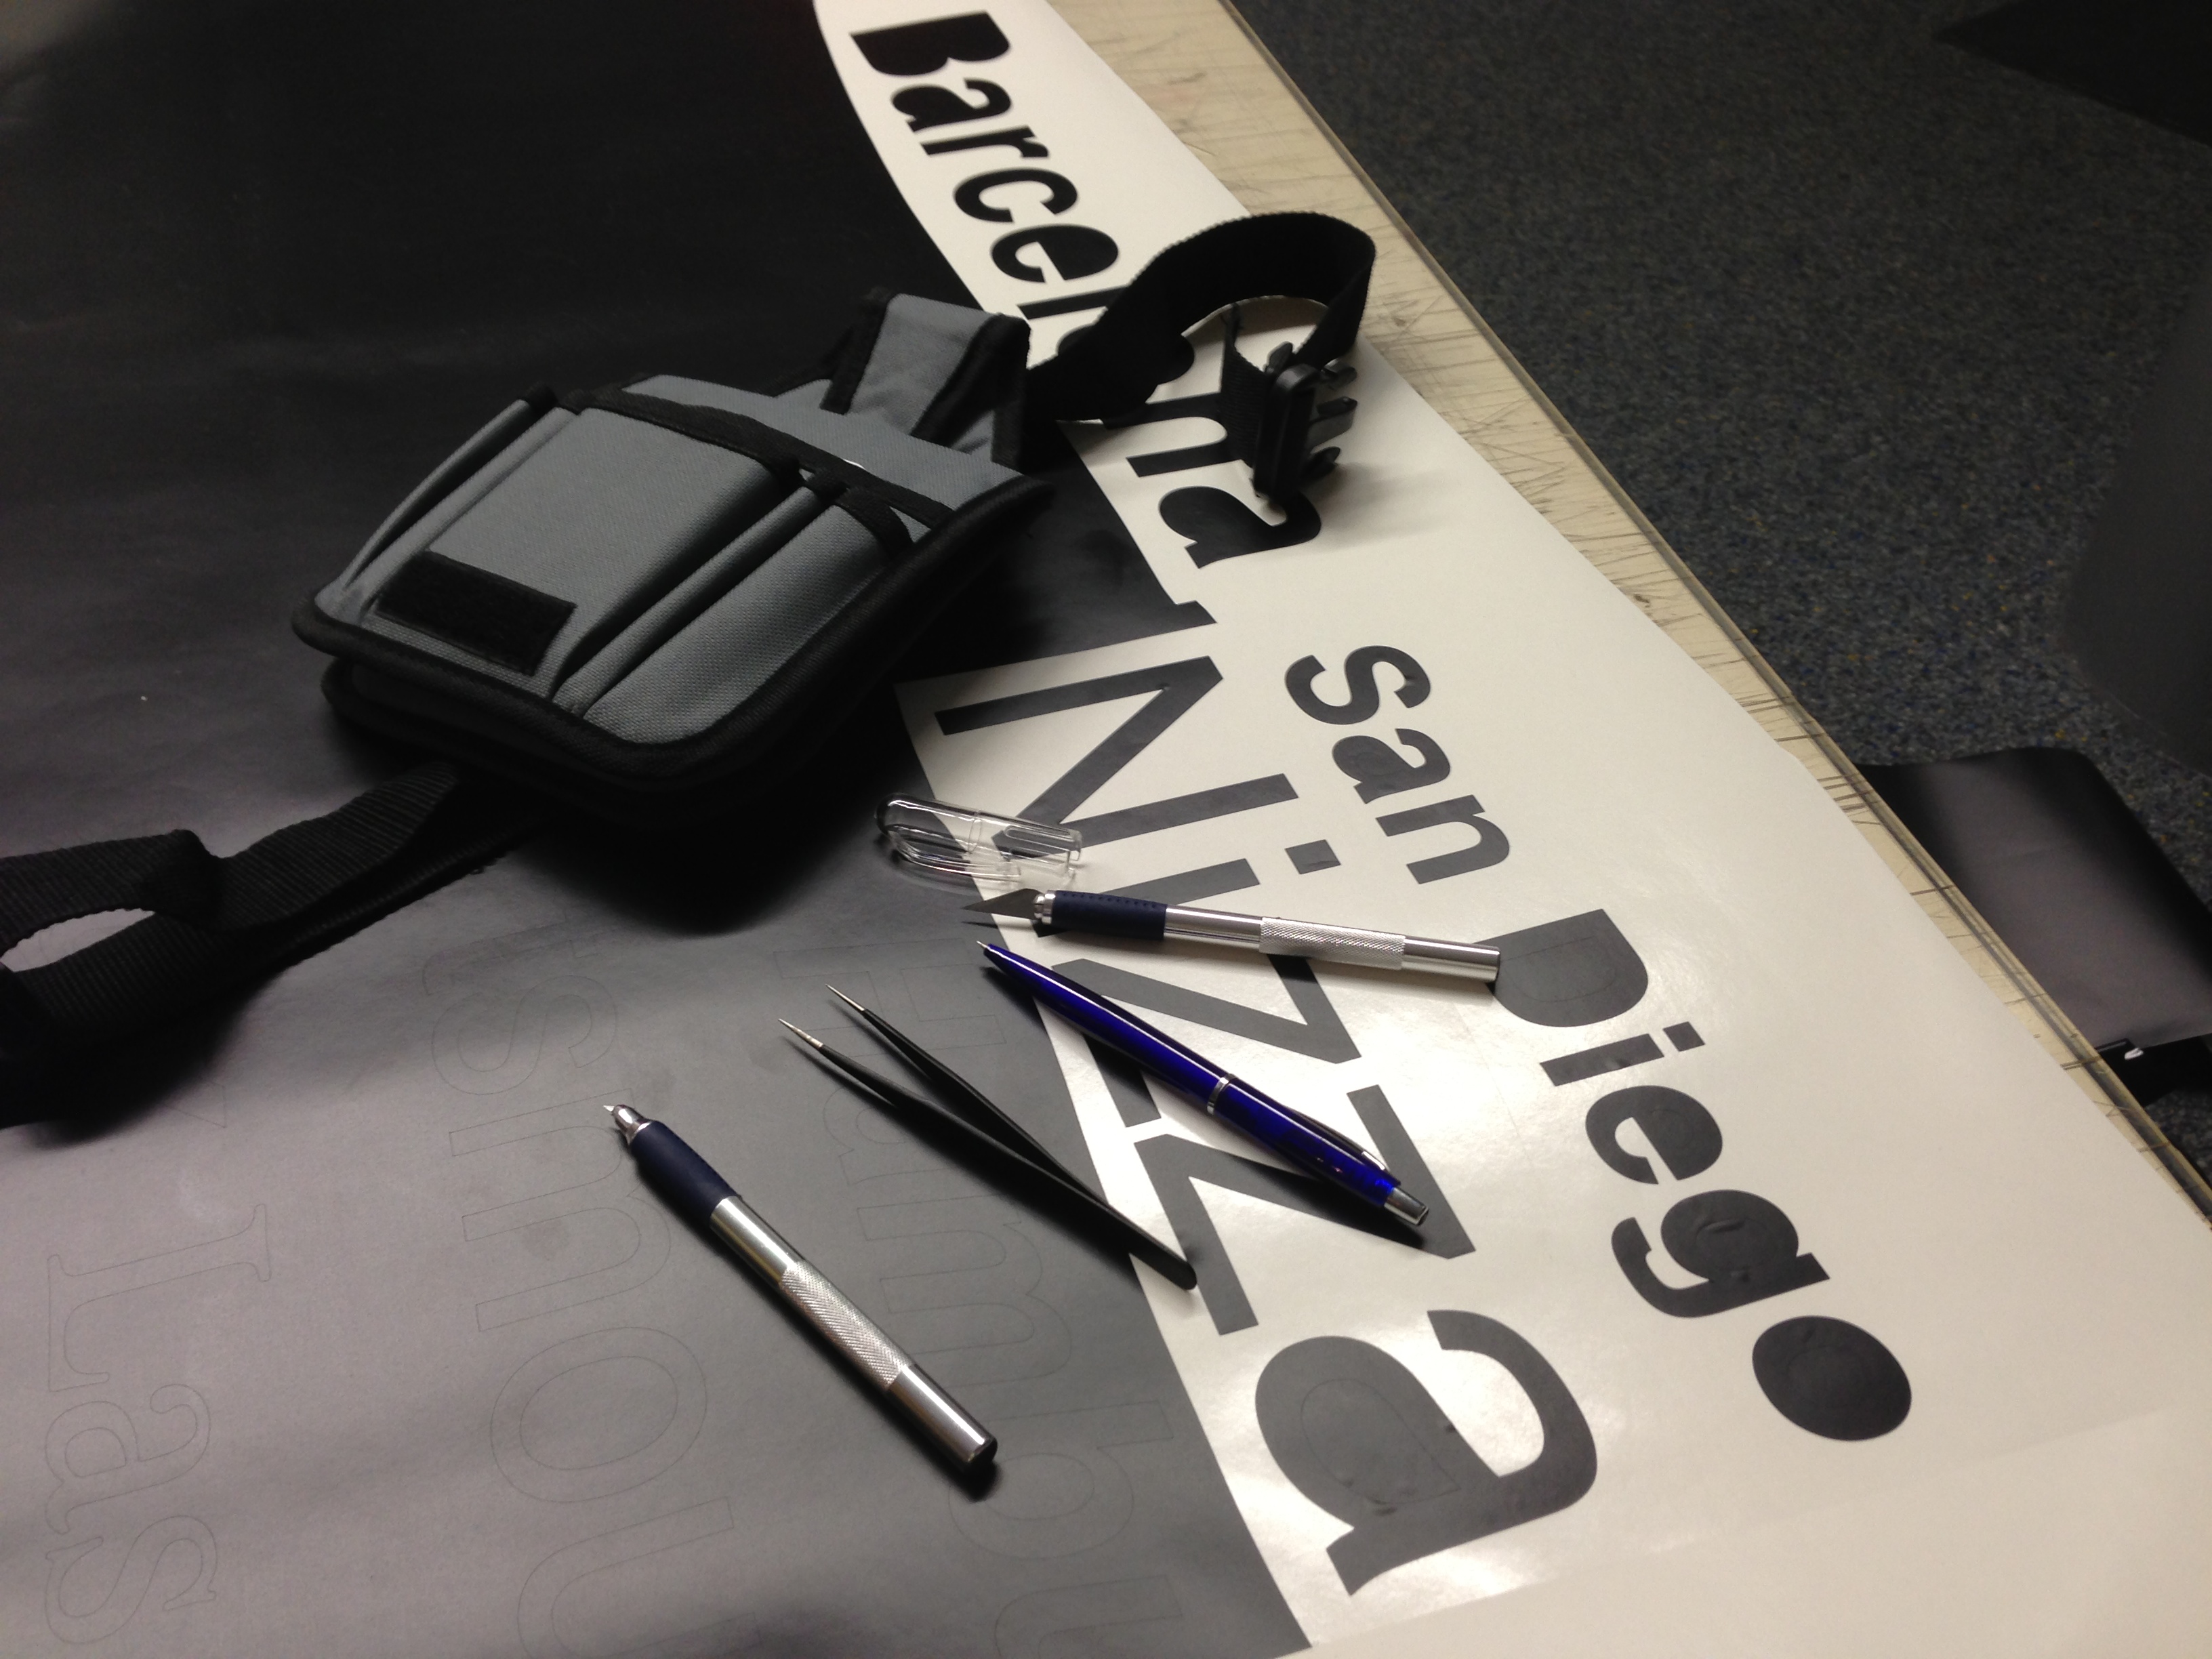
- Applying the application tape: Once weeding is complete, the transfer filmmust be applied to the weeded design and pressed down firmly with a roller. As a general rule, it is advisable to apply the application tape only immediately before fitting the design.
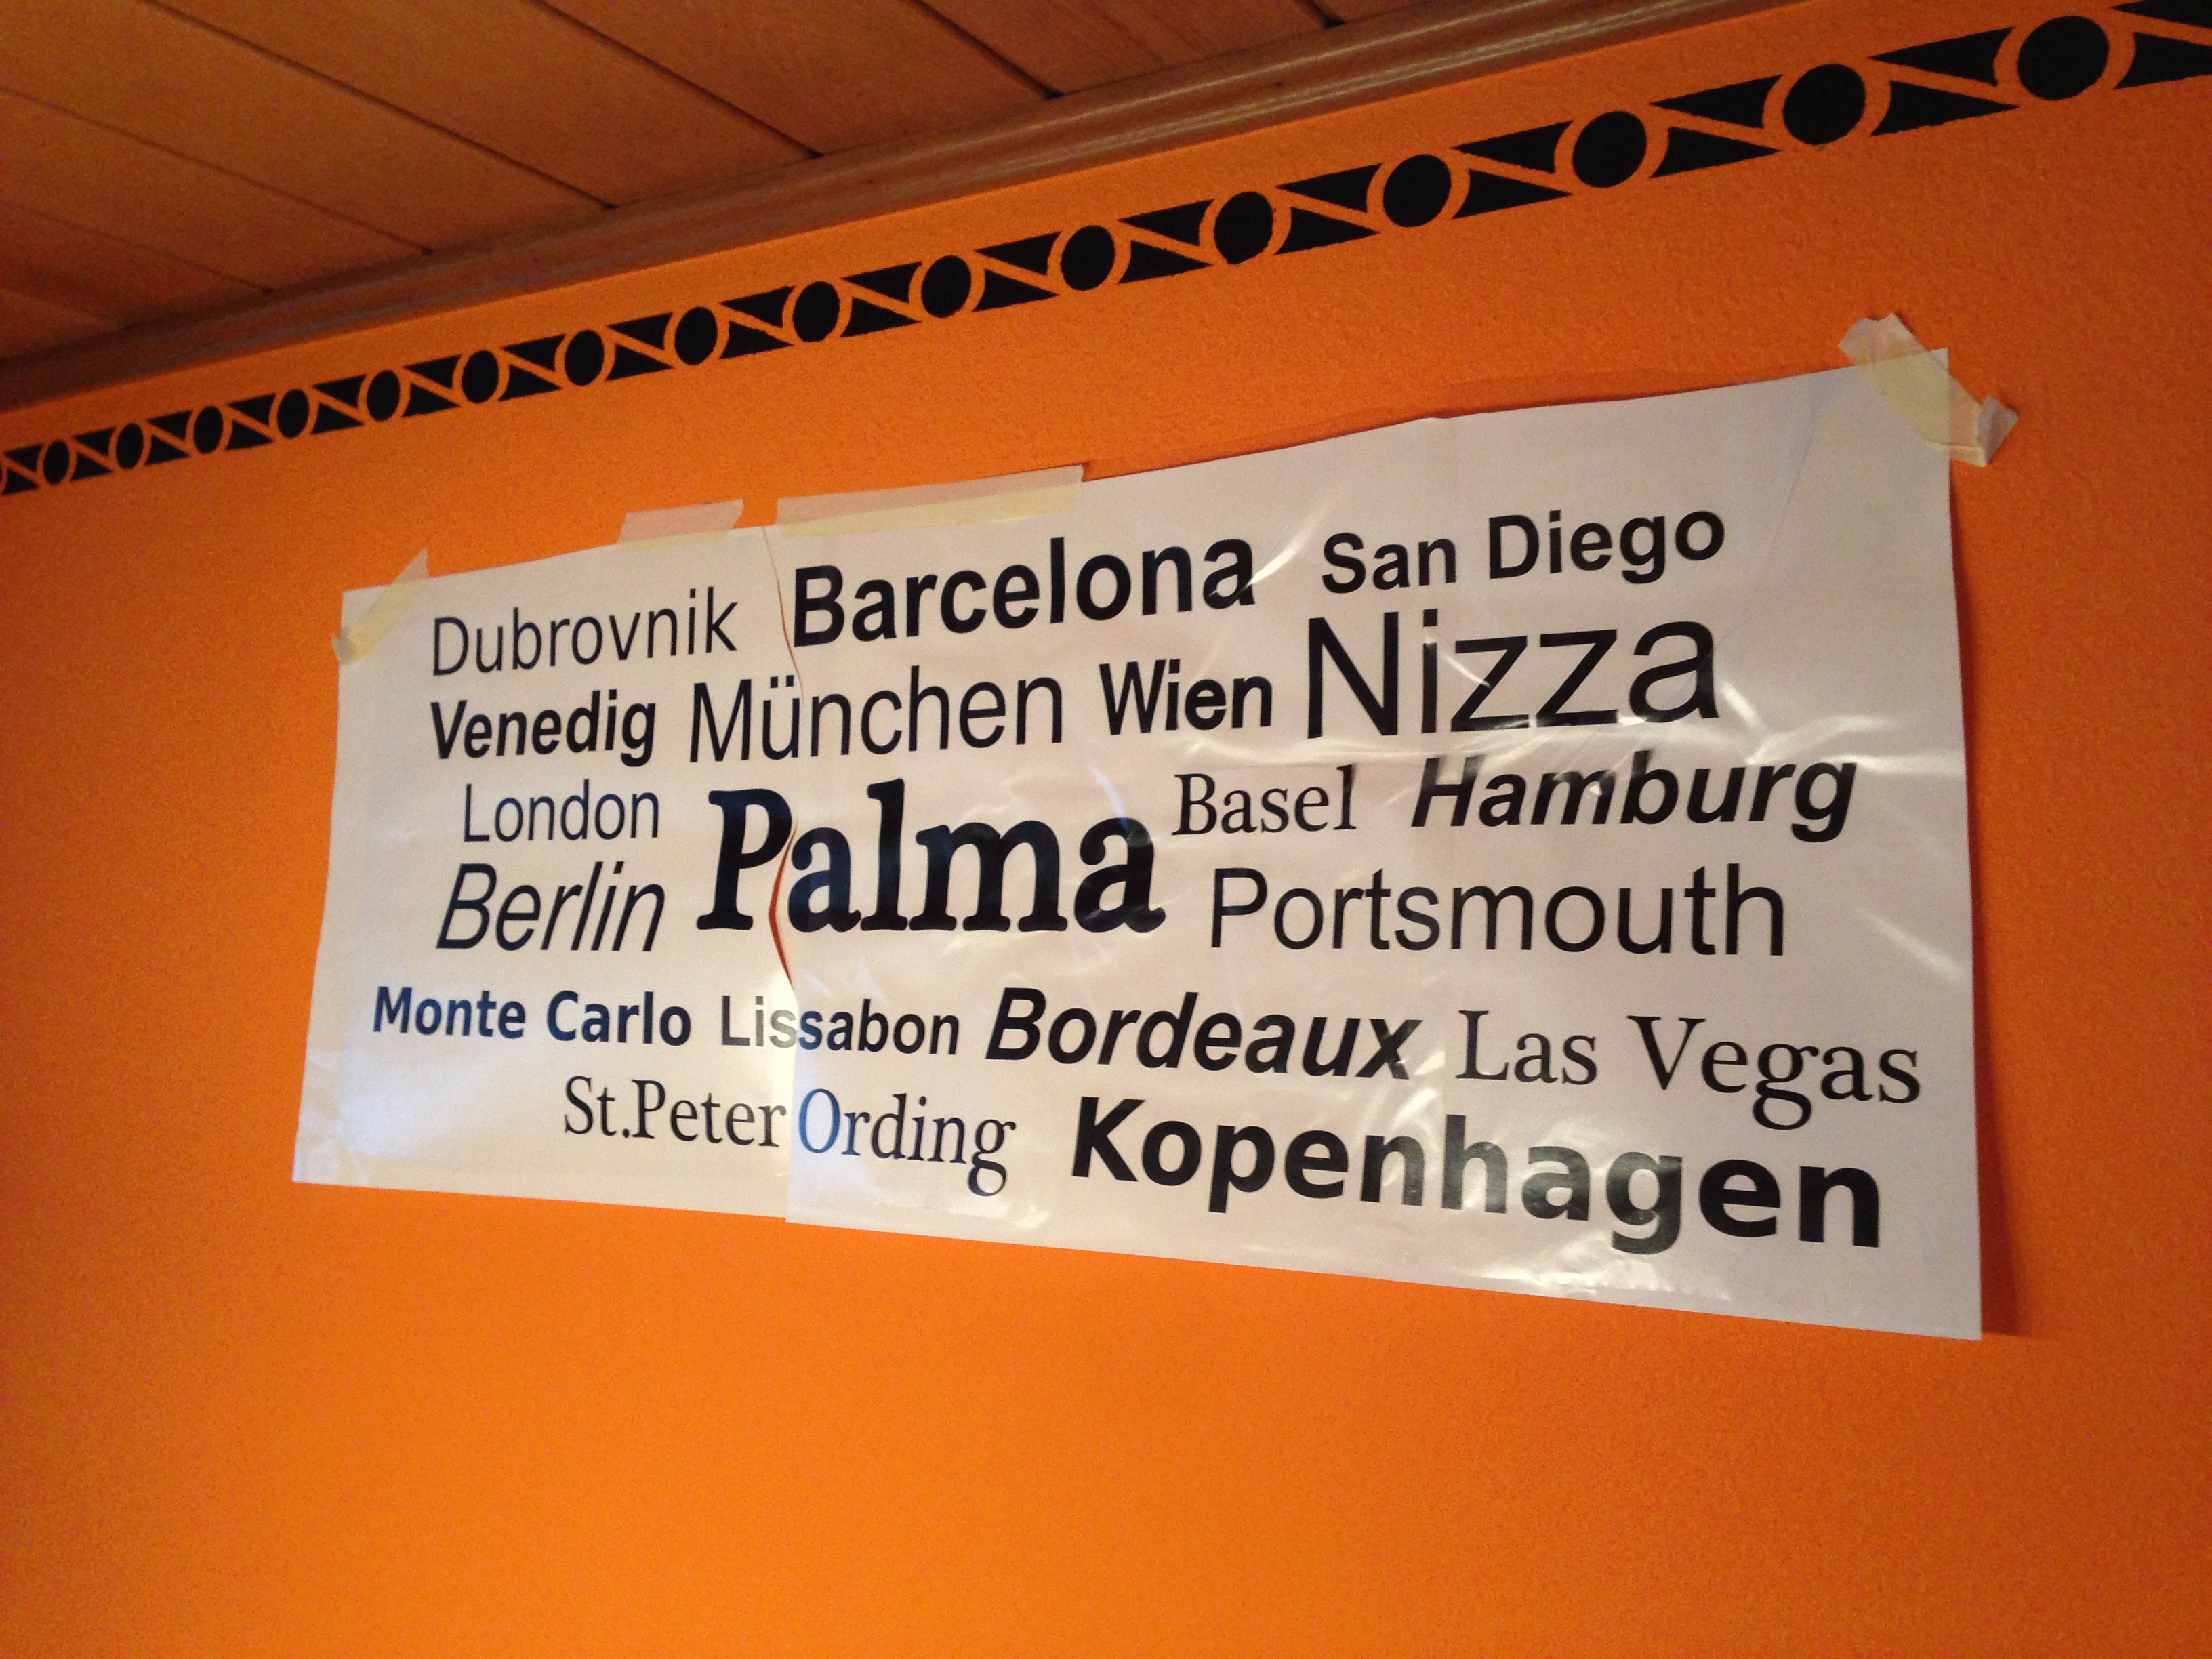
- When installing and correctly aligning very large designs, it is advisable to first attach them to the wall using application tape and silicone paper, secured with masking tape, and then cut them into several sections with scissors to make it easier to peel off the silicone paper from the back.
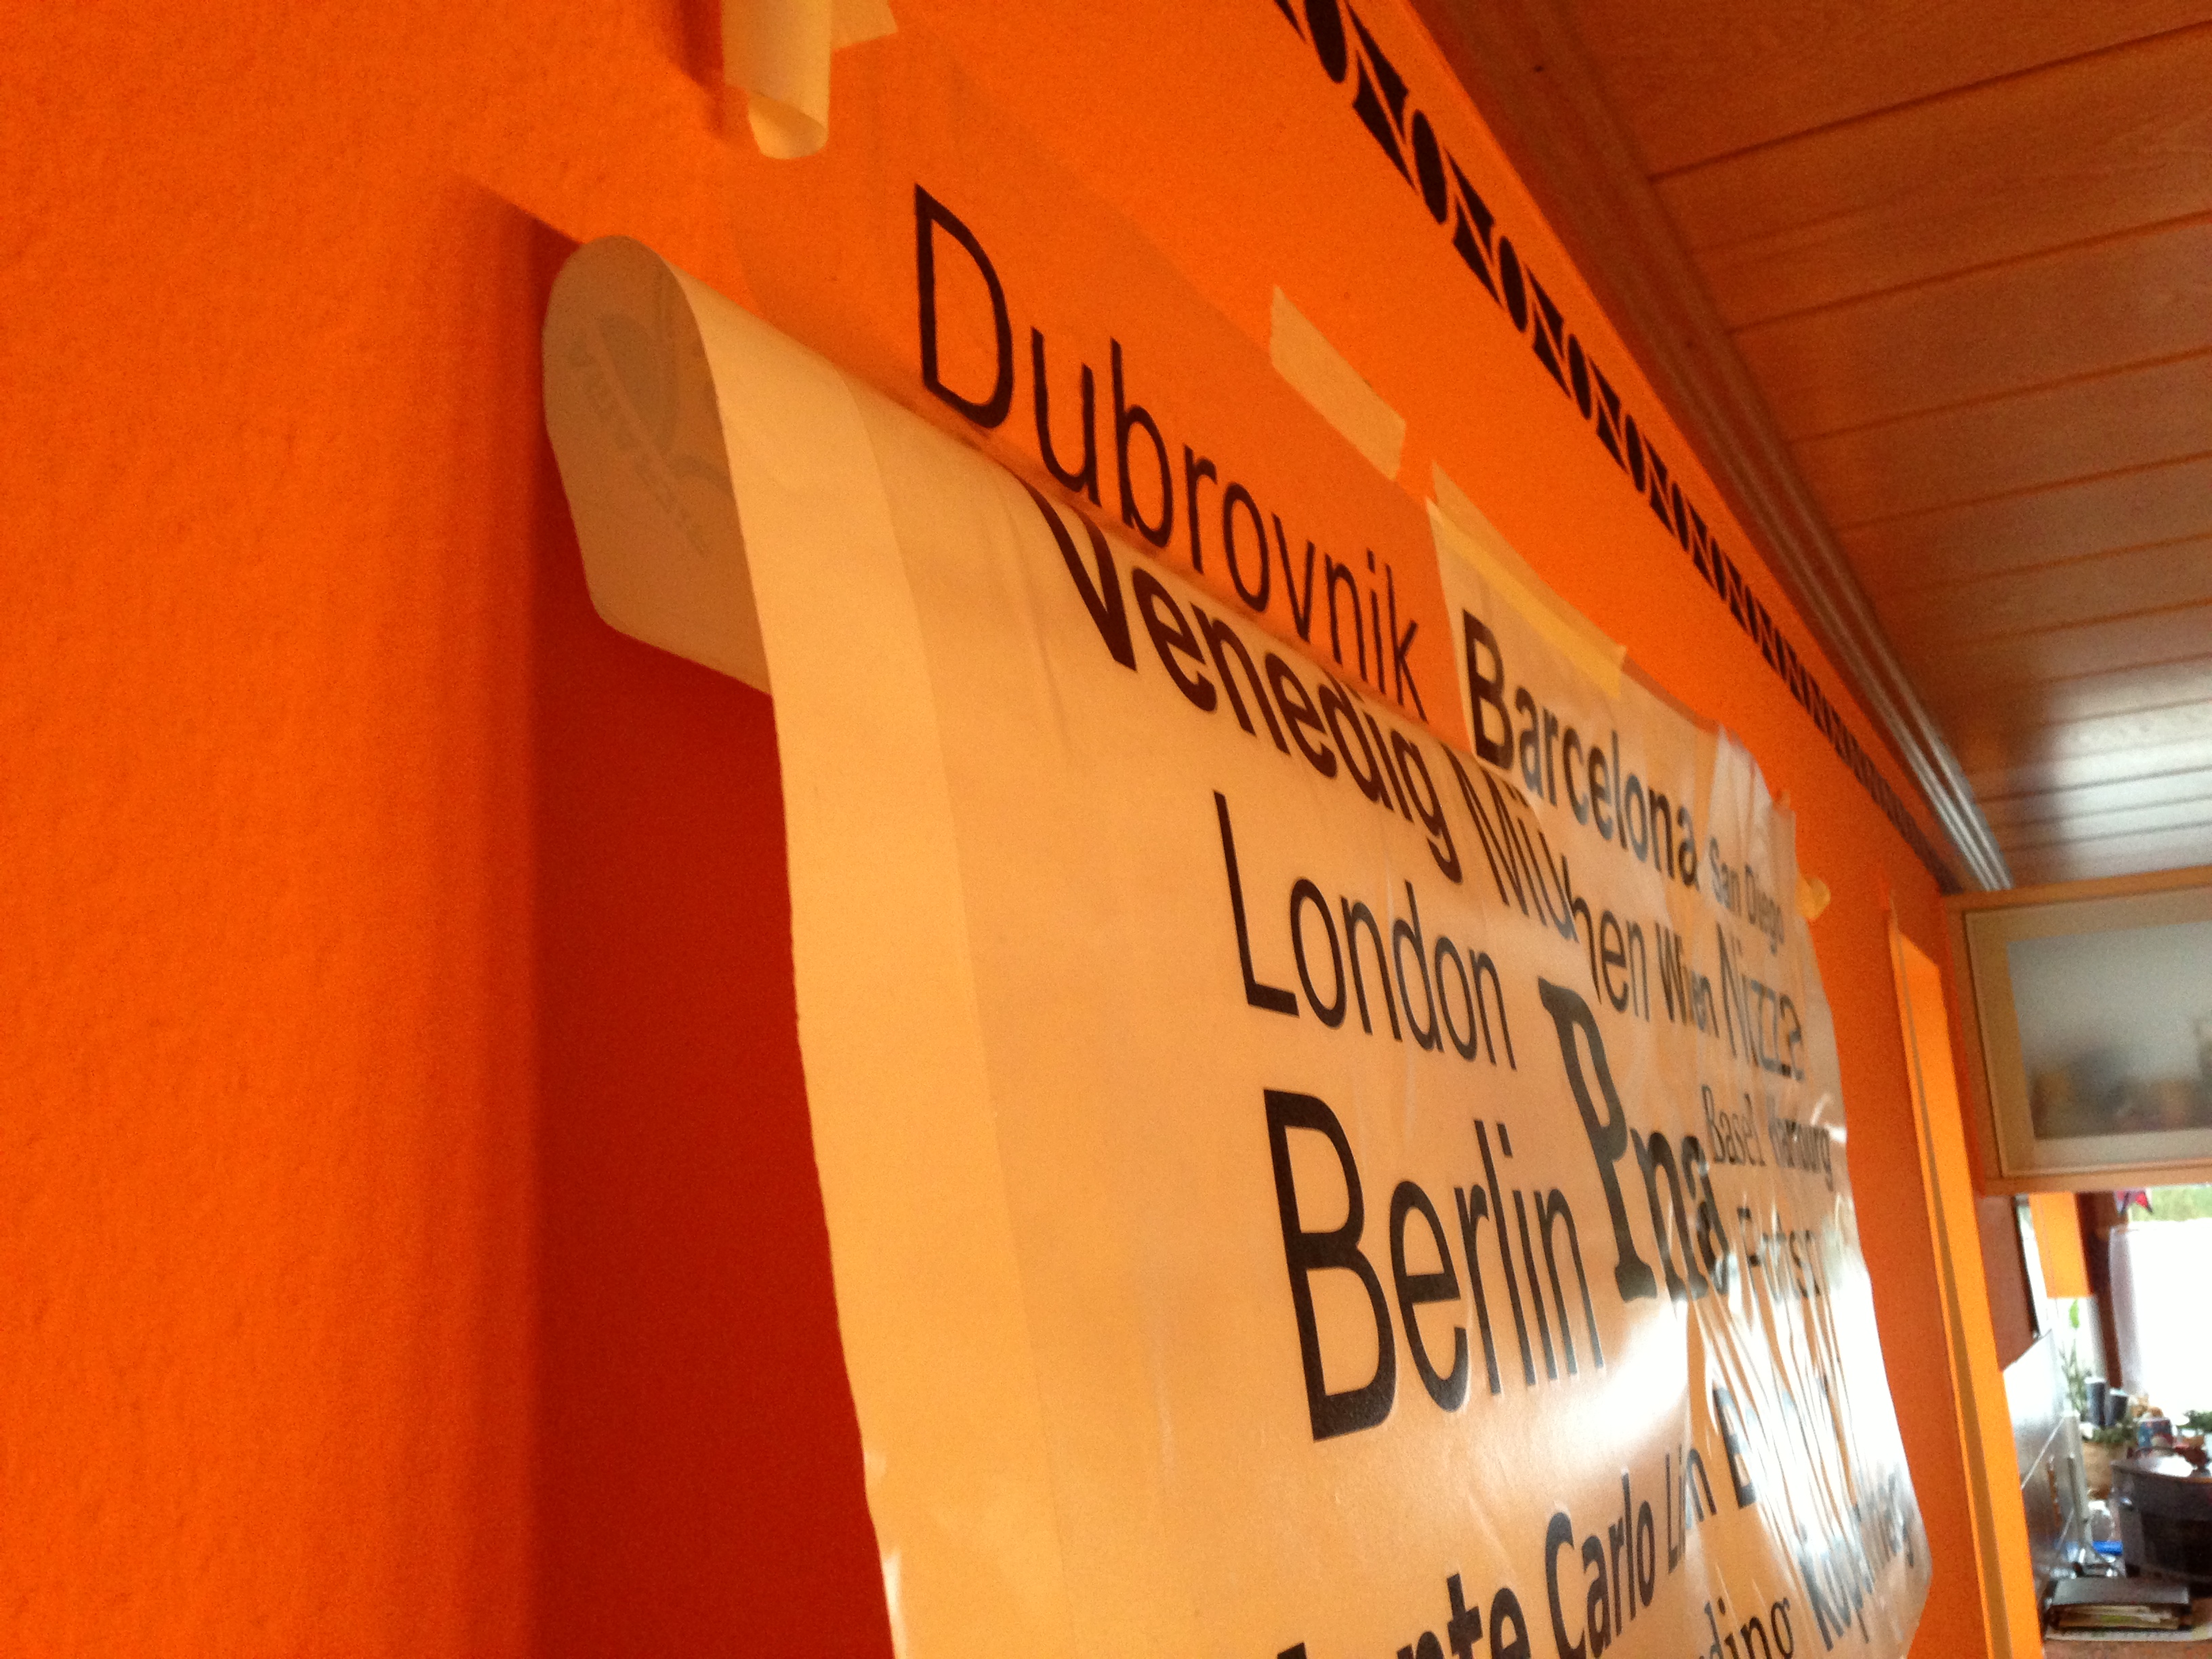
- The silicone paper is now peeled off from the back, whilst the film itself remains adhered to the application tape. During the peeling process, the film should be firmly smoothed onto the wall using a soft felt squeegee:
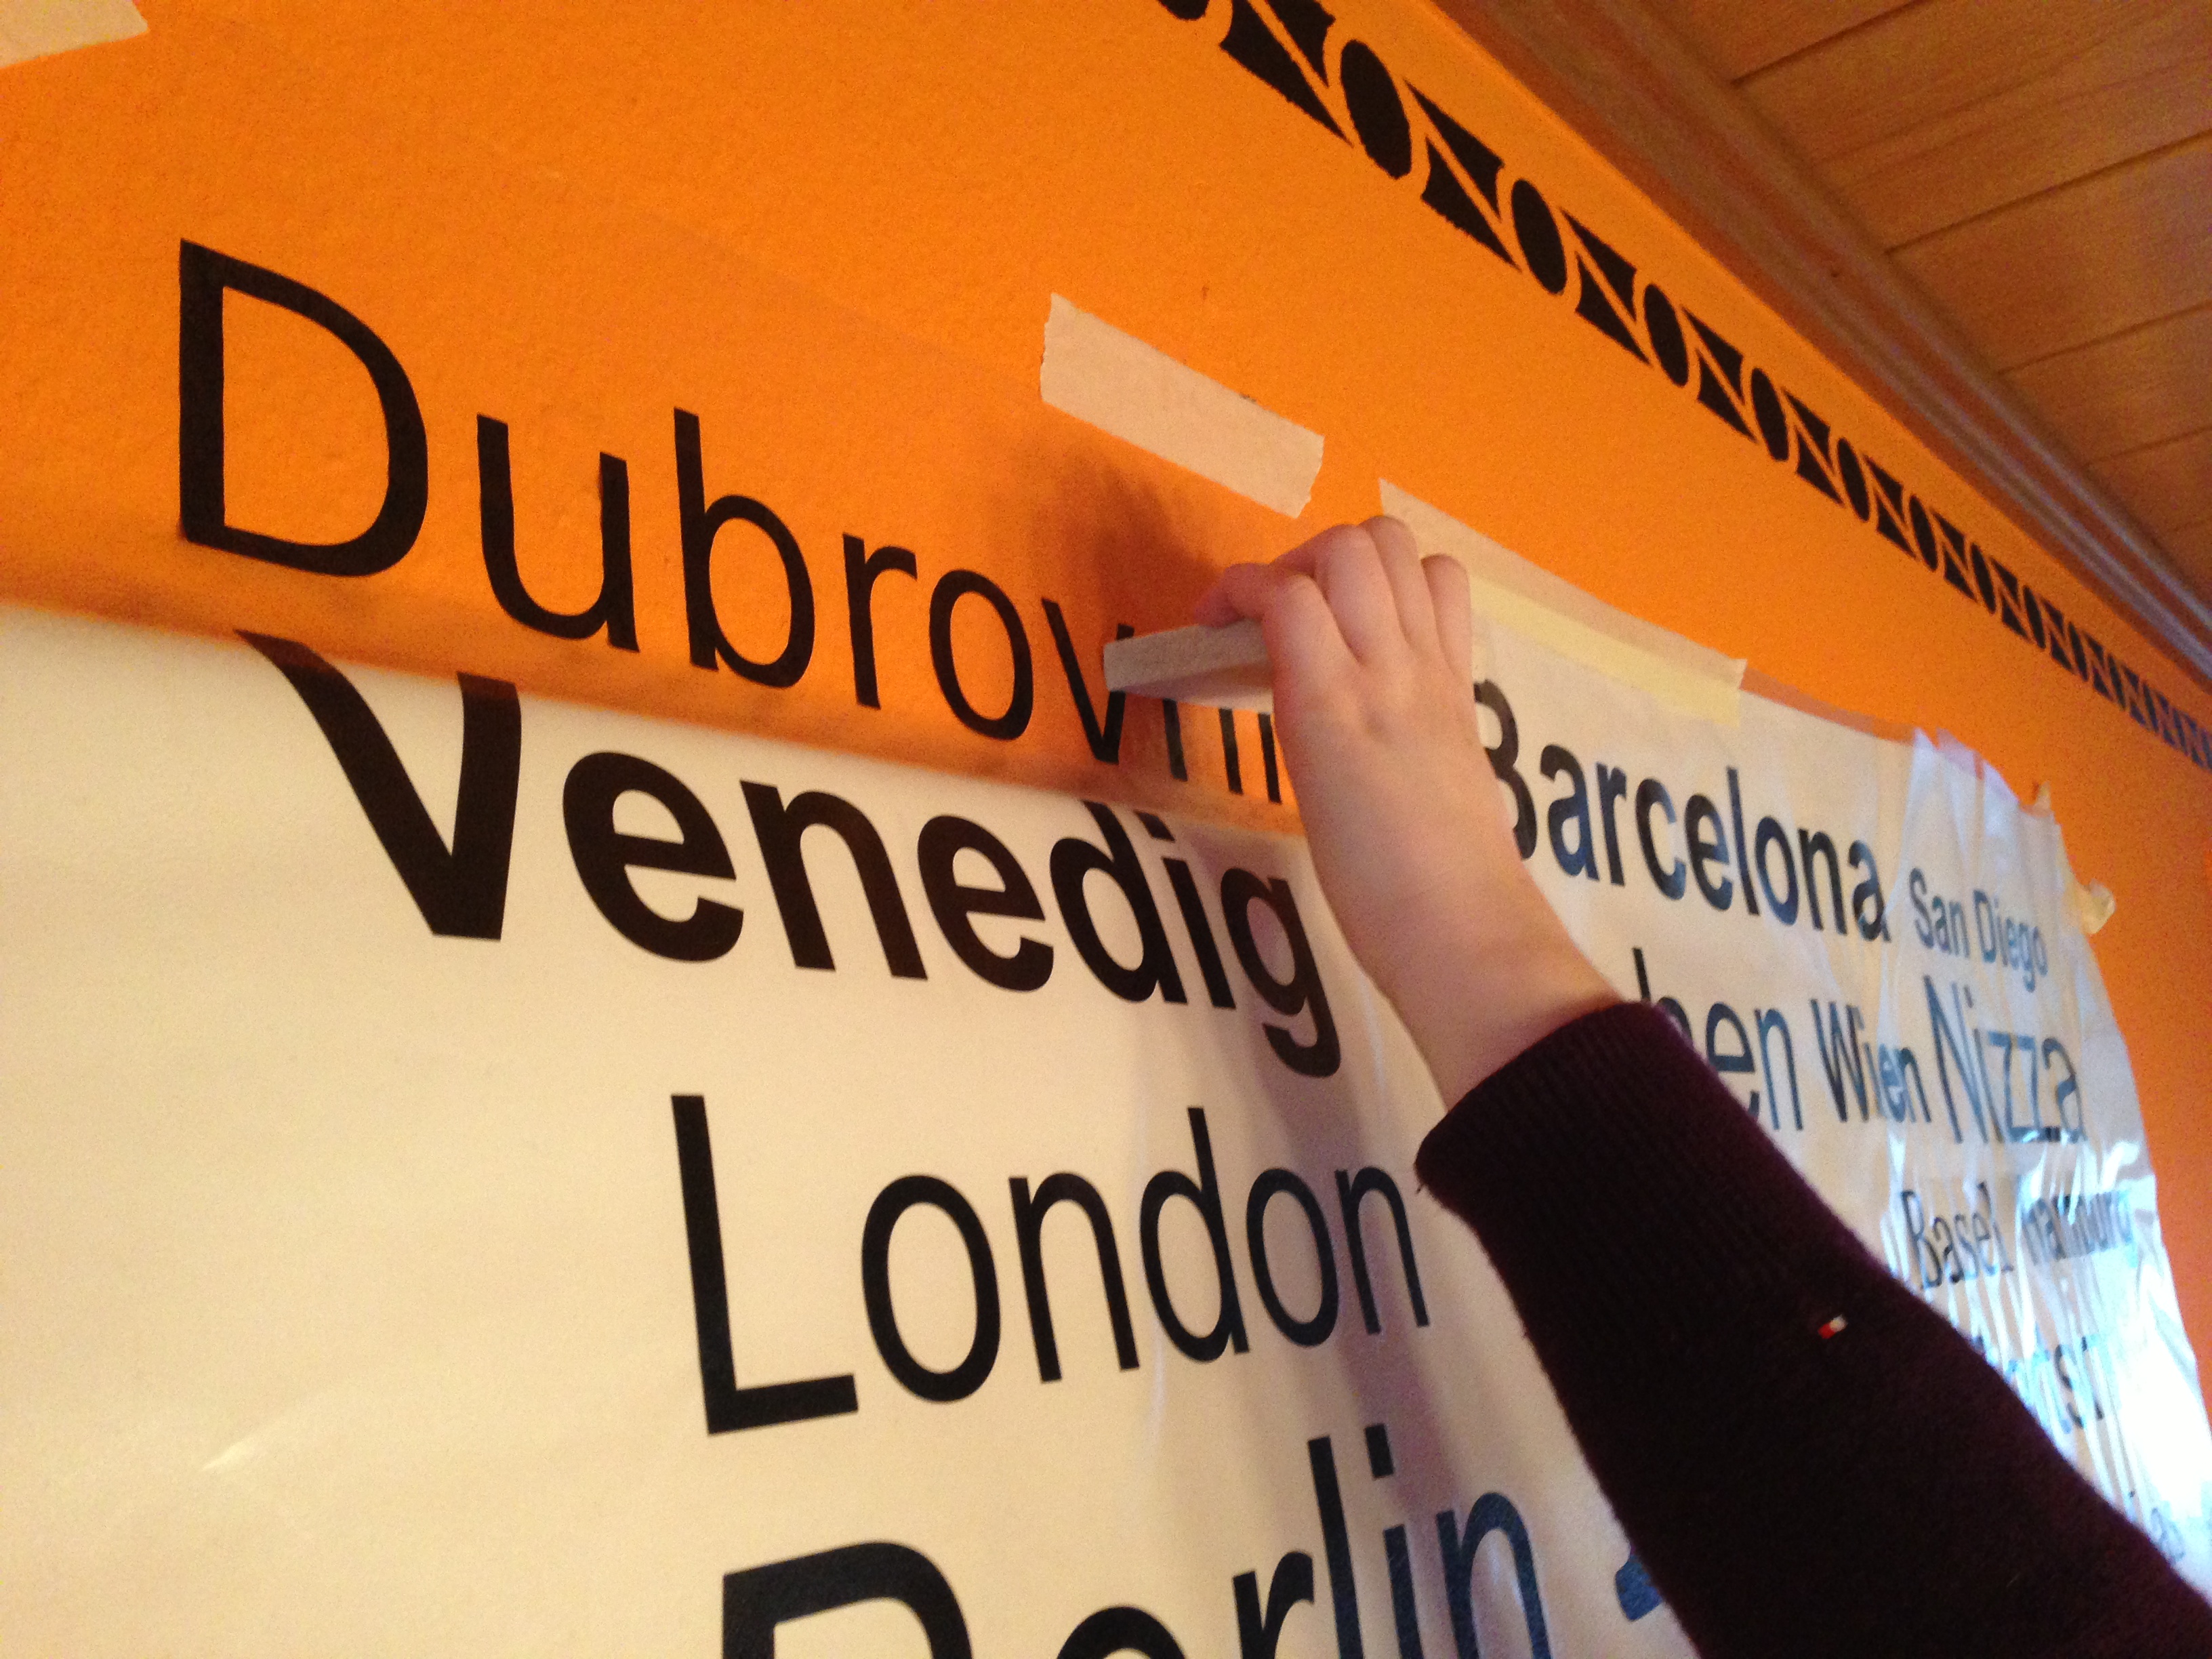
- Once all the silicone paper has been peeled off the back, the finished design, together with the application tape, will be on the wall. The final step is to carefully peel off the application tape:
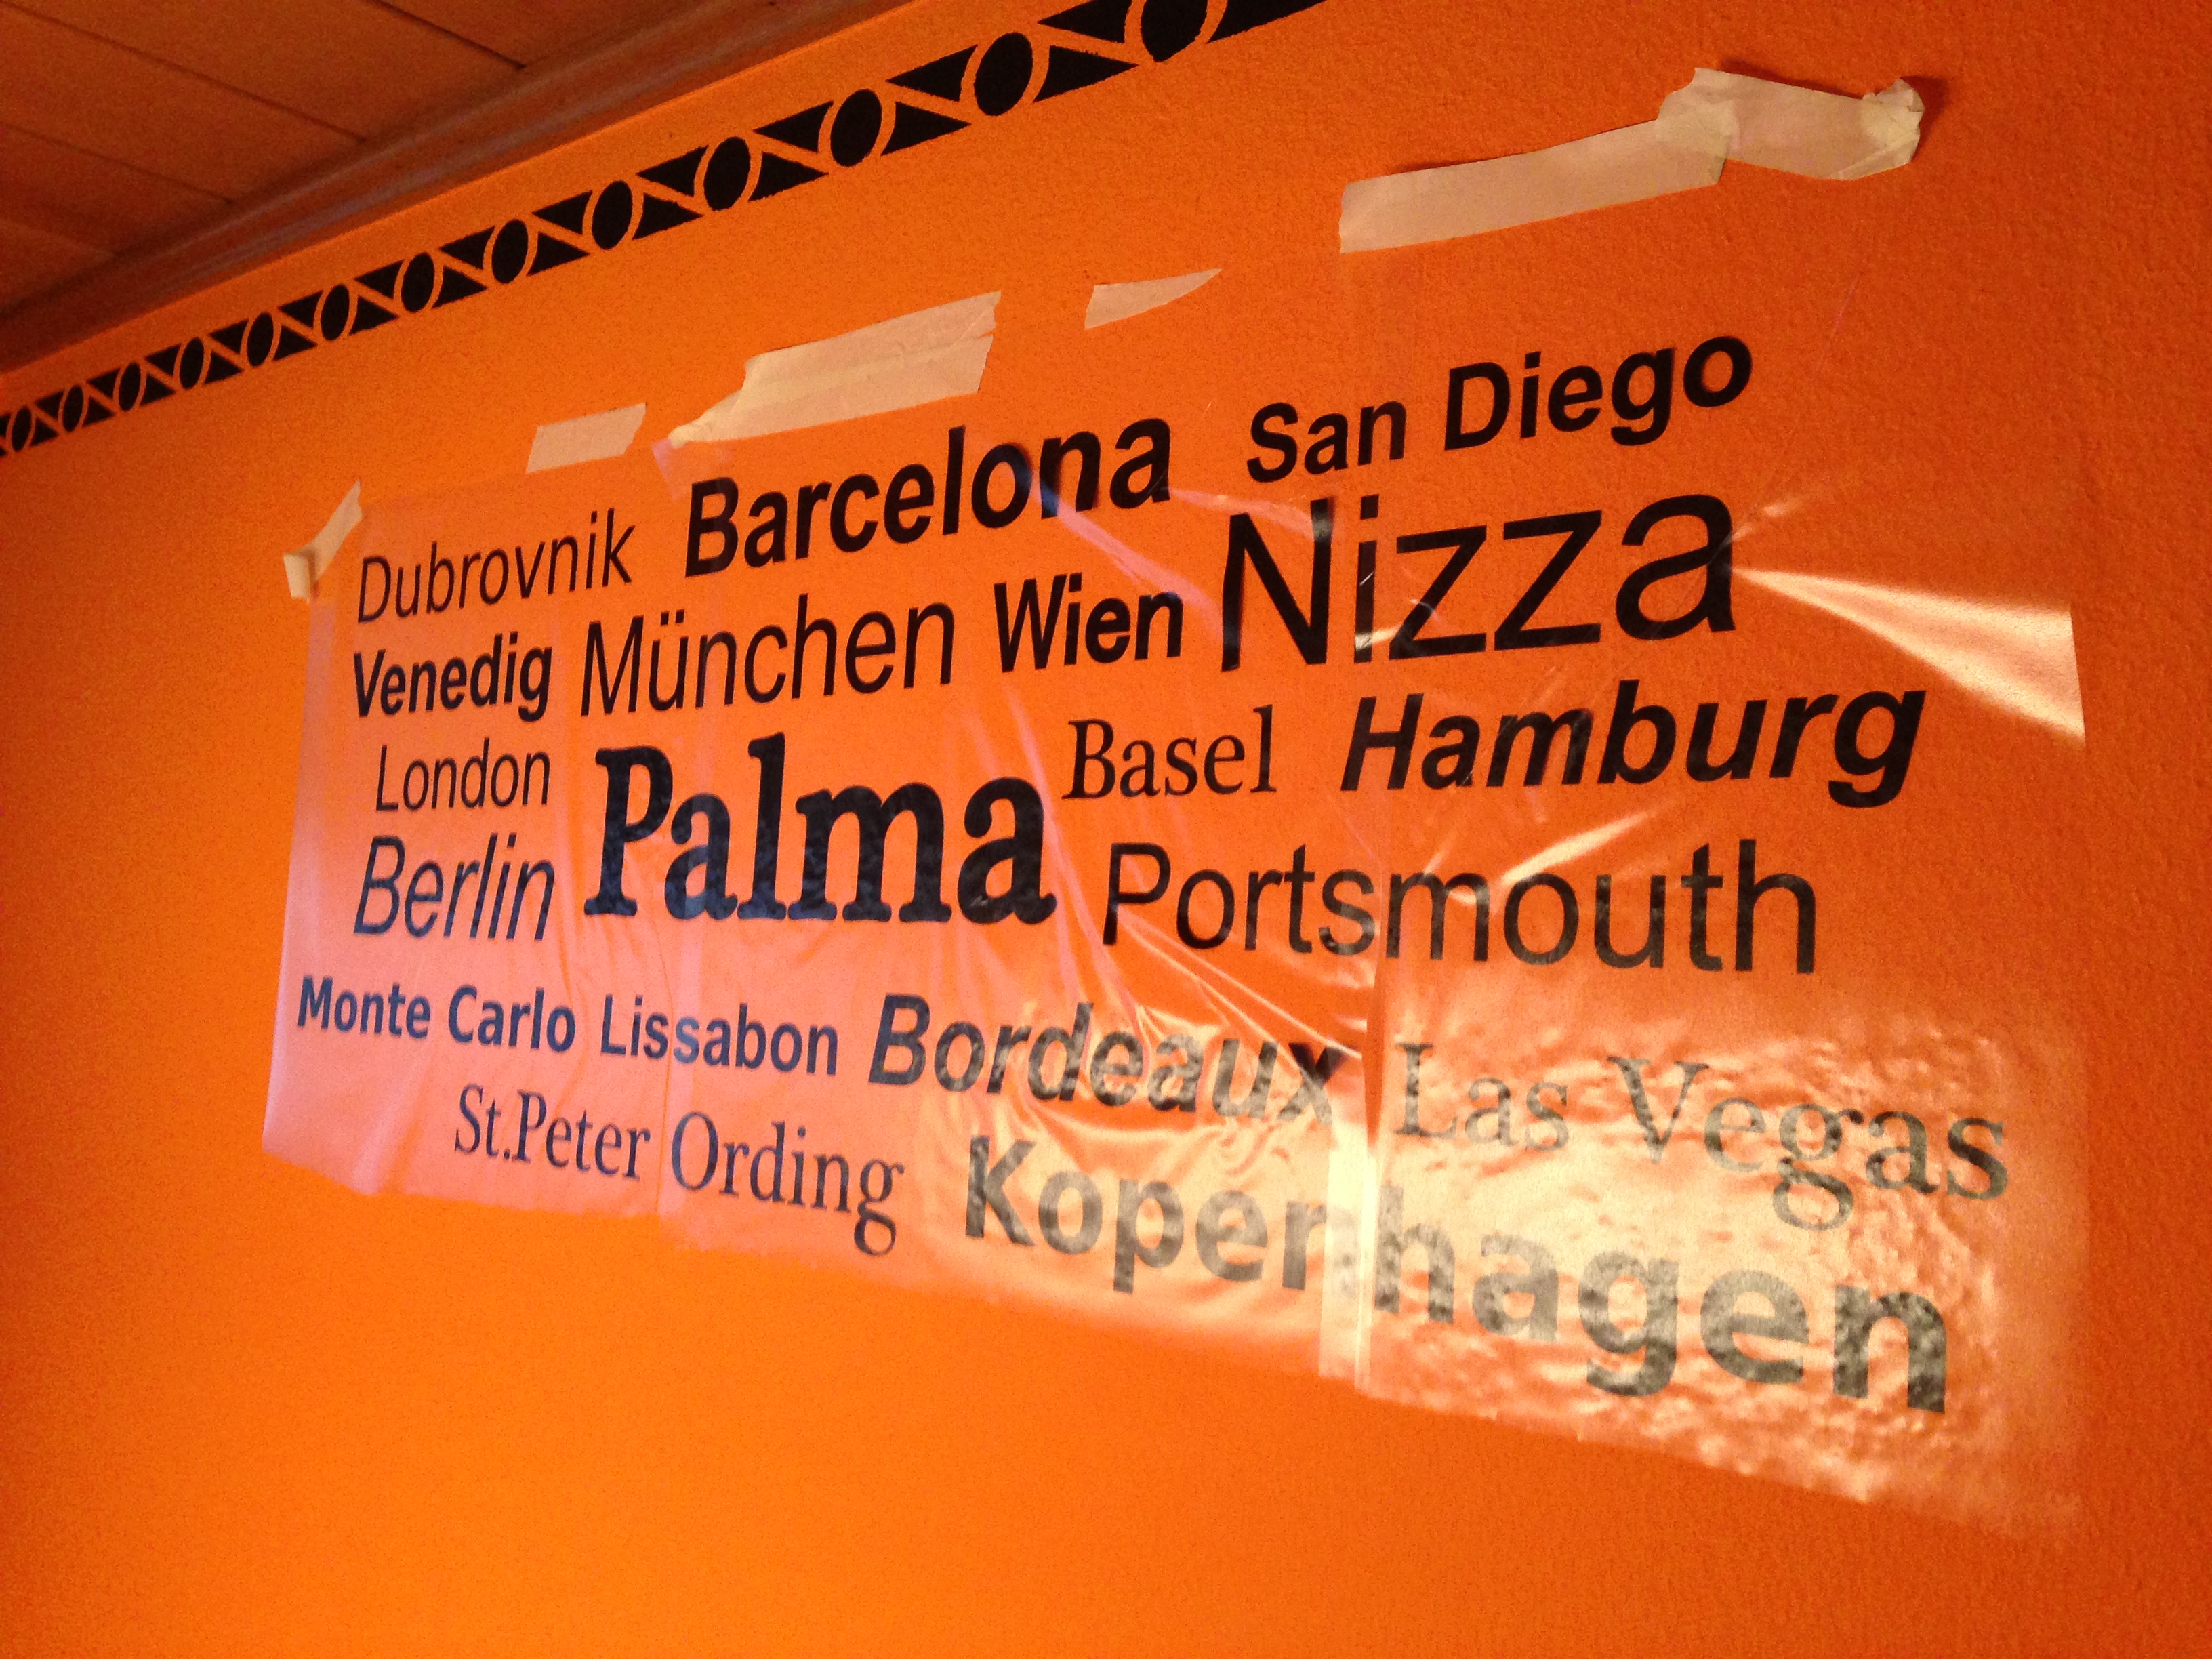
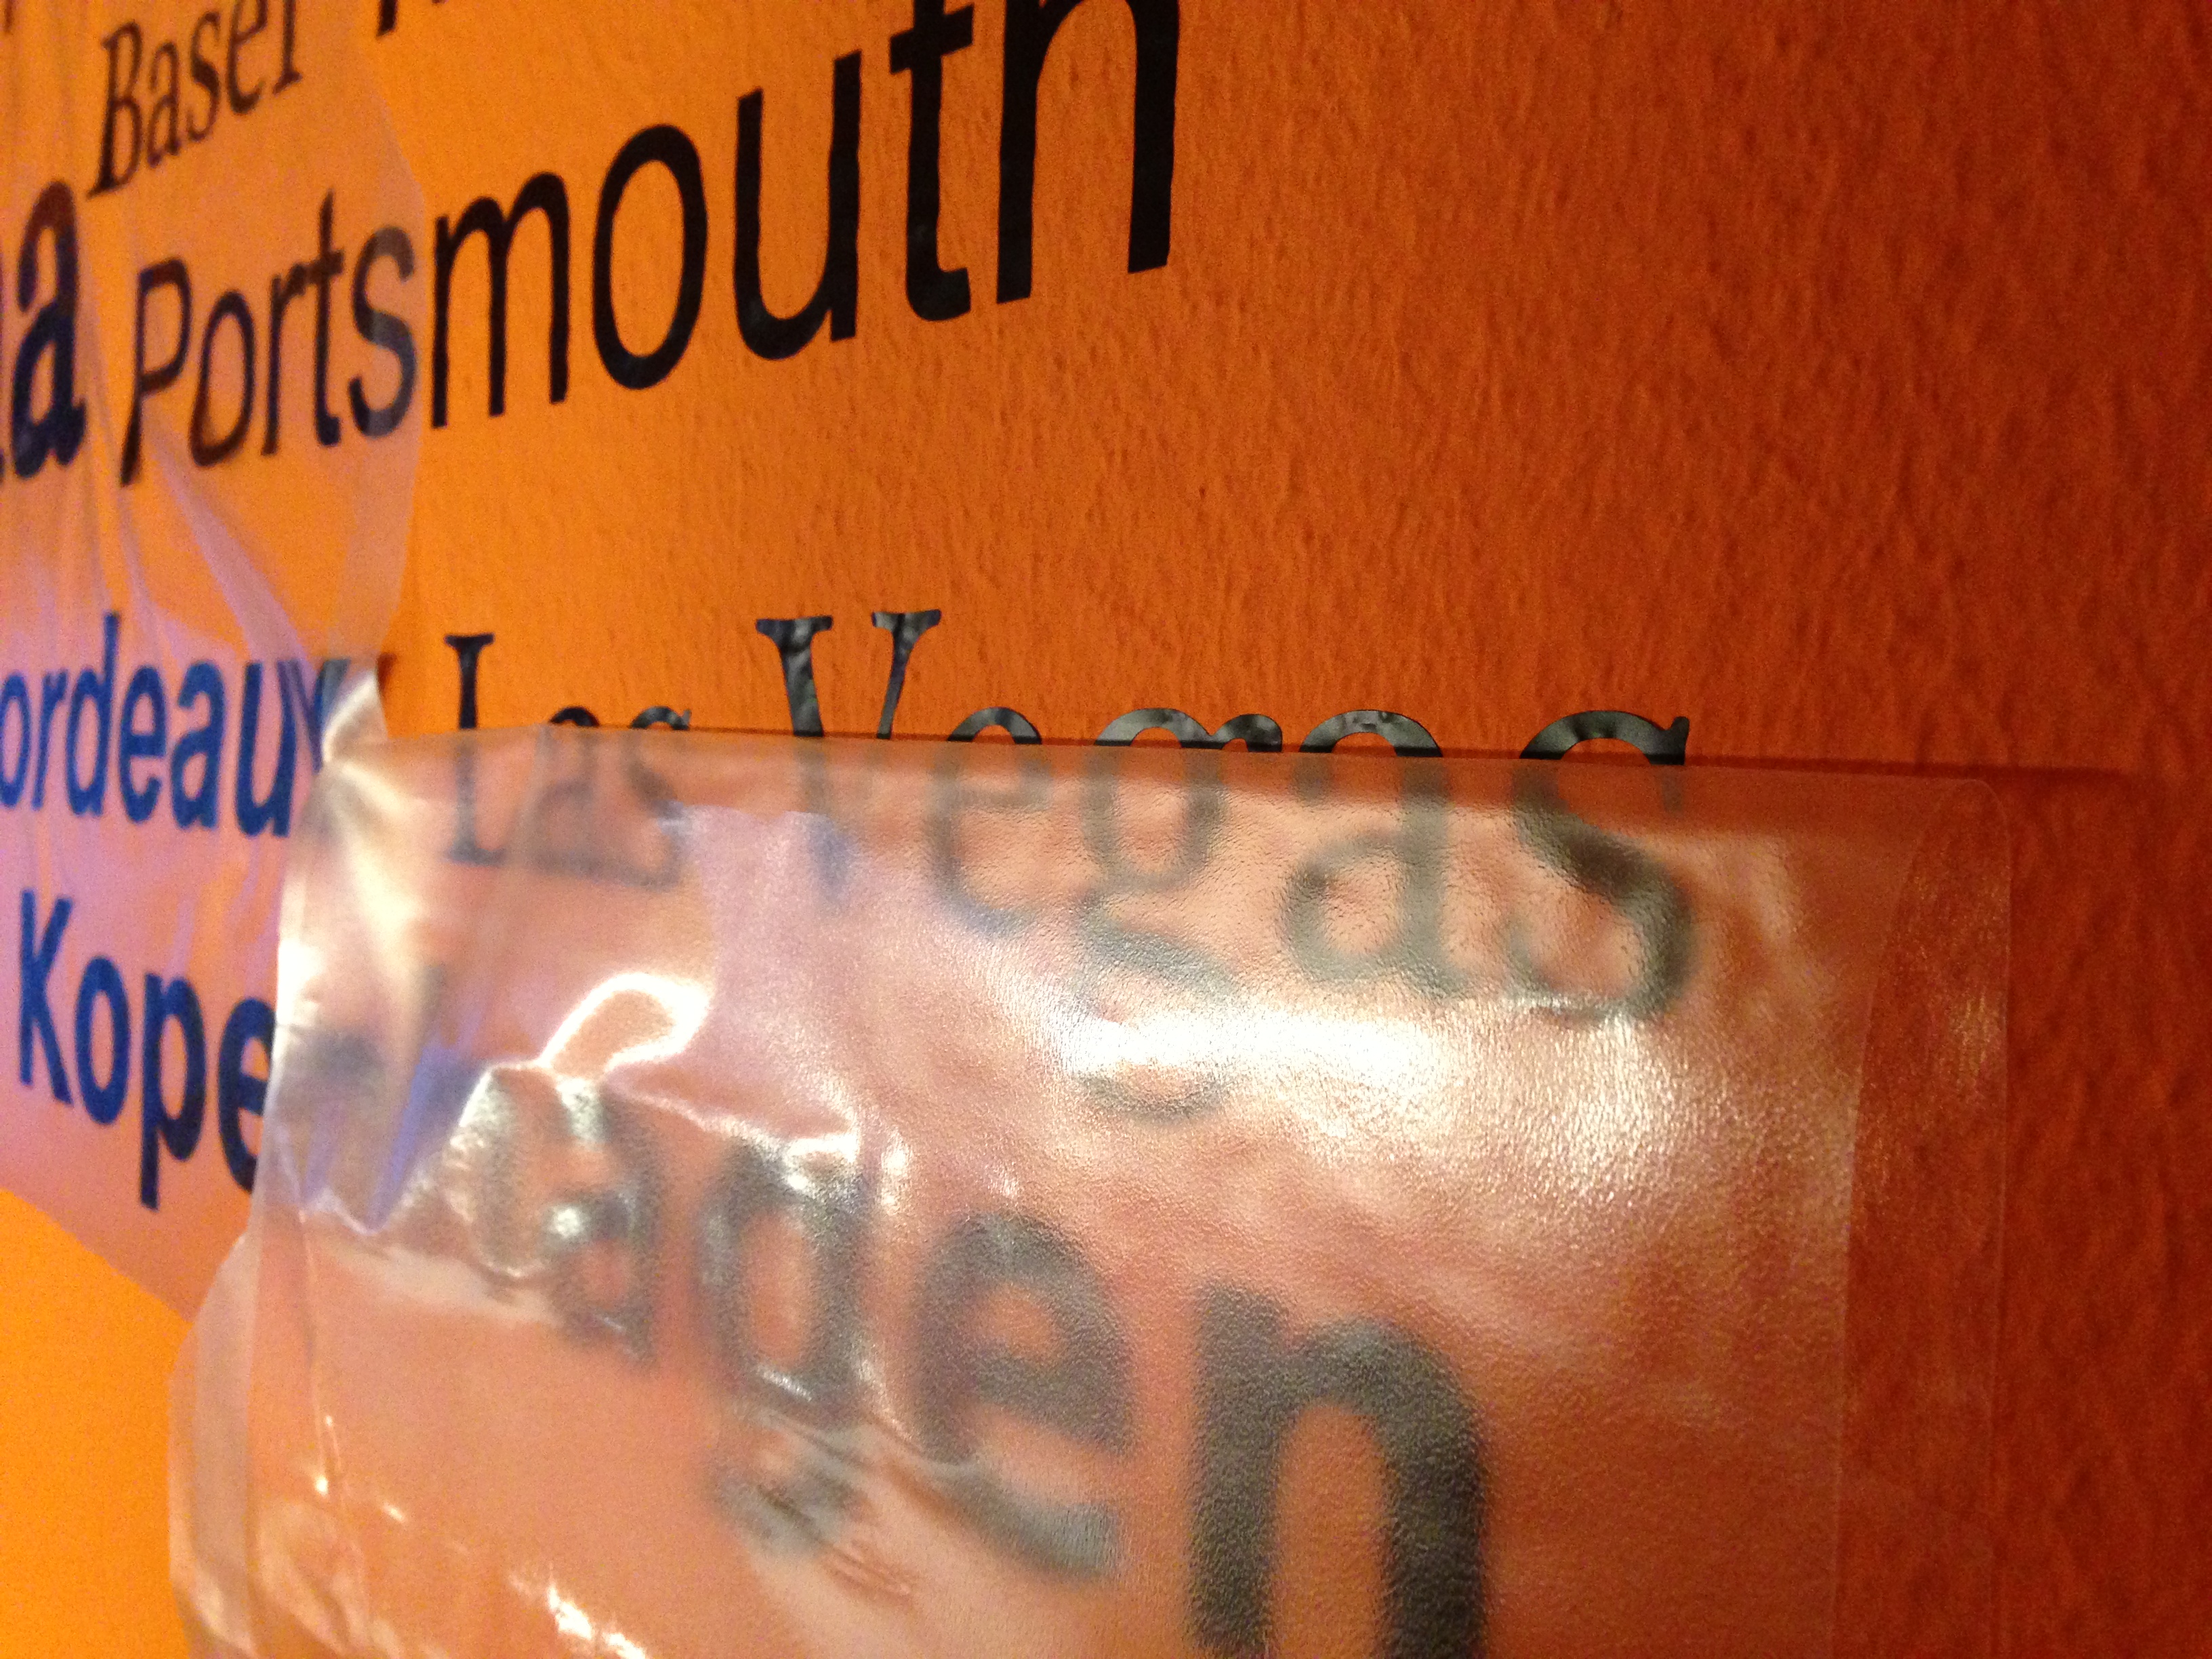
- Done!