Textile finishing using sublimation transfer
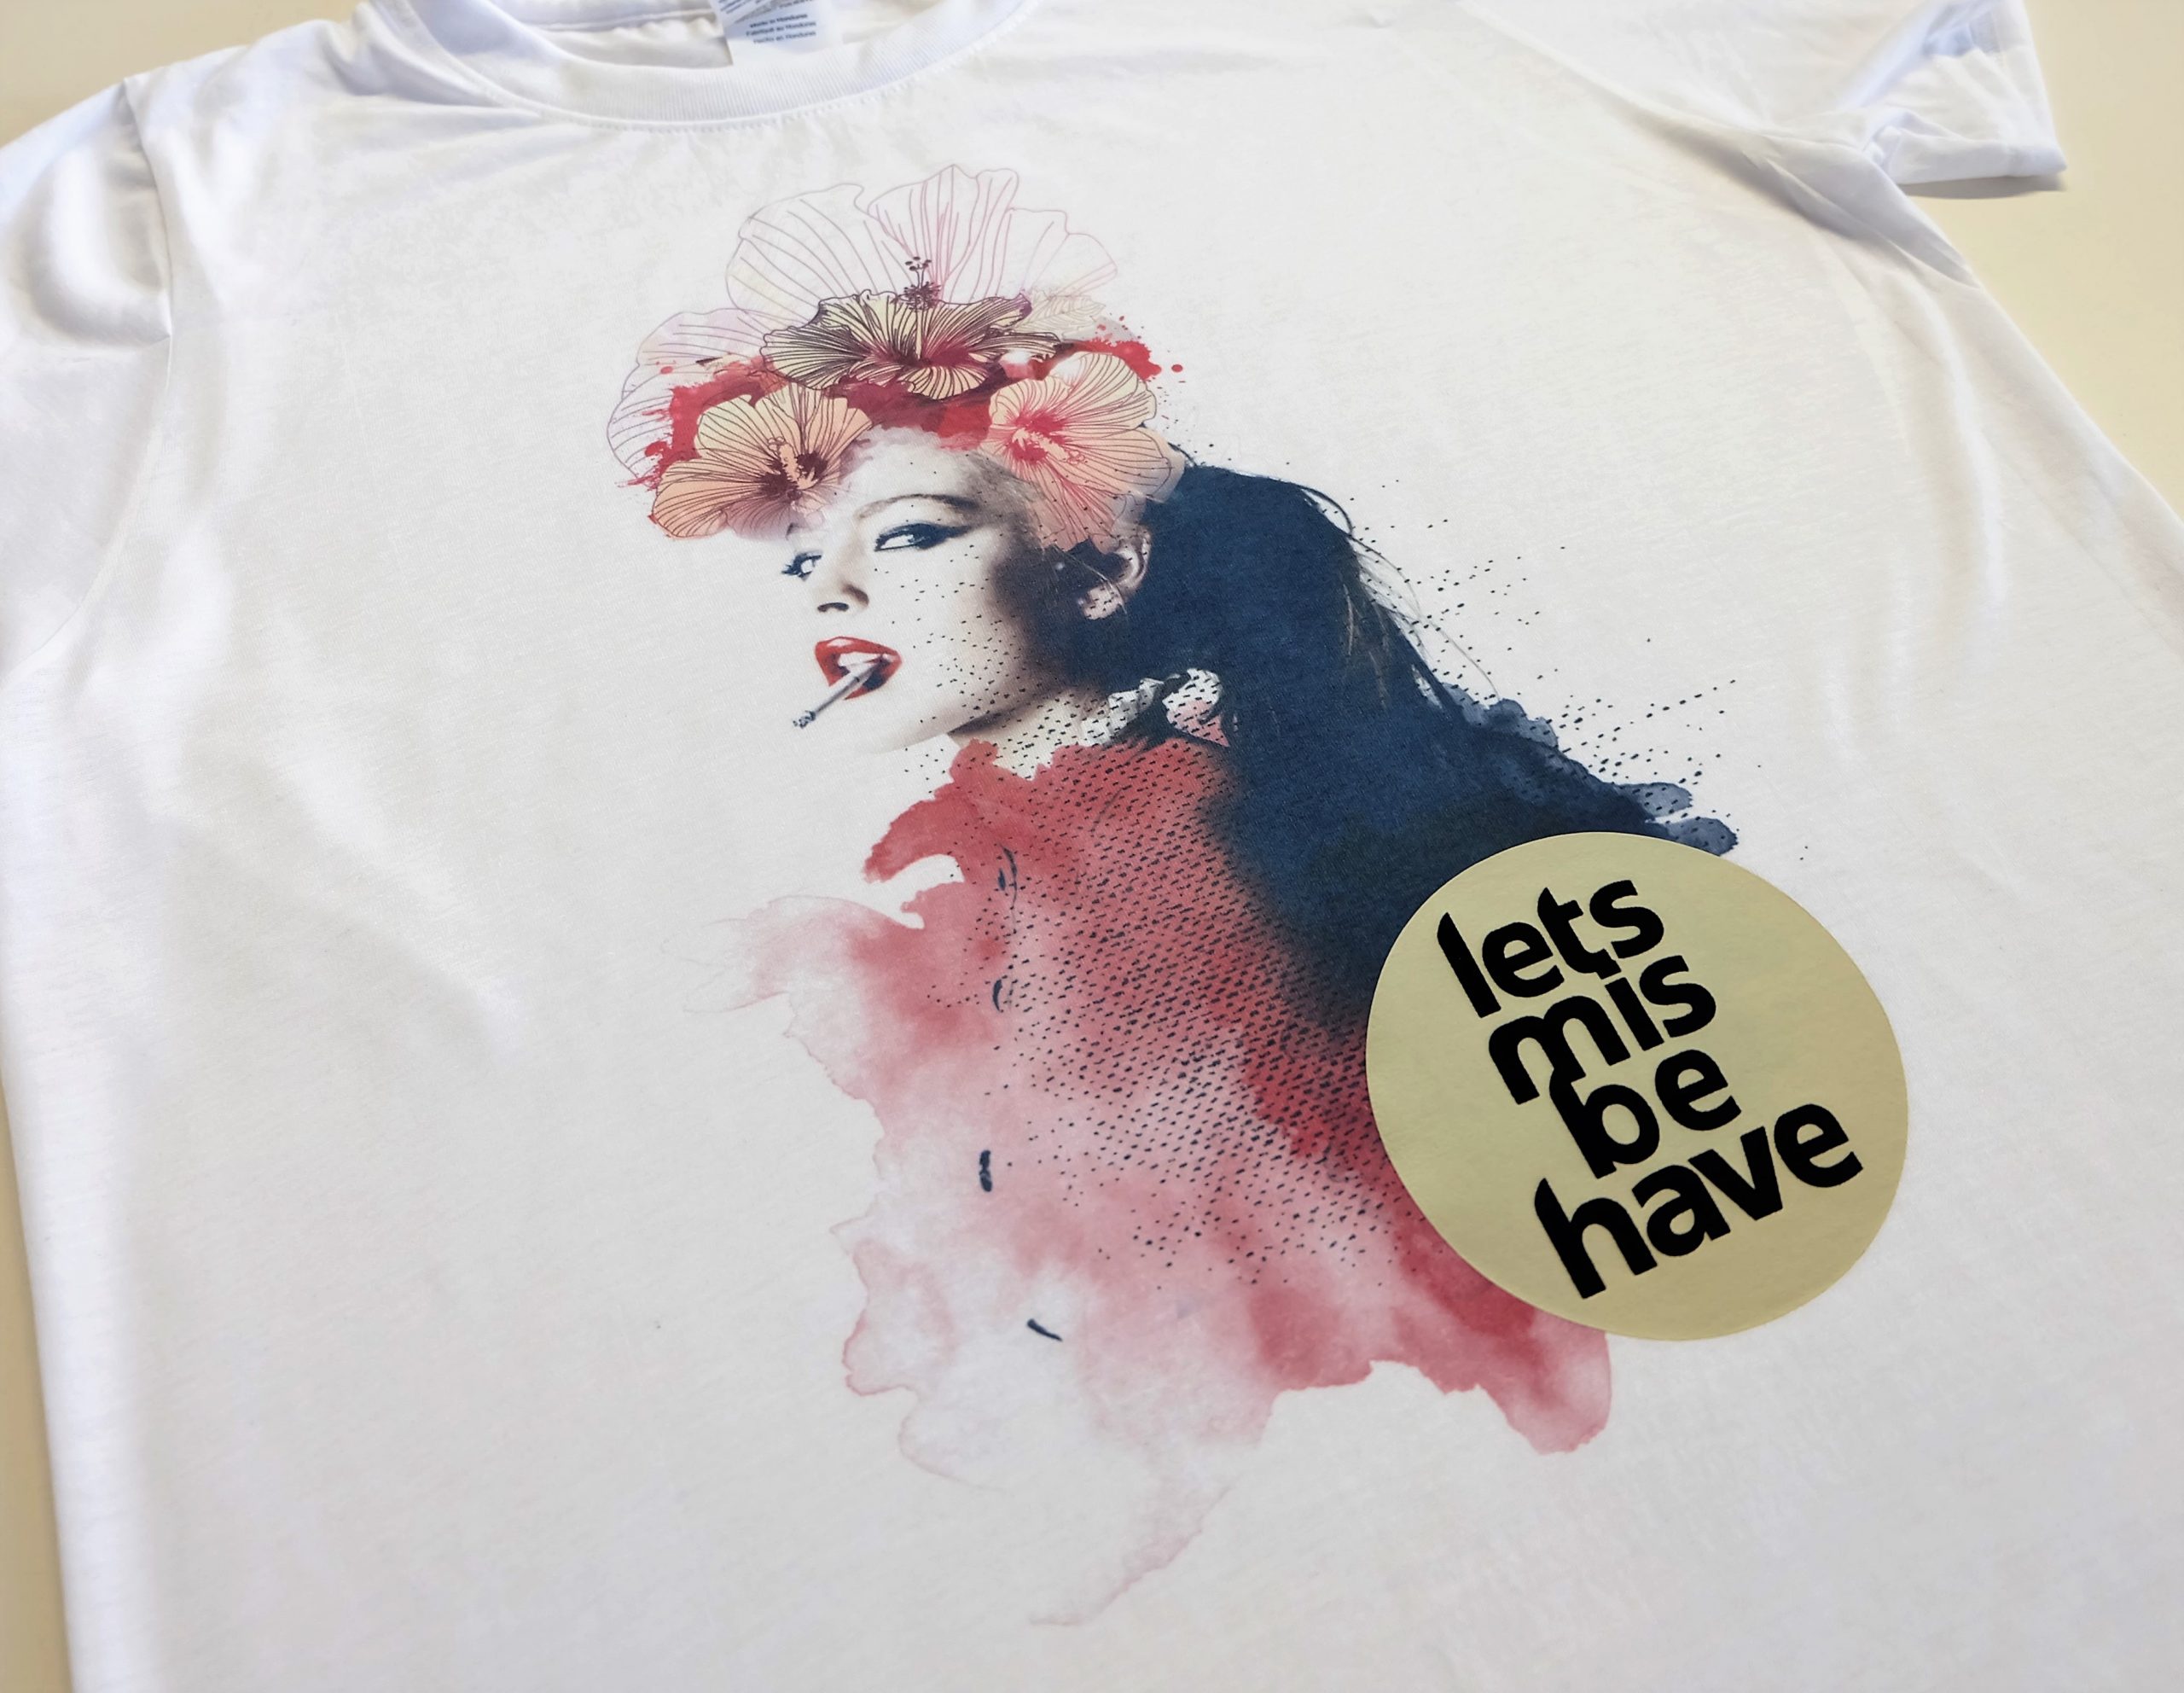
Sublimation transfer is a popular creative technique due to its versatility. In previous articles, we have already explained what sublimation actually is, how this process works, and outlined the steps involved in making a photo mug.
You can find these posts again here:
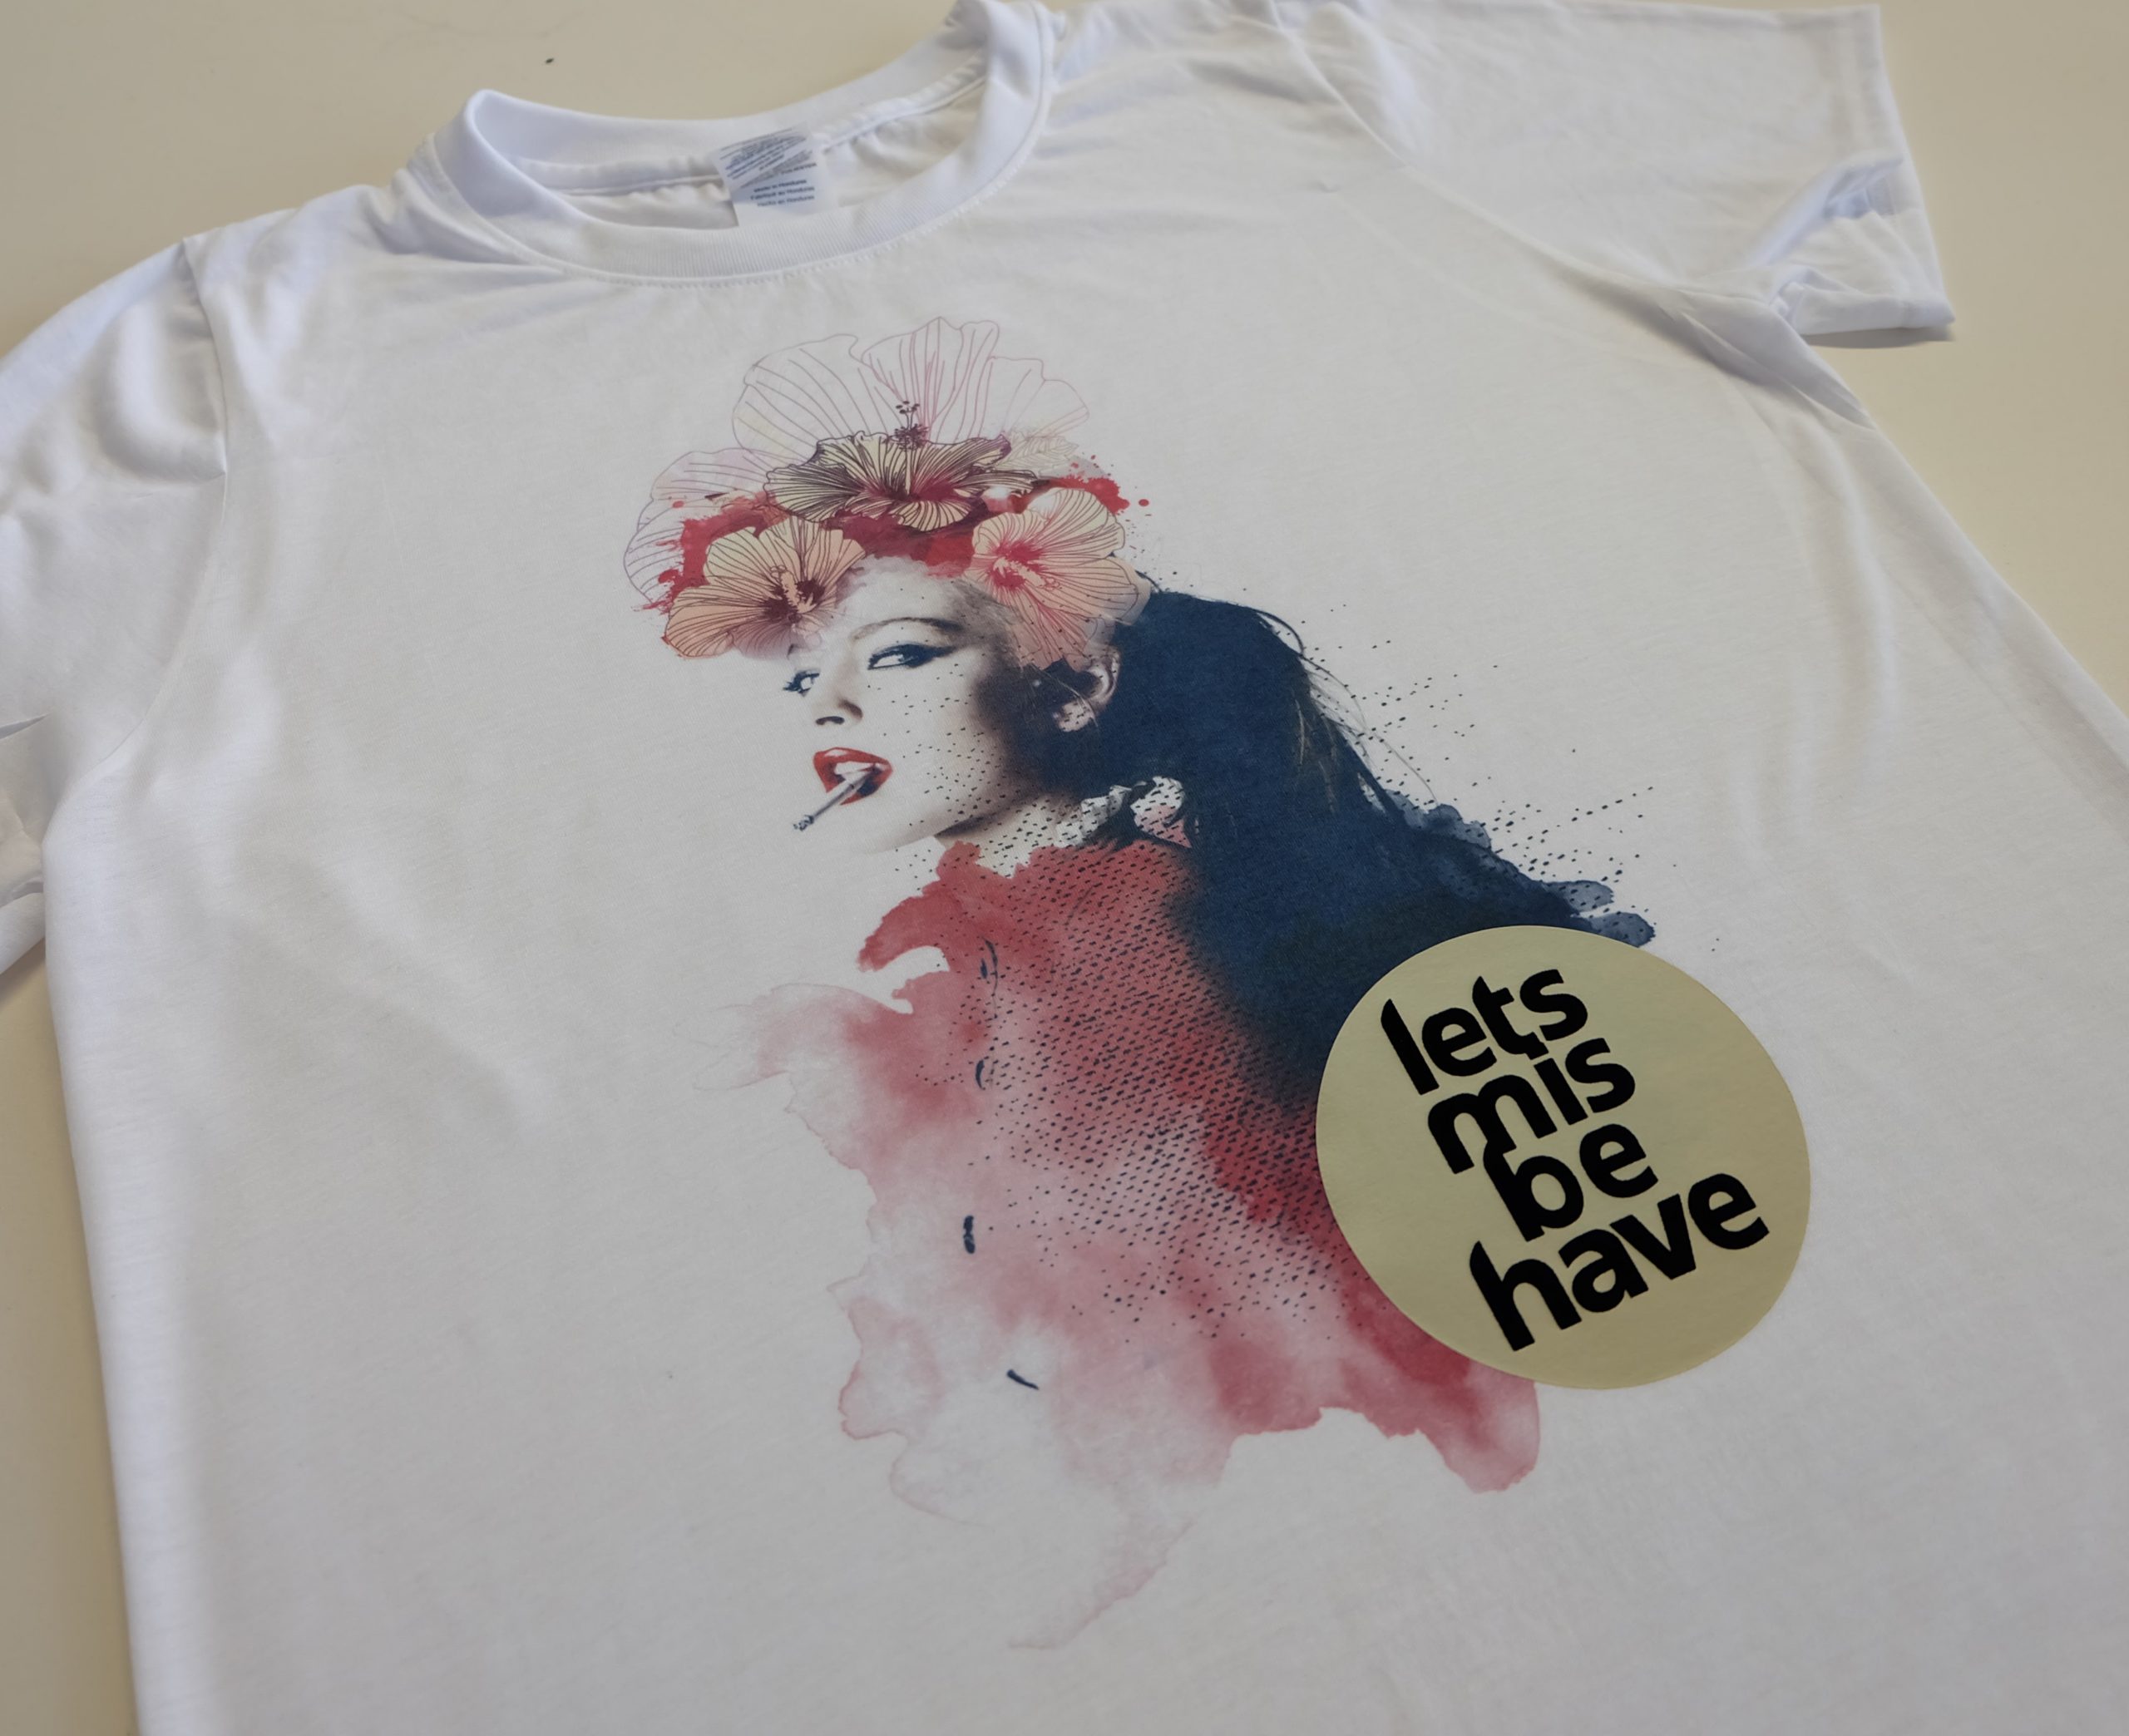
Below, we would now like to explain another practical application of sublimation: sublimation transfer onto a polyester T-shirt or sports jersey. We are happy to make the design used here available for download once again:
Lindsay Subli without circle.jpg
Let’s get started:
1. Create and print the designs
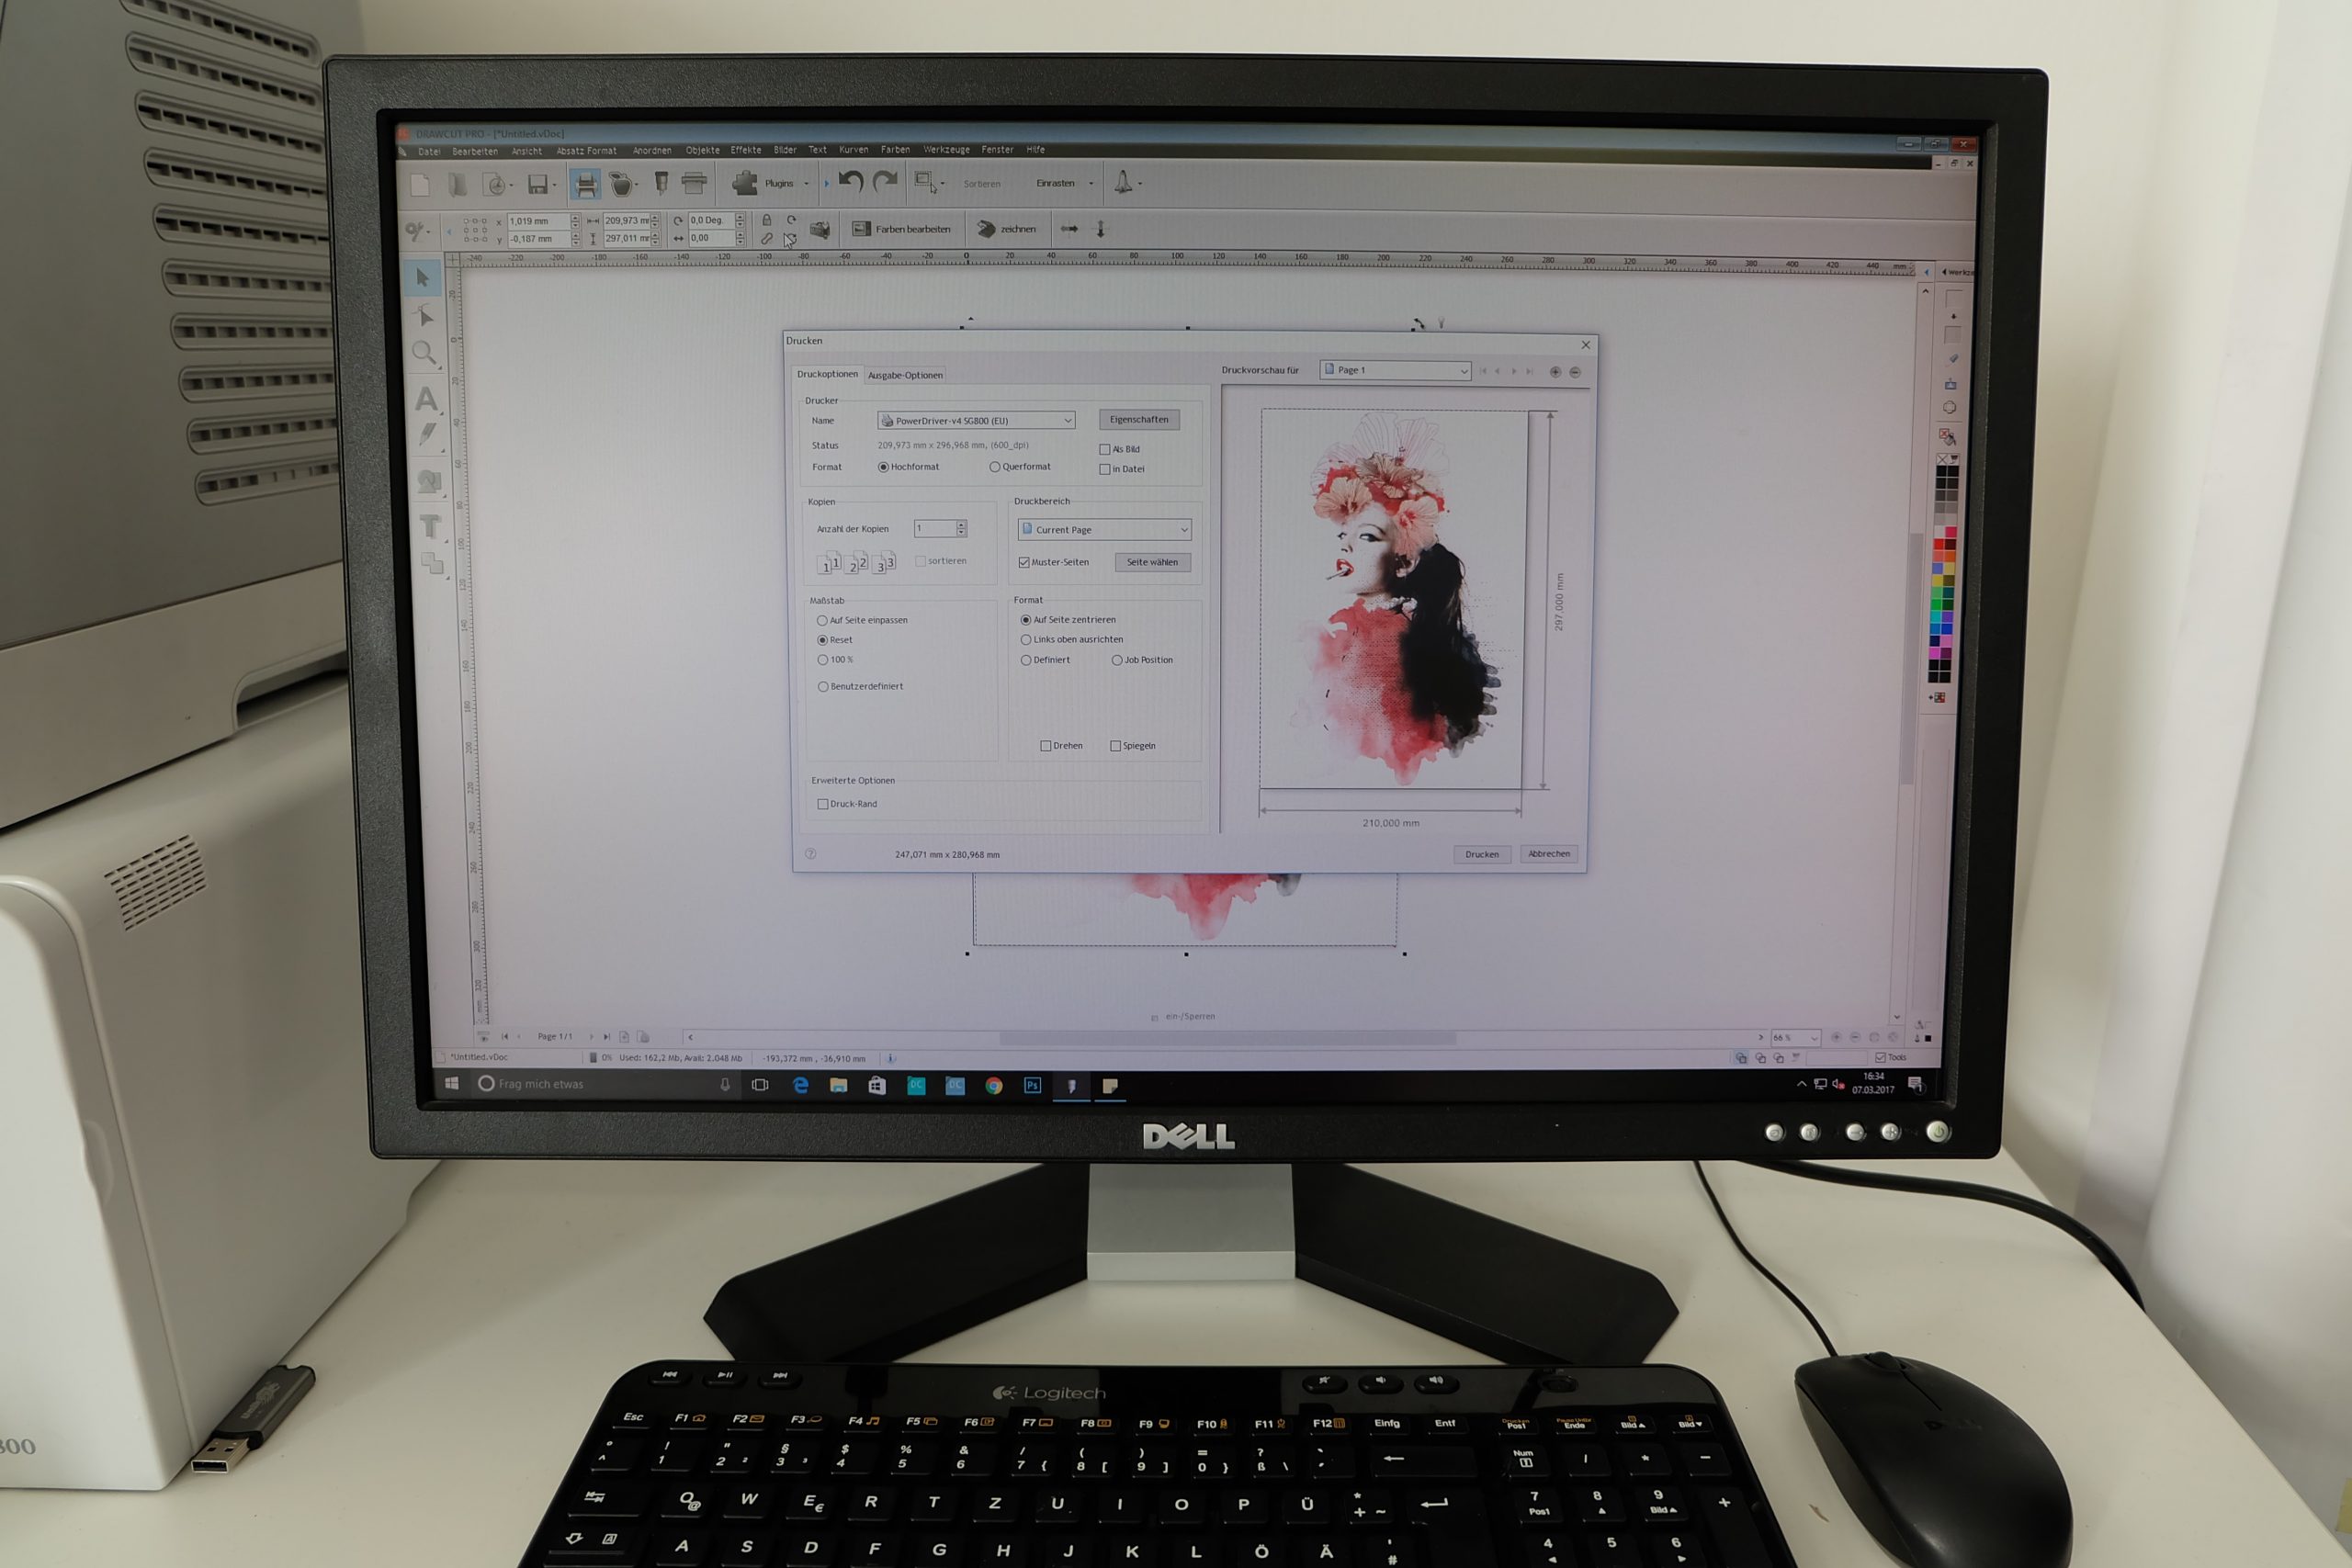
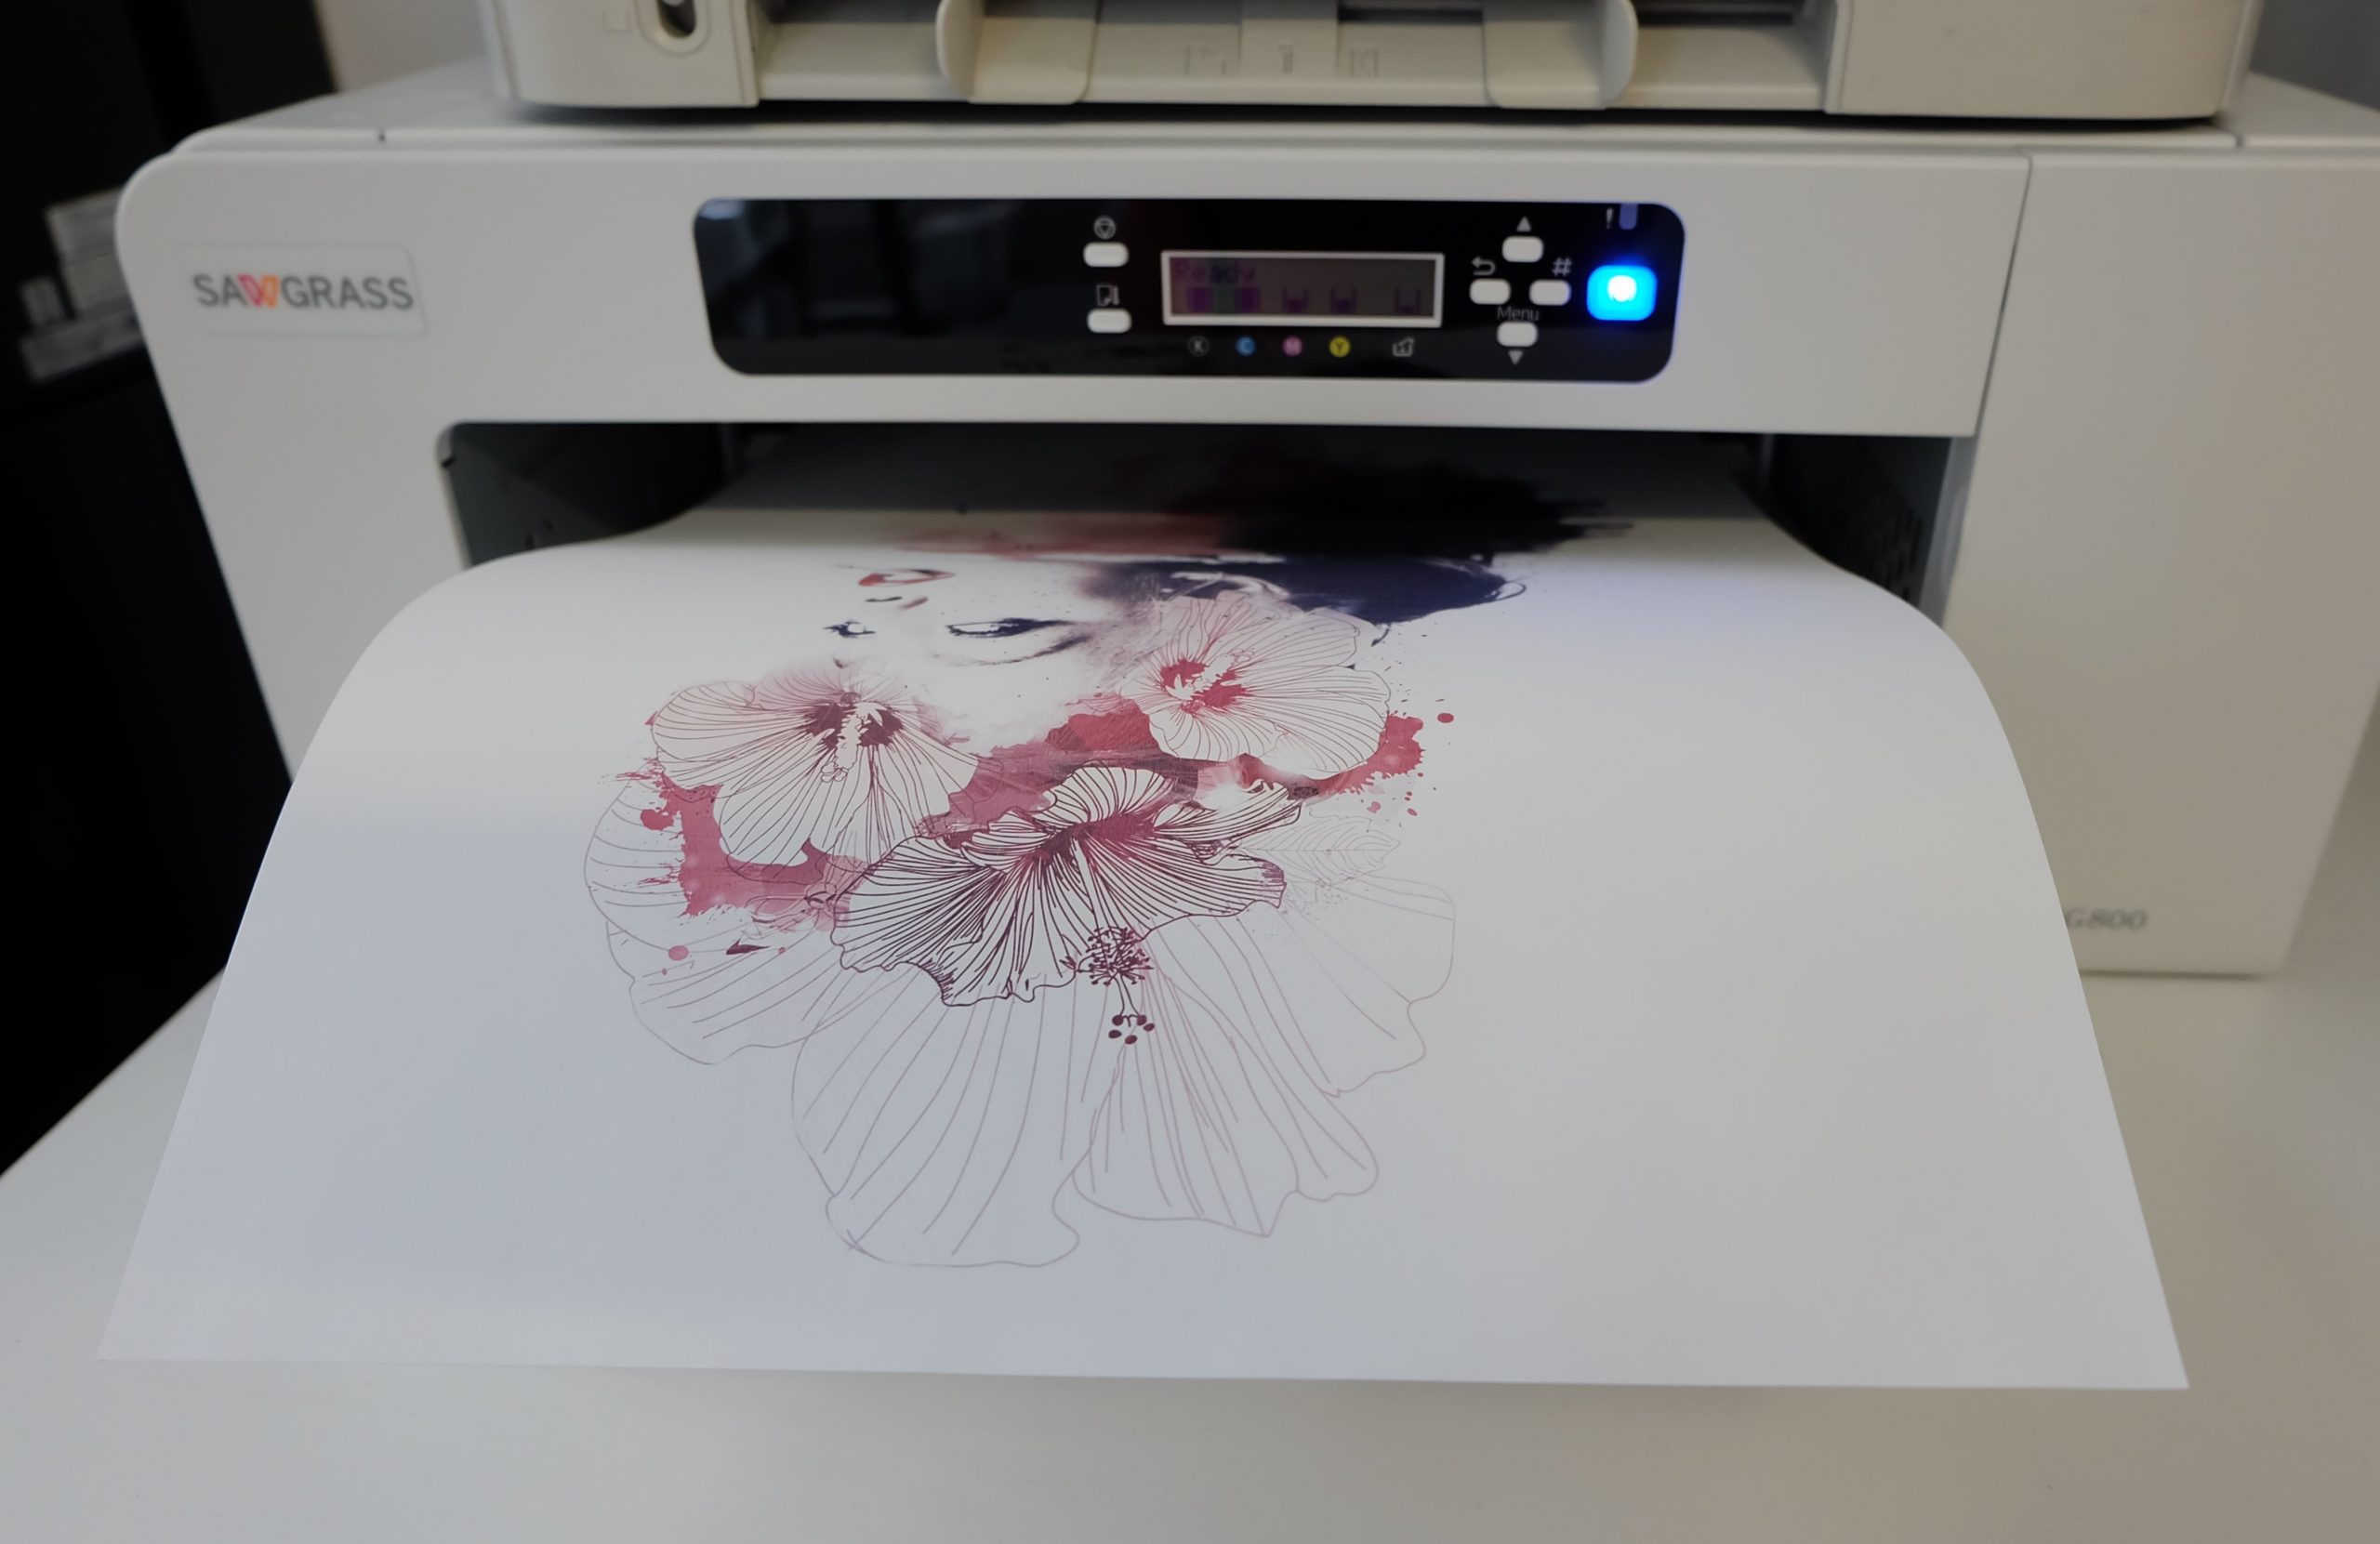
We first imported the design into DrawCut Pro, arranged it on A3 paper and printed it using the Sawgrass Powerdriver on ourSawgrass Virtuoso SG800 sublimation printer. The advantage of the Powerdriver is that you can select the type of sublimation paper and the transfer object (mousepad, ceramics, jigsaw puzzle, etc.), and the colours are optimised accordingly. This is the only way to ensure accurate colour reproduction in sublimation quickly and easily.
2. Preparing the transfer press and T-shirt
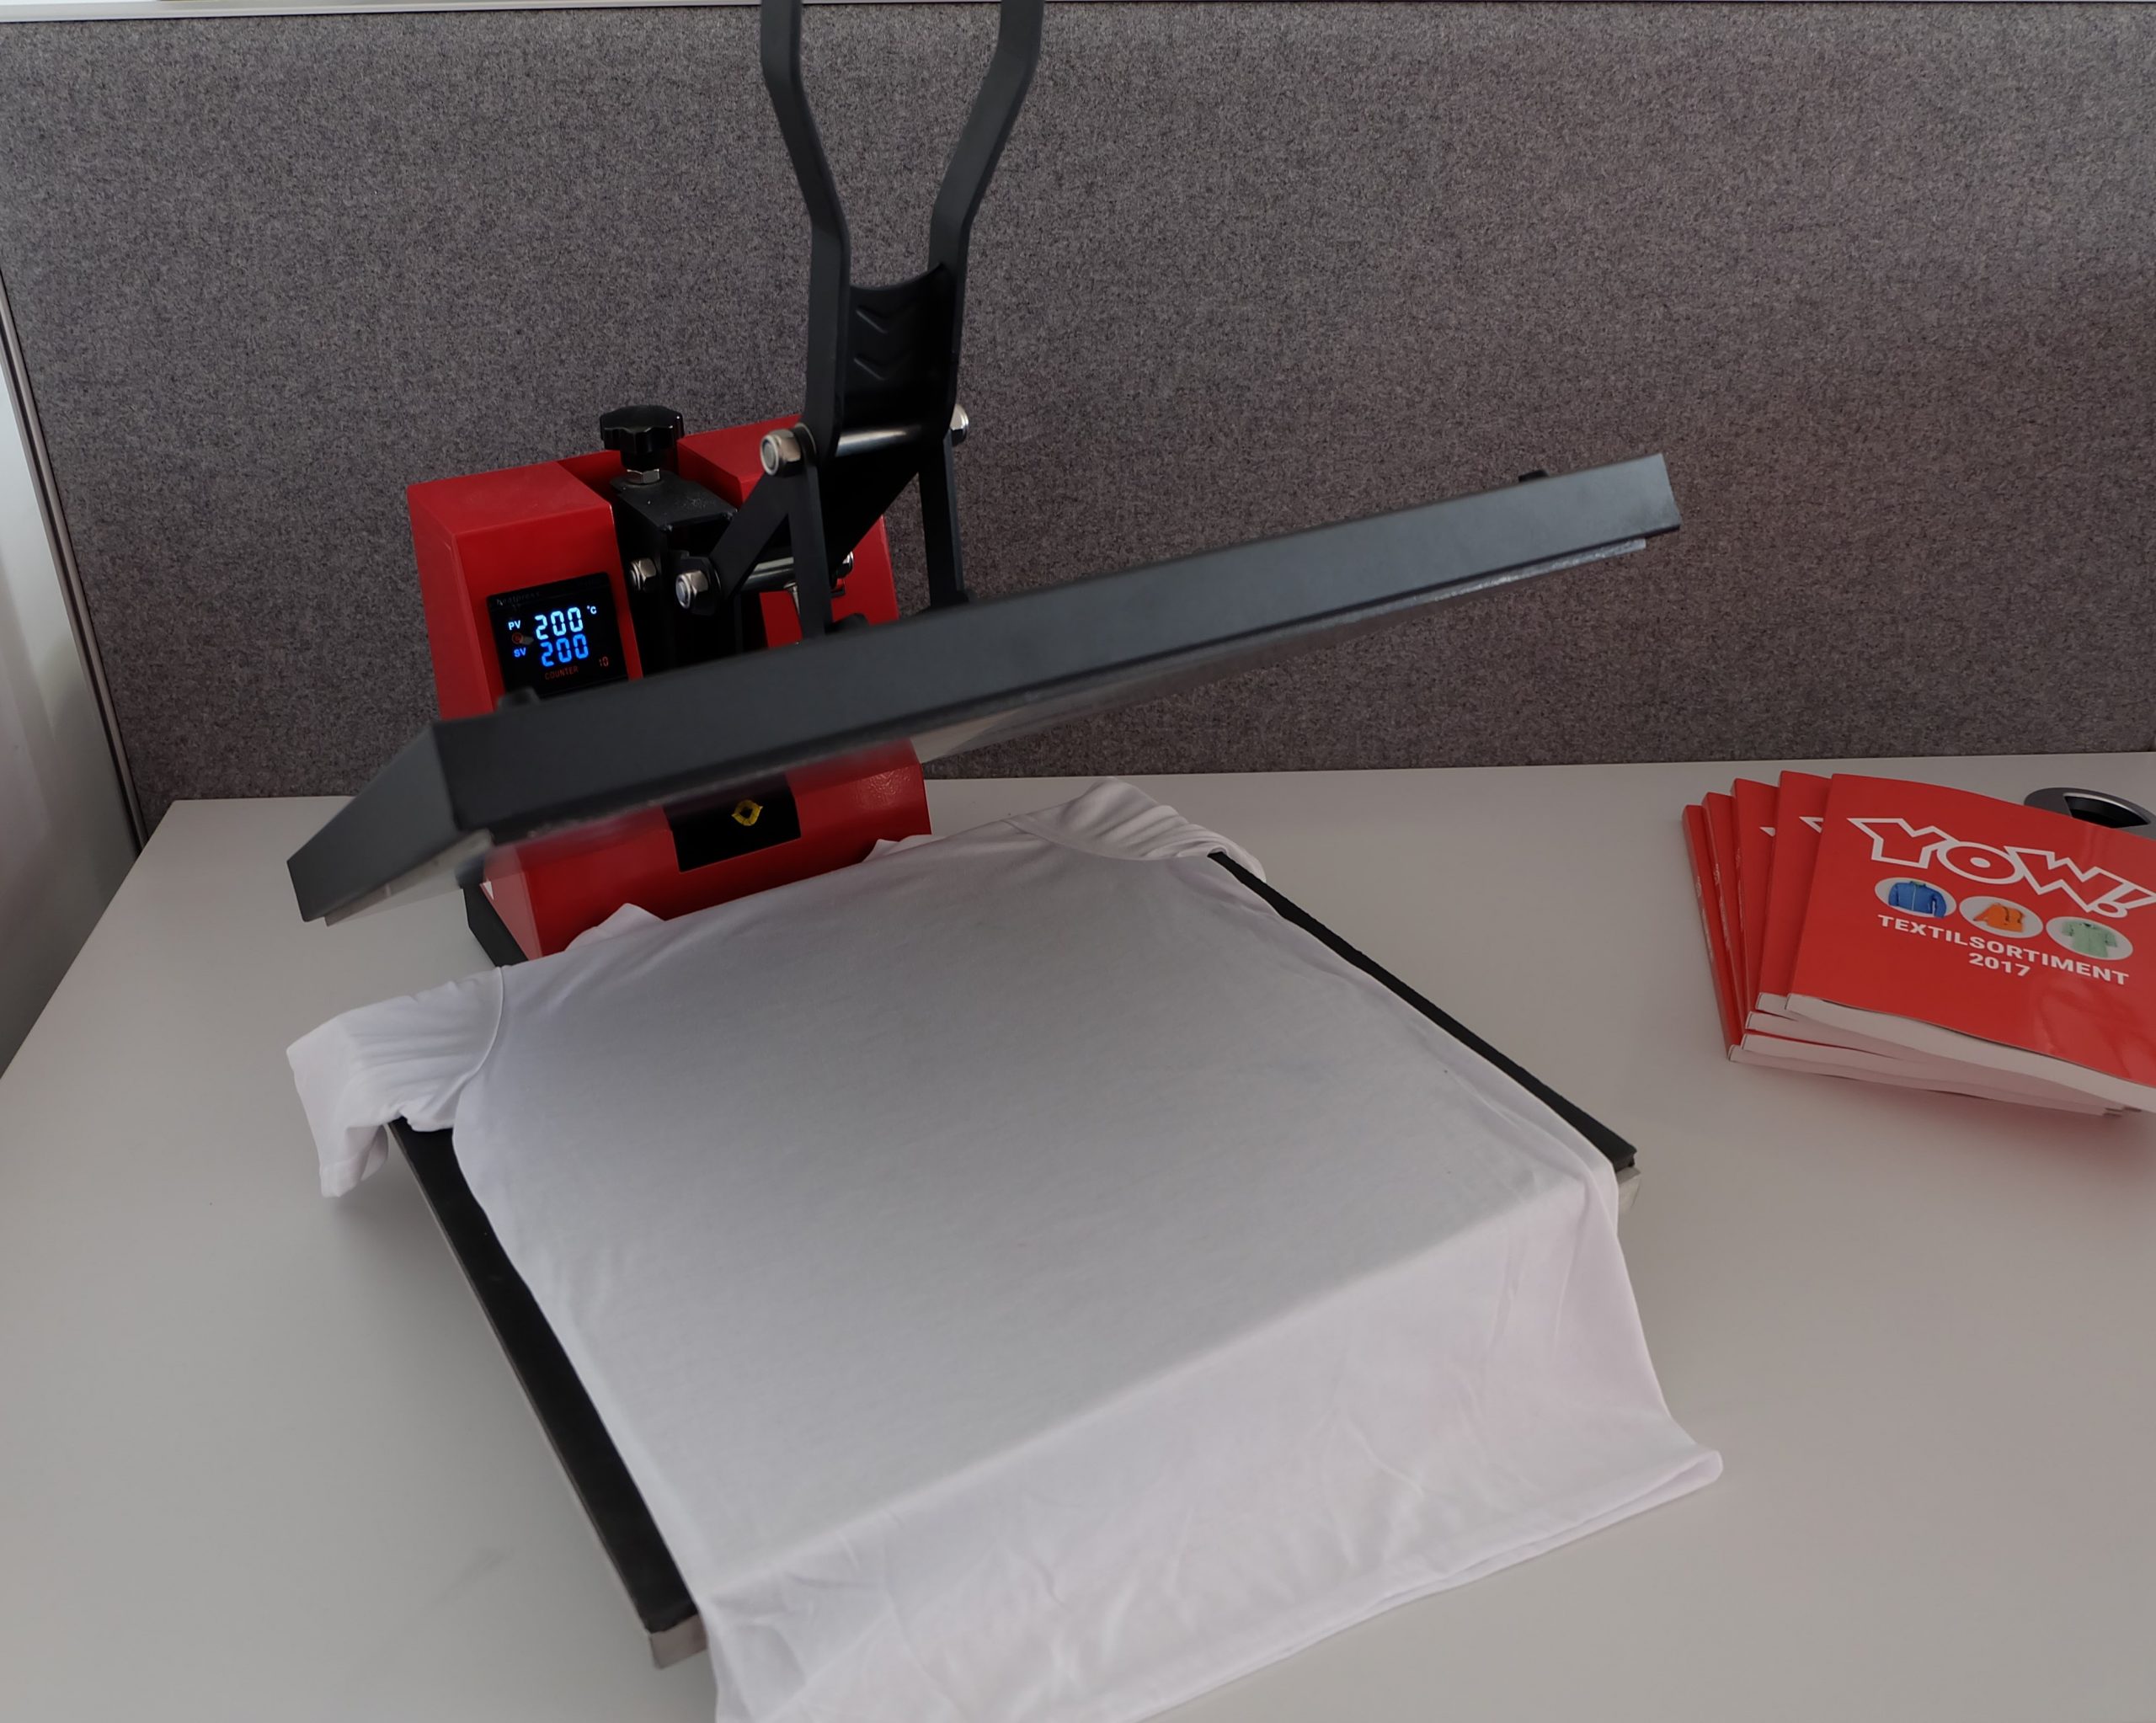
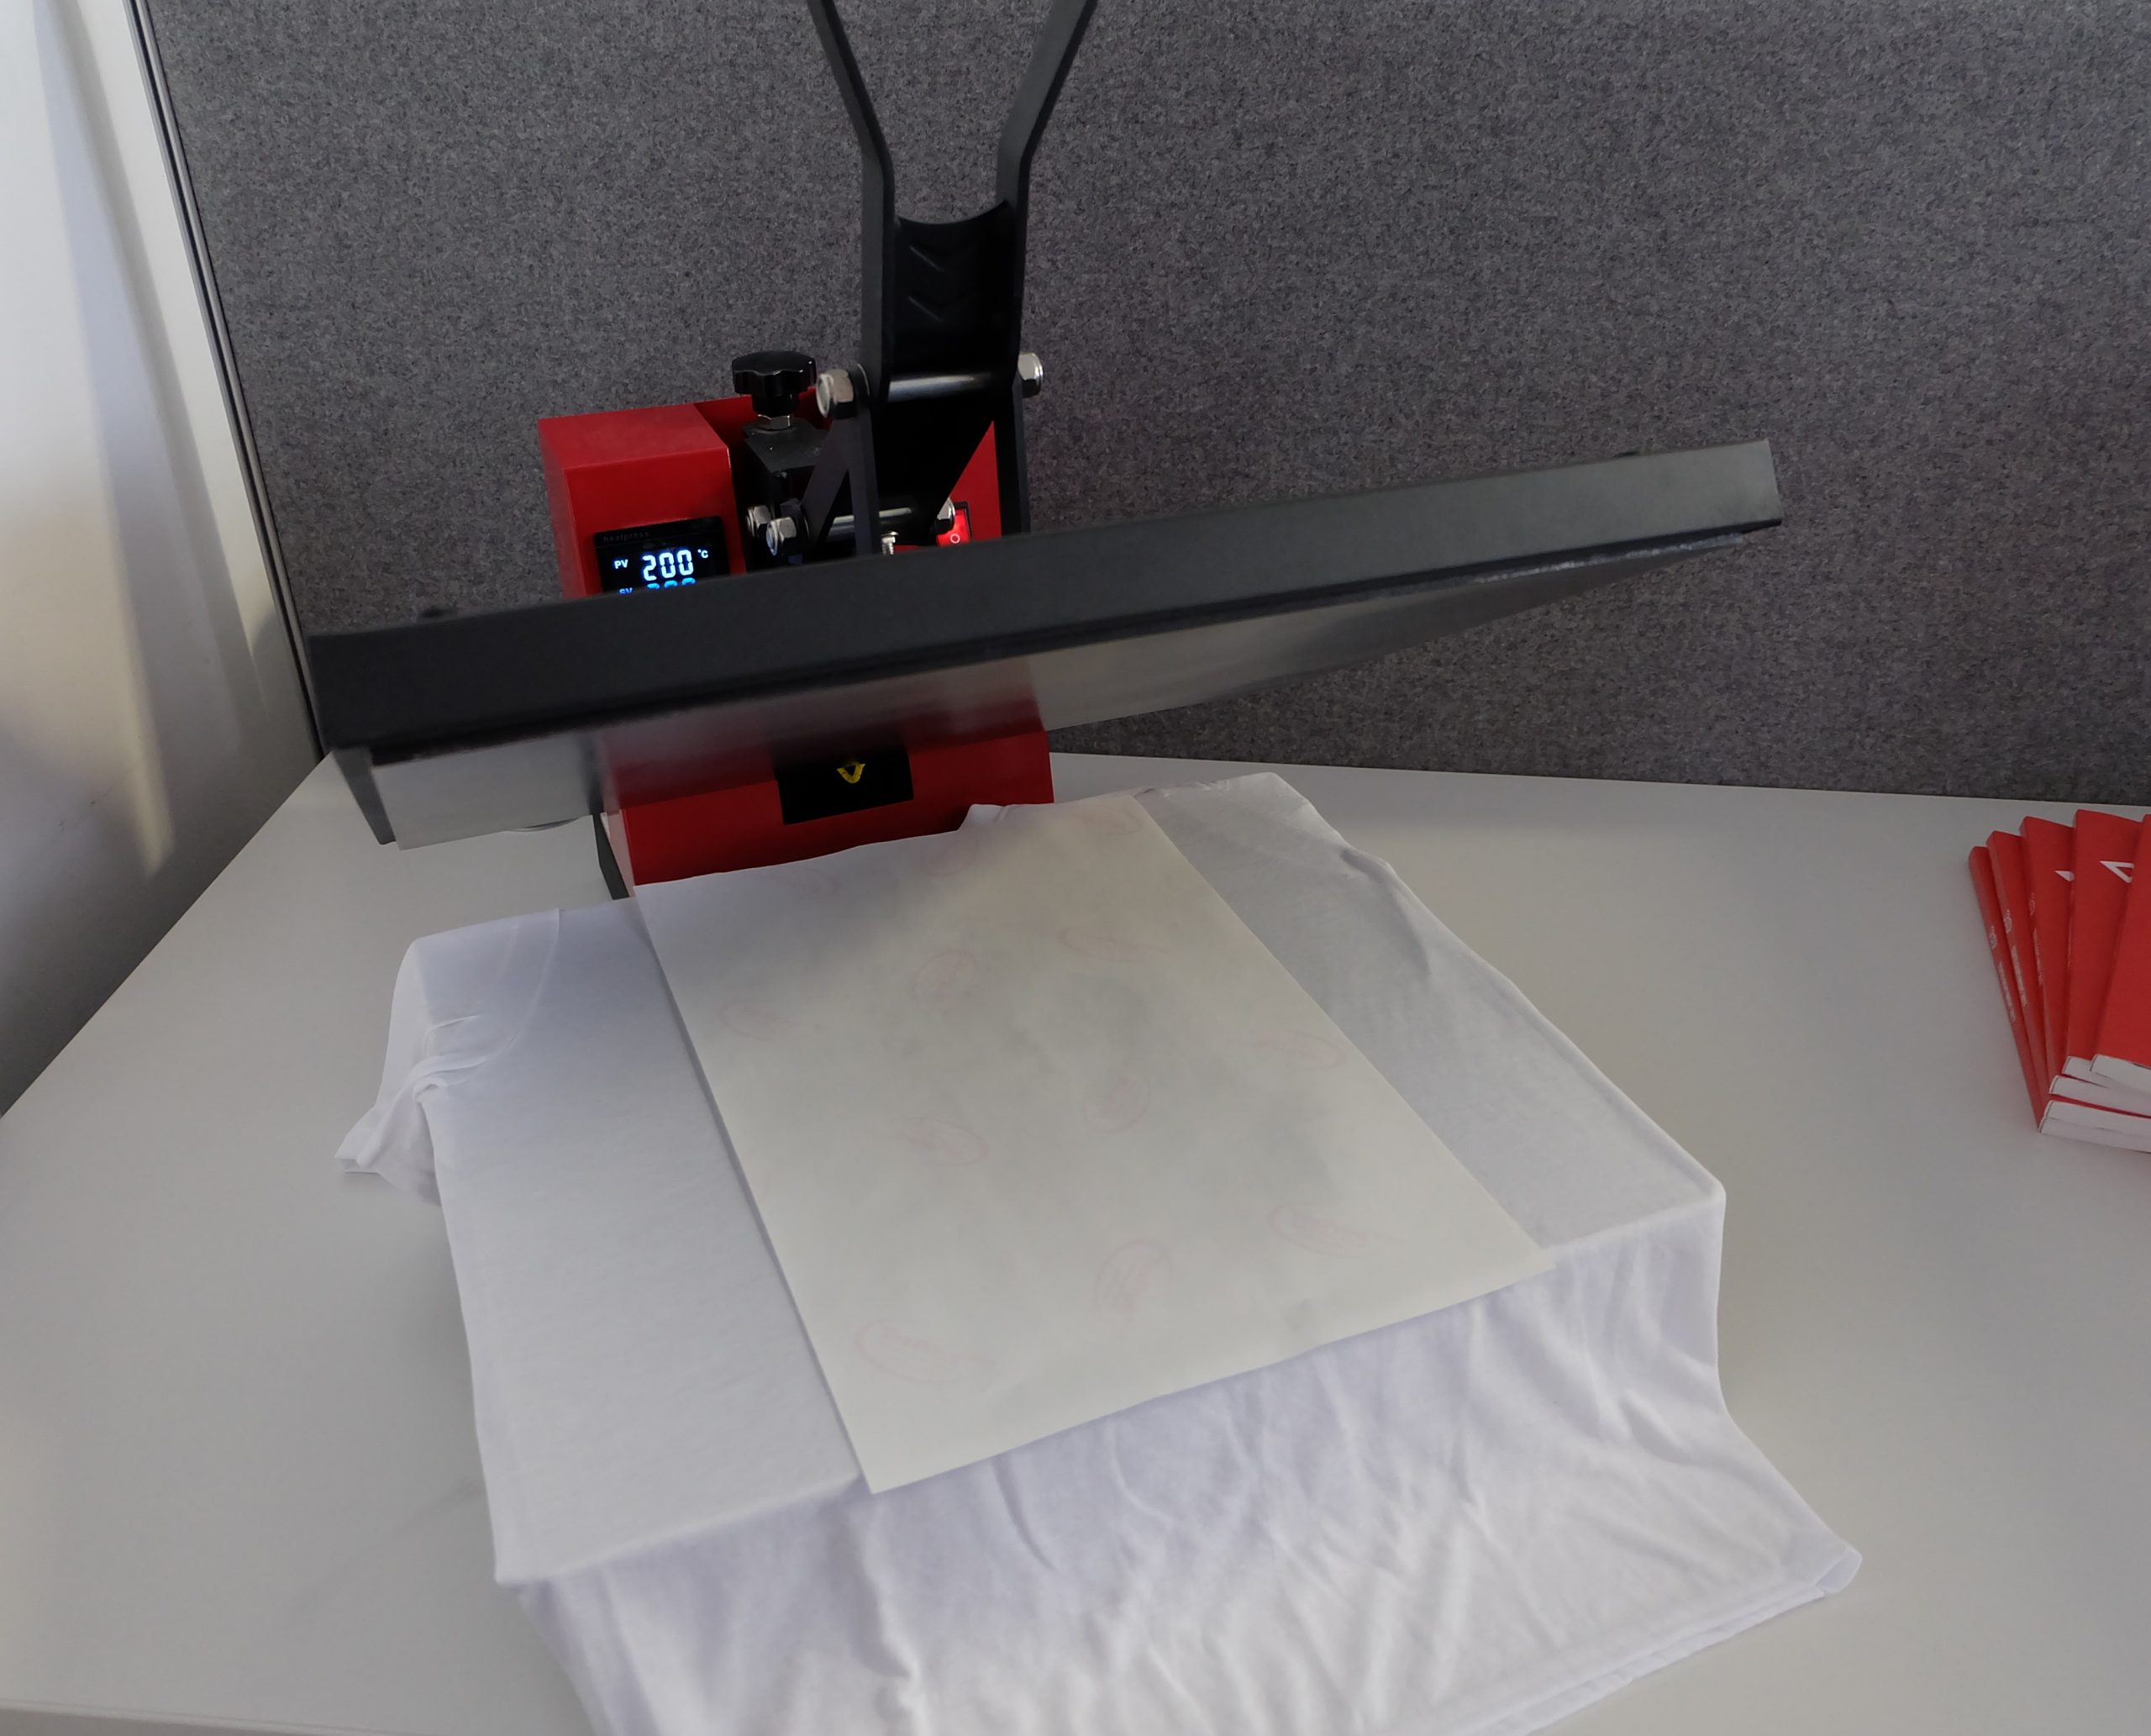
For the ink transfer, we used the new entry-level Nautilus 4050 Clam press. It is a manually operated clamshell press with a working surface measuring 40 cm x 50 cm, arranged in landscape format. It features a digital controller, on which the temperature was set to 200°C and the transfer time to 45 seconds, and it was preheated for a few minutes.
In the next step, the white polyester T-shirt is placed on the base plate of the transfer press and pre-pressed for approx. 3 seconds to ensure the fabric is crease-free and any residual moisture can escape. The mirrored paper print is then placed face down onto the T-shirt.
3. Transfer
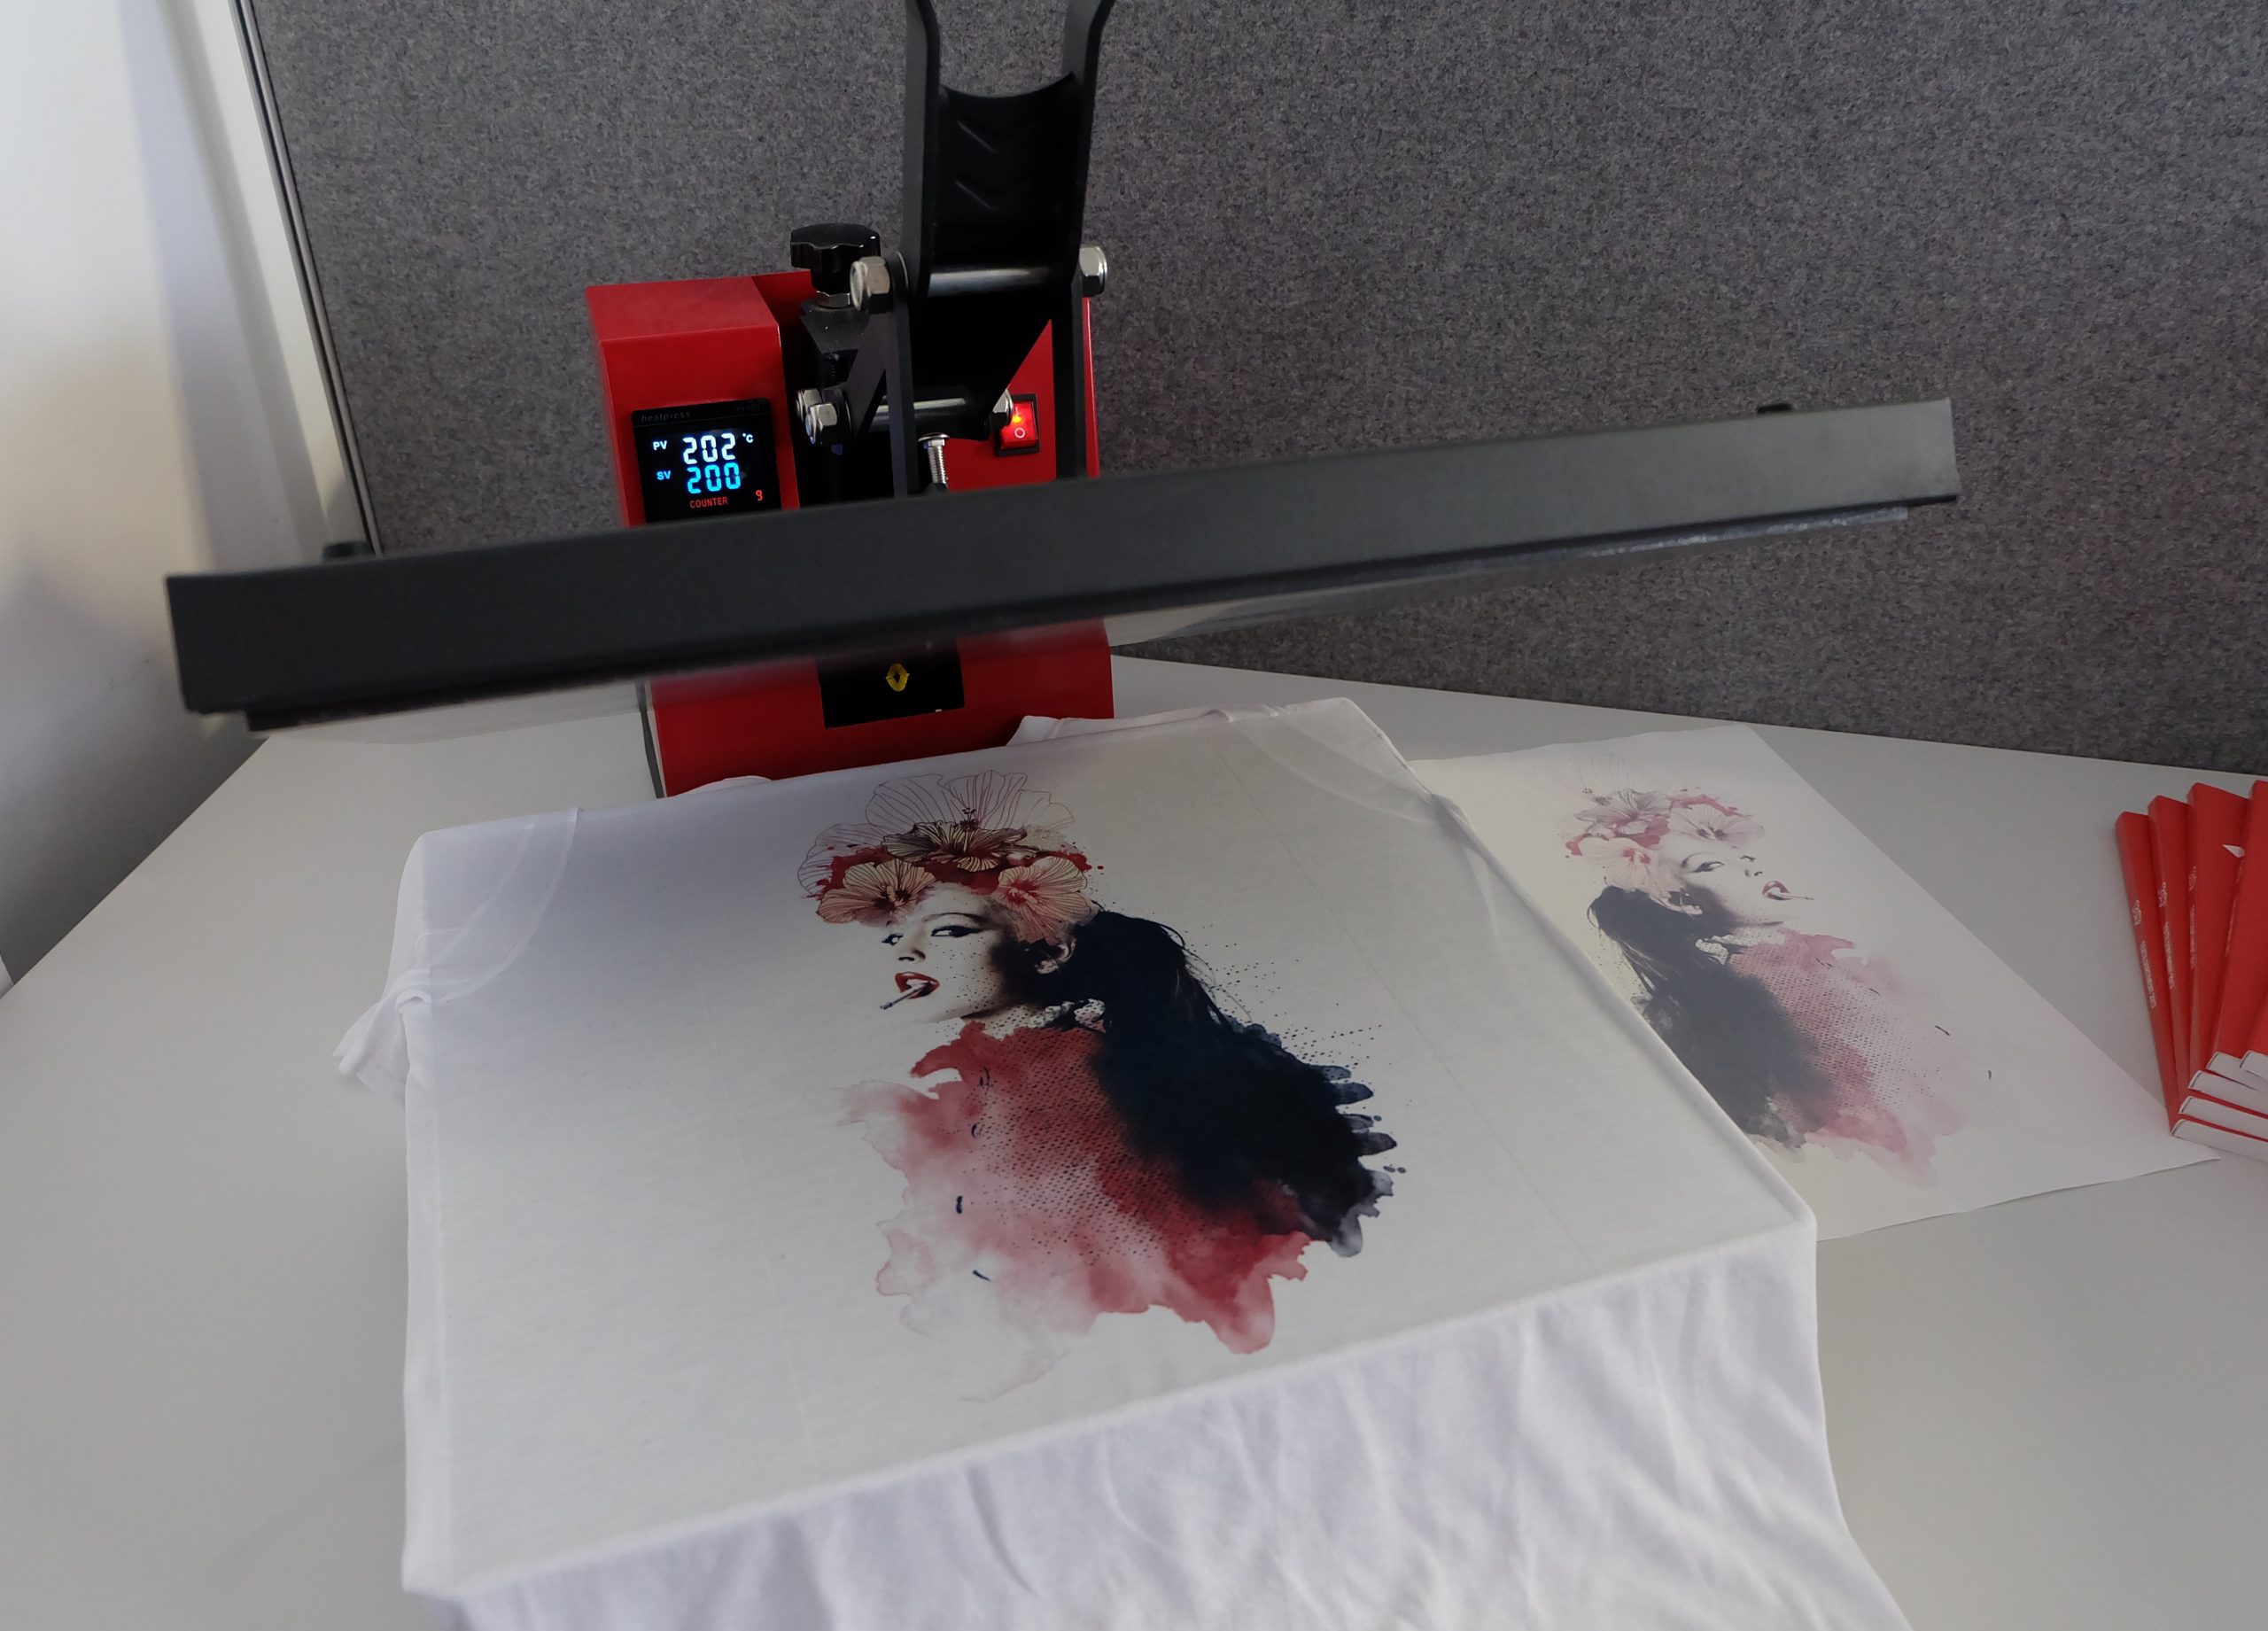
Now press the T-shirt at medium pressure using the parameters mentioned above. Immediately after pressing, remove the paper backing from the fabric to prevent the edges from ‘bleeding’ and thus avoid blurred ghost images. Finally, remove the garment from the transfer press, allow it to cool slightly, and you’re DONE!
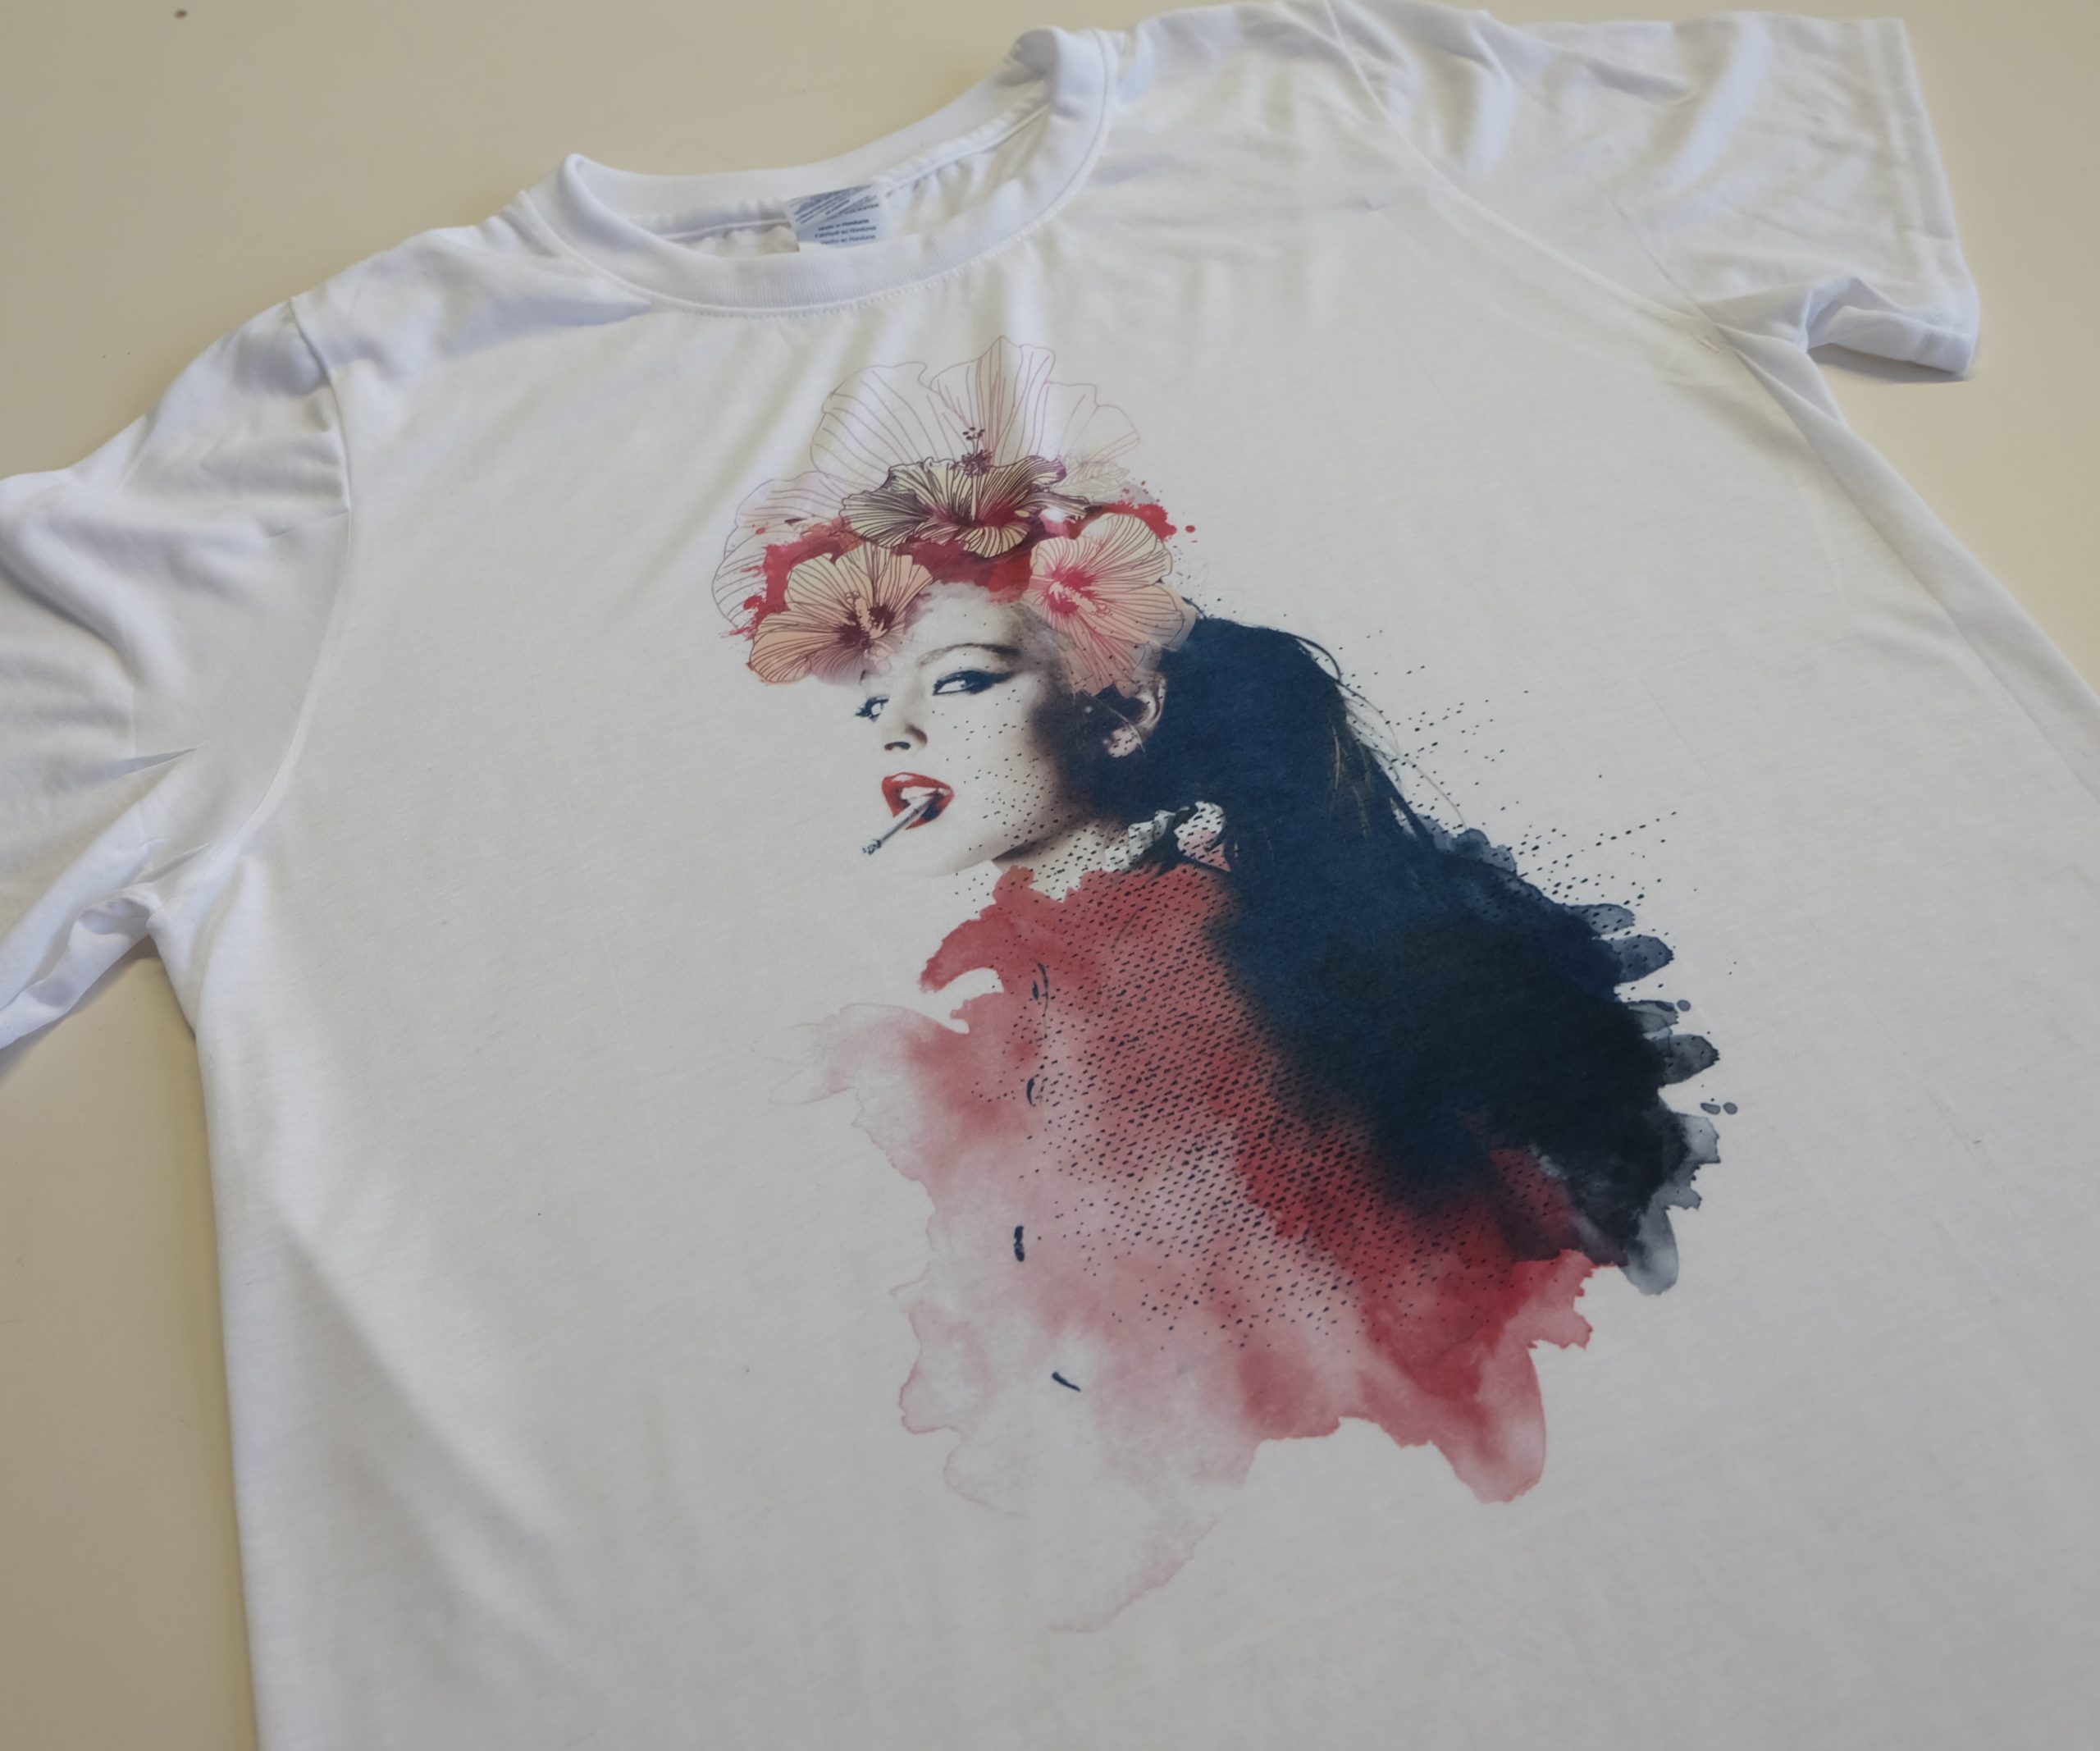
In this case, we finished the design in two further pressing stages using flex and flock film, as follows
(see the blog post ‘Textile finishing with flex and flock foil’):