Use of self-adhesive flock film
Self-adhesive flock film makes it easy, quick and cost-effective to print on all kinds of materials. We’ll show you how it’s done.

Flock printing is one of the most popular textile printing methods. This is partly due to the velvety-soft material, but flock film also impresses with its exceptional durability. T-shirts, jackets and trousers can be printed on with it without any problems. However, it quickly reaches its limits when it comes to temperature-sensitive and bulky textiles. With self-adhesive flock film, this problem will soon be a thing of the past. Even the most unusual items can be labelled quickly and easily – all without the need for a heat press. We’ll show you how it’s done.
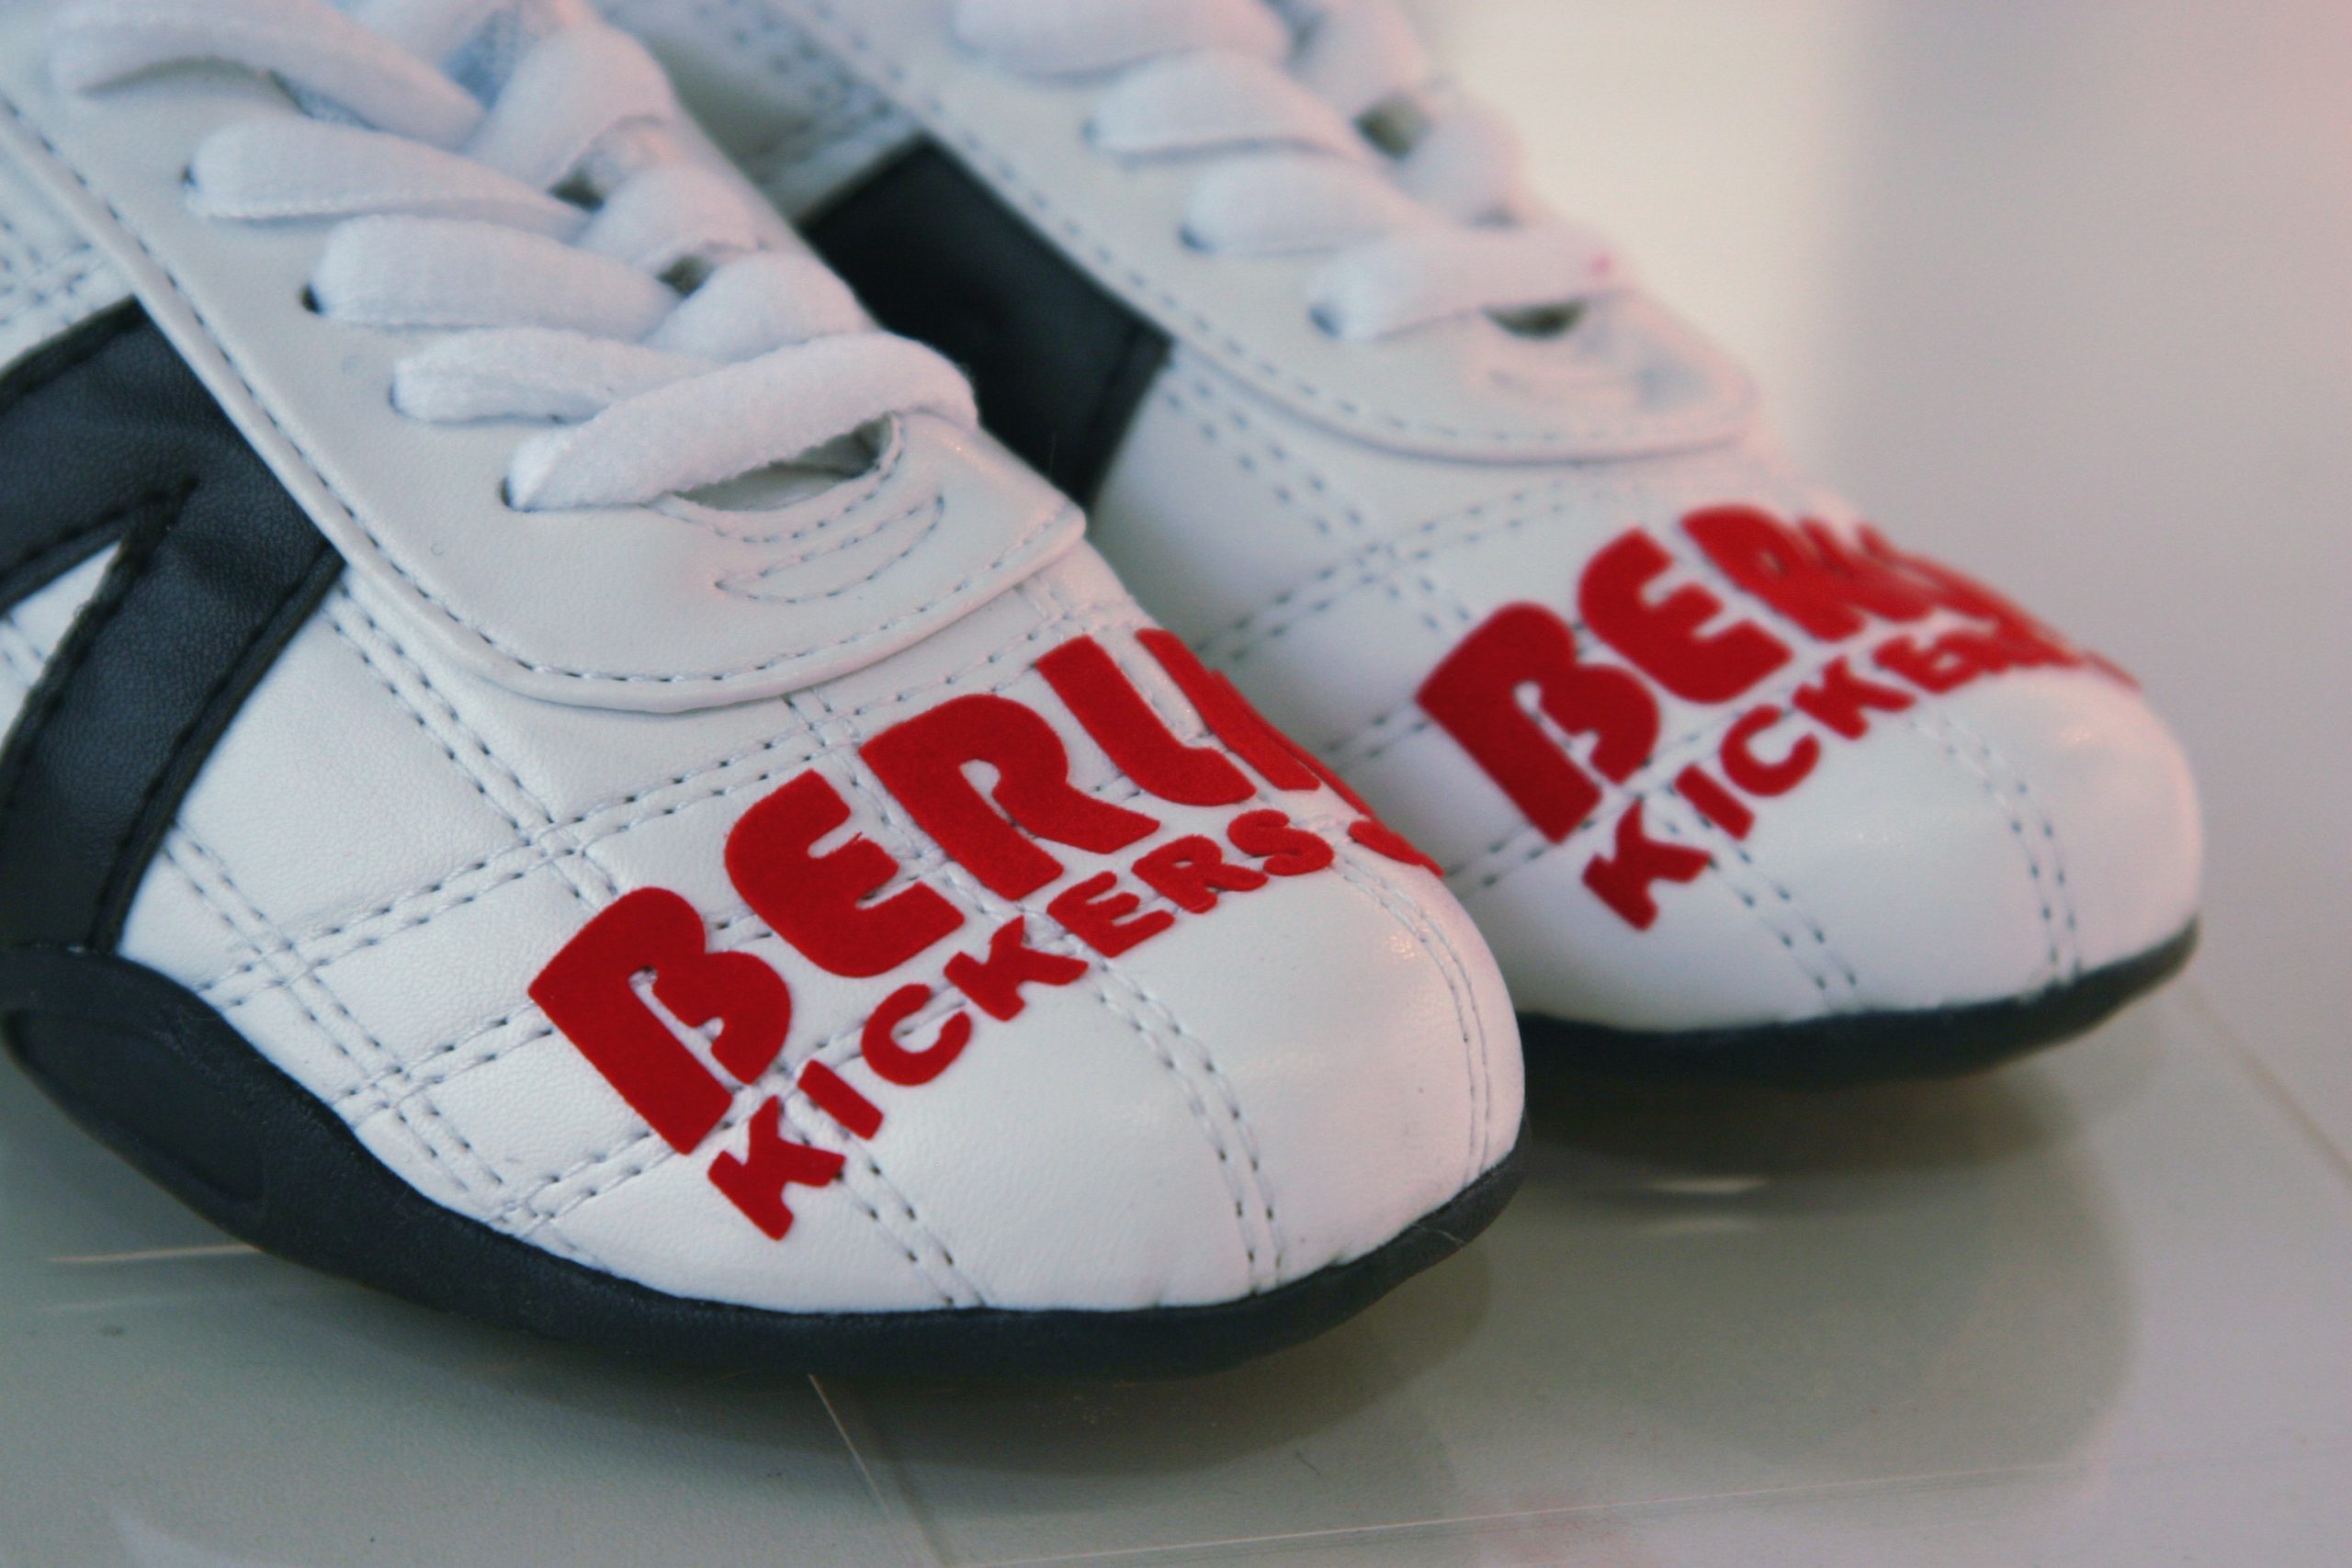

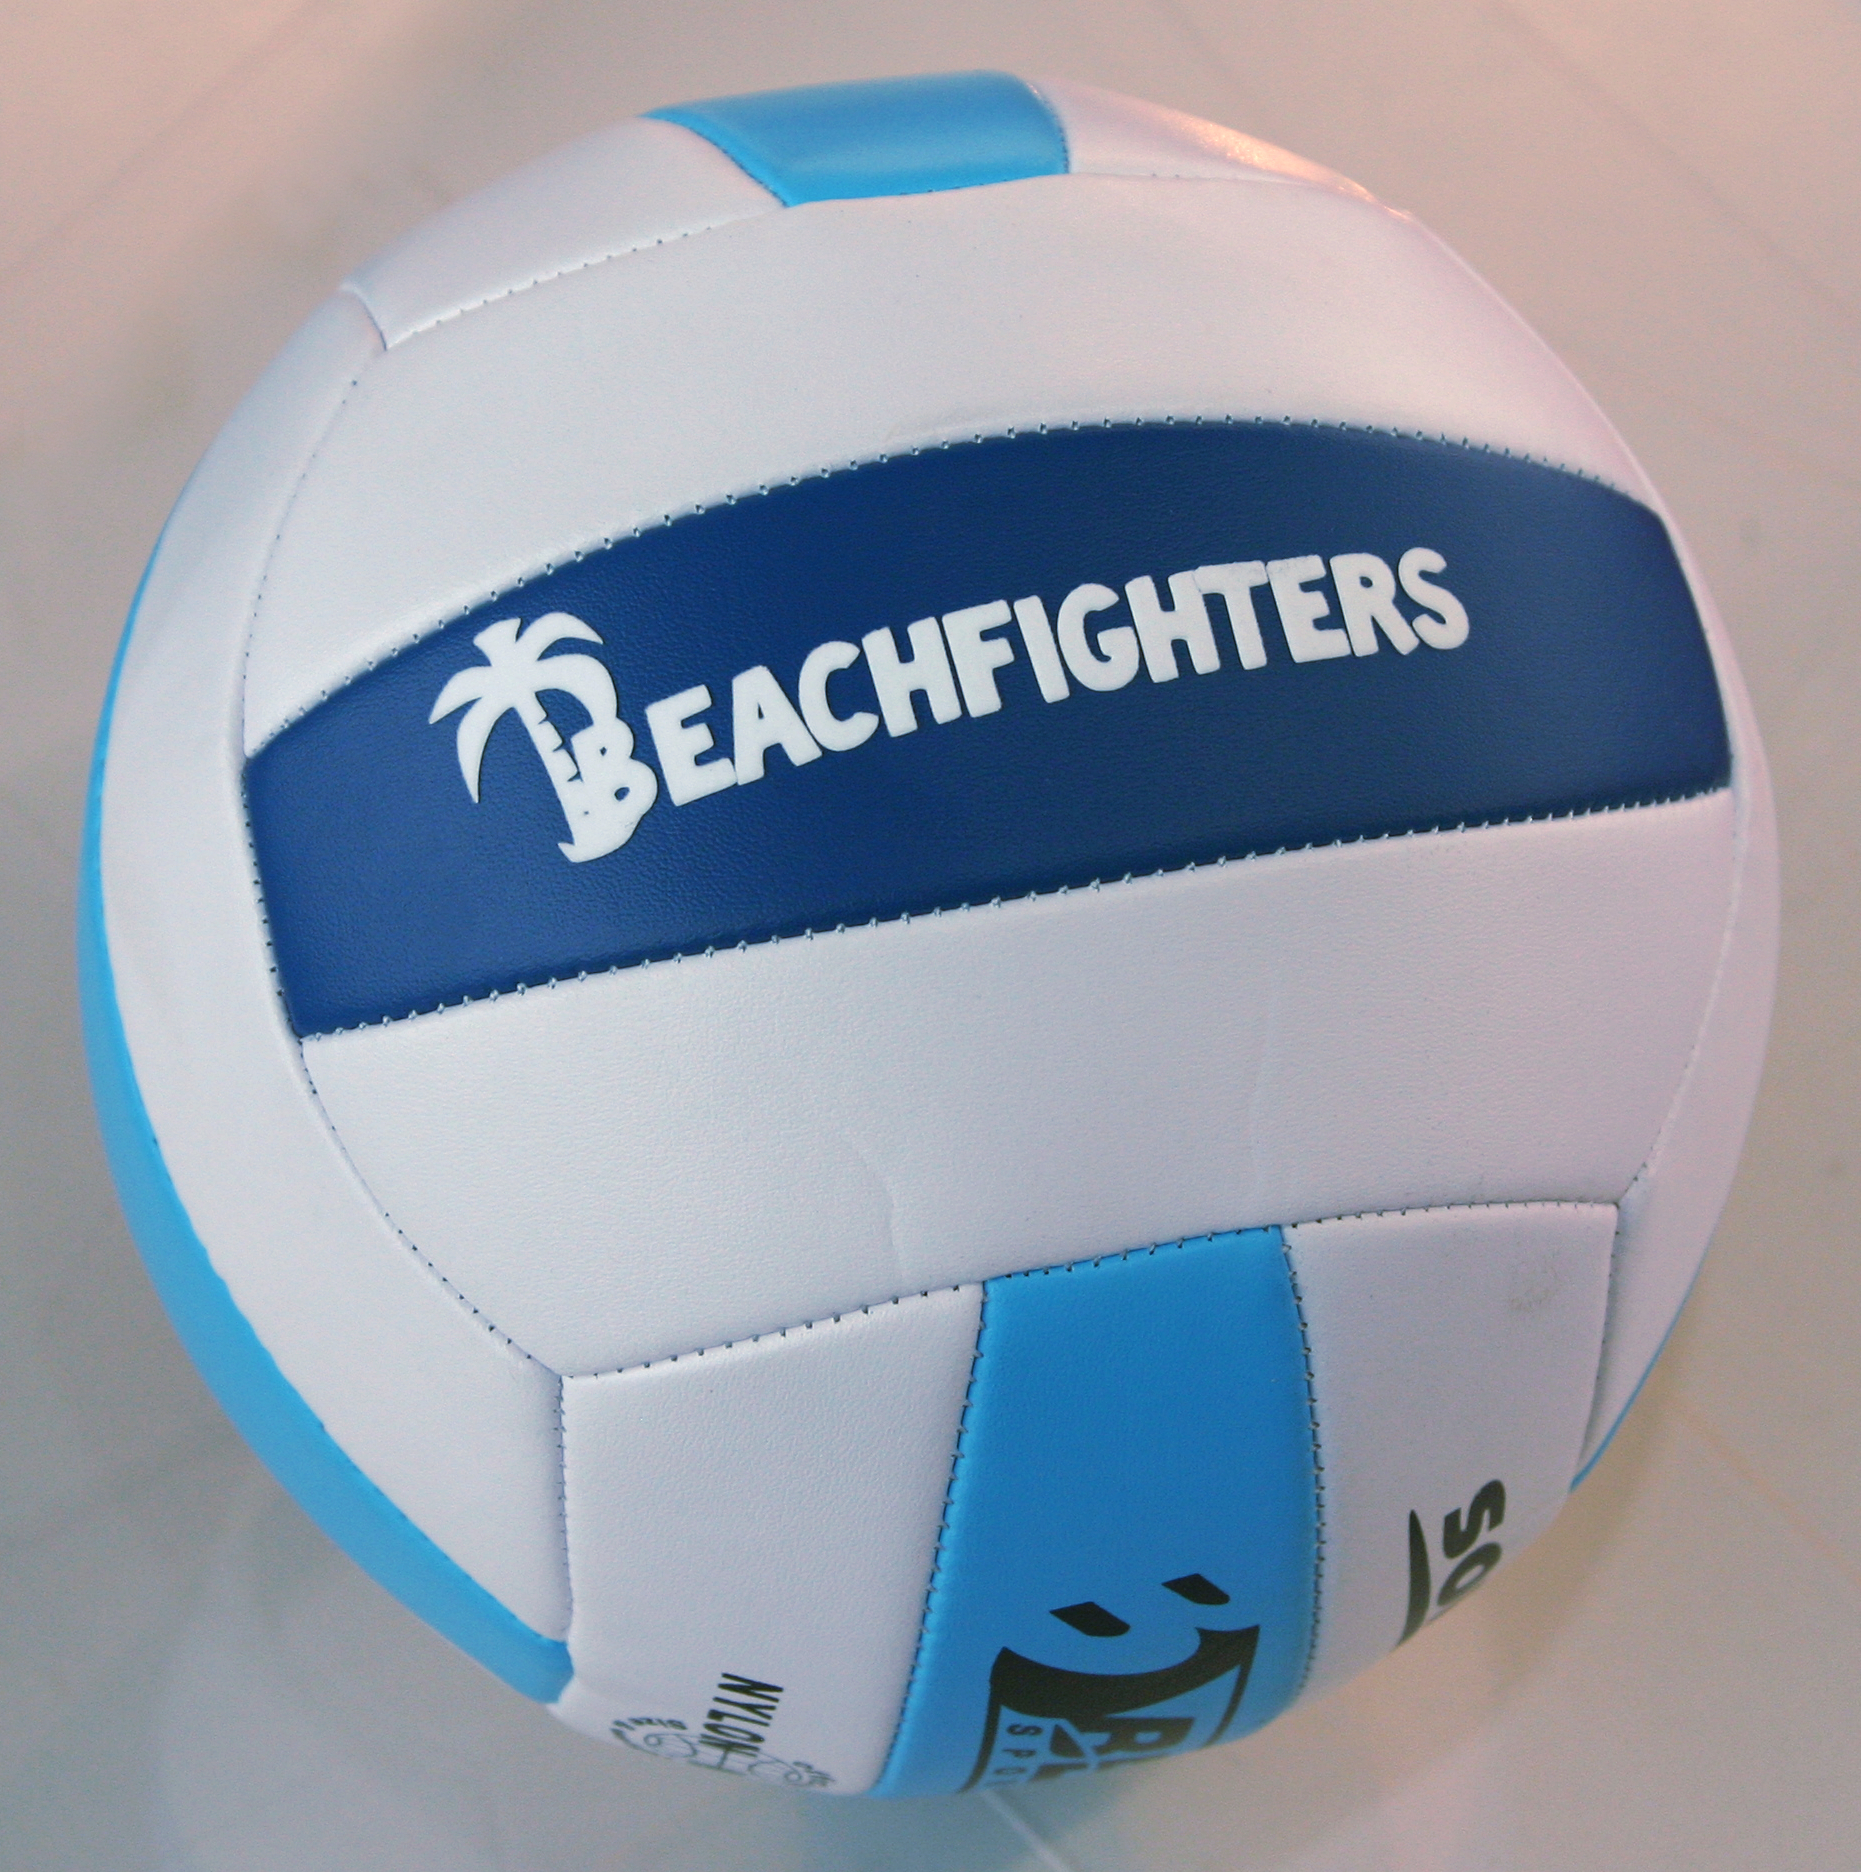
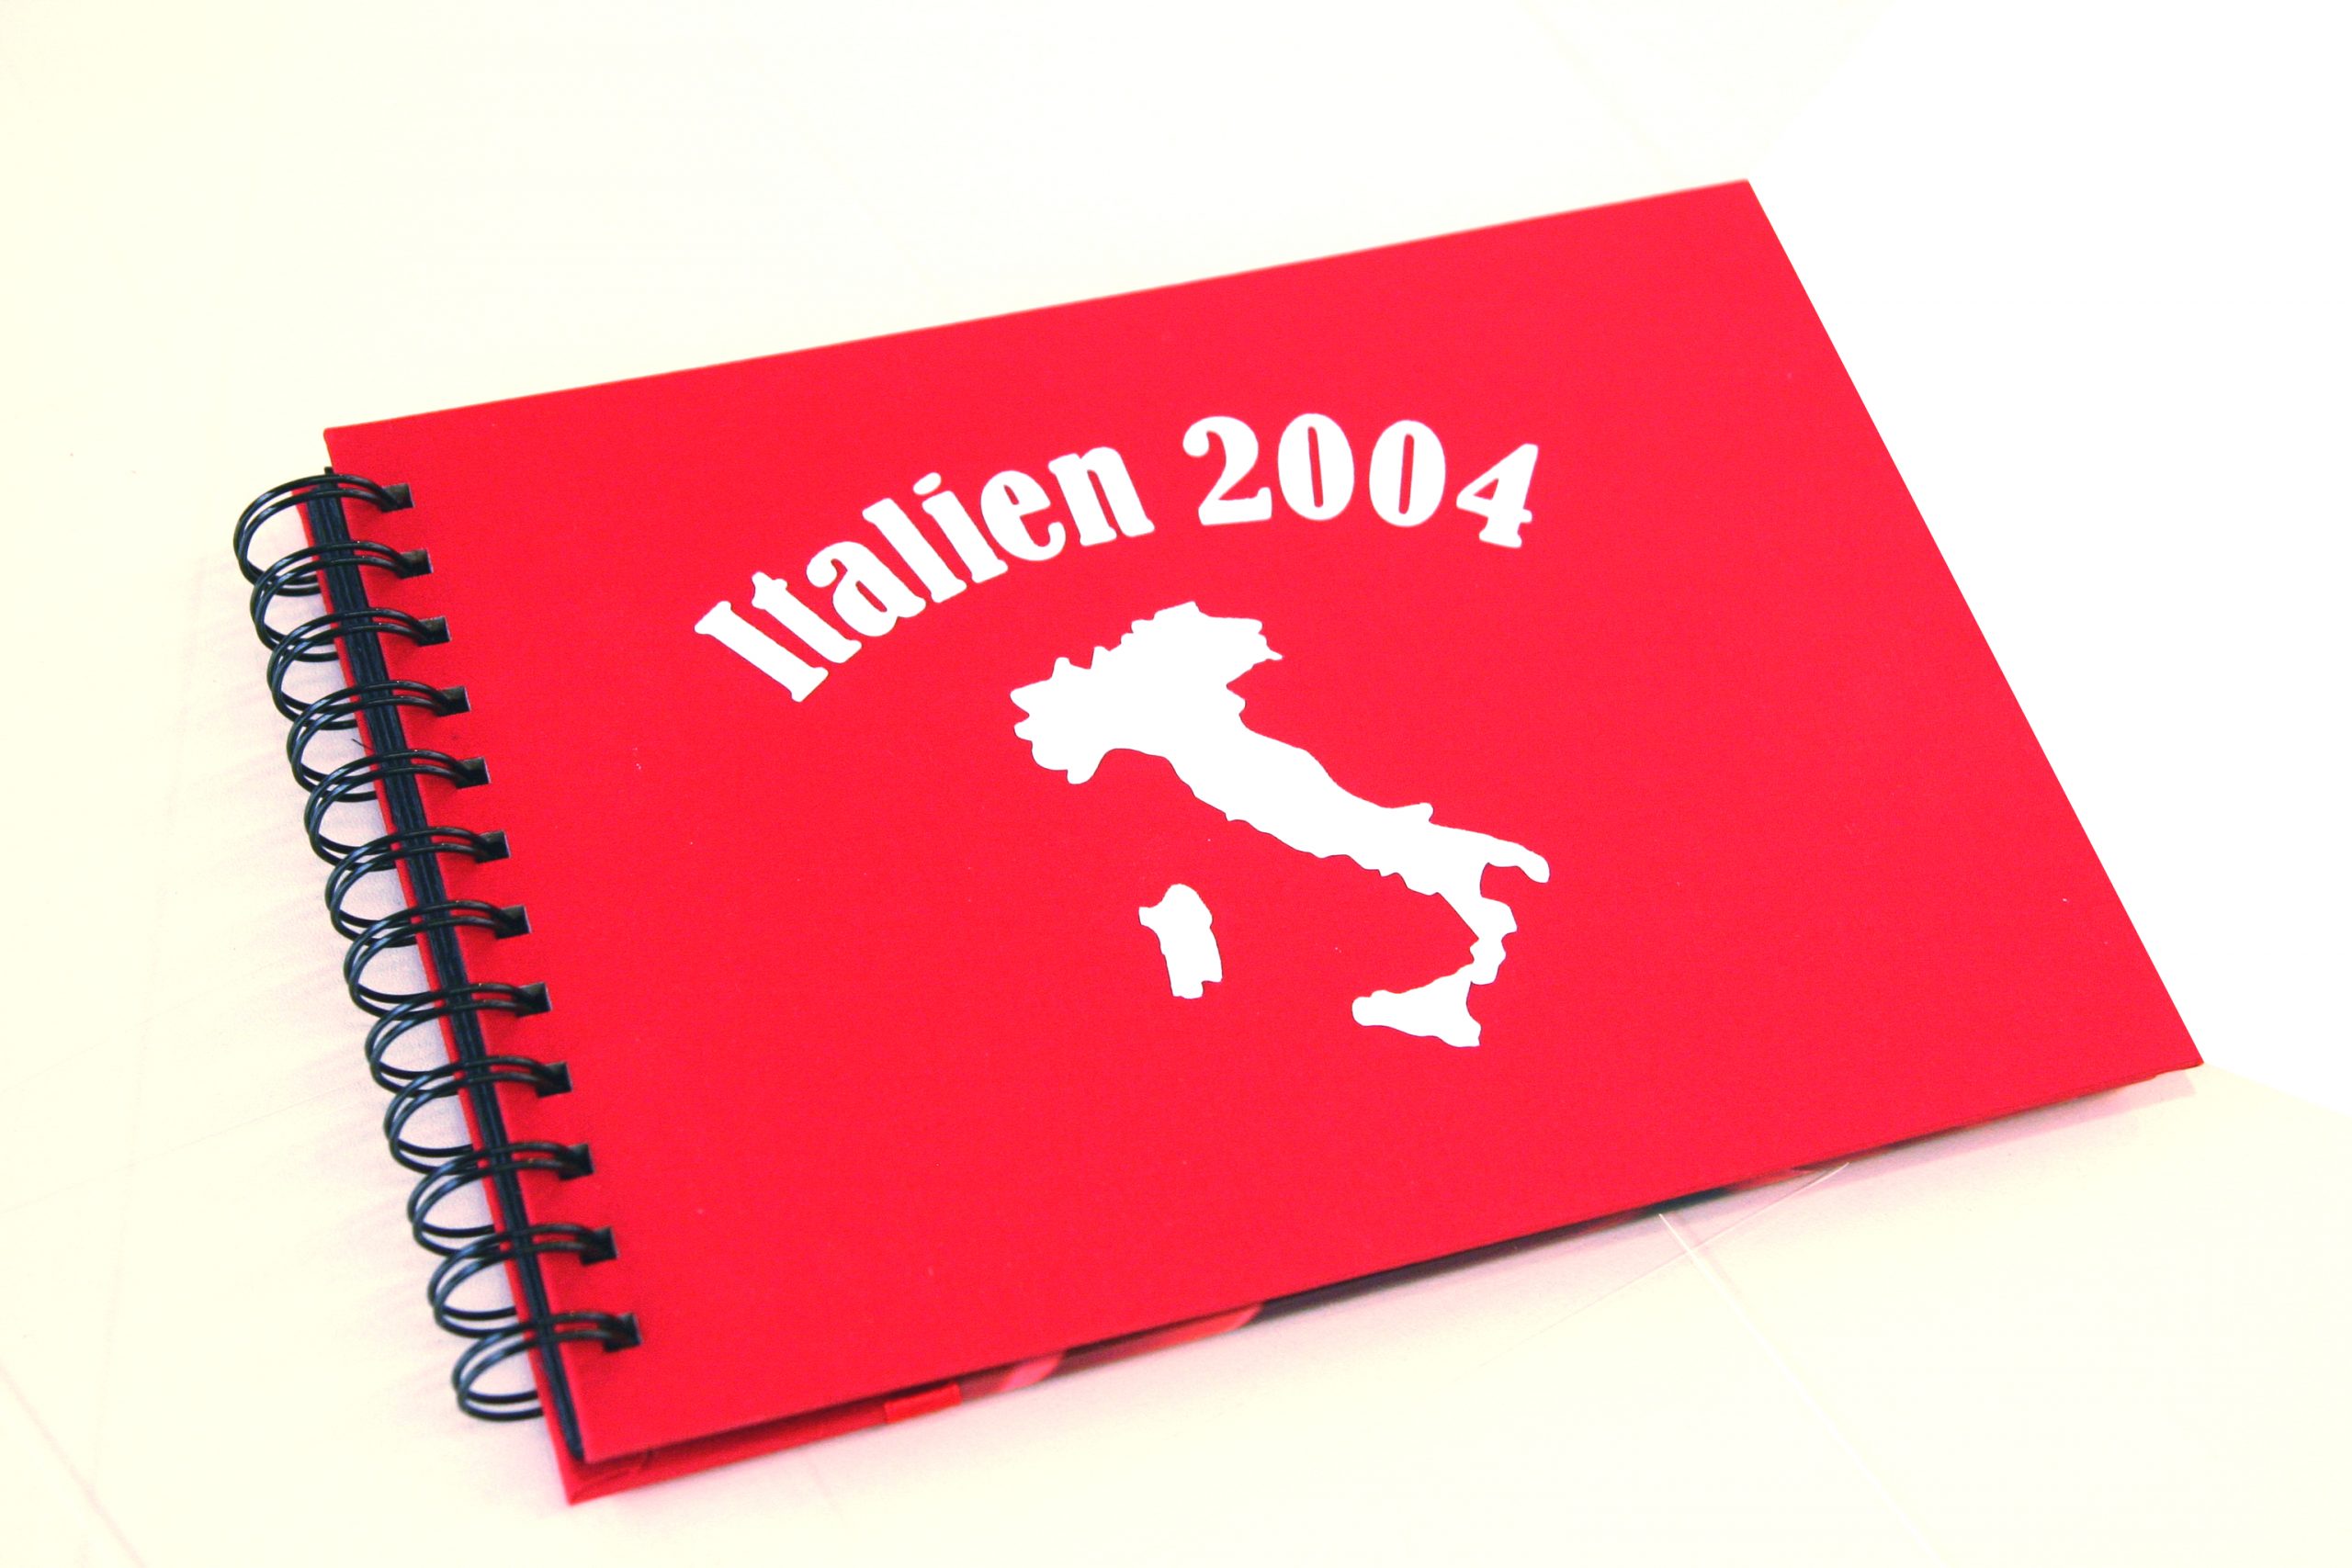
As self-adhesive flock film is not processed using a heat transfer press, even heat-sensitive and bulky items can be printed on it without any problems.
All-purpose flock film
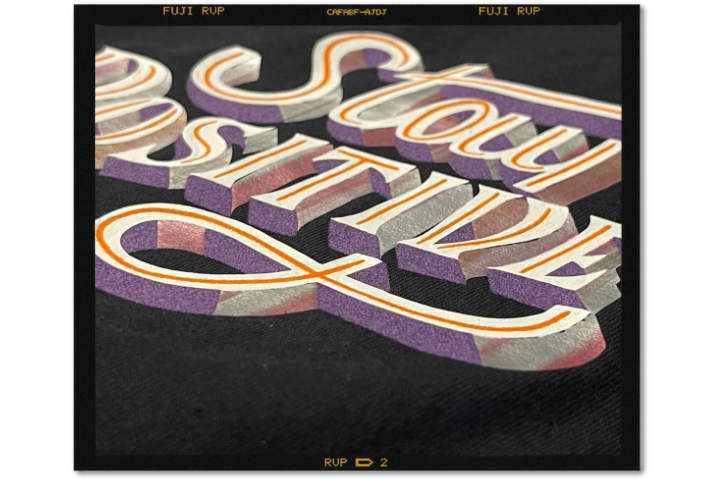
Flock film is characterised by its velvety surface, which is created during manufacture using viscose fibres. With its unique colour brilliance, high wash fastness and excellent opacity, it is ideally suited to all types of textile printing. However, for very intricate designs, you’re better off using flex film, as flock film can tear when stretched too much.
Whilst with conventional flock film the design is transferred onto the material to be printed using a heat press, we also offer self-adhesive flock film in the YOW! online shop. This offers the key advantage of not requiring a heat press at all. Even textiles that cannot be flocked due to their low heat resistance or the shape of the item can be easily decorated with it. Decorate shoes, rucksacks or even pushchairs with personalised designs. Or how about a unique cover for photo albums or notebooks? Even printing on porcelain and ceramics is no problem with self-adhesive flock foil.
FlockTec self-adhesive flock film
Our self-adhesive flock film from FlockTec is available in a wide range of colours and can be purchased from us in quantities starting from just one running metre. It can be cut with precision using any standard cutting plotter and is extremely easy to weed.
How to apply self-adhesive flock film – here’s how
You will need:
- Self-adhesive flock film
- Cutting plotter with graphics software, e.g. DrawCut
- Weeding needle
- Transfer film (highly adhesive)
- Plastic squeegee
Step 1: Create your chosen design
Self-adhesive flock film is extremely easy to work with. Simply place the film in your cutting plotter and prepare your desired design on your computer. At YOW!, you can choose from a wide range of cutting plotters. The Secabo C60IV cutting plotter, for example, is particularly well suited to working with flock films. The multilingual cutting software, DrawCut LITE, is included as standard and allows you to quickly create custom logos and lettering on your computer.
Step 2: Plotting
Once you are happy with your design, you can start plotting straight away. Make sure you plot the graphic onto the film from above and with the correct orientation; it will be cut directly into the flock. We recommend using a special flock blade; this will give you the best results. Adjust the cutting speed according to the intricacy of the design. In any case, you should carry out a test cut before the actual plotting. The figures given are for guidance only and may vary depending on the material used.
Step 3: Weeding
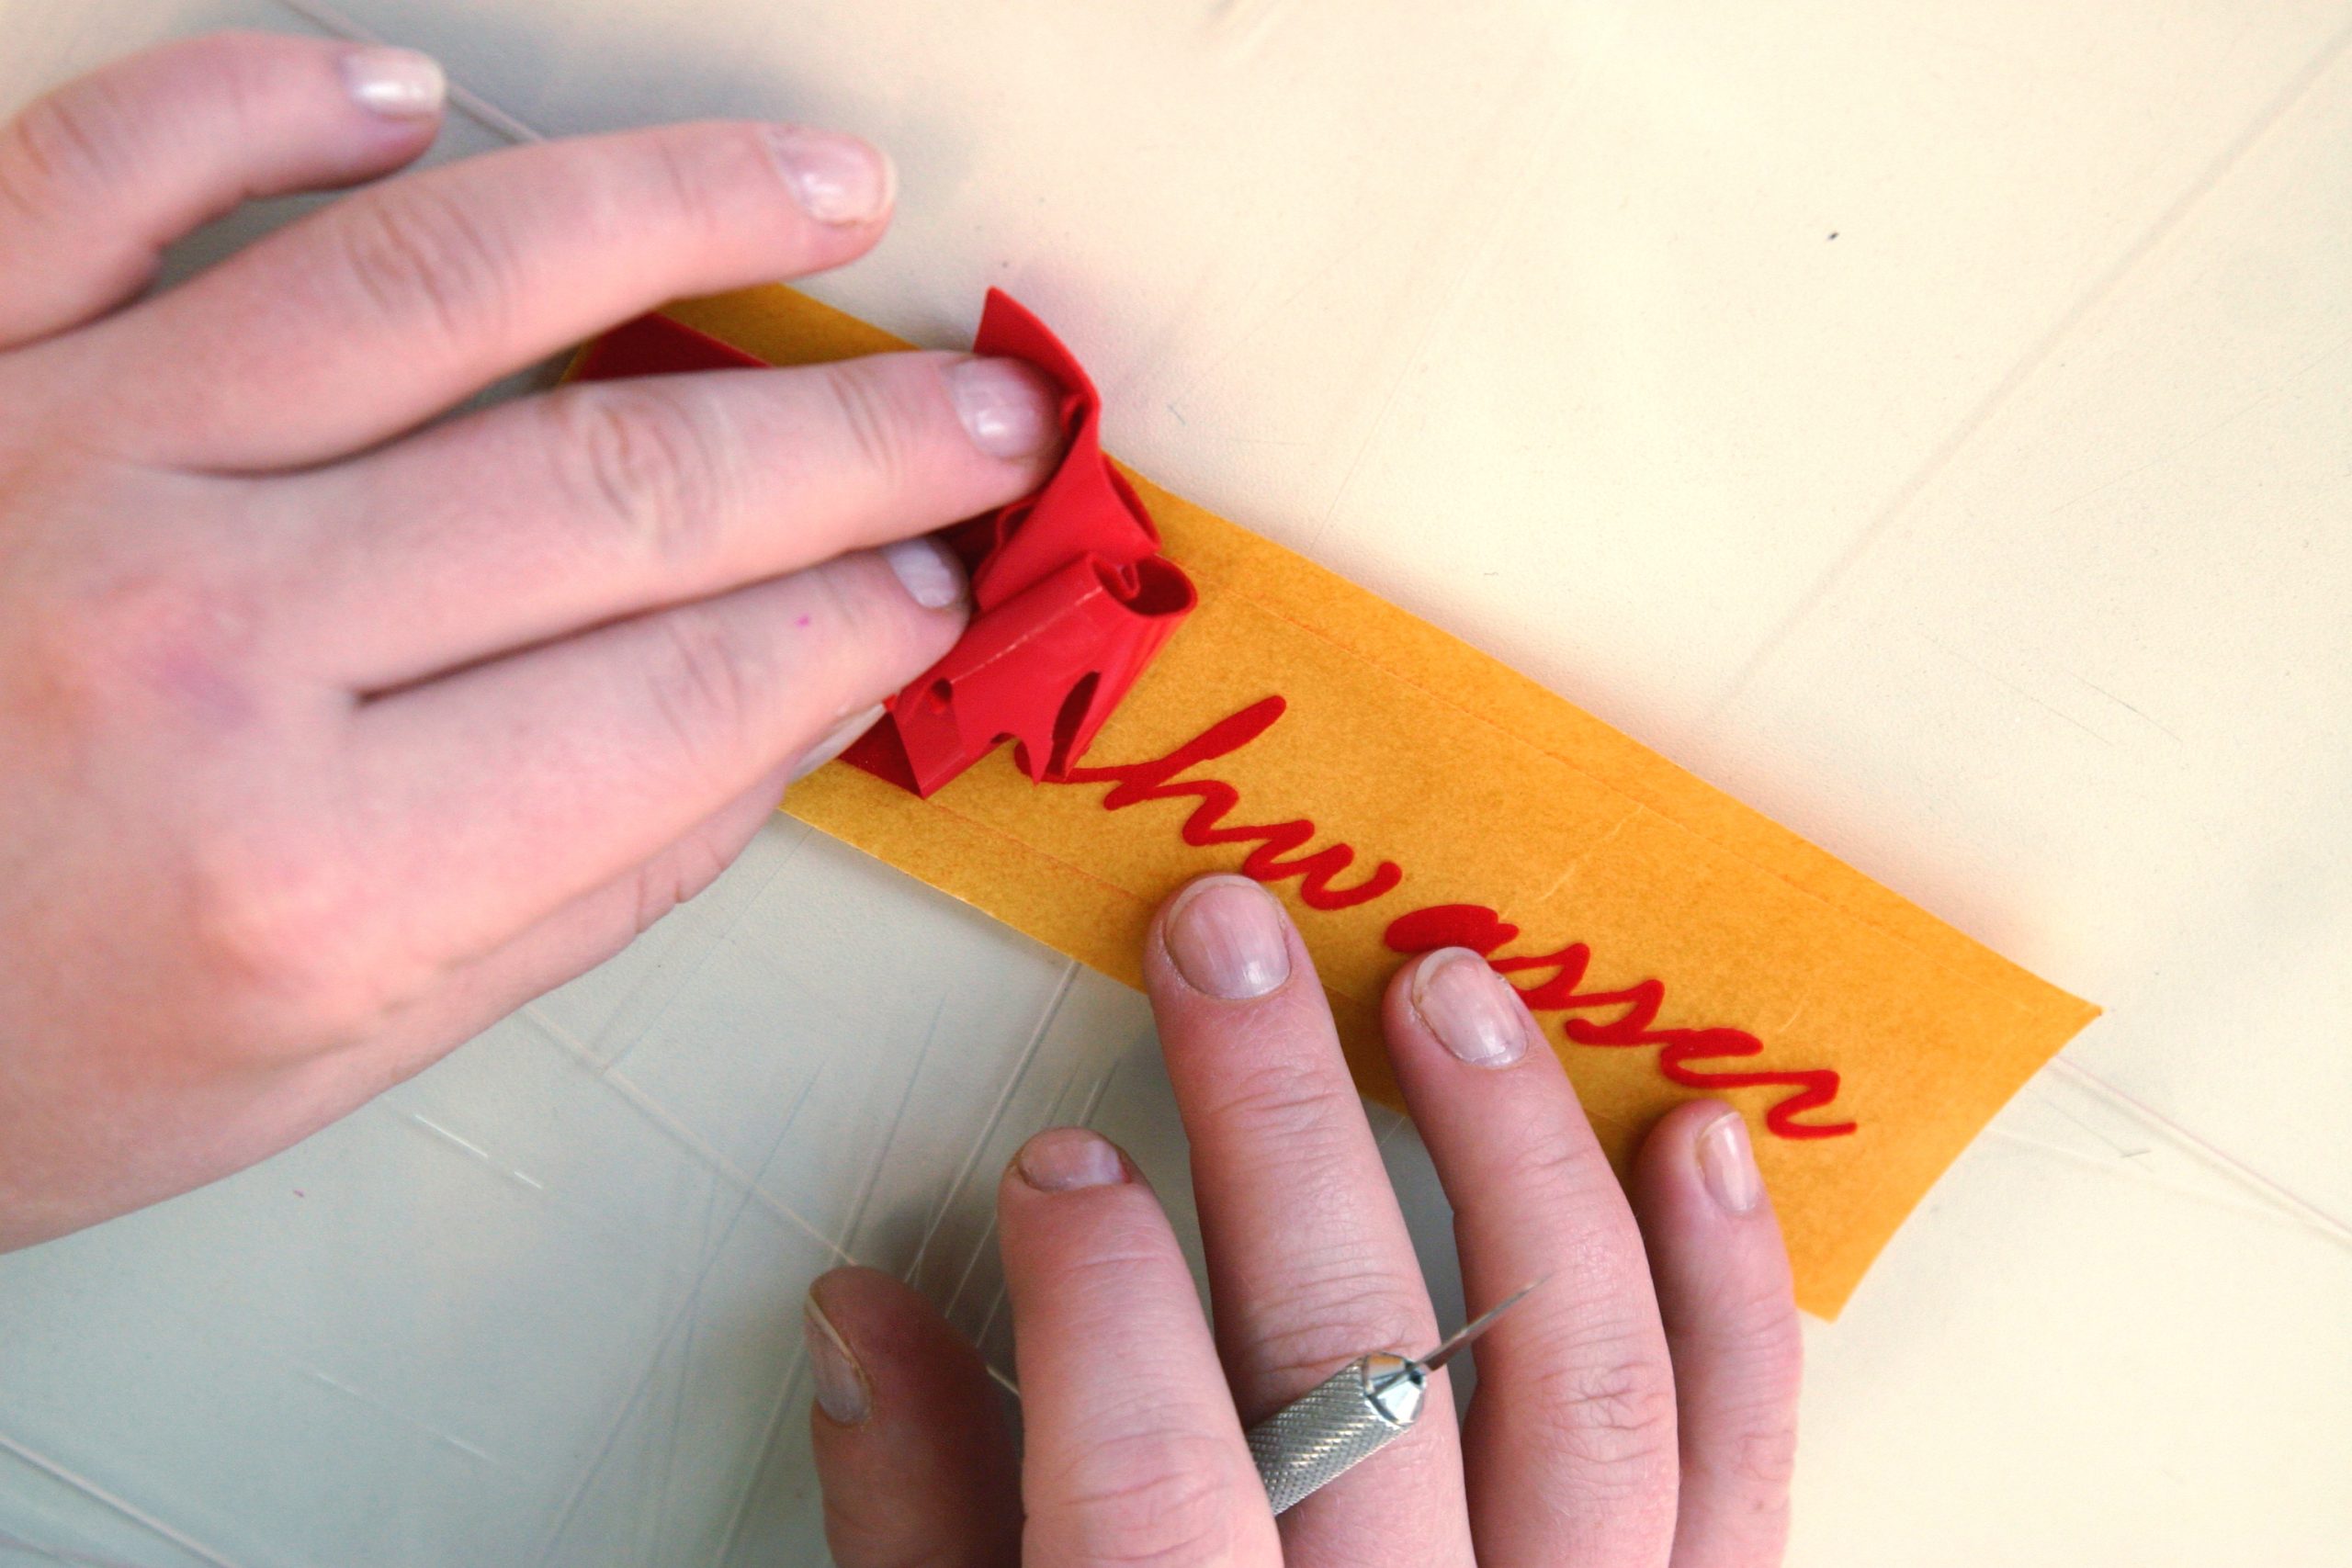
Now it’s time to weed the design. Use a weeding needle to expose the design and carefully remove any excess film. This is particularly straightforward on a specialised weeding table such as the STAHLS EZ Weeding Table.
Step 4: Transfer the design
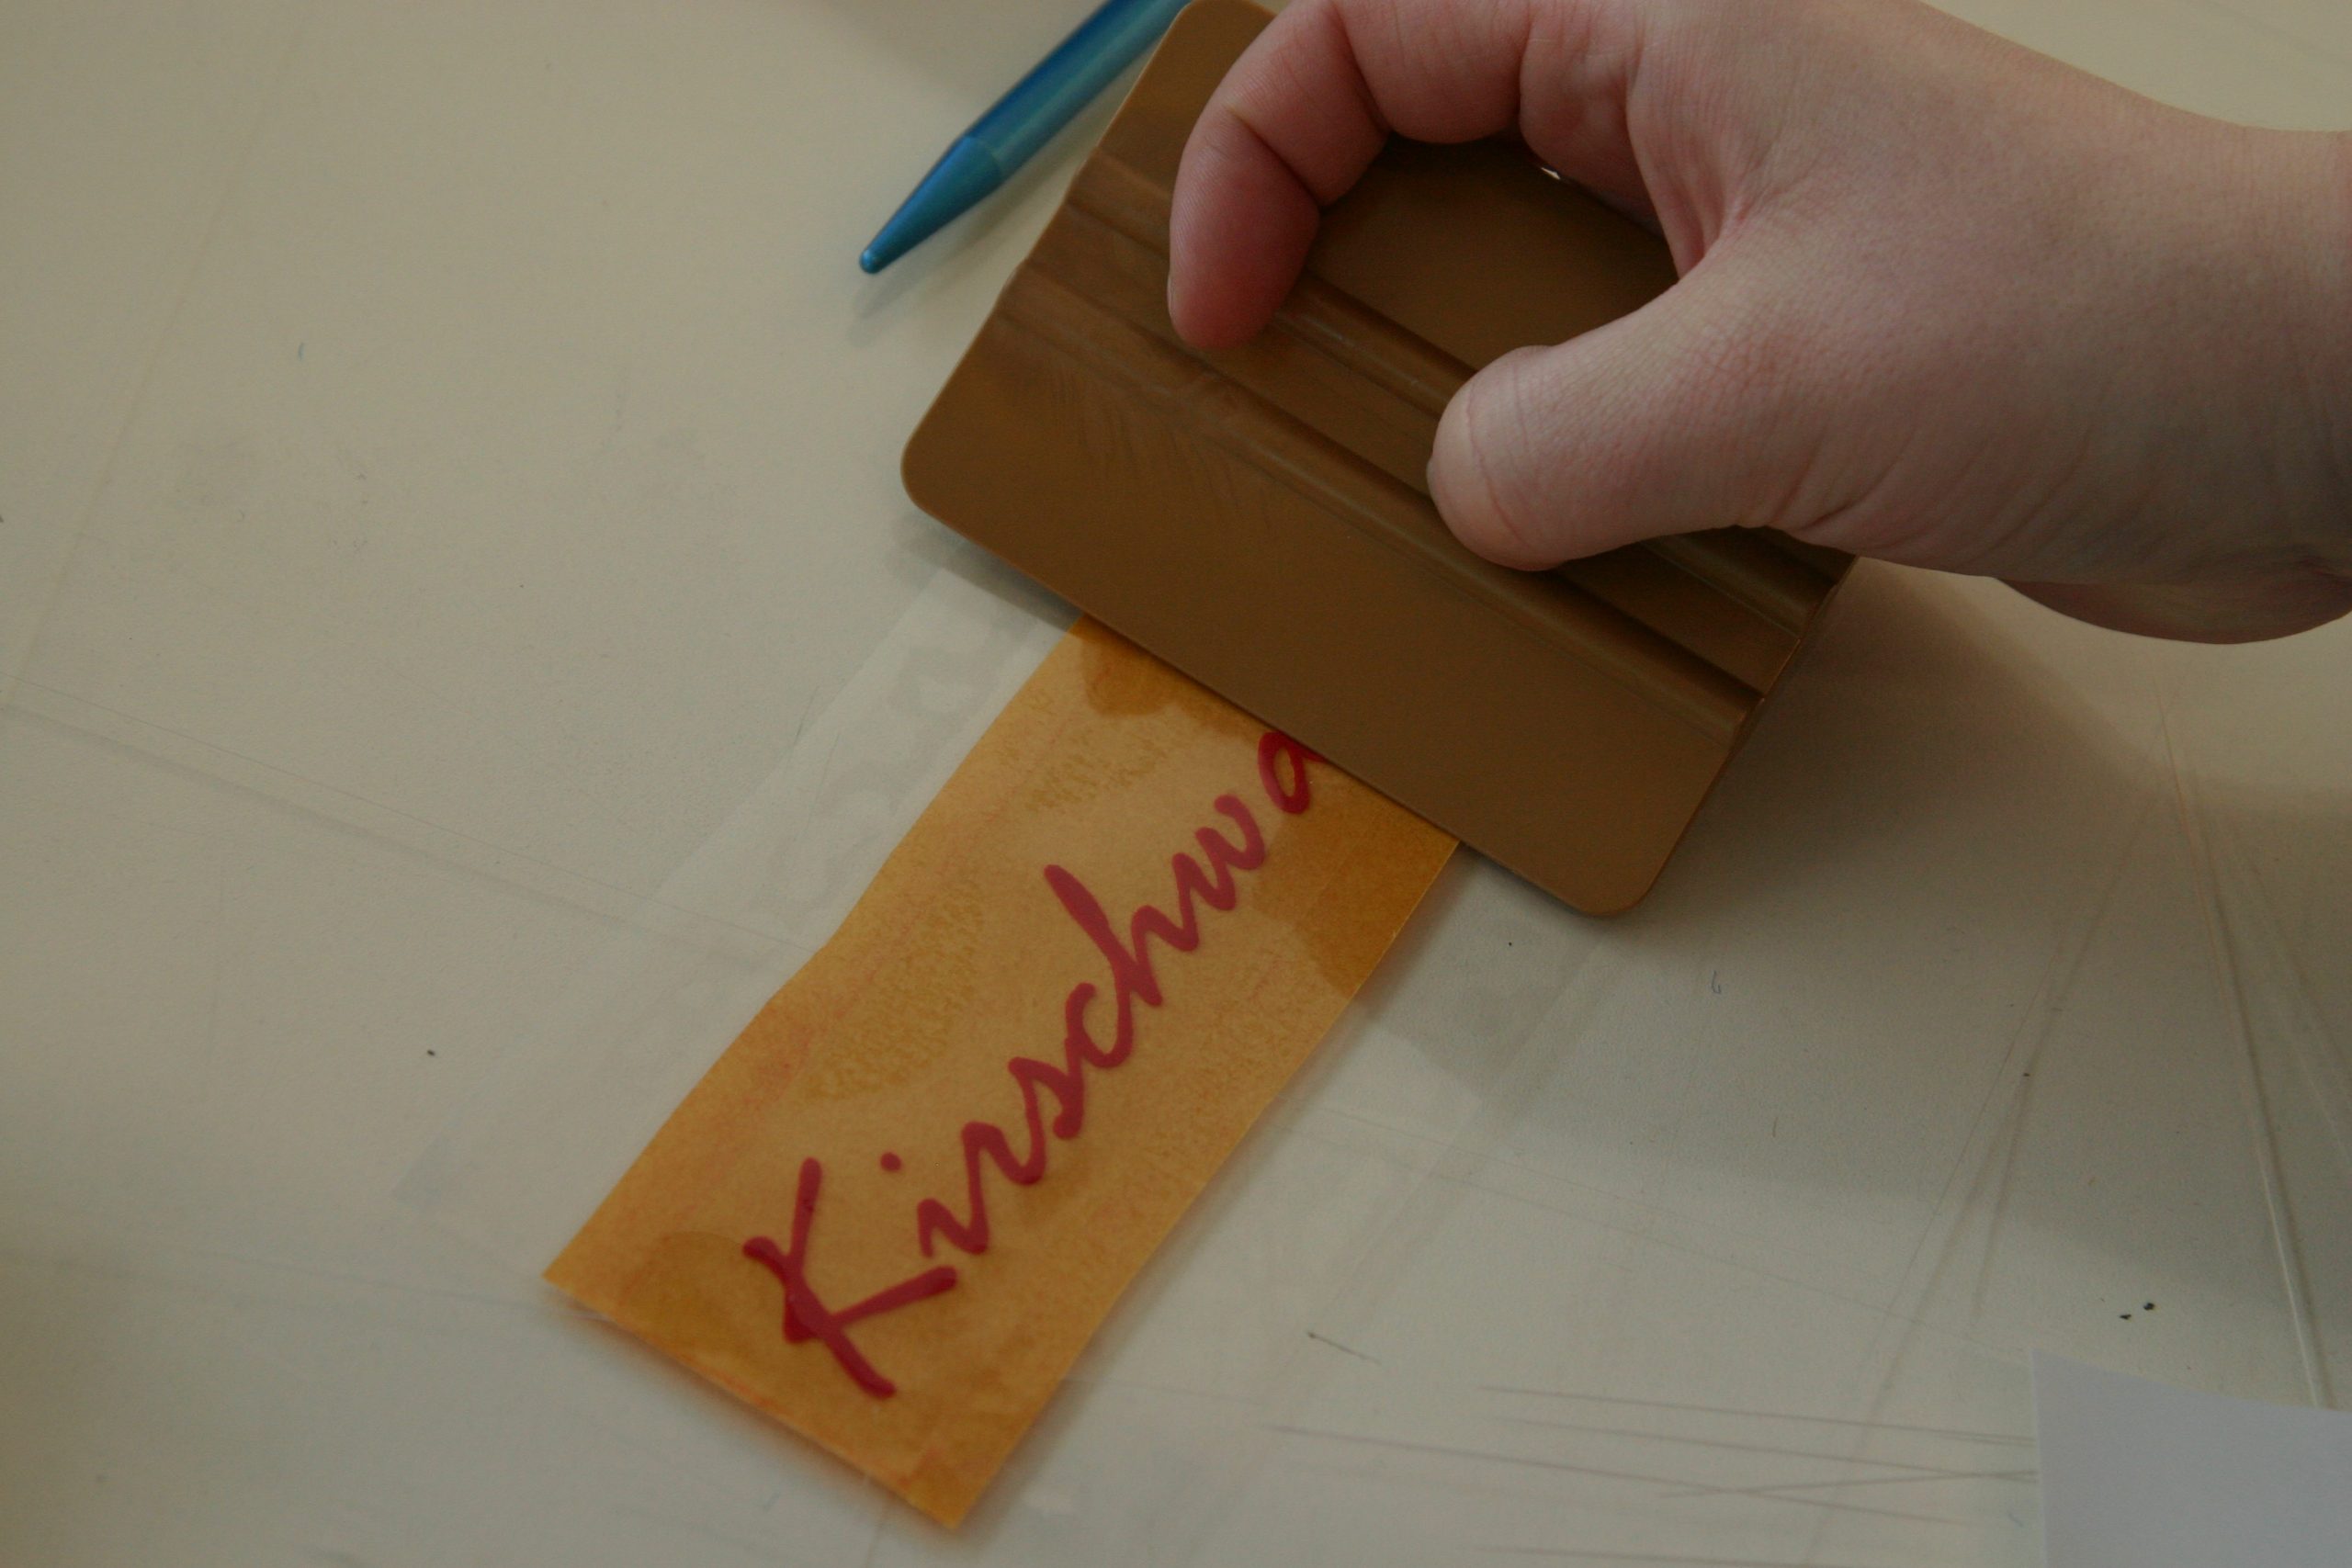
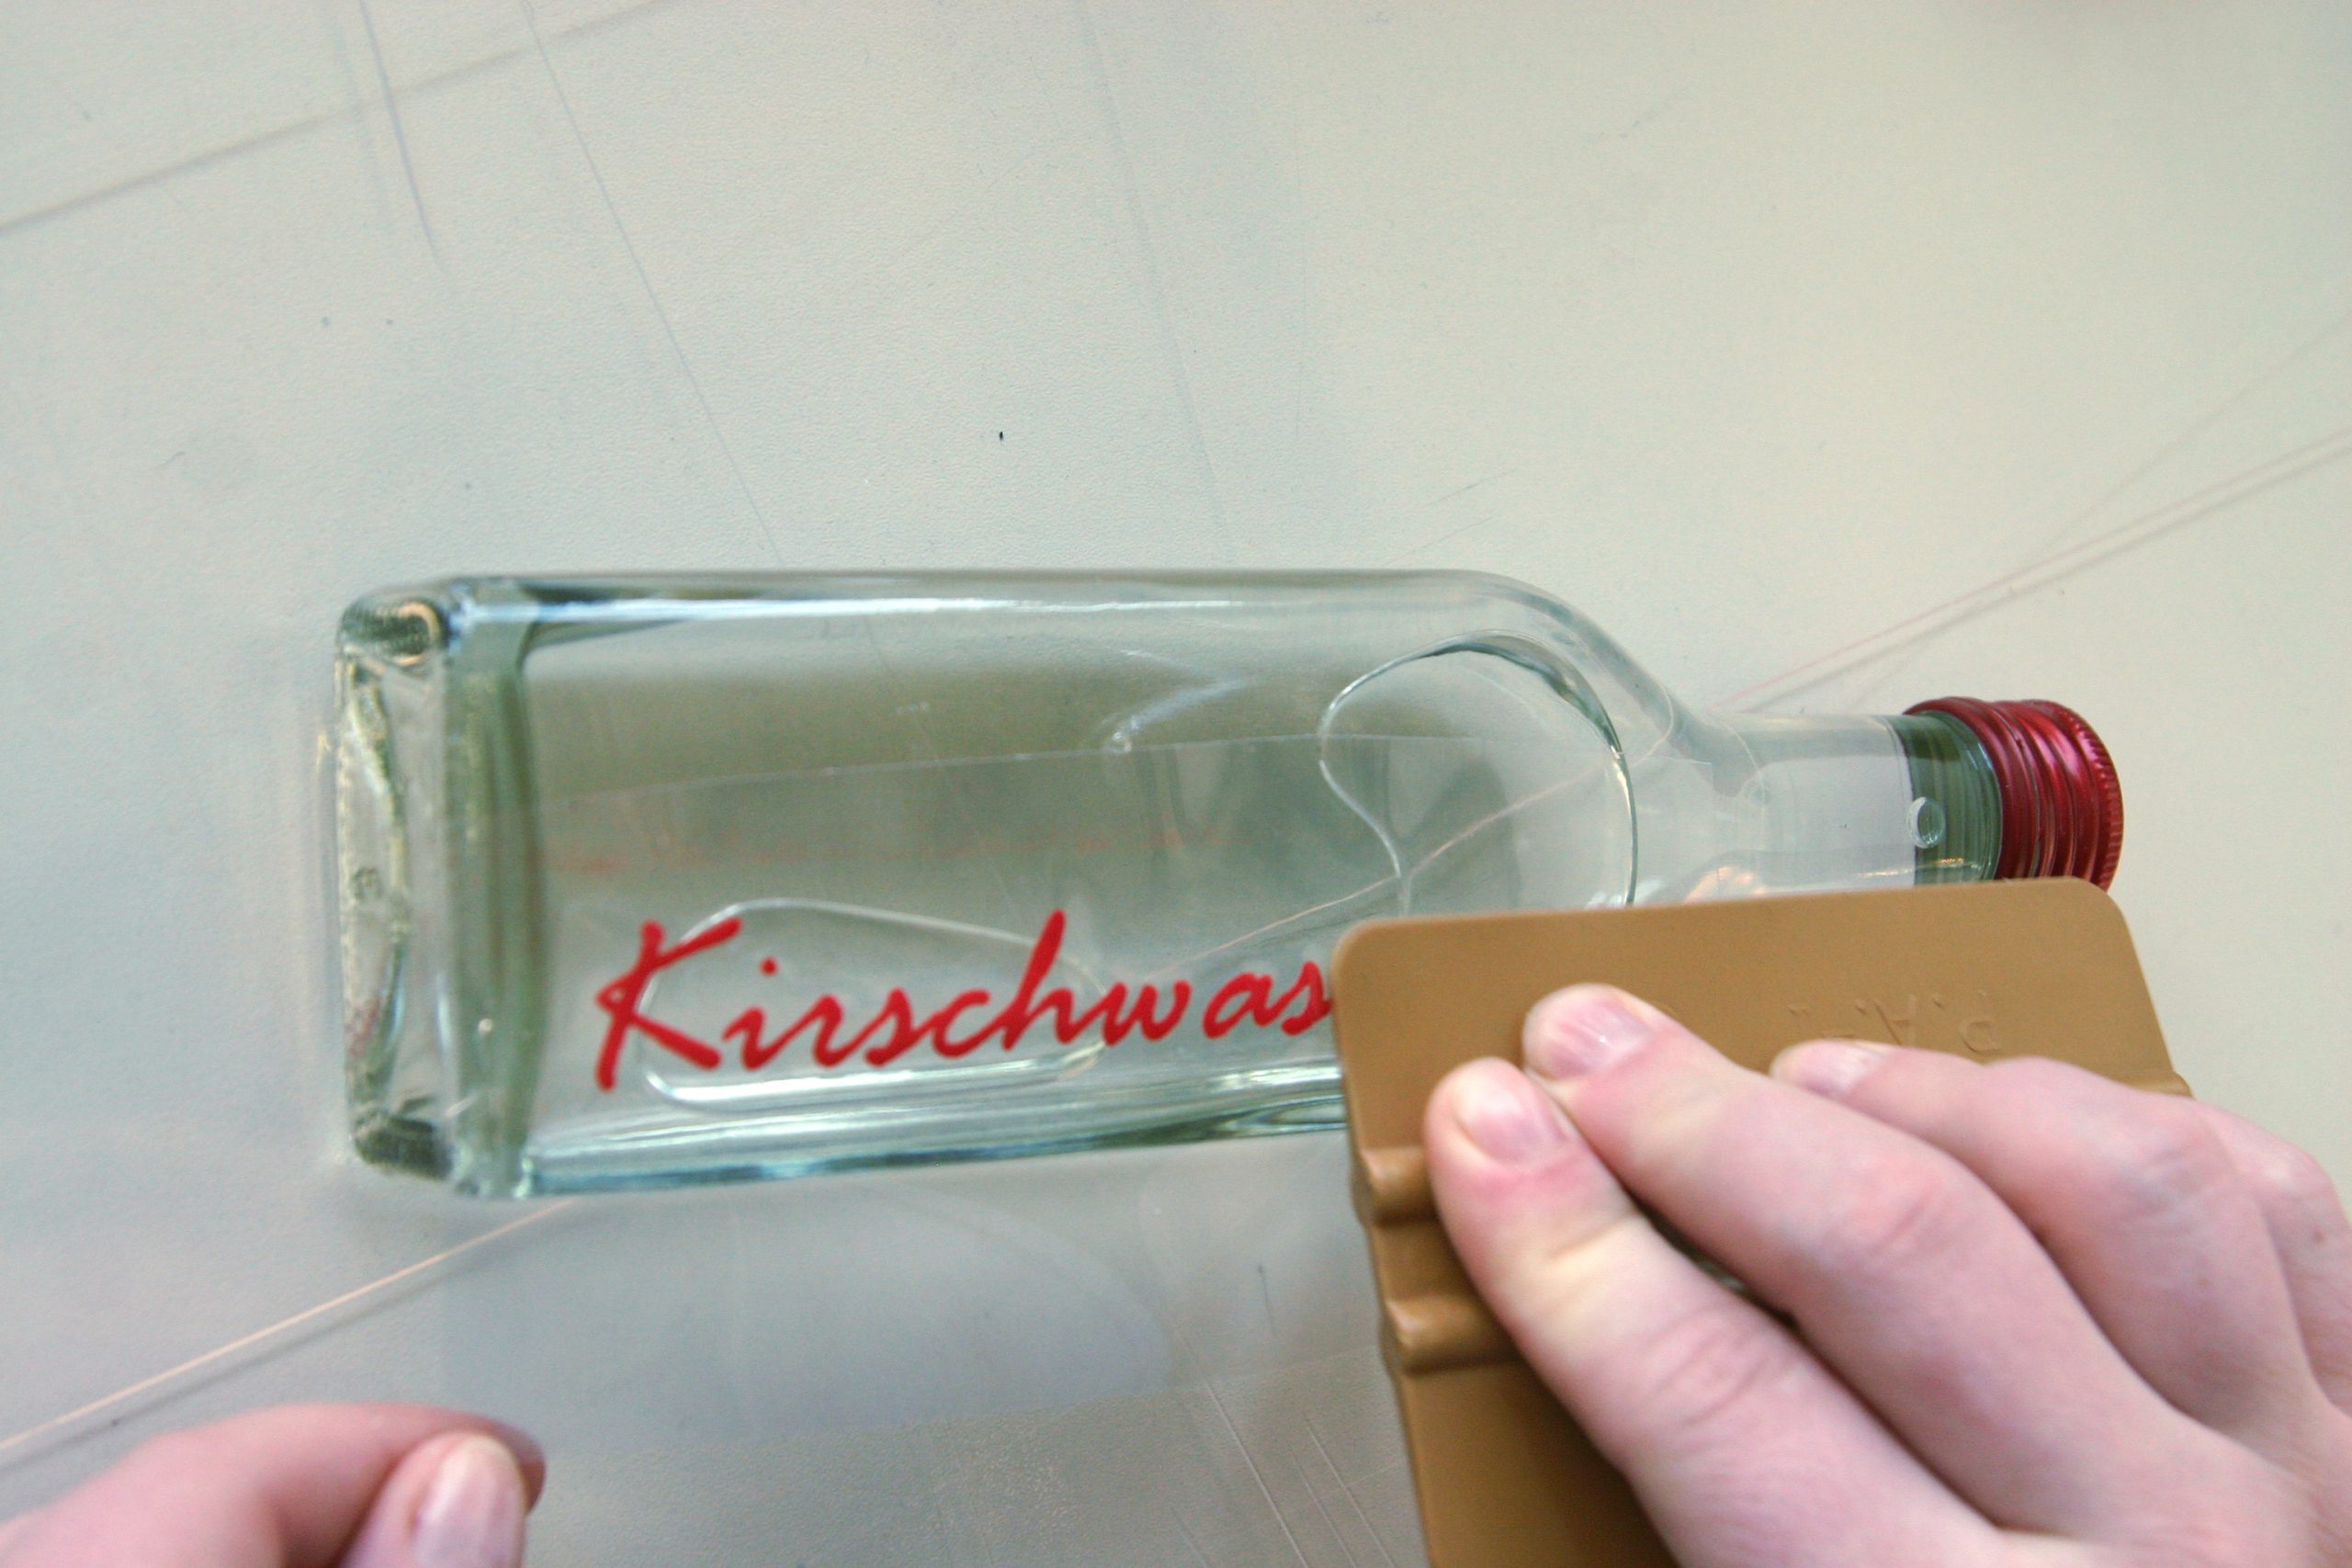

You’re almost there! Now all you need to do is cover your design with a suitable transfer film and transfer it onto the item of your choice. It’s best to use a plastic squeegee to smooth out any small air bubbles. Then peel off the transfer film – and your flock print is ready! Leave your design to set for 24 hours before subjecting it to any mechanical stress.
> Click here to view our self-adhesive flock films in the YOW! Shop