Happy YOW!ster: Make your own Easter present!
Hello, dear YOW!sters,
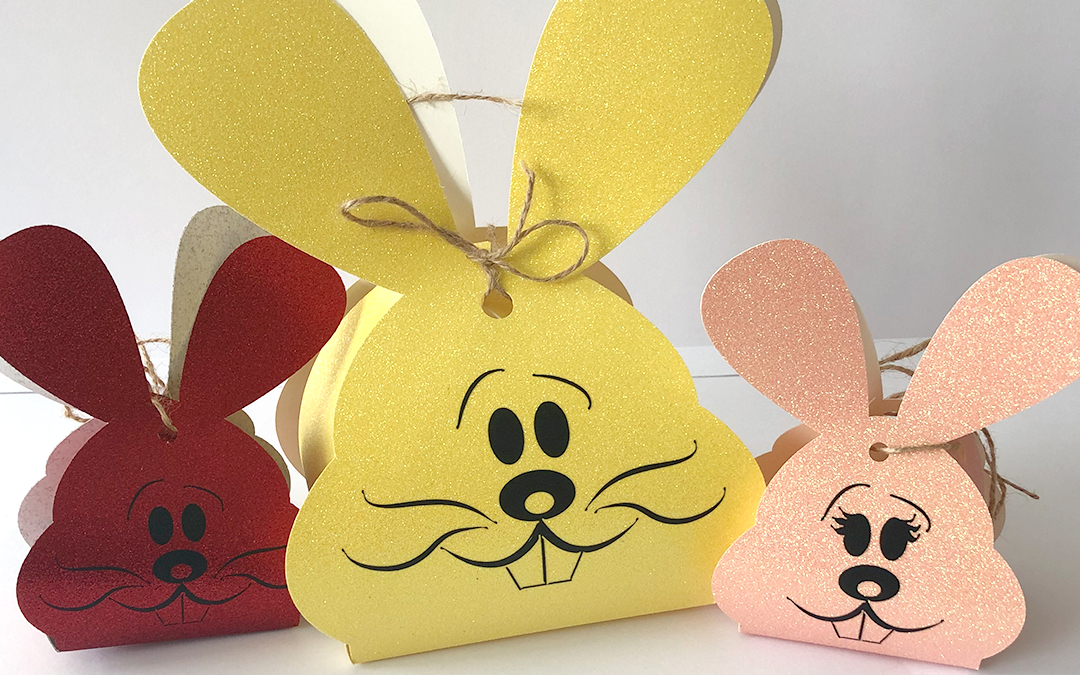
It’s that time of year again – it’s Easter. Even though things are a bit tricky at the moment, we should still celebrate Easter with our closest family and friends. And no celebration is complete without a present for your family. A bunny’s head that you can fill with all sorts of tasty treats.
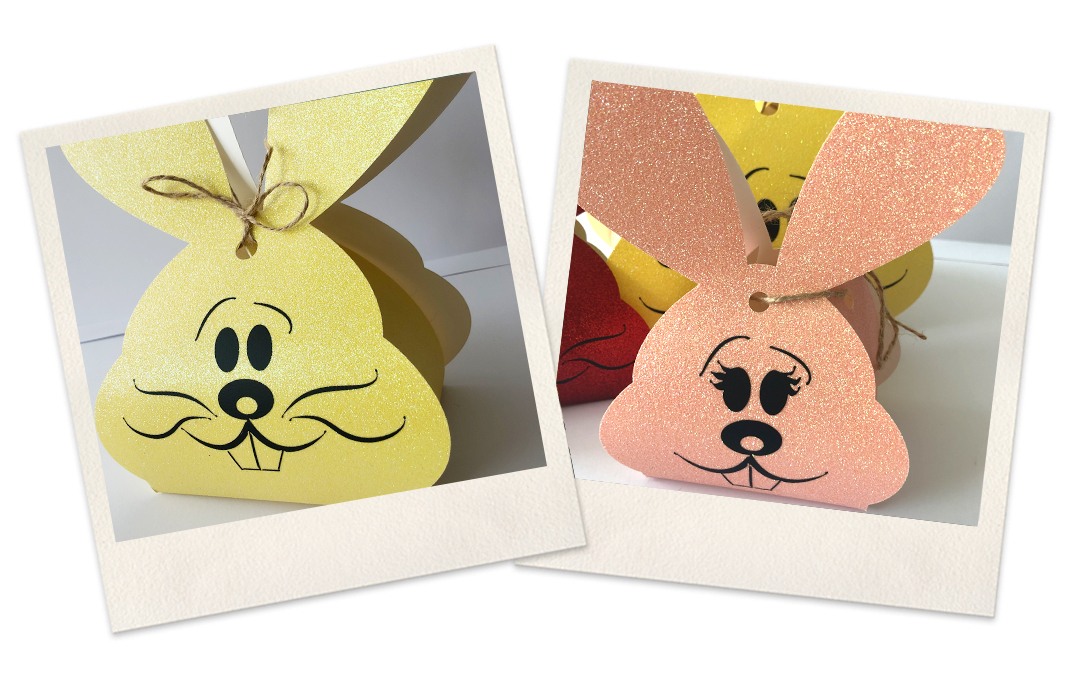
So today we’ve got a brilliant Easter DIY special for you! We’ve made our very own Easter bunny basket using some lovely glittery card. We’ve decorated it with a bunny face made from self-adhesive foil/flex foil. If you like the look of this, why not give it a go yourself? Have fun with it!
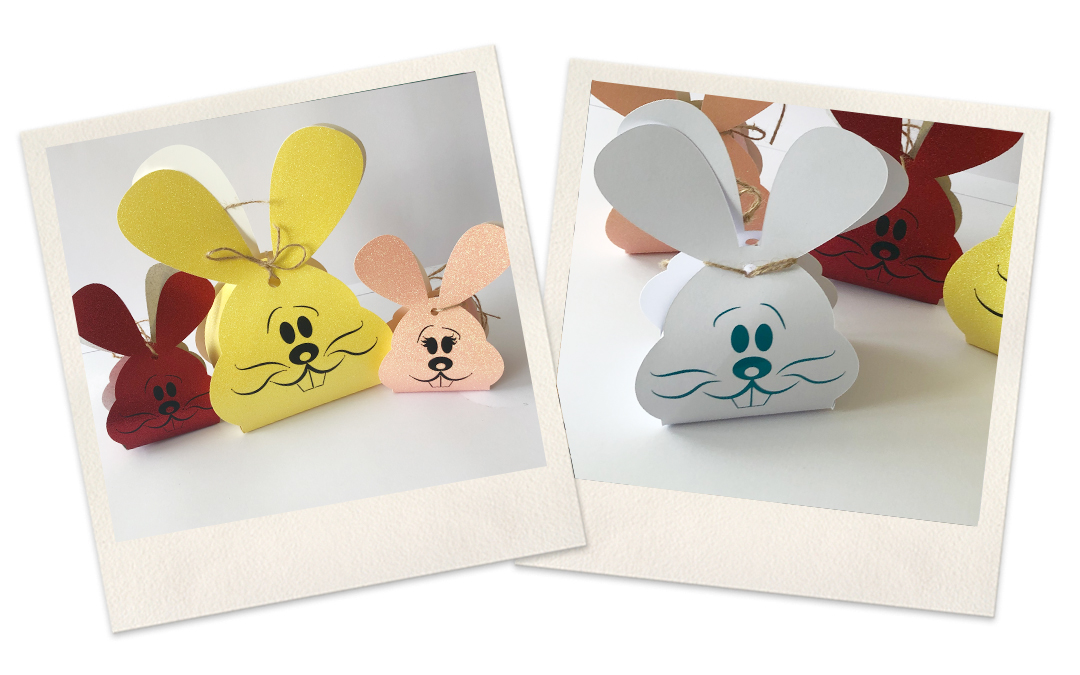
The Rabbit Basket
Step 1:
First of all, choose a piece of card that you like. This will later form the rabbit’s basket. You will now need an outline – in other words, the design of the basket. This should then be imported into DrawCut in PDF format. You can download a design like this from the internet or create it yourself in Illustrator.
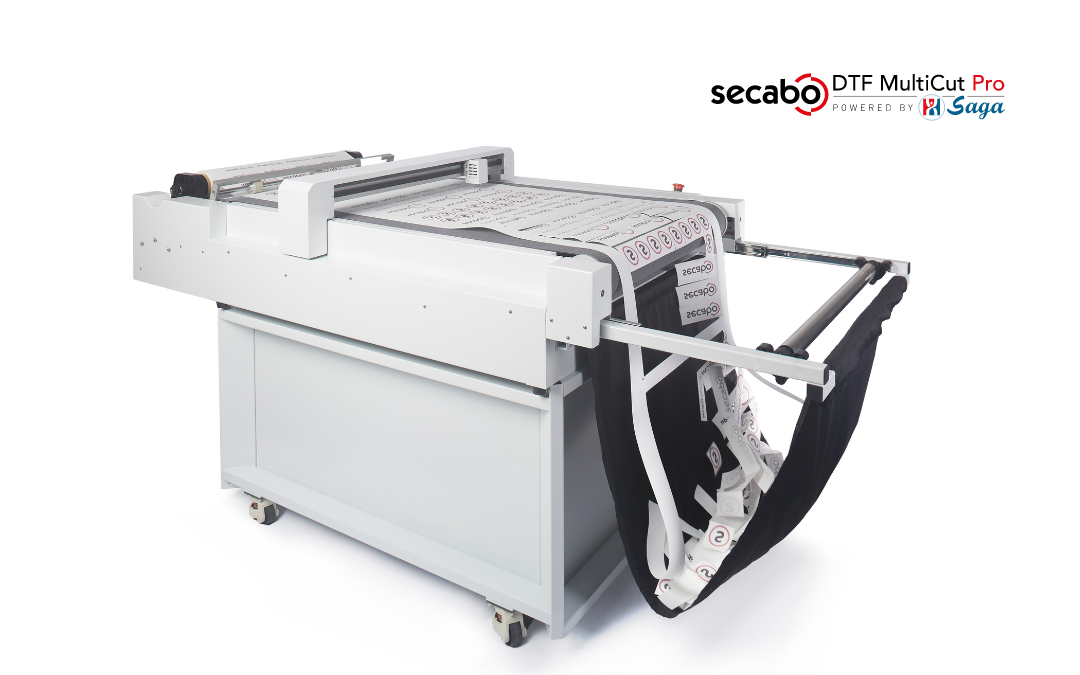
Step 2:
You’ll now need a flatbed cutting plotter. Why not pop into our shop or ask our sales team for advice? In this case, it doesn’t matter whether you choose the FC50 or FC100 flatbed cutting plotter (i.e. the small or large one). First, you need to assign the individual lines – in other words, what is to be folded and what is to be cut. To do this, ungroup the lines, click on each individual line, then click the knife icon on the right: select ‘Fold Contour’ for folding and ‘Cut Contour’ for cutting. Now click on the knife icon in the top tab and then ensure that the box next to “Assign Tools by Colour” is ticked.
Under ‘Cutting Tool Presets’ – at the bottom – first click on ‘Fold line Colour’ and then on ‘Edit’ to edit the fold tool. The following settings should now be configured:
Blade Type: Fold/Crease Tool; the tick next to ‘Blade Offset’ must be removed; Tool Select: 1 Pen Tool (the other fields should either be empty or greyed out).
Confirm by clicking ‘Apply’.
Now do the same for “Contour Cut Colour”. The following settings should be applied here:
Blade type: Drag Knife; the ‘Blade Offset’ box must be ticked; Tool Select: 0 Cutting Tool (the other fields should either be empty or greyed out).
Confirm by clicking ‘Apply’.
Once the flatbed cutting plotter is set up correctly, you can click on “Cut” and “Yes”.
Step 3:
First of all, you should familiarise yourself with how the FC100 works. Here is a brief explanation:
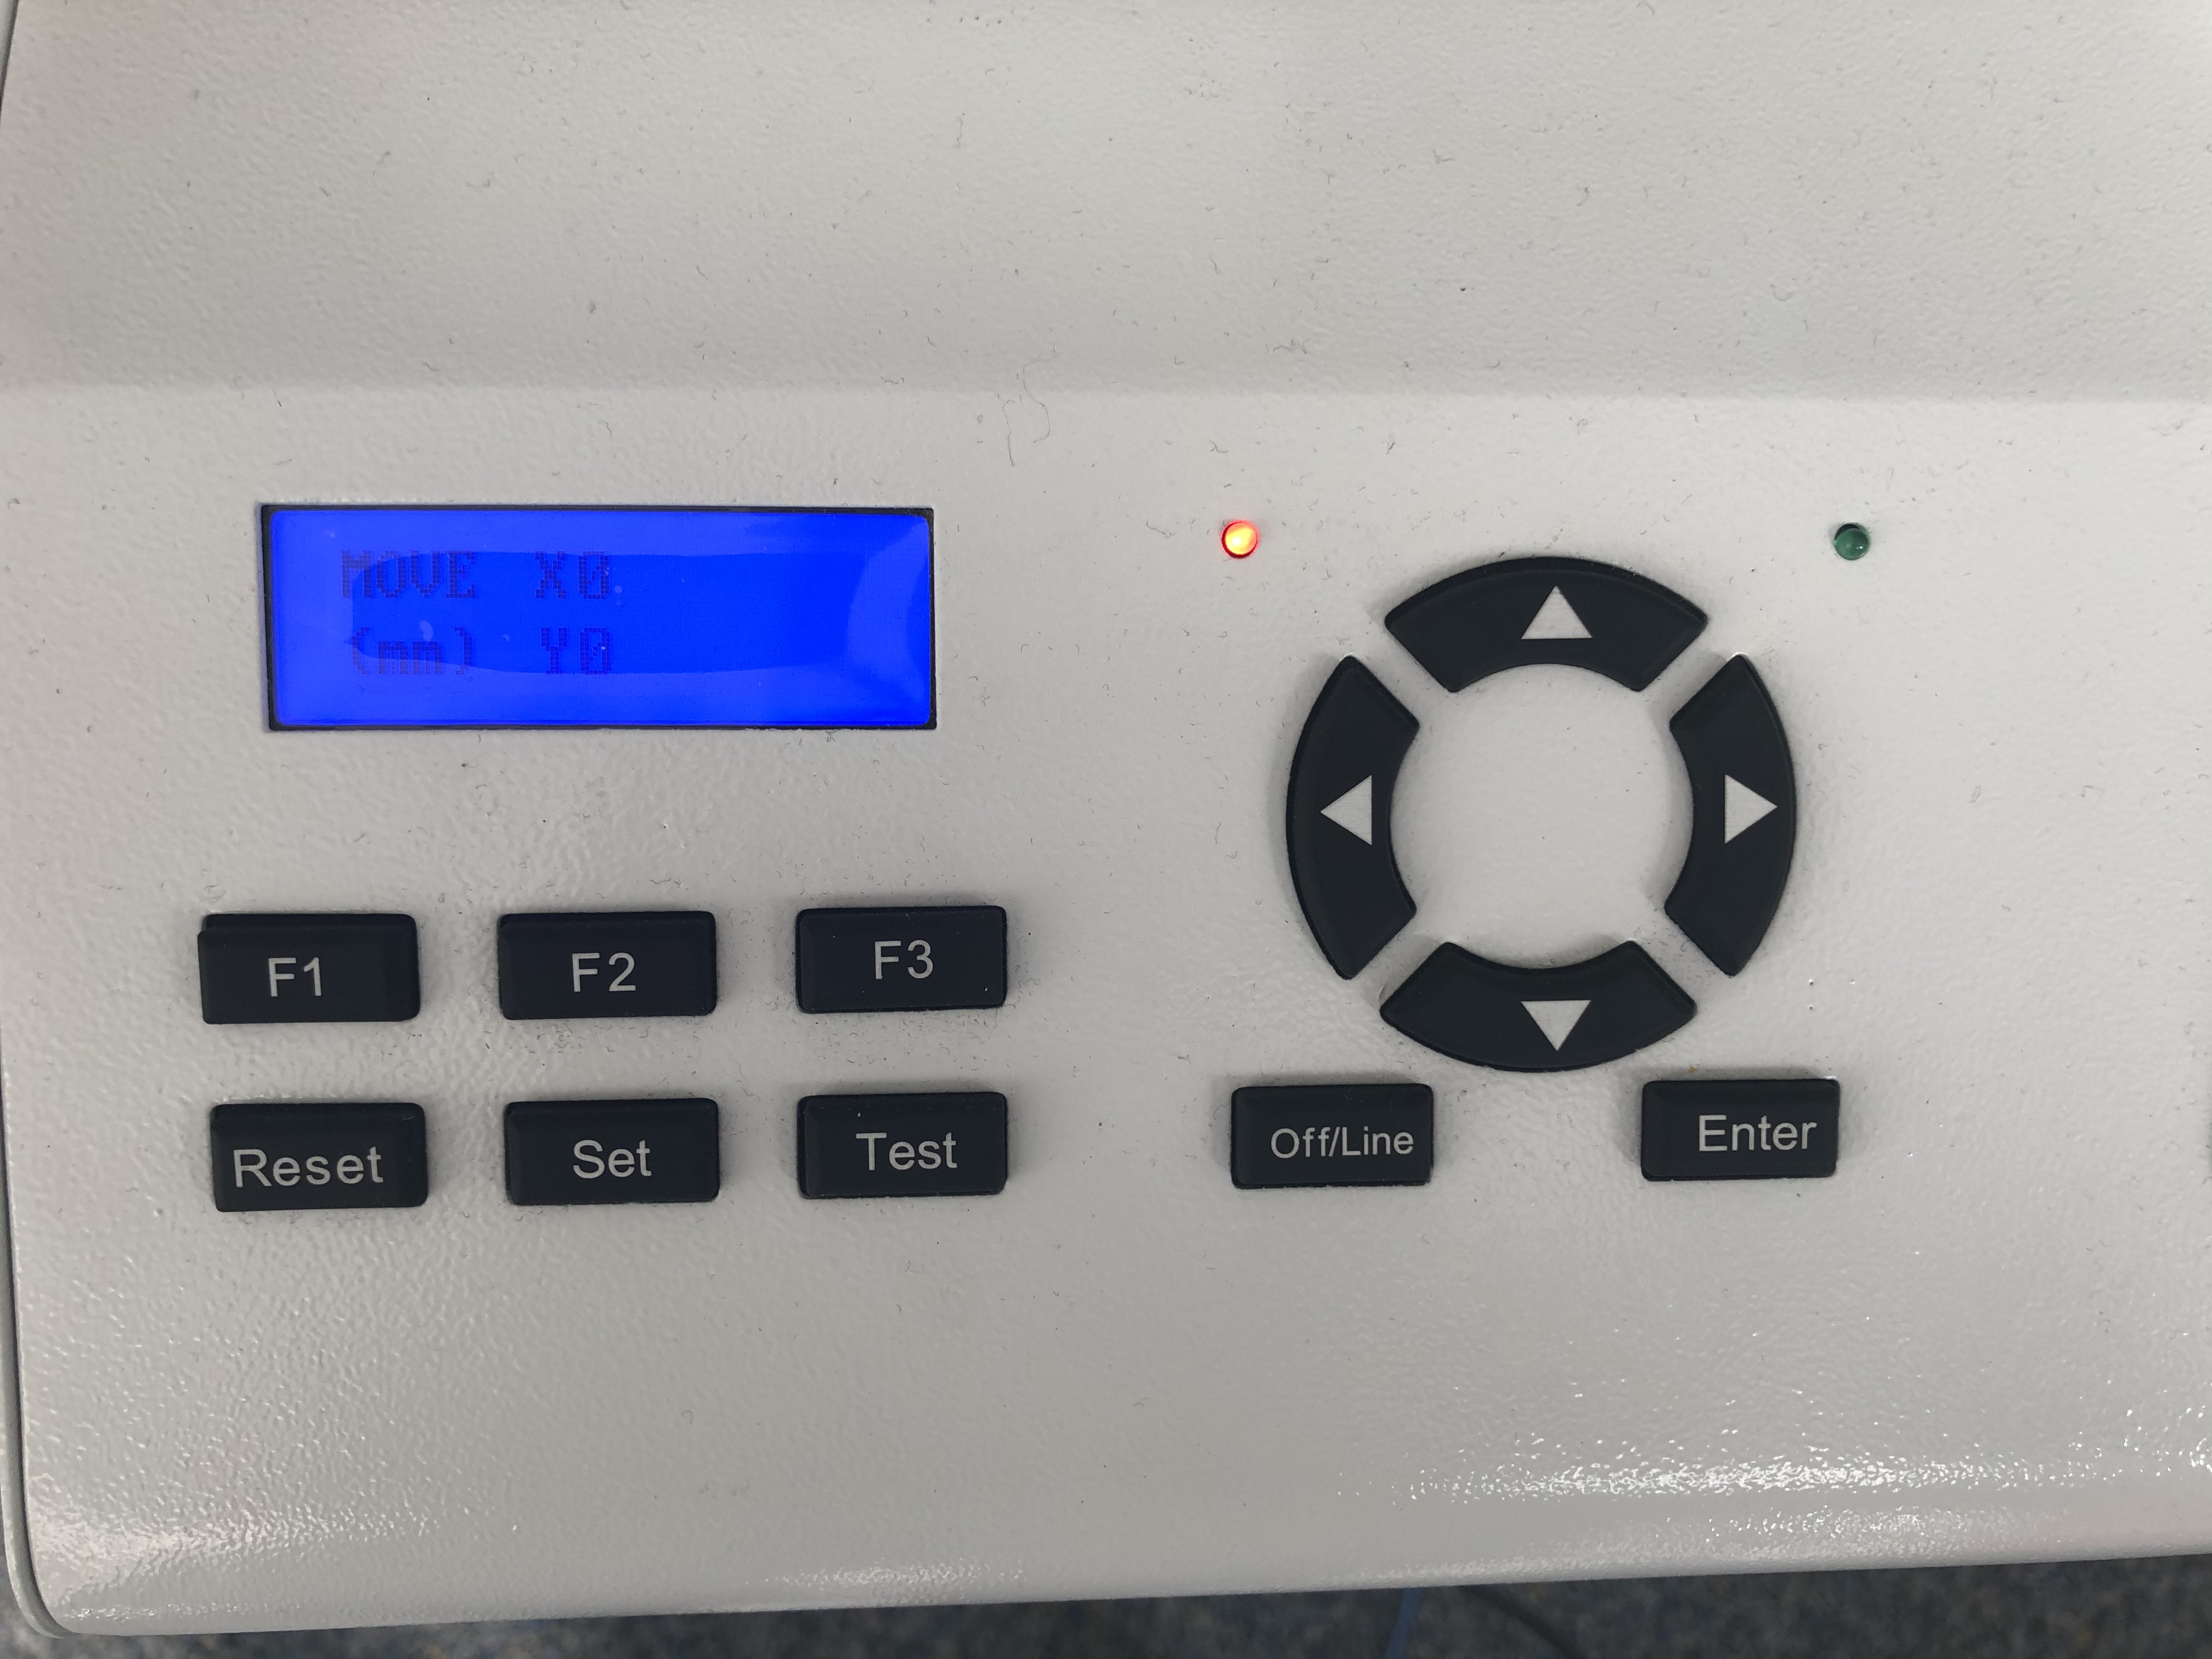
- F1 = Ventilation/Vacuum
- Movement mode = Off/Line; Move = Arrow keys (you can only enter movement mode when the display is set to Speed & Force)
- Enter = Confirm (pressing the Enter key brings up the settings)
- When configuring tool settings, press Enter to check which tool is currently being processed
- Speed1 & Force1 = Cutting tool
- Speed & Force = Creasing tool
- F2 = Back to settings (Speed & Force)
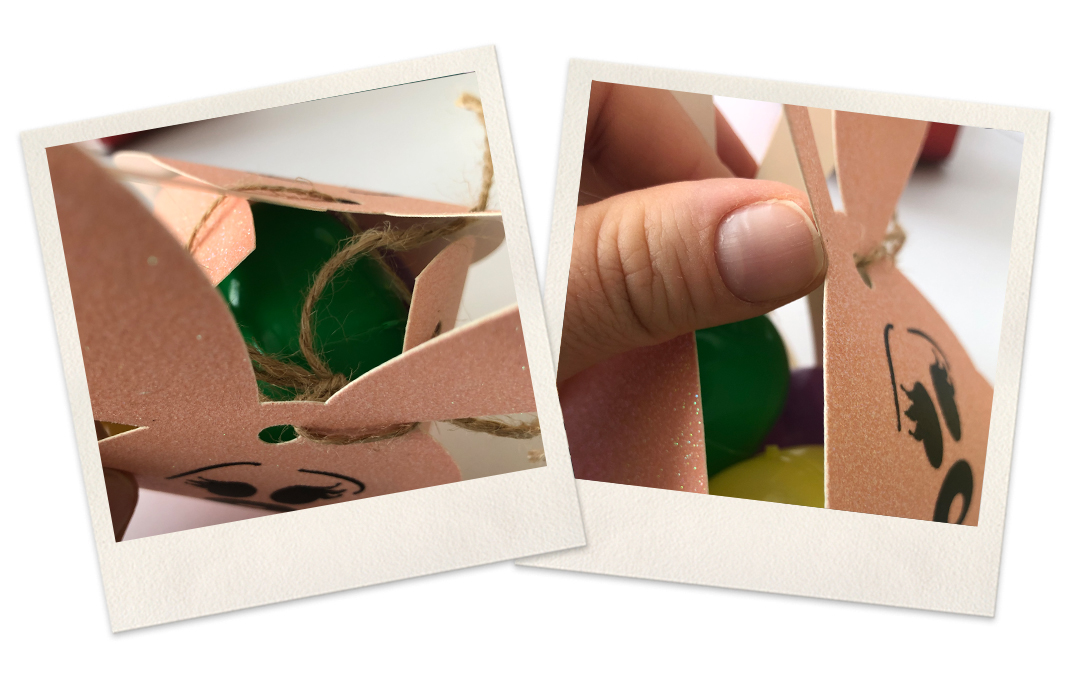
For this basket, you should set the speed and pressure of the creasing tool to full power. The cutting tool should also be set to full power for the speed, and the pressure (i.e. ‘Force’) should be set to approx. 300. If you notice that it hasn’t cut all the way through the first time, simply run it over it a second (and, if necessary, a third) time. You can then fold it and tie it together with a piece of string through the holes.
The sticker
Step 1:
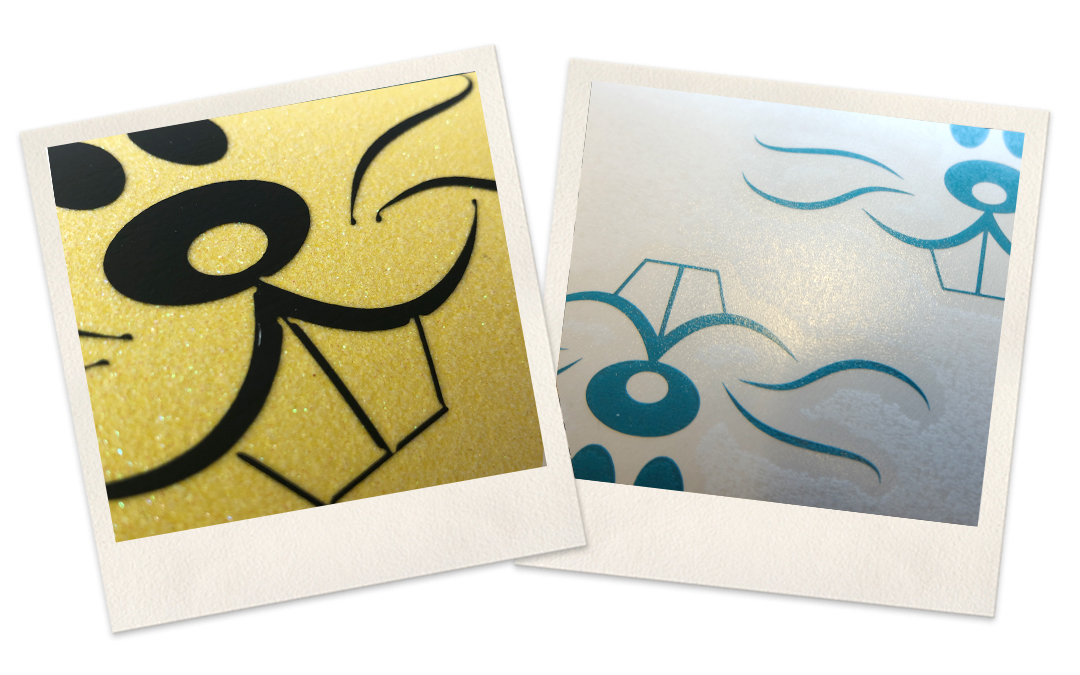
Choose a rabbit design and import it into DrawCut. Now go back to the knife icon and make sure you switch from the FC100 to the T120 II in the drop-down menu. Our Secabo cutting plotter. You can now adjust any settings there as required. Once you’ve finished, you can click on ‘Cut’. Before you do that, however, you should load a sheet of film into the cutting plotter. A self-adhesive film! Once you’ve plotted your design, you can weed it.
The sticker also works using a heat transfer method. This means you plot the design onto a flex film and then press it onto the box. We’ve tried both methods and are absolutely delighted with the results!
Step 2:
Cover your rabbit design with a transfer sheet and press firmly over it with the squeegee. You should now be able to peel off the sheet, and the design should remain firmly attached to the transfer sheet. Stick the film with your rabbit face onto the basket (the cardboard) and run the squeegee firmly over it again. You can now peel off the transfer film.
This is what it should look like when you’re finished:
We wish you a Happy YOW!stern!
We’llalsobe showingyou all the other things you can do with aflatbed cutting plotteron our Instagram account. Just follow us for even more inspiration!
Follow us https://www.instagram.com/yow.textilveredelung/
Dear followers, we wish you all a happy and healthy Easter! Here’s the latest addition to our Easter family: a rabbit’s head that you can fill with all sorts of tasty treats. With the Secabo FC100, you can cut out all sorts of shapes and designs – it’s just great fun! We hope our ideas have inspired you and that you’ve enjoyed watching. Thank you so much for your brilliant feedback! Don’t forget to take part in our ‘YOW!sterhasen’ hunt! Keep a close eye on our Stories and count the YOW!sterhasen until Easter Sunday. At the end of the week, simply post the correct number in the comments under the latest post and you’ll automatically be entered into the prize draw. The prize is a €25 voucher for the YOW! online shop. So it’s well worth keeping a close eye on our Stories. We’ll announce the winner on 14 April 2020. #Easter #Eastereggs #Easterdecor #colourful #getcreative #onlineshop #self-adhesivefilm #shopping #colourchartsareusefulformanythings #promotionalproducts #transferpress #cuttingplotter #DIY #doityourself