DIY: Make your own Halloween lanterns using adhesive film
With a cutting plotter and adhesive film, you can easily create your own decorations. We’ve got a DIY guide for a spookily beautiful Halloween.
The days are getting shorter again, and the nights longer. Autumn is here, offering us the chance to snuggle up on the sofa with a large cup of tea – without a shred of guilt – and really make ourselves comfortable. When it’s dark and cold outside, it’s all the more lovely to relax in front of the fire by the soft glow of candlelight. And as Halloween isn’t far off now that autumn is here, many families are gradually getting back into the spirit of crafting.
To make sure you don’t have to worry too much about being spooked on 31 October, we’ll show you how to create your own eerily beautiful lanterns using adhesive film, bringing a touch of warmth and light to the dark winter months.
Make your own Halloween lanterns – Here’s how:
You will need:
– Empty jars, e.g. jam jars
– Ritrama translucent adhesive film, e.g. in orange and red
– Adhesive film in black, e.g. Ritrama M300 Standard Matt
– Small squeegee
– Scissors
– Craft knife
– Cutting plotter, e.g. Secabo C30IV
– Weeding pen
Step 1: Prepare the jars
First, wash the jam jars thoroughly and remove any labels. Then dry the jars thoroughly.
Step 2: Plot the desired design
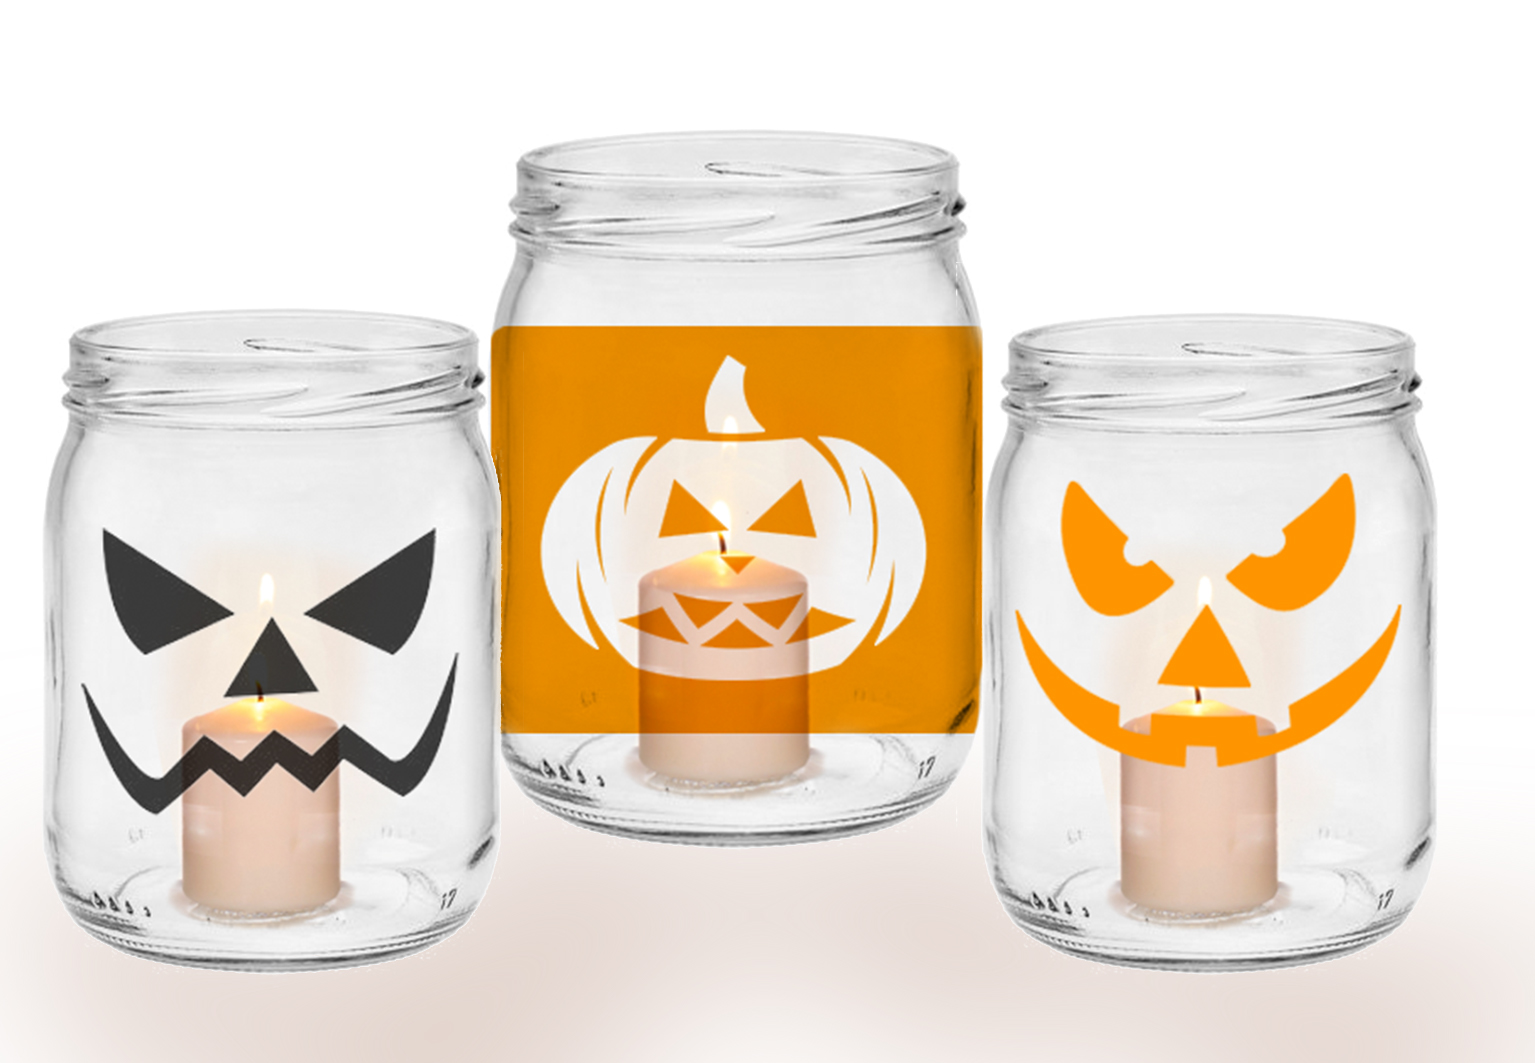
Whilst the jars are drying, you can get on with designing your Halloween motifs. To ensure your tea light gives off a cosy, warm glow, it’s a good idea to cover the jar in a shade of red or orange. Translucent adhesive film is ideal for this, as it allows some light to pass through but isn’t completely transparent.
If you’re using a Secabo cutting plotter, you can customise these designs to your liking using the included DrawCut software. Once you’re happy with the design, check the cutting settings again before starting the plotting process. The plotter will now work entirely on its own, precisely cutting out even the smallest and most intricate designs, such as spider’s webs and Halloween pumpkins.
Step 3: Weed the film
Once the plotter has finished cutting, the designs are weeded. Remove the excess film using film tweezers or a weeding pen so as not to damage the actual cut-out.
Step 4: Apply the translucent adhesive film
Peel off the backing film bit by bit as you stick it onto the jam jar. This isn’t exactly easy, especially with all the curves and corners. A small squeegee will help you smooth out the film and remove any small air bubbles. It’s best to use a felt squeegee to avoid scratching the design. Now all you need is a tea light to conjure up some fantastic flickering Halloween lights from jam jars and adhesive film in no time at all!
Halloween decorations using adhesive film
With these Halloween lanterns, we’ve shown you just one way in which you can create professional-looking decorations yourself using a cutting plotter and adhesive film. The possibilities, of course, go far beyond this, ranging from elaborate wall designs to bunting and garlands, right through to spooky window decorations.
YOW! hopes you have fun crafting and wishes you a spookily wonderful celebration!
Ritrama adhesive films now permanently reduced in price
In the YOW! online shop, you can now findRitrama adhesive filmspermanently at a reduced price; we are aiming this offer particularly at hobbyists. Adhesive films are not only used on a daily basis by professional signmakers, but are also becoming increasingly popular amongst craft enthusiasts. As well as adhesive films in a wide range of colours, you’ll also find cutting plotters available from us at competitive prices. One highly recommended entry-level model, for example, is theSecabo C30IV cutting plotter, which, with its wide range of capabilities, offers a fantastic cutting tool for demanding DIY projects – particularly for those new to plotting.