Skip to main content Skip to search Skip to main navigation
YOW! Advent Calendar

YOW! Advent calendar – door number 17

Oh, how lovely, oh, how fitting, heart-warming, so to speak…

Textiles featuring rhinestone appliqués aren’t just eye-catchers at Christmas!

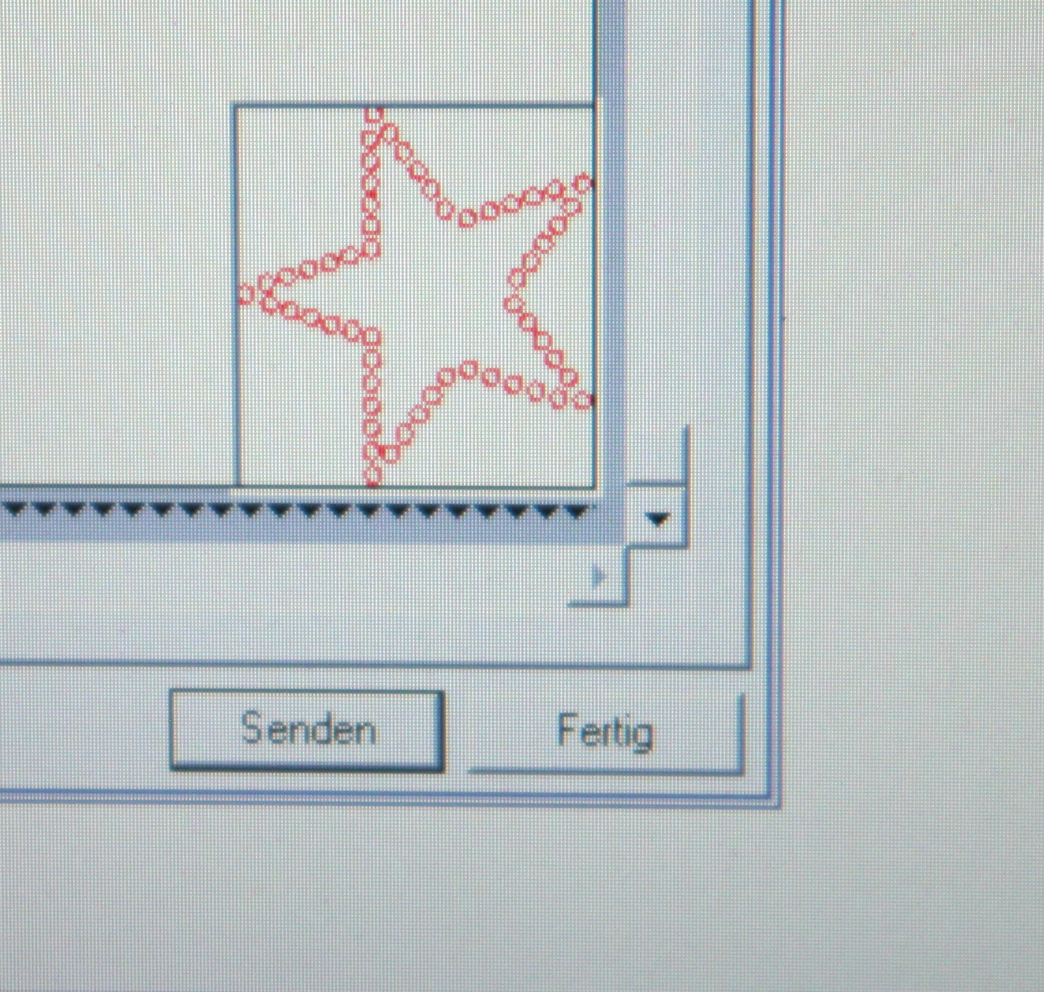
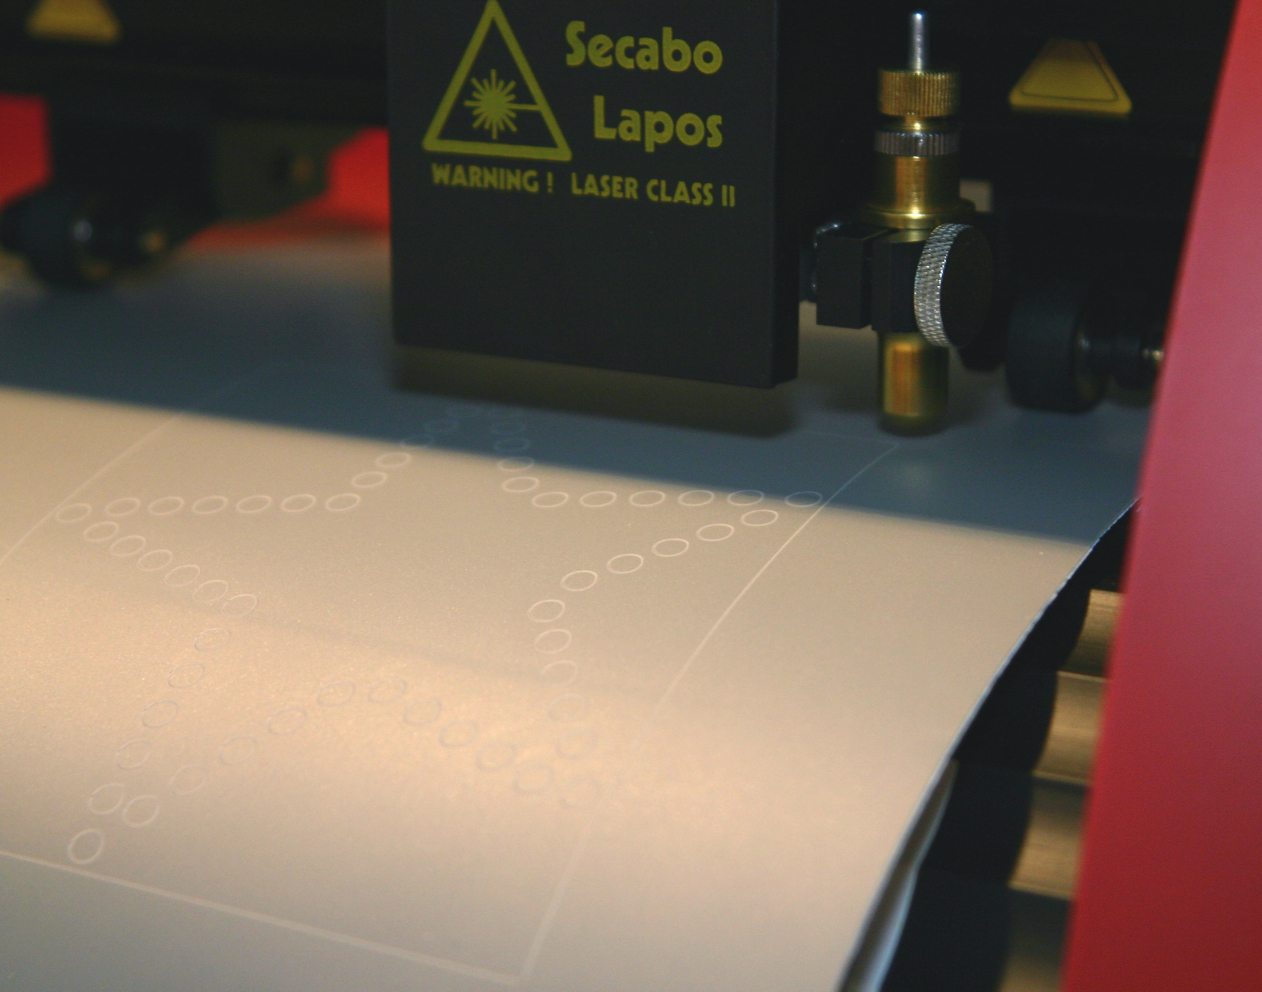
  1. Design the desired pattern on your computer using circles of the appropriate size (rhinestone diameter + approx. 0.5 mm) and plot it onto thick adhesive film (rhinestone film) using a cutting plotter.
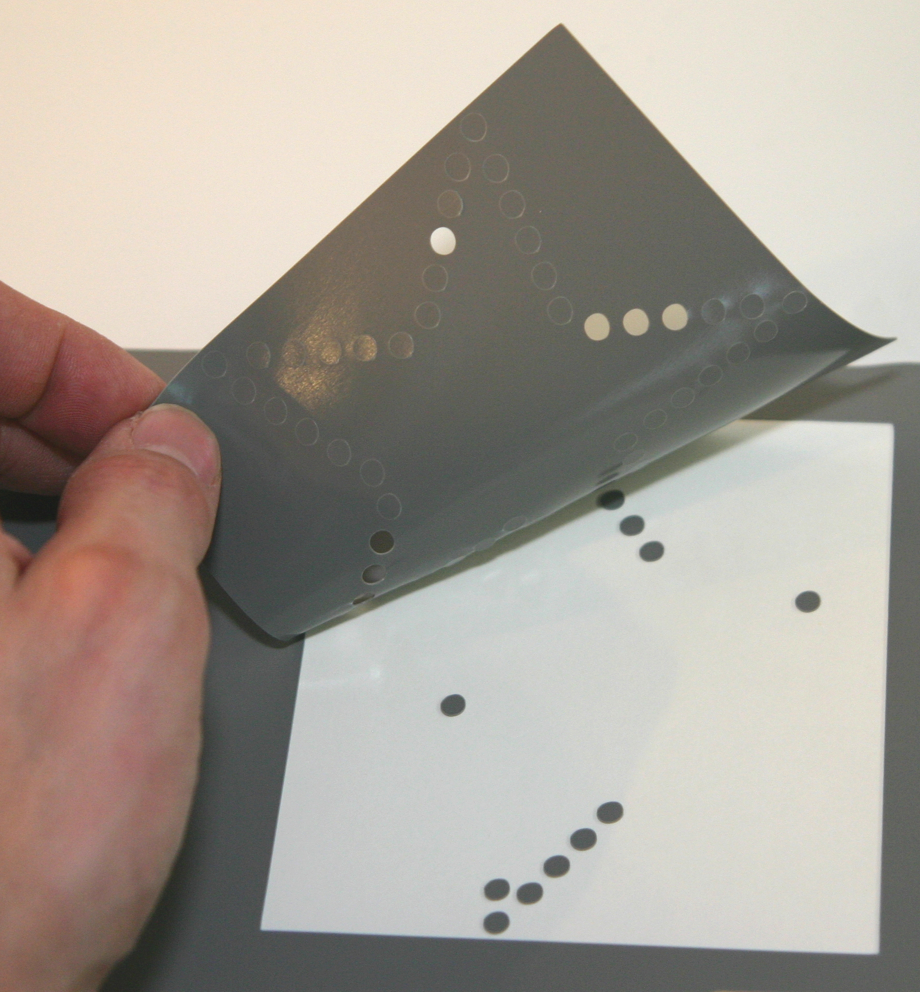
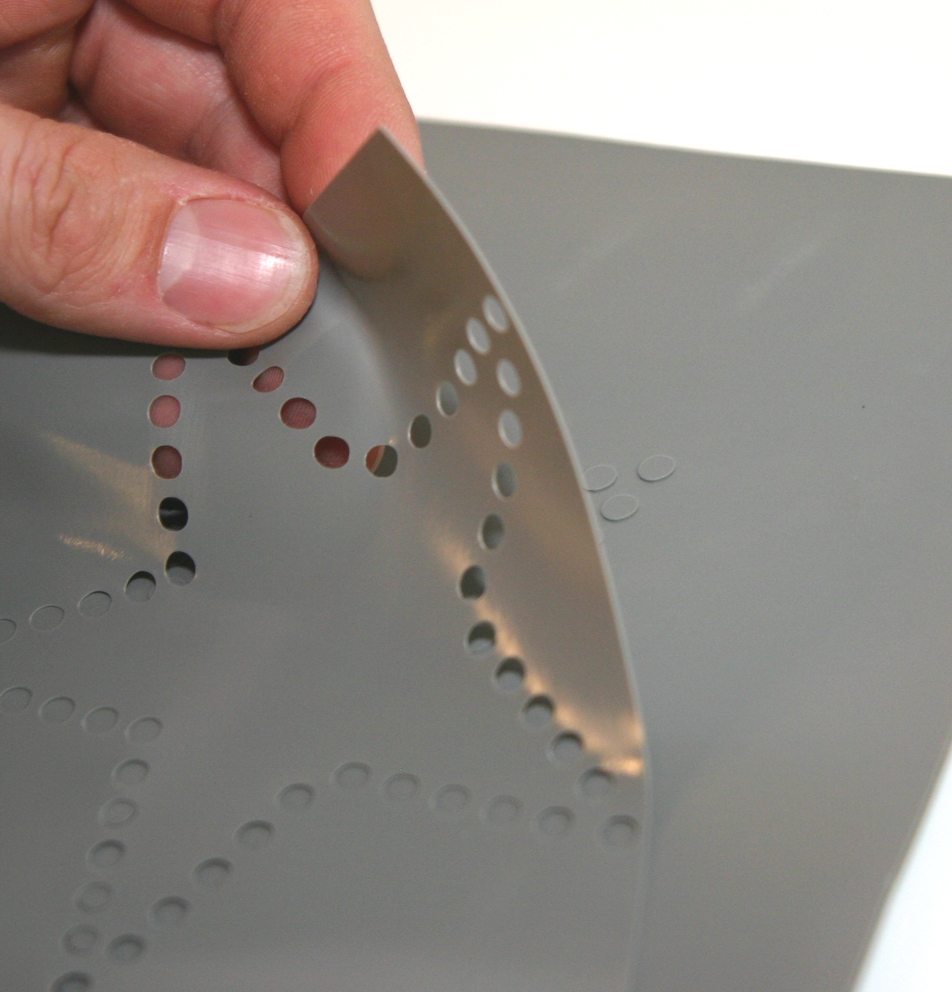
  2. Weed the plotted film. If not all the ‘circles’ stick to the silicone backing straight away, simply stick the film face-up onto a piece of adhesive film and then peel it off carefully – all the elements should now remain on the backing and the stencil film is ready.
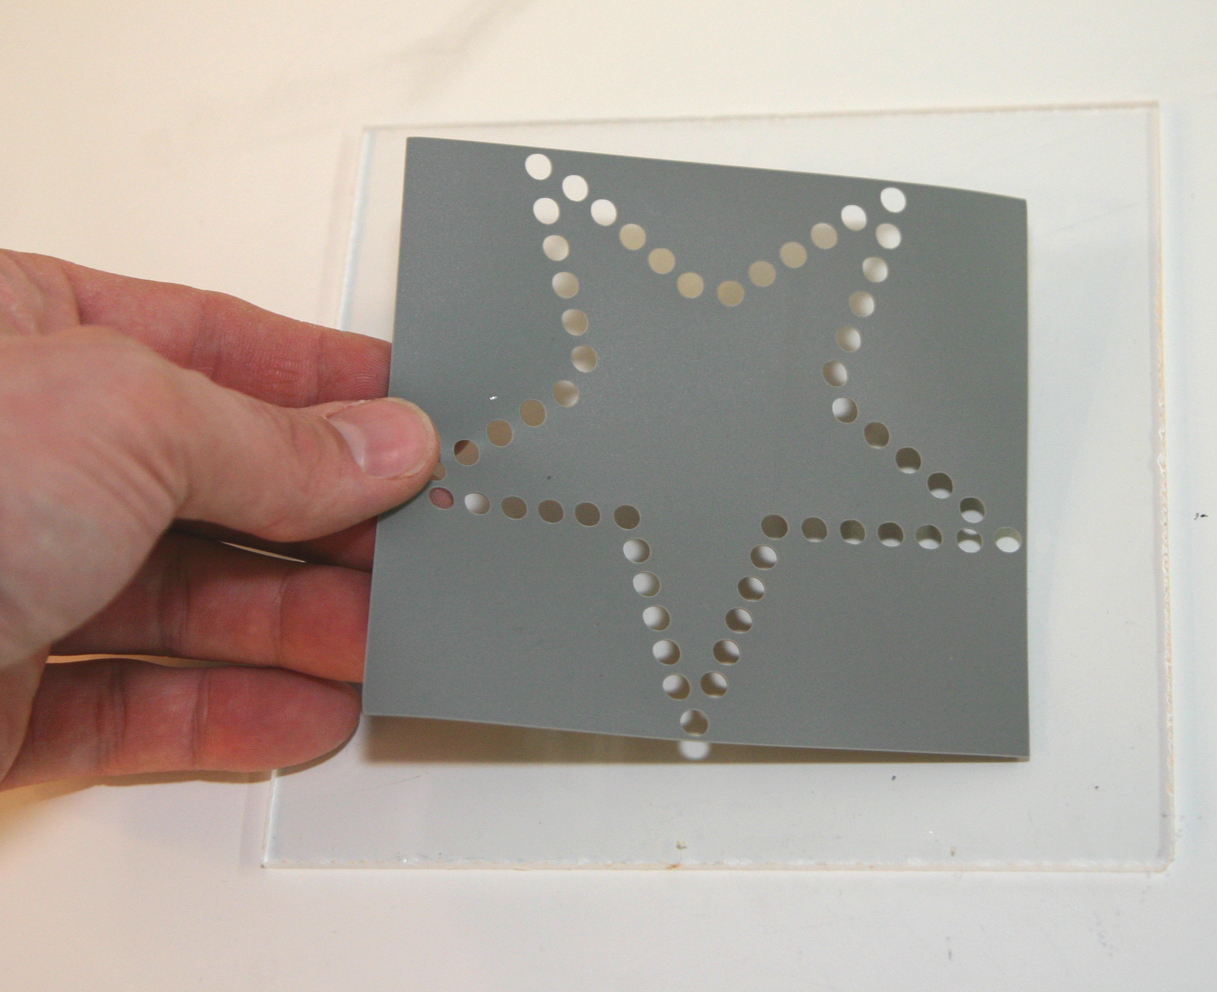
  3. Stick the plotted stencil onto a sturdy base (in our case, a scrap piece of acrylic glass).
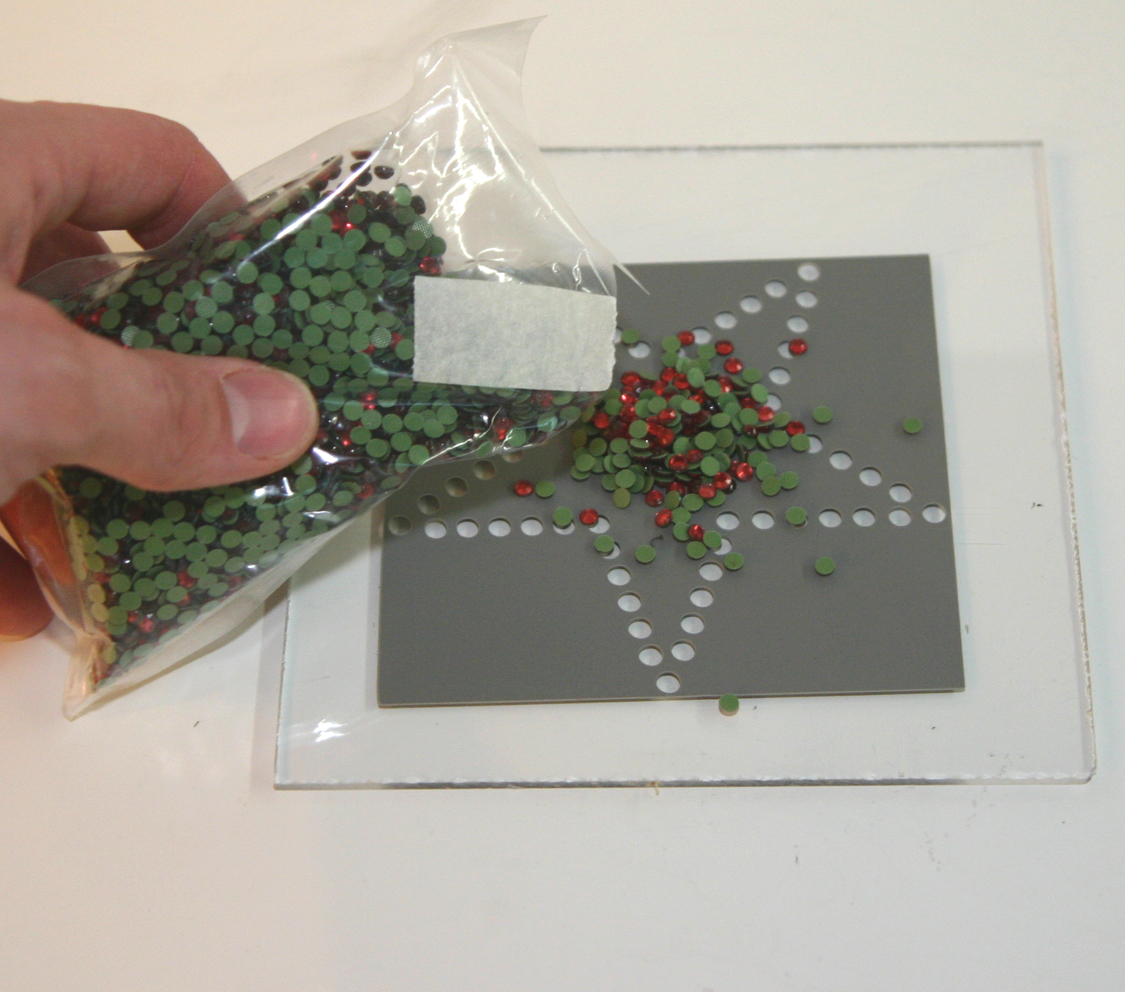
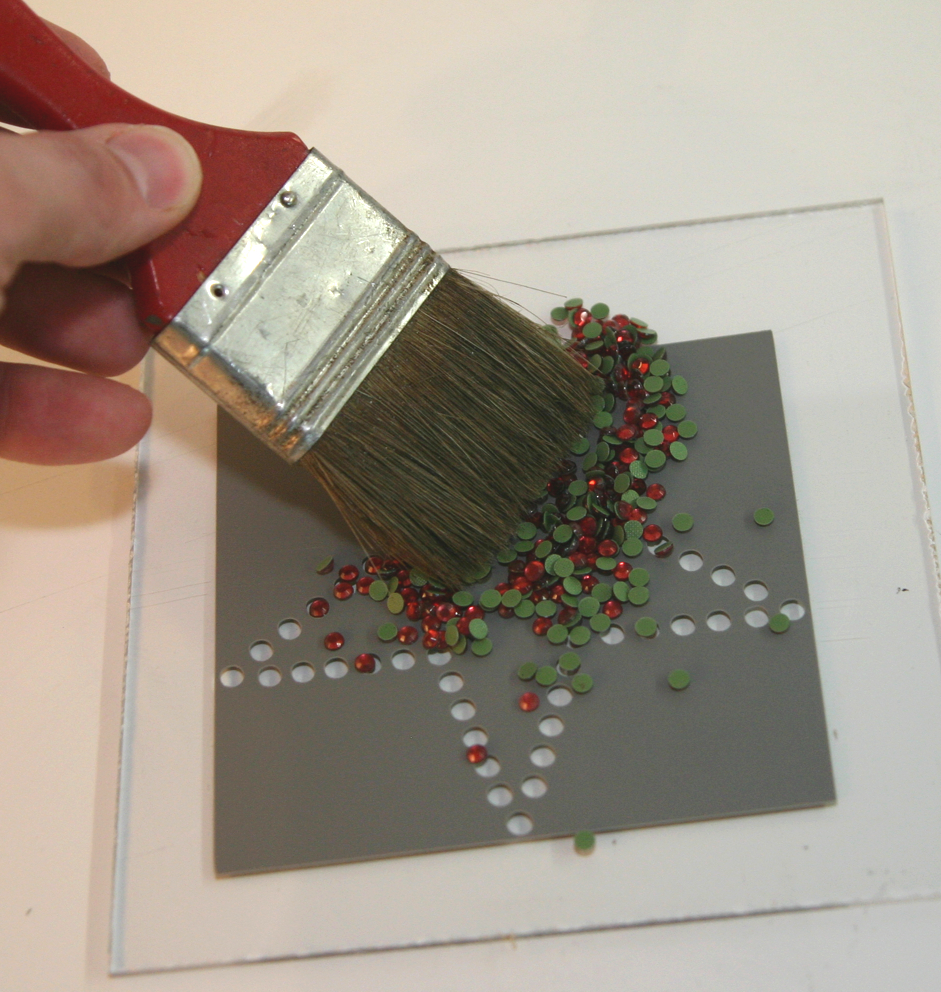
  4. Pour a generous amount of the desired rhinestones onto the stencil and sweep them into the recesses with a soft brush. The rhinestones will very quickly settle in the correct alignment, and any excess stones can be removed with the brush.
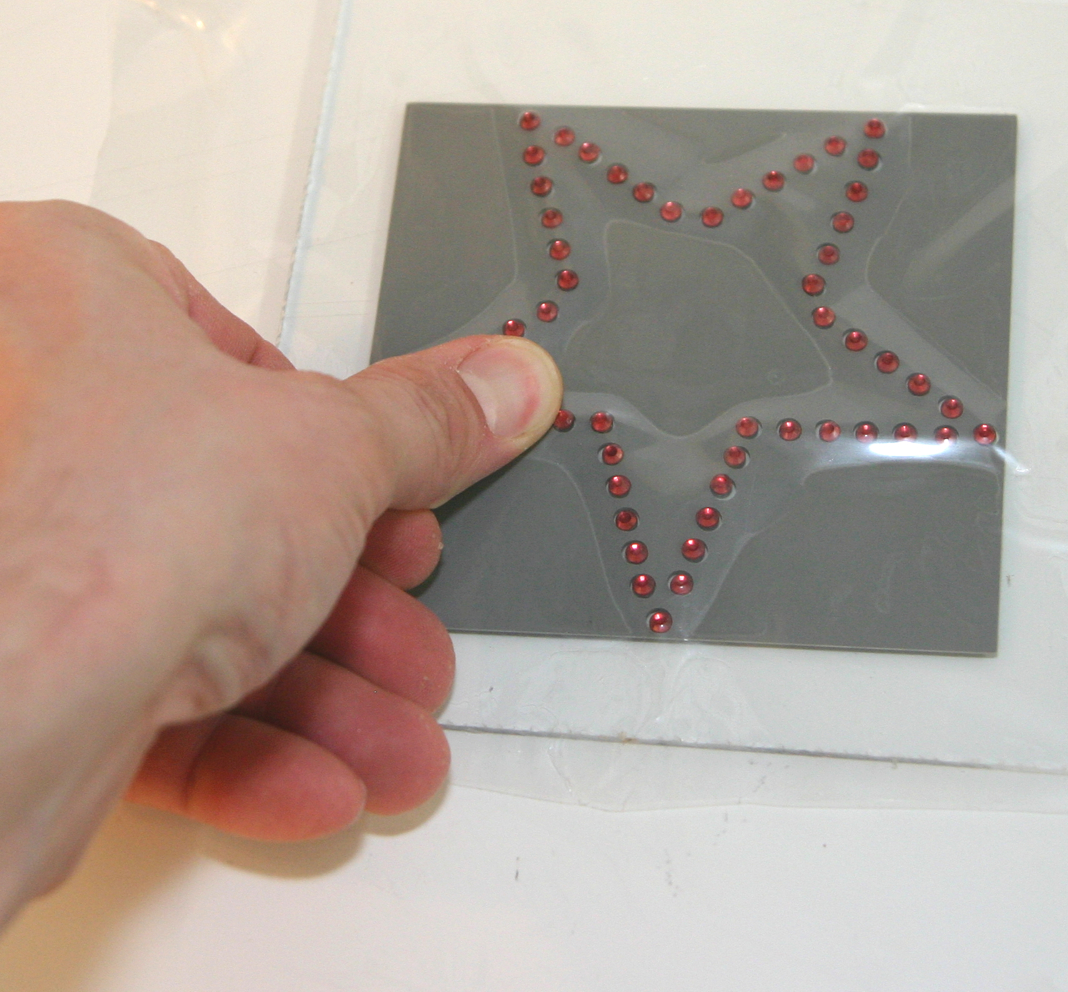
  5. Cover the rhinestones with heat-resistant transfer film and press down firmly.
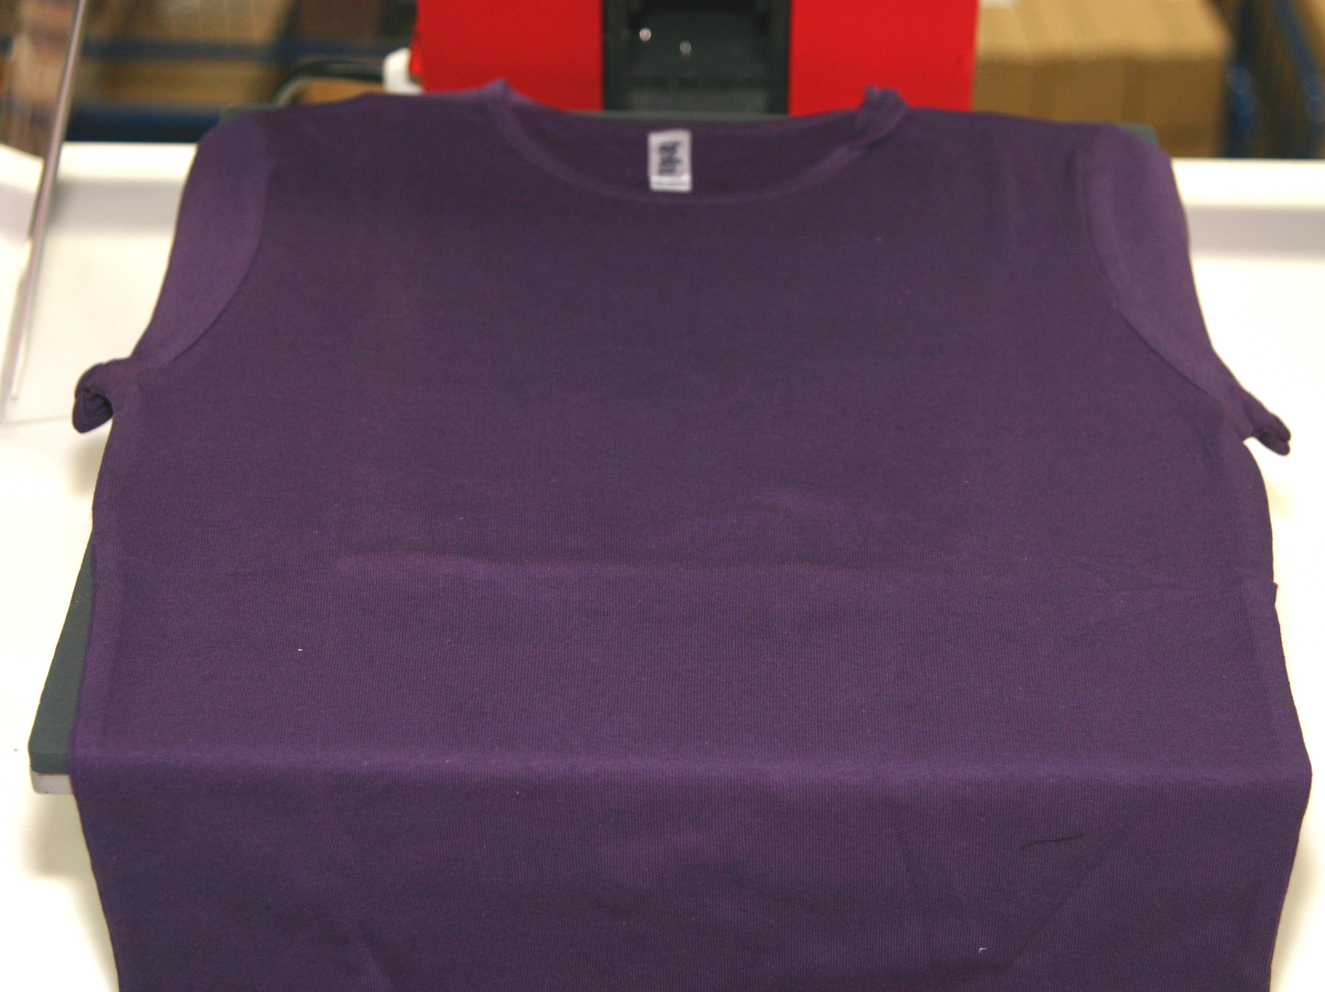
  6. Heat a transfer press to approx. 160°C and place a piece of fabric inside.
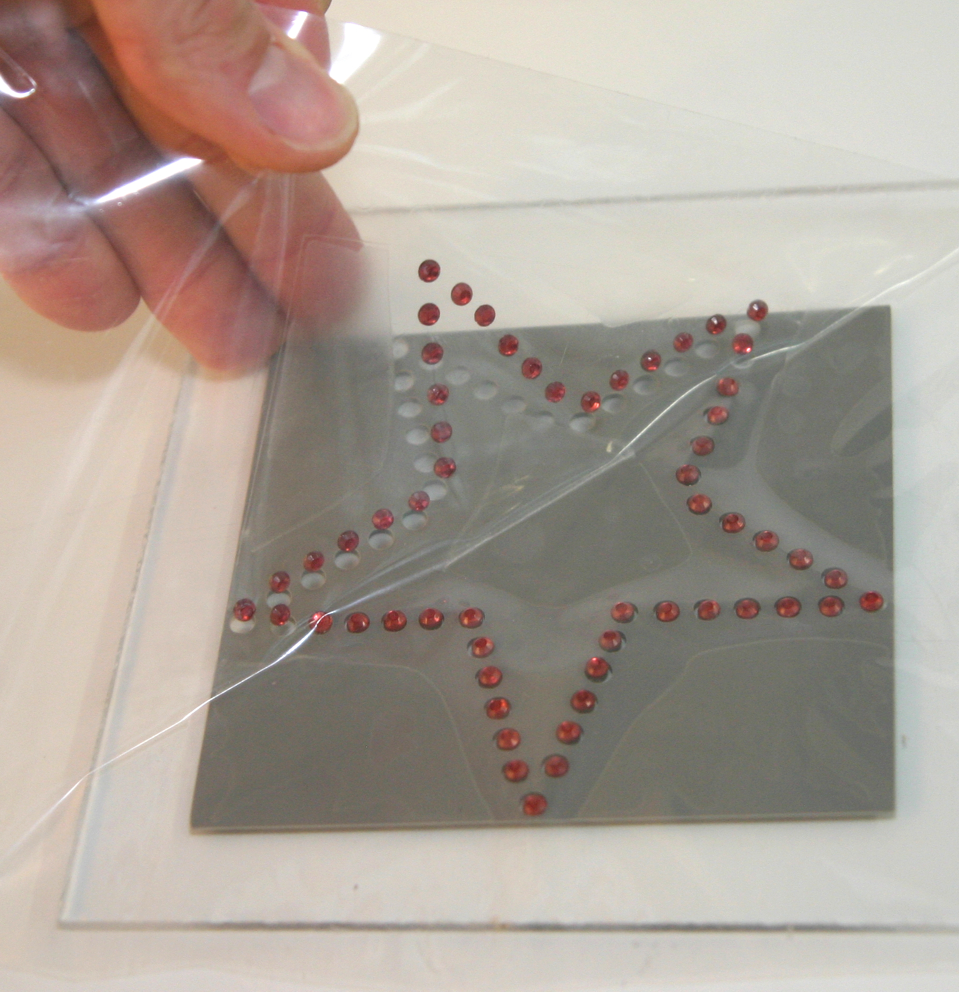
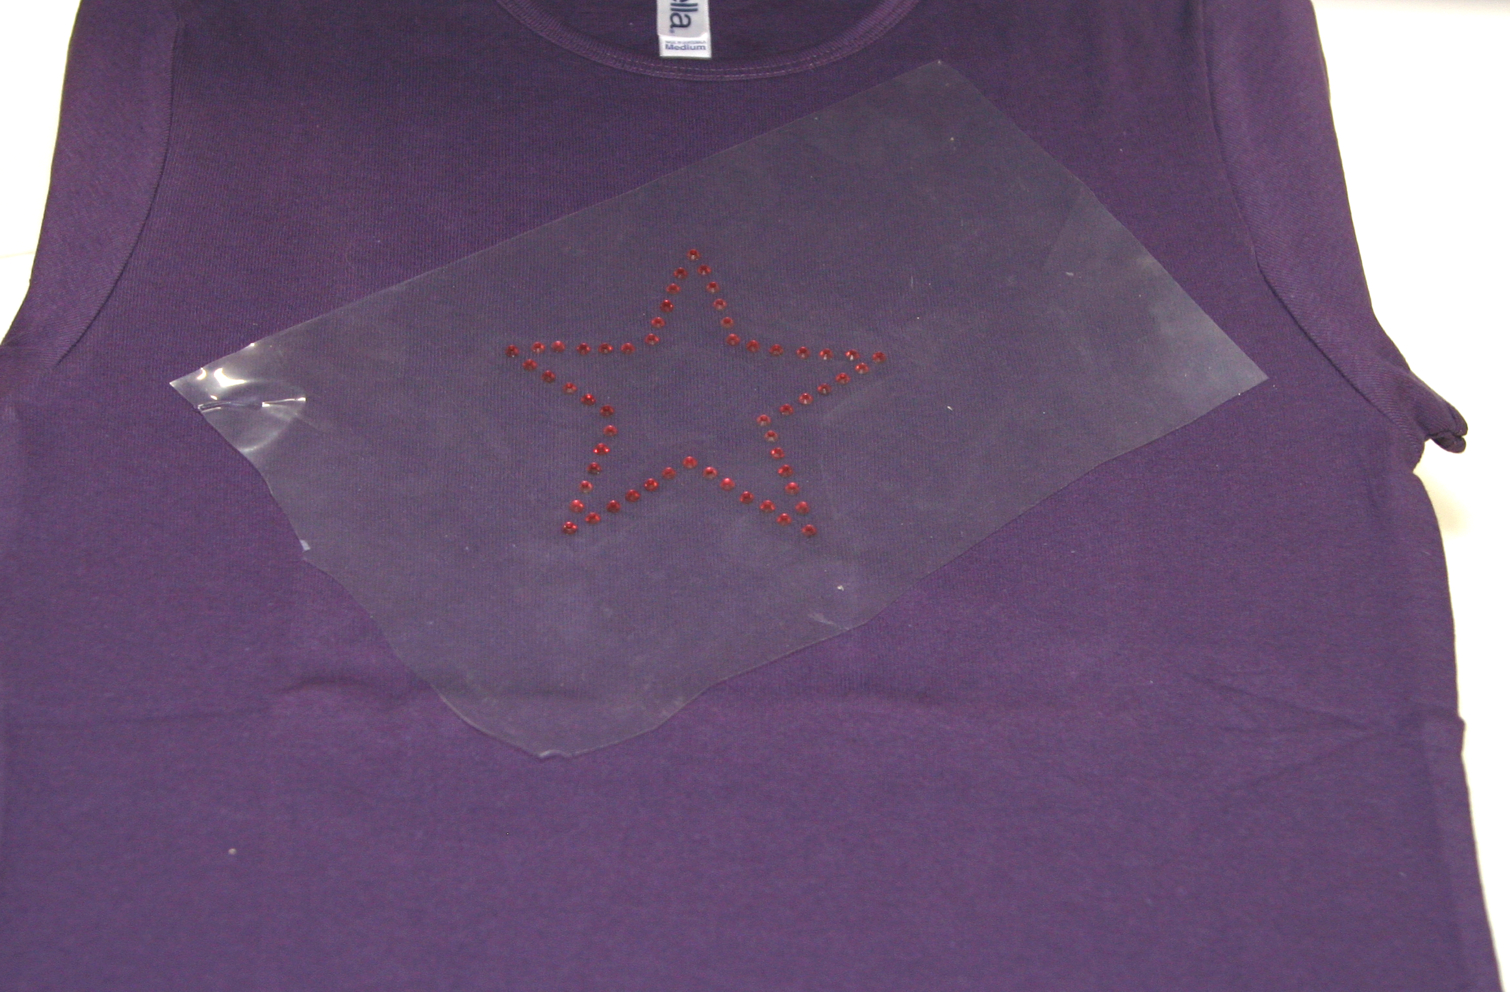
  7. Carefully peel the rhinestone design off the stencil and place it onto the fabric.
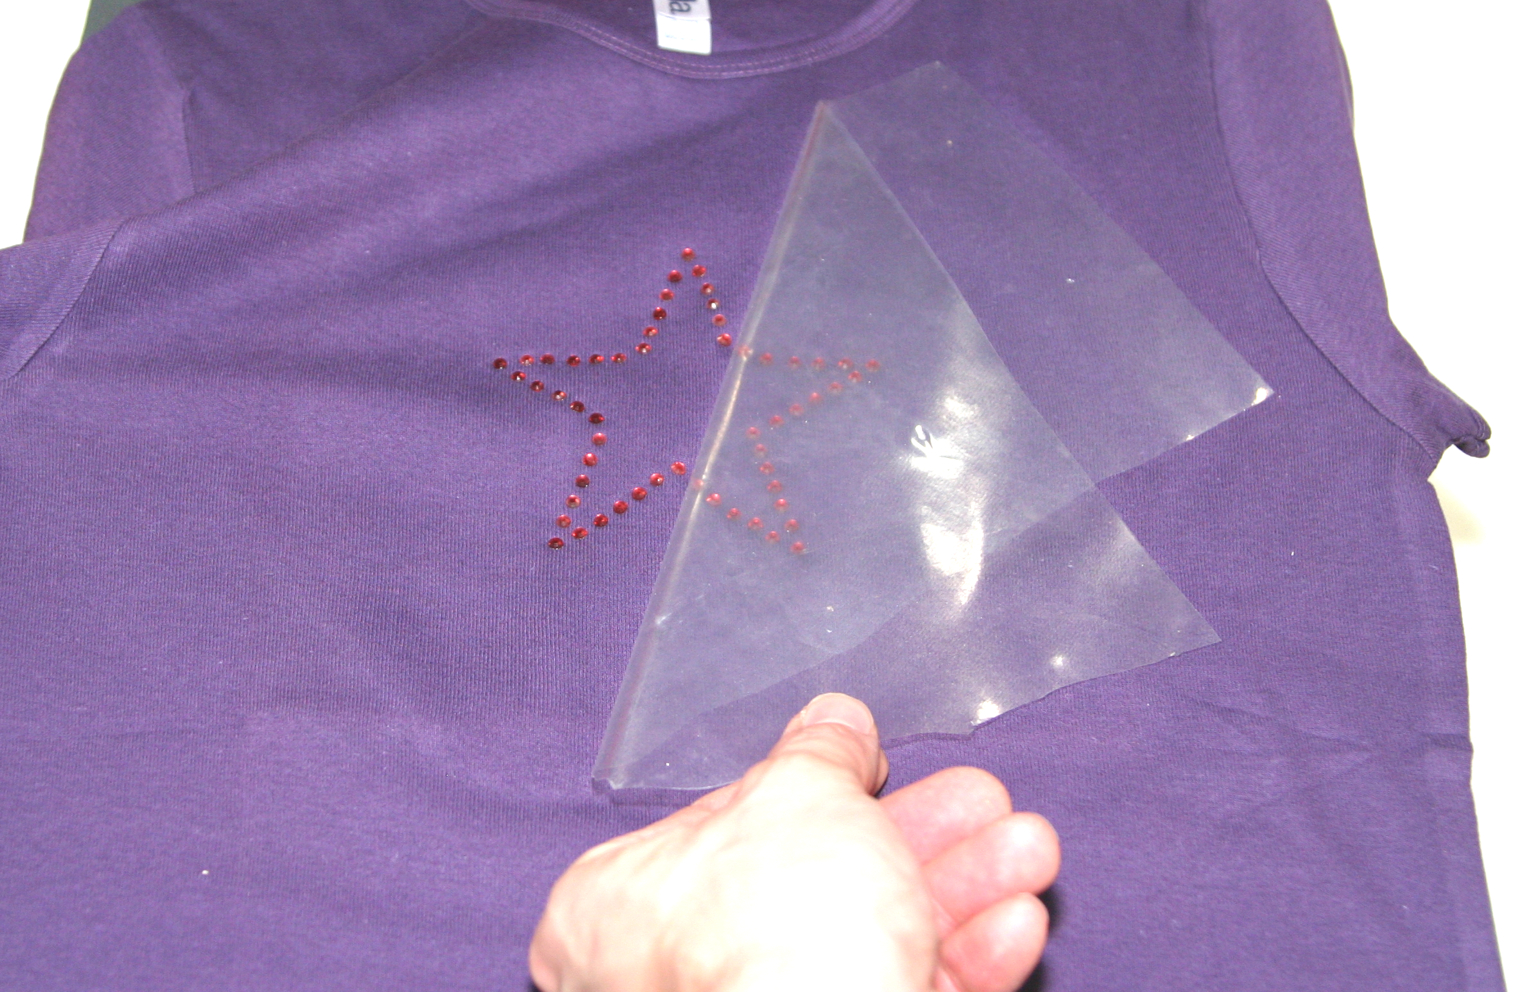
  8. Press for approx. 20 seconds; once the fabric has cooled, peel off the transfer film – and you’re done.
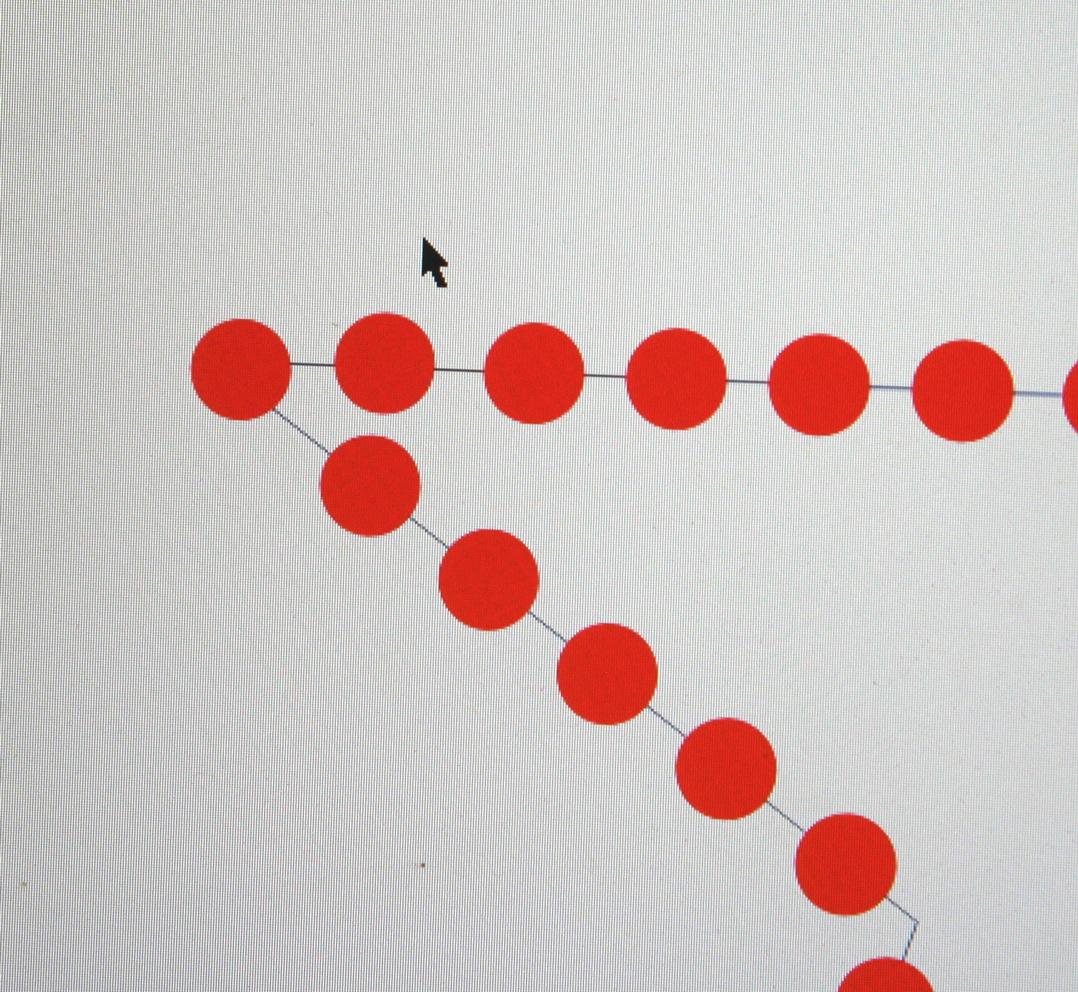
Screenshot from graphics software: red circles along two lines as a template for rhinestones, ready to be plotted onto adhesive film
Plotter software on screen: a star made up of small red circles representing rhinestones, with the ‘Send’ and ‘Finish’ buttons below it
The Secabo Lapos cutting plotter has cut small circles for rhinestones out of thick adhesive film; a template for applying the rhinestones
A hand peels off the grey, plotted stone-chip protection film with circular holes arranged in a star shape; individual cut-out circles remain on the white backing
A hand peels off the plotted grey stone-effect film with a hole pattern; the cut-out circles remain on the backing: the finished rhinestone stencil
A hand places a grey stencil sheet with holes arranged in a star pattern for rhinestones onto a piece of acrylic glass to serve as a sturdy base
A hand pours rhinestones from a bag onto a grey stencil sheet featuring a star made of holes, which has been stuck onto acrylic glass
A brush sweeps red rhinestones across a grey, plotted stencil on acrylic glass so that they fall into the holes in the design
A thumb presses a transparent transfer film firmly onto red rhinestones, which are arranged in the shape of a star within the grey stencil
A purple T-shirt, laid flat on the base plate of a red heat transfer press, ready for the rhinestone design to be pressed onto it
A hand peels the transfer film off the grey stencil on the acrylic glass; red star-shaped rhinestones stick to the film, leaving empty holes behind
Star motif made from red rhinestones under a transparent transfer film on a purple T-shirt, ready to be ironed on
A hand peels off a transparent transfer film from a star made of red rhinestones on a purple T-shirt – the final step
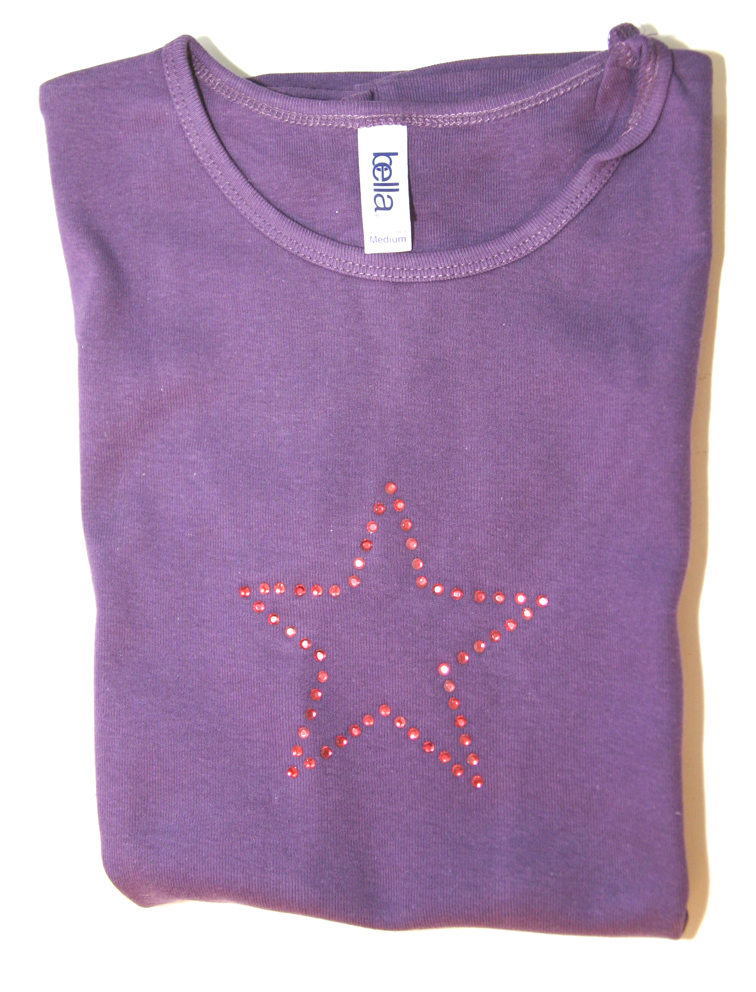
Final result: a pleated purple T-shirt with a star outline made from red rhinestones pressed onto it
Tags Cutting plotter Transfer press Textile finishing Adhesive film Rhinestones Textiles