Frosted glass film: DIY privacy screens on a budget
Just because there are windows doesn’t mean you want people to be able to see into your private space. We explain how you can make your own privacy screen on a budget
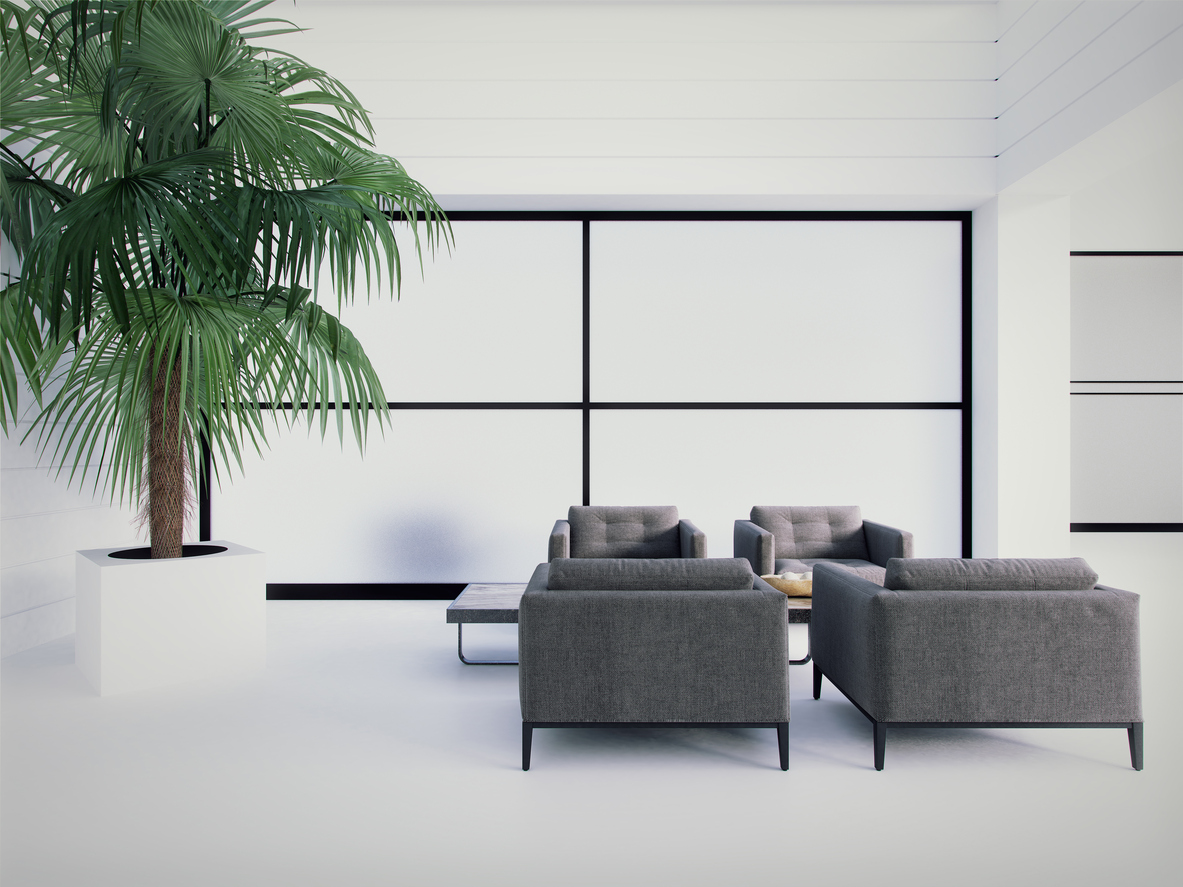
Whether in the bathroom or the office: you don’t want people to be able to see into your private space just because there are windows. To stop your neighbour from peering in at your breakfast in future, windows of any size can be covered with film easily and affordably. The classic choice here is so-called frosted glass film, which offers a subtle, translucent and non-reflective privacy screen. The advantage is that window film is not only easy to use, but is also available in a wide range of colours. So if you find the classic version too plain, you can simply choose an alternative film in the colour of your choice. What’s more, the film can be replaced as often as you like. So if you ever tire of a particular colour, you can easily swap it for a different one.
Self-adhesive frosted glass films with a great look
In our shop, you’ll find not only a selection of classic frosted glass films, but also a wide range of colourful, textured or special-effect self-adhesive films. To apply them, all you need is acraft knife and a good cutting mat to cut the film to the right shape beforehand. A window scraper is a good option for bubble-free application; alternatively, you can use a plastic squeegee. You’ll also need a grease-removing window cleaner, a microfibre cloth and a spray bottle filled with lukewarm water mixed with one or two drops of washing-up liquid. Although you can apply the film on your own, it’s helpful to have a second person on hand to assist.
Step 1: First, clean the window with the grease-removing cleaner and the microfibre cloth. This prevents lint from being left on the glass surface and later sticking unsightly between the pane and the film.
Step 2: Now cut the film to size precisely using the craft knife. By the way: the ideal room temperature for applying the film is between 18 and 20 °C and should be maintained for the first two days. Excessive sunlight coming through the window in question can also have a negative effect on the result.
Step 3:Now moisten the window with the mixture from the spray bottle and position the film in the desired spot. Make sure it is straight, and peel off the protective film bit by bit as you apply it. Whilst applying the film, take care to smooth out any trapped air bubbles in the relevant area with the squeegee, working from the inside out.
Step 4: Once you have finished applying the film, you can remove any remaining air bubbles with the squeegee by running it over the entire surface from the inside outwards. This final step also ensures that the film lies evenly and smoothly on the window. Leave it for a few days without opening or cleaning the window to ensure optimum and long-lasting durability.
Window films – a real asset for your business too!
You’re also welcome to use the window film as an advertising space or customise it with additional personalised details. Using acutting plotter, for example, you can cut out custom shapes and patterns in your film, thereby drawing attention to your glass surfaces.