Women’s Equality Day: Make a statement with YOW!
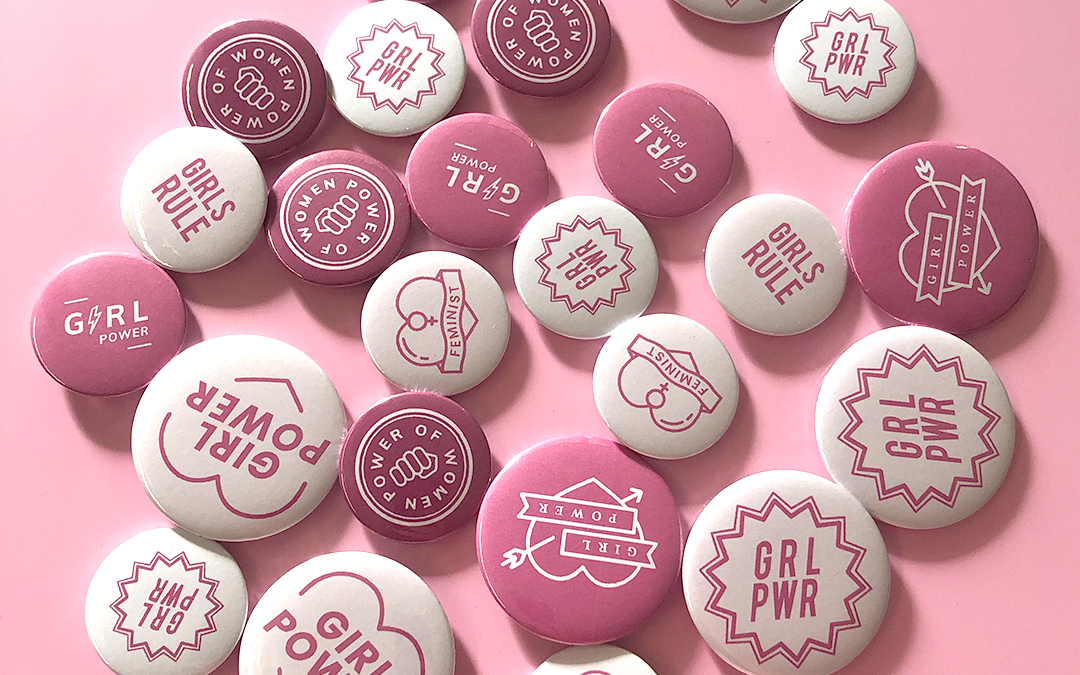
As a little ‘icing on the cake’, we’ve decided to make a statement with these badges to mark International Women’s Day.
Hello, dear YOW! followers,
we’re celebrating Women’s Equality Day with you!
This is because women in the United States were granted equal voting rights for the first time on 26 August 1920. Since then, this important milestone has been commemorated every year on 26 August, particularly in the US, but also in Germany.
We, too, place great importance on equality within our company, and almost half of our team are women. We firmly believe that gender equality is essential for a high-performing and innovation-driven company. To this end, we offer women and men alike a wide range of opportunities for development and growth. After all, the future lies in a work culture of equality and in a workforce where everyone is treated as equals.
That’s why today we’ve treated our female staff to a little something special – because we’re proud of the ‘girl power’ here!
A bag finished with flex film and some really cool buttons to celebrate empowerment. Because GIRLS RULE.
For this brilliant initiative, we used our brand-new Secabo TC5 Lite transfer press and the Secabo button machine – both of which, as always, you’ll find in our shop.
We want to make this cool fabric bag:
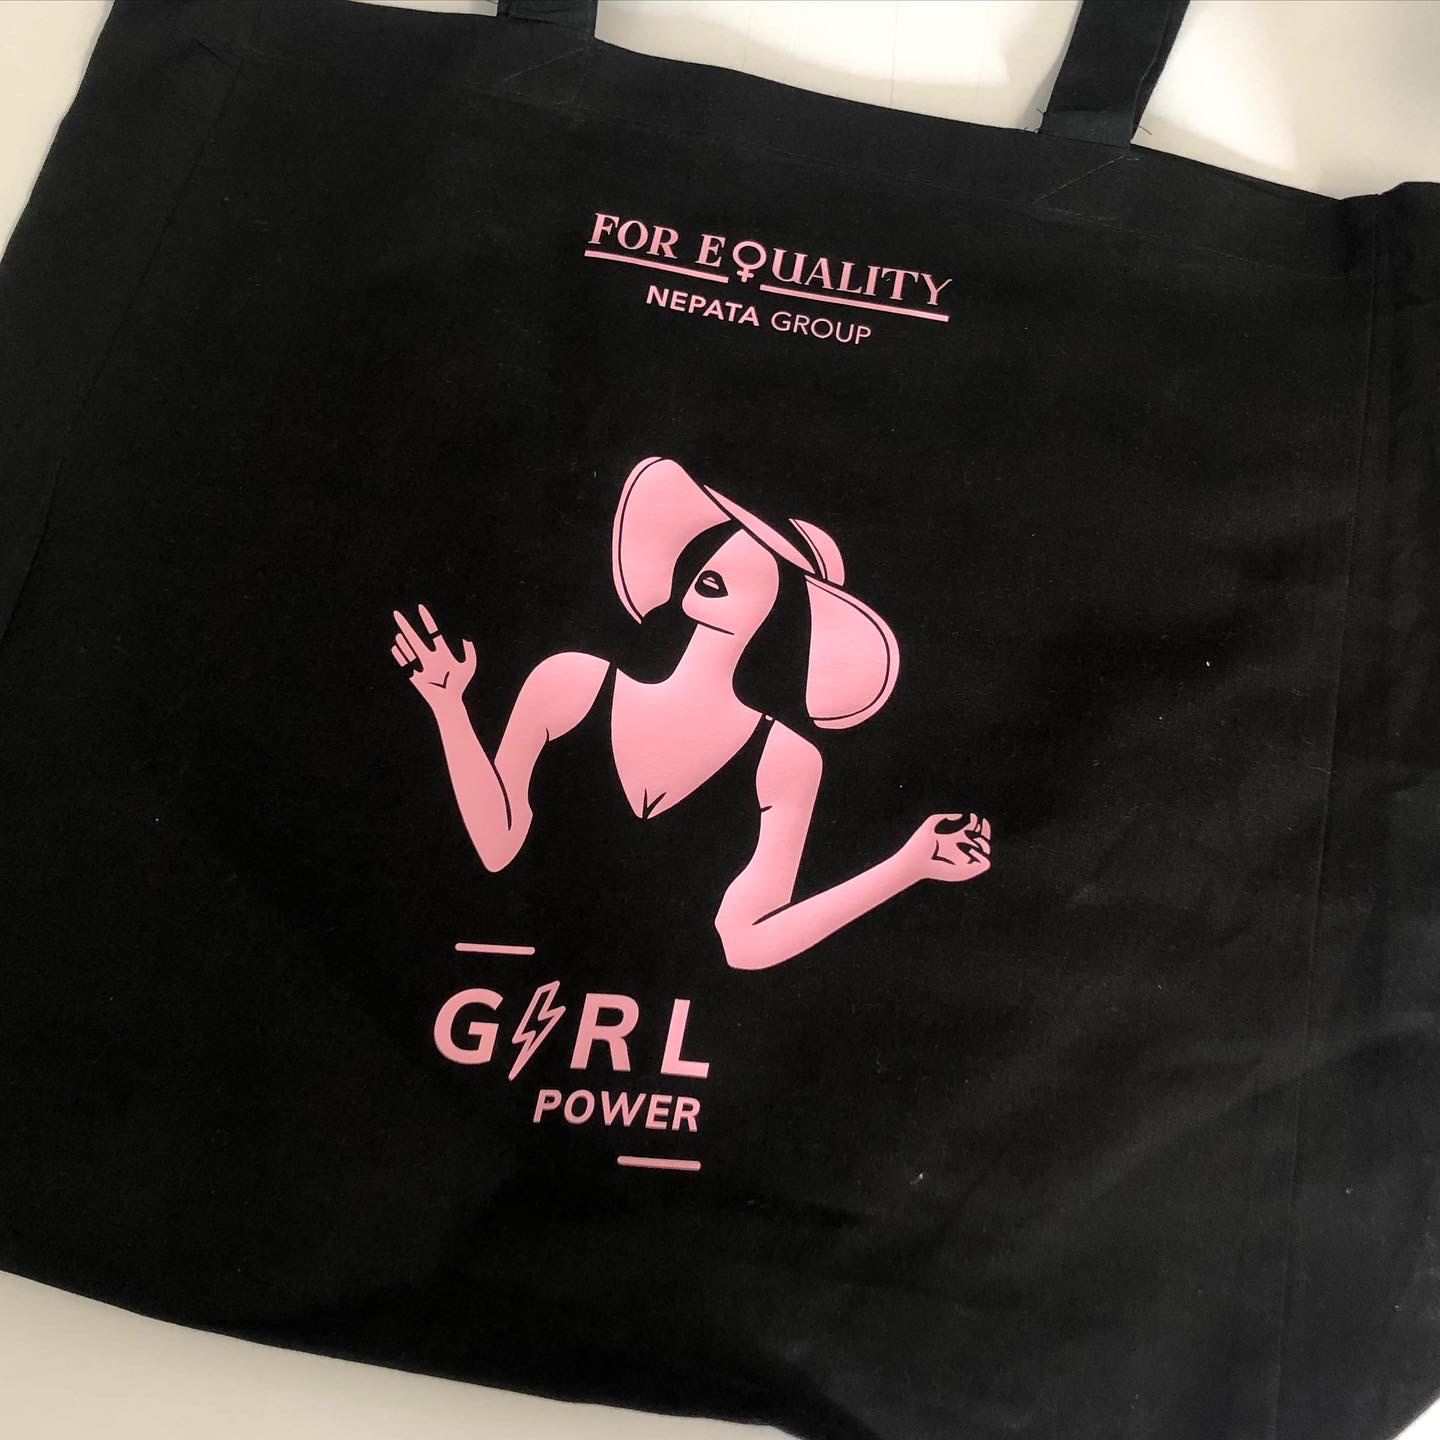
And as a little ‘icing on the cake’, we’ve decided to make a statement with these buttons as well.
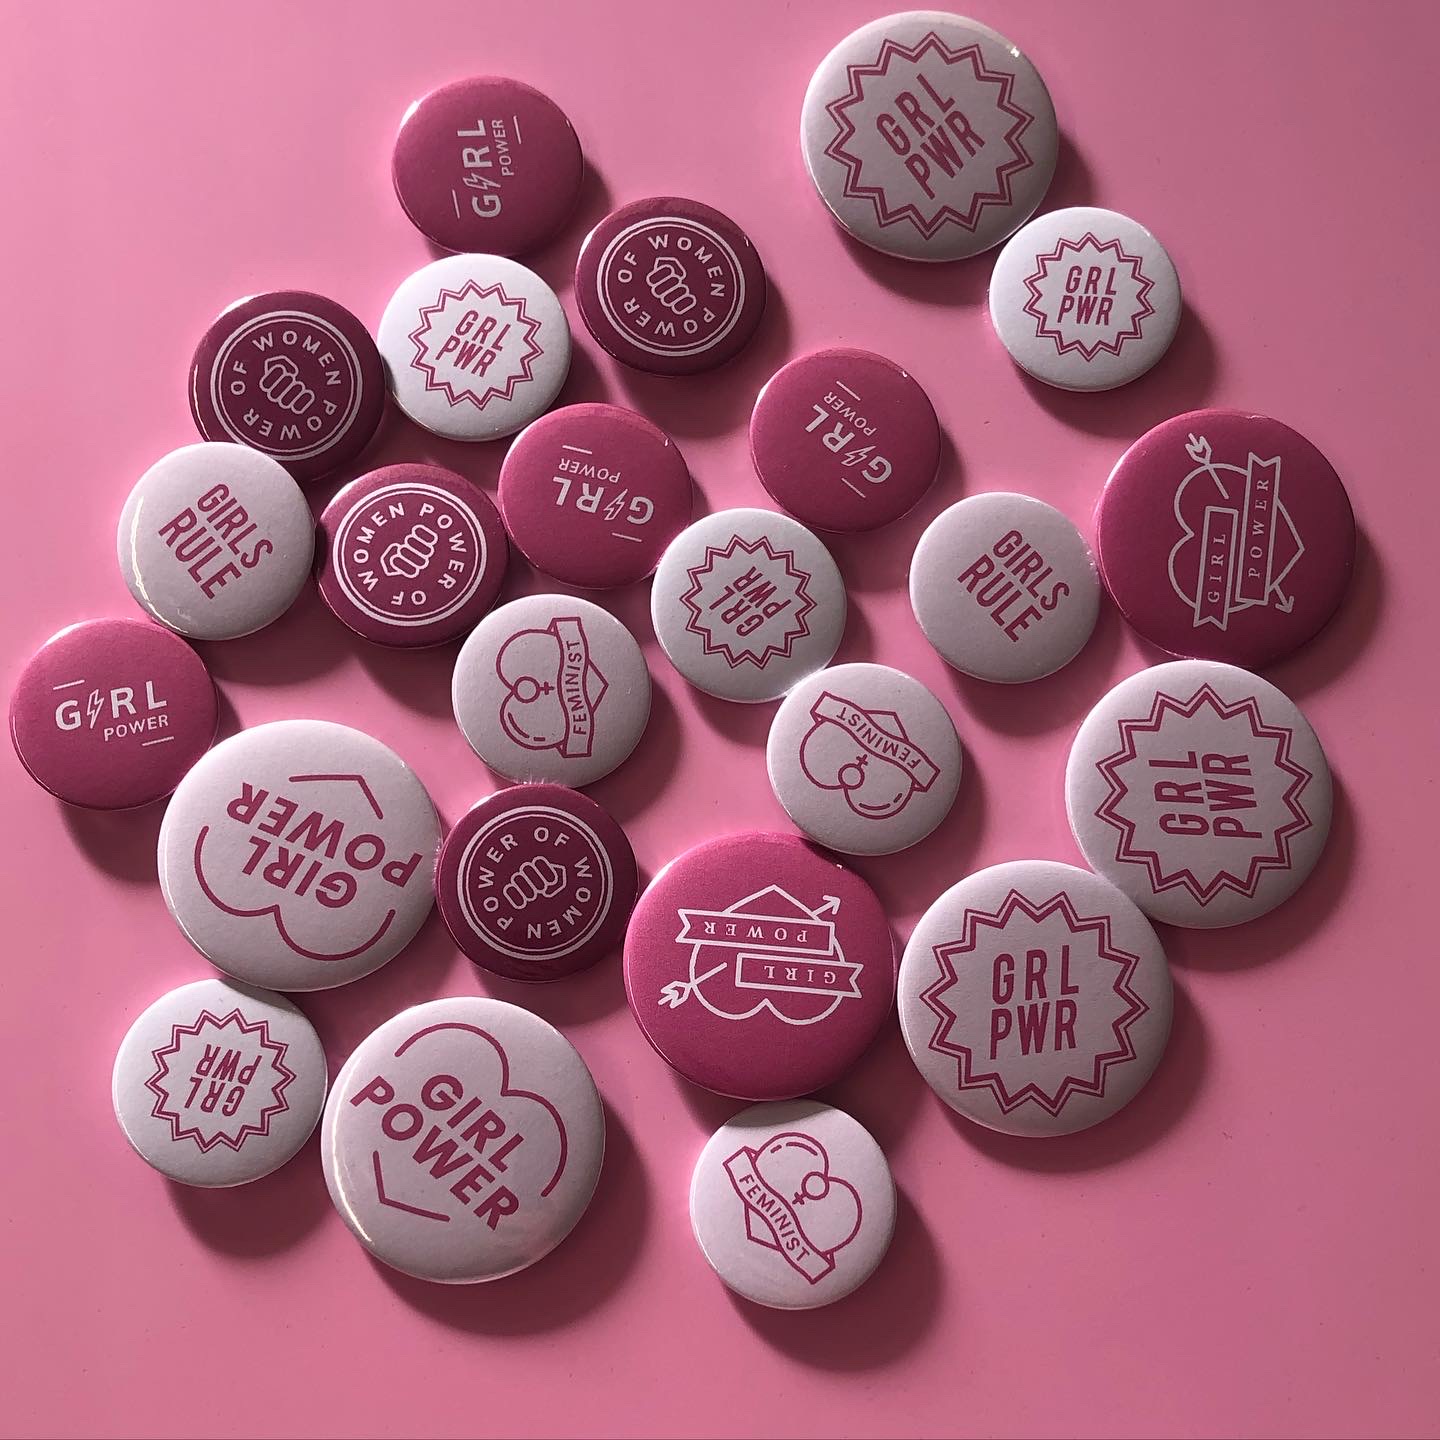
Let’s start with the buttons. Have you ever thought about buying a button-making machine but were put off because they’re too expensive? We have the cheapest machine available for just over €160. We offer these machines in various sizes, so the prices vary accordingly. The cheapest one, however, is a top-of-the-range multifunctional button-making machine. This means it has a handy quick-change tool mechanism for making all sorts of buttons. We’ve used this one for this tutorial.
In our shop, we offer a wide variety of button shapes. Whether round, oval or rectangular – we’ve got everything you need!
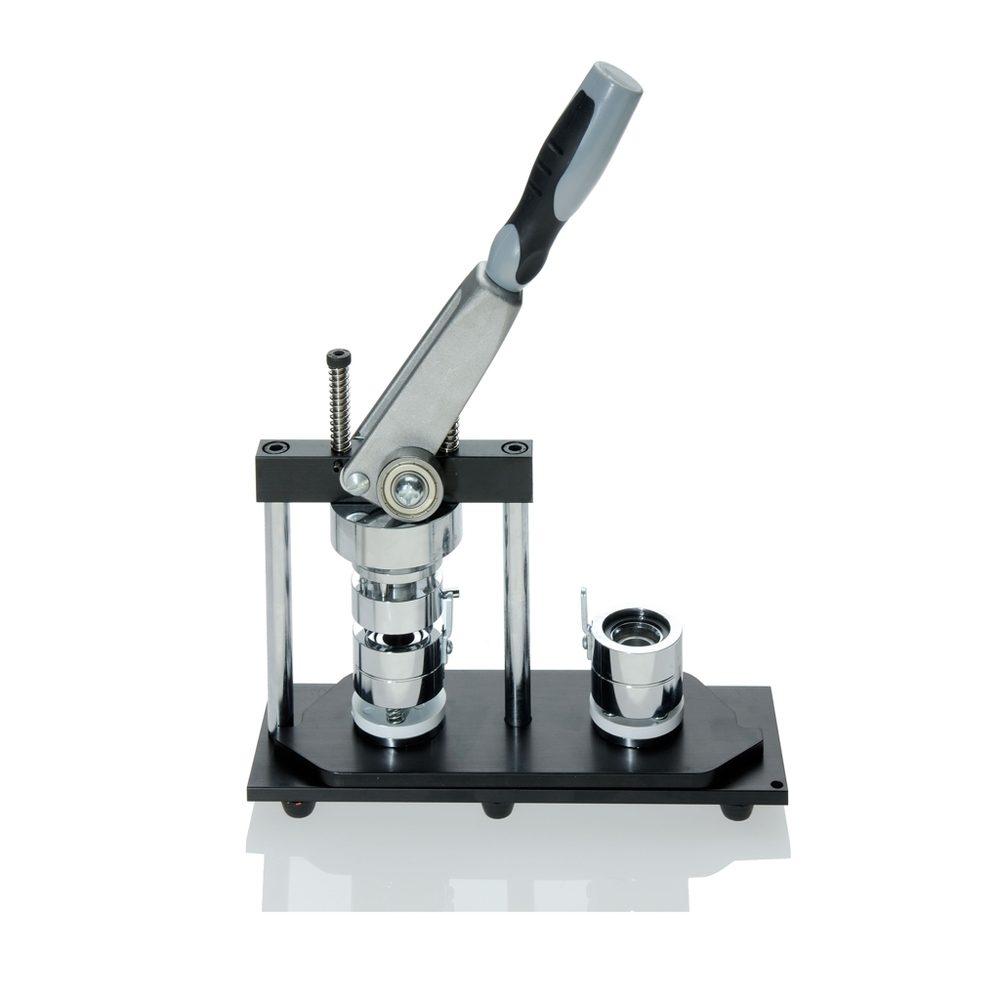
What can YOW! ’s button-making machines offerme ?
- Affordable and sturdy button presses
- Quick-change tool mechanism
- Scope of delivery includes a pre-processing unit
- Capable of producing round, oval and rectangular buttons – in various sizes
- Entry-level models
- Various punching tools
Once you’ve decided what size you want your buttons to be, have a look round our online shop and order everything you need: a button-making machine, a tool set (e.g. for 25 mm), a multi-function punch press including a punching tool (or a punch cutter) and blank buttons. Make sure you stick to the same sizes – for example, all tools should be 25 mm.
Here’s how it works:
First of all , we need the tool set: two larger tools and one smaller one.
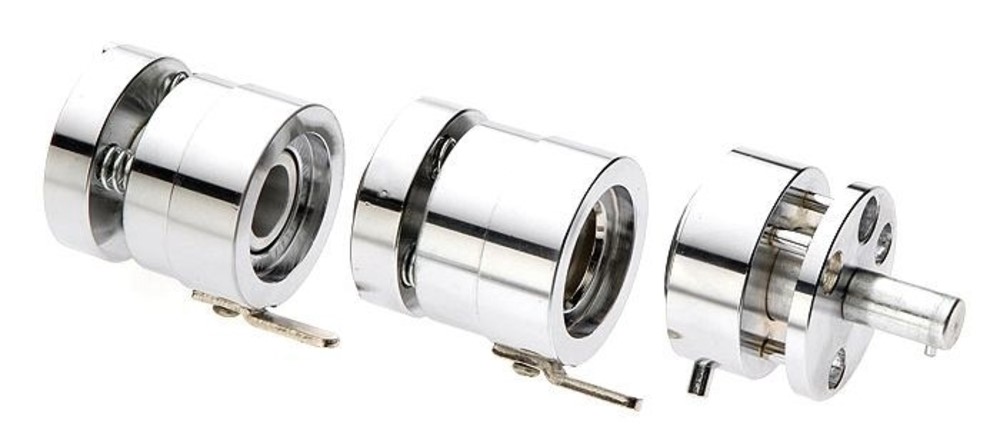
As you may have already noticed, letters are engraved on the individual tools: A and B. The same letters are also marked on the button-making machine. This means that the A piece goes into the A hole, and the B piece into the B hole. Make sure that these small metal pins always point towards the centre. Like this:
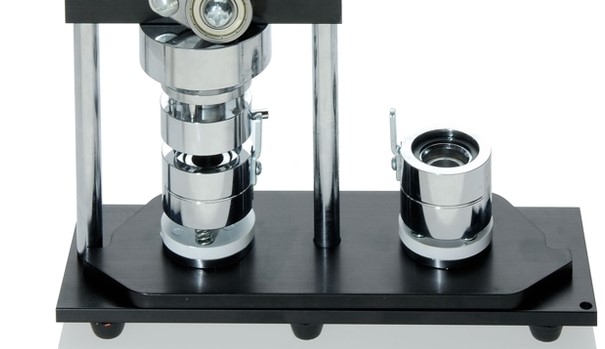
The smaller tool piece is clicked into place at the top of the button-making machine – that is, between the B-piece and the button-making machine.
Here we go!
Take the front part of the button blank. Place it in the A-jig, with the inside facing downwards, as shown in the picture above. Then place the design of your choice – which can be printed using a standard printer – on top of it. Finally, place the protective film – which is included in the pack – on top.
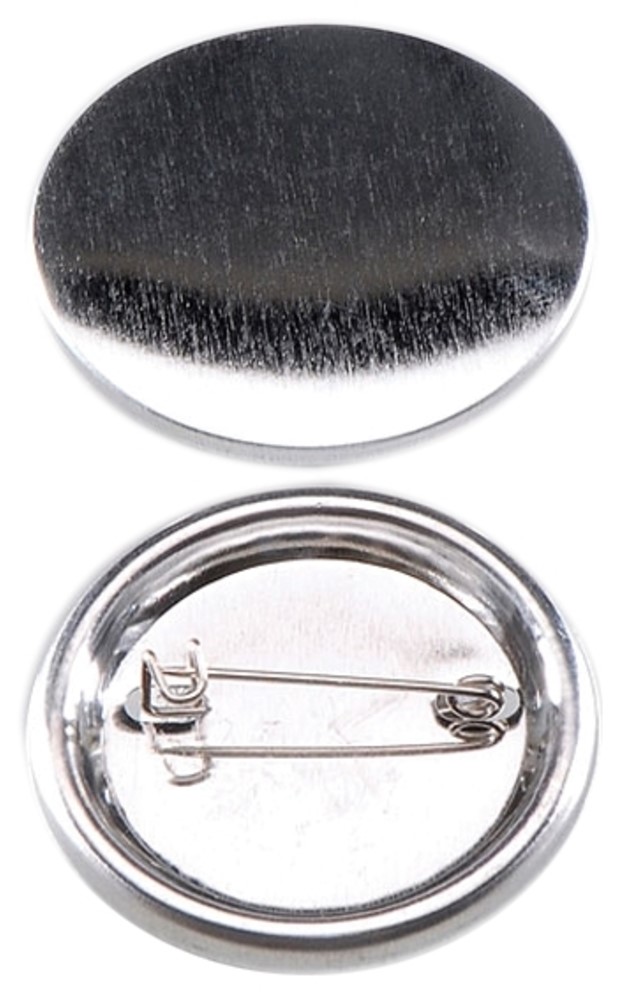
A quick note on the design: Once you’ve printed it out, you’ll need the multi-function die-cutting press. Choose the right die-cutting tool. Make sure you choose the correct size. Bear in mind that you shouldn’t necessarily design your motif to extend right to the edge, as the edge will later be folded over the blank button. You can download our PDF template here as the ideal design guide!
Place the design in the die-cutting press, centre it, and close the lid. Now slide it into the bottom of the multifunctional die-cutting press – as far as it will go. Then press the large lever down to cut out the design. Repeat this once or twice to ensure everything is cut out perfectly. And there you have it – your button design is ready.
Let’s carry on!
Turn the A-side so that it is positioned under the lever. You can do this quite easily by hand. Then press the lever down firmly. Whilst you’re at it, you can place the rear part of the button blank into the B-piece. Very important: make sure the sharp edge is facing upwards. Turn the rail again so that part B is under the lever. Now press down firmly once more. Turn the rail round one last time and voilà – here’s your finished button!
Our button-making machines are specifically designed for use by beginners and novices. Firstly, we offer affordable package deals that include everything you need. Secondly, you have a wide choice of different sizes. You can buy a multifunctional button-making machine with all its various components, or simply individual button-making machine sizes. These come with the matching tools included.
Would you like to see the whole process in a video? Then do have a look here. This video explains the button-making process step by step. And if you haven’t subscribed to our YouTube channel yet, now’s a great opportunity to do so.
Let’s move on to the cloth bag!
Here we’re using the brand-new TC5 Lite transfer press from Secabo. Are you looking for a transfer press and want a great entry-level model at a fair price? Then you’ve come to the right place. This press offers top performance and a high level of user-friendliness. It features an easy-to-use controller, yet is equipped with the same high performance as other Secabo machines .
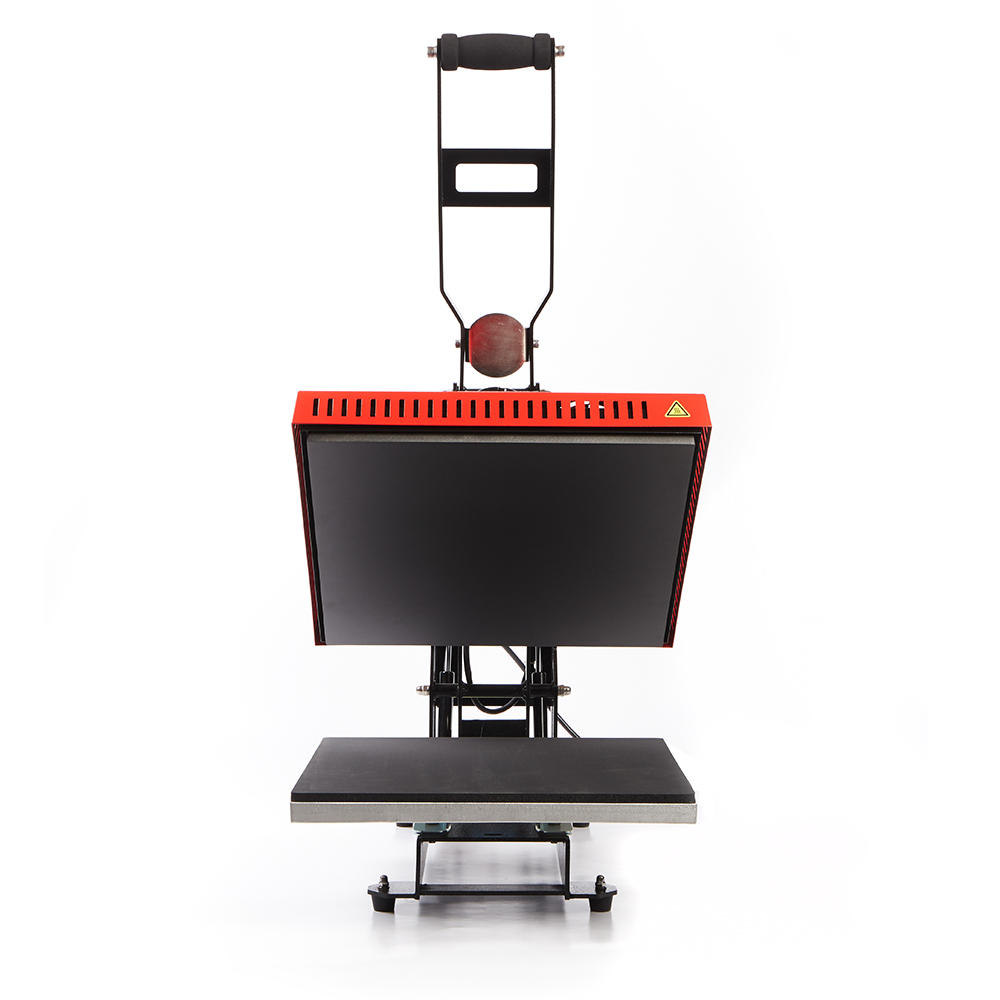
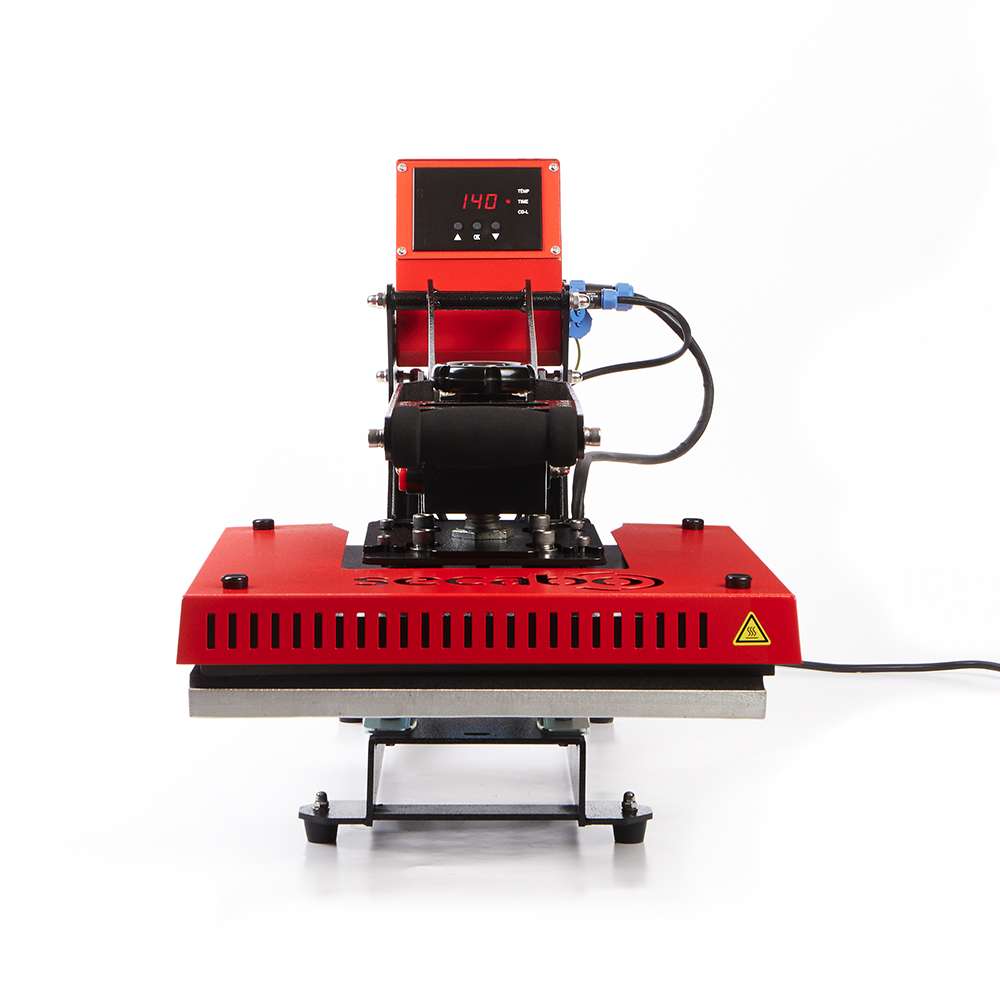
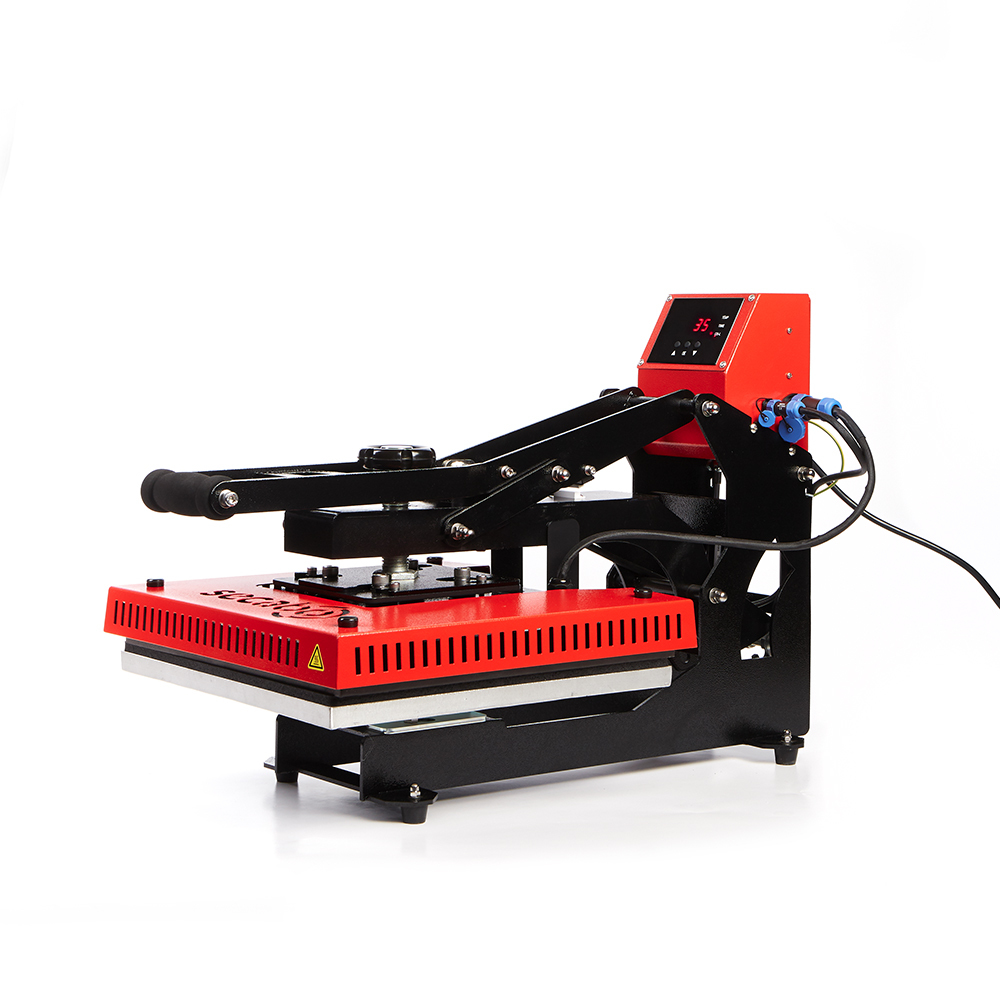
Here’s an overview of all the benefits:
- Easily replaceable components
- great upgrade options
- Individual base and heating plates can be retrofitted cost-effectively
- Modular, automatically opening toggle press
- The pressing process can be interrupted at any time at the touch of a button
- Additional cover plate
- Can be removed and replaced in a few simple steps
- Optionally fitted with interchangeable plates
- Upgrade to the Secabo TC-Smart series possible
- Suitable for all common transfer processes
Choose a great design that will make the perfect statement. Plot it as usual using a Secabo cutting plotter. You can then heat-press it onto a fabric bag or a T-shirt. We’ve naturally gone for a soft pink here and wanted to try out several designs.
Not sure which temperature is suitable for which transfer? Then why not have a look at our blog post‘Transfer Temperatures’.
Have fun giving it a go!
For further information and advice, call +49 (0) 8442 95840-40 or email mail@y-o-w.com