Spooky Sips: Create your own spookily beautiful Halloween mugs using sublimation
Sublimate your own Halloween mugs: a step-by-step guide using a mug press, ready-made transfers and blank mugs – without needing your own sublimation printer.
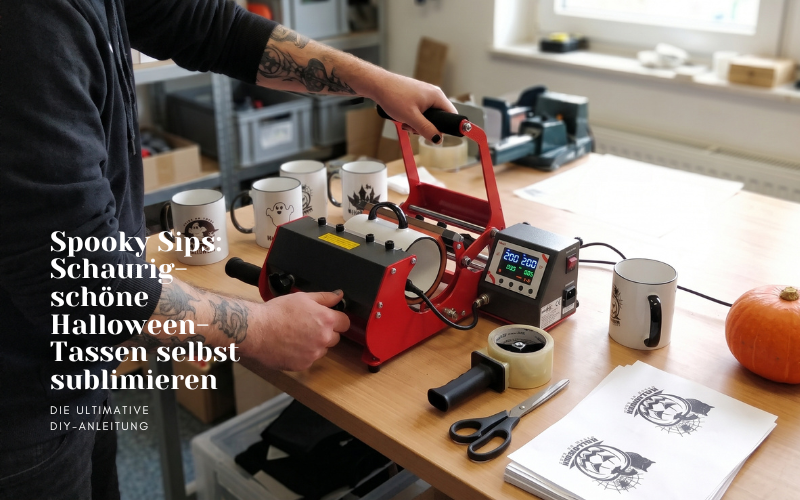
Say goodbye to boring crockery! The pumpkins are carved, the decorations are up – and you’re still drinking your coffee from that standard white mug? We’ll show you, step by step, how to create your own sublimation-printed Halloween mugs: with vibrant colours, dishwasher-safe and ready in just a few minutes.
Best of all: you don’t need your own sublimation printer. At YOW!, you can order your Halloween design as a ready-printed sublimation transfer, cut it to size and press it onto the mug. Perfect for your own Spooky Season stash, this weekend’s Halloween party, or as a little gift that’s guaranteed to go down better than yet another packet of sweets.
What you’ll need for your Halloween mugs
Three components, one workflow: press, transfer, blank. You can get everything from a single source at YOW!
| What | Our tip | Why |
|---|---|---|
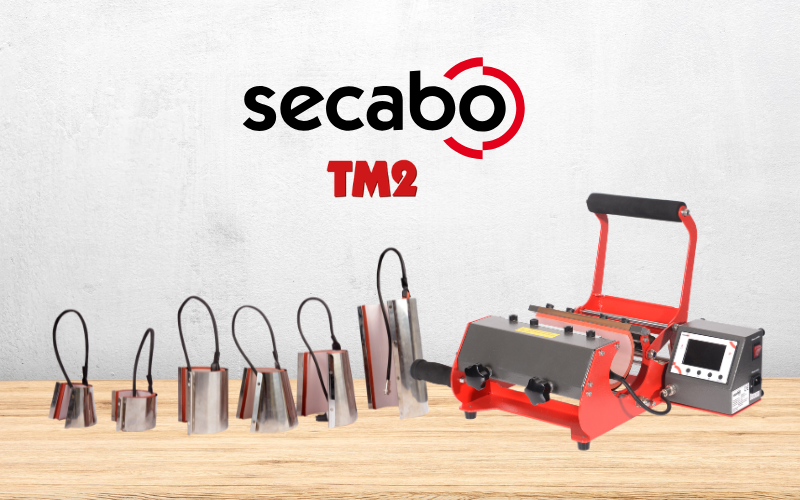
| Cup press | Secabo TM2 Cup Press | Extra-wide heating element: 2 mugs at the same time or one mug up to 21 cm in height. Digital controller for precise temperature (up to 225 °C) and time. |
| Design | Sublimation transfers | Your design ready-printed – as ½ running metre (600 × 500 mm) or 1 running metre (600 × 1000 mm). No need for your own printer, no ink, no colour management. |
| Blankware & accessories | Mugs & accessories | Sublimation-coated ceramic mugs (11 oz) in premium or eco quality, as well as transparent thermal tape for fixing. |
Also useful: a pair of scissors or a craft knife, heat-resistant gloves and a lint-free surface.
Good to know: The TM2 comes with a heating element for cups with a diameter of 7.5–9.0 cm – which fits the classic 325 ml cup. Optional heating elements are available for espresso cups, tapered mugs or shot glasses. A Halloween shot set? Absolutely.
Step by step: How to give your spooky mug that special touch
- Create your design. Allow for a print area of approximately 20 × 9 cm per mug (11-oz mug). Arrange several designs on your transfer sheet to make the most of the space – depending on the layout, you can fit around 20 mug wraps onto 1 running metre. Important: Mirror any text if your transfer supplier does not do this automatically.
- Order the transfer. Upload your design as a sublimation transfer. You’ll receive a pre-printed sheet that you simply need to cut to size.
- Preheat the press. Switch on the TM2 and set the temperature and time on the digital controller. Guide values for ceramic mugs: approx. 190–200 °C for 180–240 seconds. Follow the instructions on your transfer and always carry out a test print.
- Cut out the transfer and secure it. Cut the design to size, place it on the mug with the printed side facing down, and secure it tightly with heat-resistant tape. The paper must lie flat all over; otherwise, there will be blurred areas.
- Pressing. Place the mug in the heating sleeve, adjust the pressure using the hand wheel, close the lid and start the timer. With the TM2, you can press two mugs at the same time – doubling your output per cycle.
- Remove and peel off. Caution: hot! Remove the mug wearing gloves, quickly peel off the thermal tape and paper, and leave the mug to cool on a heat-resistant surface. Your Spooky Sip is ready.
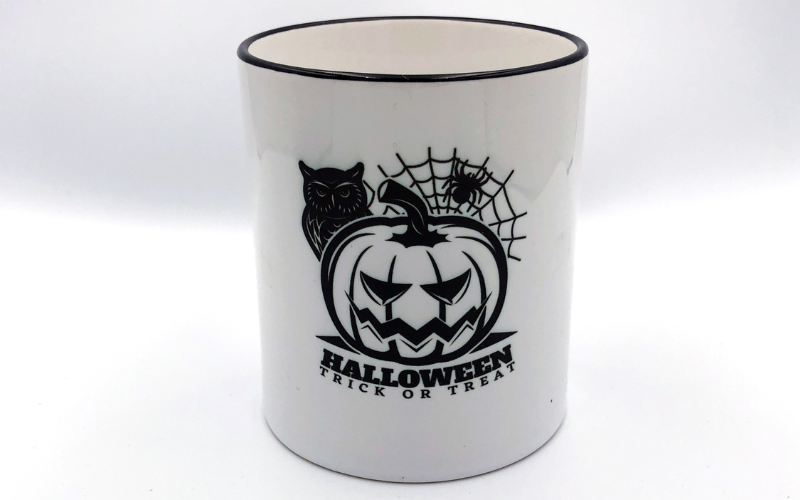
6 design ideas for spookily good mugs
- Coffin Coffee: An apothecary-style coffin label reading ‘Here lies my motivation – until my first coffee’.
- Pumpkin Spice Party: Pumpkin faces in an all-over pattern, warm shades of orange and black – a potential bestseller for the whole of autumn.
- Ghost Mode: A minimalist ghost on a white background, accompanied by the recipient’s name. Simple, personalised, perfect as a small gift.
- Witch’s Kitchen: Potion labels, herbal illustrations and constellations – ideal for tea lovers.
- Night Shift Skeleton: A skeleton with a coffee mug and the slogan ‘Dead inside, but caffeinated’.
- Spooky Shot Set: Bats and cobwebs on shot glasses – ready to use straight away with the matching heating element for the TM2.
Pro tip: Make the most of the mug’s full all-round surface area. Designs that run across the entire width look more high-quality and are much more photogenic on social media.
Common mistakes and how to avoid them
| Problem | Cause | Solution |
|---|---|---|
| Blurred edges | The transfer is not taut | Secure all around with heat-activated tape; readjust the pressure |
| Pale colours | Temperature too low or time too short | Increase the time in 20-second increments; press a test mug |
| Ghost images (perfect for Halloween, but undesirable) | Paper slips when removed | Pull the paper off in one go immediately after pressing |
| Print does not adhere | Cup without a sublimation coating | Use only coated blanks |
| Design is uneven | Heating element does not match the cup’s diameter | Select a heating element suitable for the shape of the mug |
Energy tip: Only switch on the press when you actually need to use it. This protects the heating element and saves electricity.
Conclusion: From idea to spooky mug in just a few minutes
With a mug press, a ready-made transfer and a coated blank, sublimation isn’t rocket science. Once you’ve set everything up, you can produce Halloween mugs for yourself, your friends or your customers – and after Halloween, you can seamlessly move on to Christmas designs.
Ready for your own spooky sips?
Discover the Secabo TM2 mug press
Order a design as a sublimation transfer
Not sure which press is right for you? Call us free of charge on: +49 800 9697467.