Photo transfer onto WunderBoard – the new aluminium sublimation panel
WunderBoard are innovative sublimation panels designed for high-quality photo printing at low investment costs. Available in 40 sizes and 4 finishes.
To expand our diverse range of sublimation products, we are delighted to present the fantastic WunderBoard. Using the thermal sublimation process, photos, graphics and images are transferred directly onto these specially coated aluminium panels. The WunderBoards offer particularly brilliant colour reproduction and are highly durable, transforming every image into an extraordinary work of art.
Below, we would like to outline the process for printing on these WunderBoards using sublimation transfer:
- Create and print a design
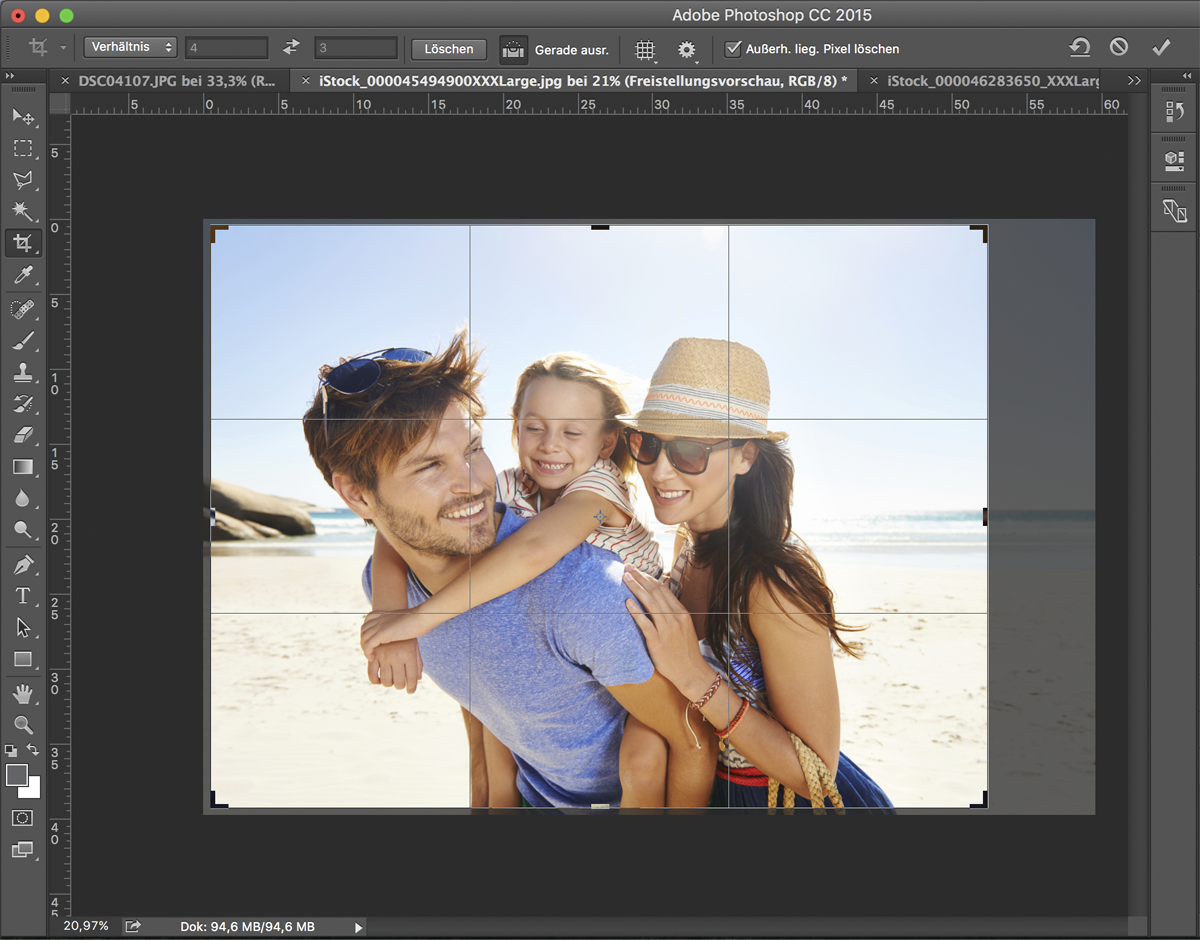
First, we created the image in Adobe Photoshop and resized it to fit the dimensions of our WunderBoard (30 cm × 40 cm), making it 2 mm larger to ensure a better print result at the edges and to prevent the edges from appearing too bright.
When printing, you must select the following colour and printer settings, as well as the appropriate printer profile from the manufacturer Sawgrass for your printer.
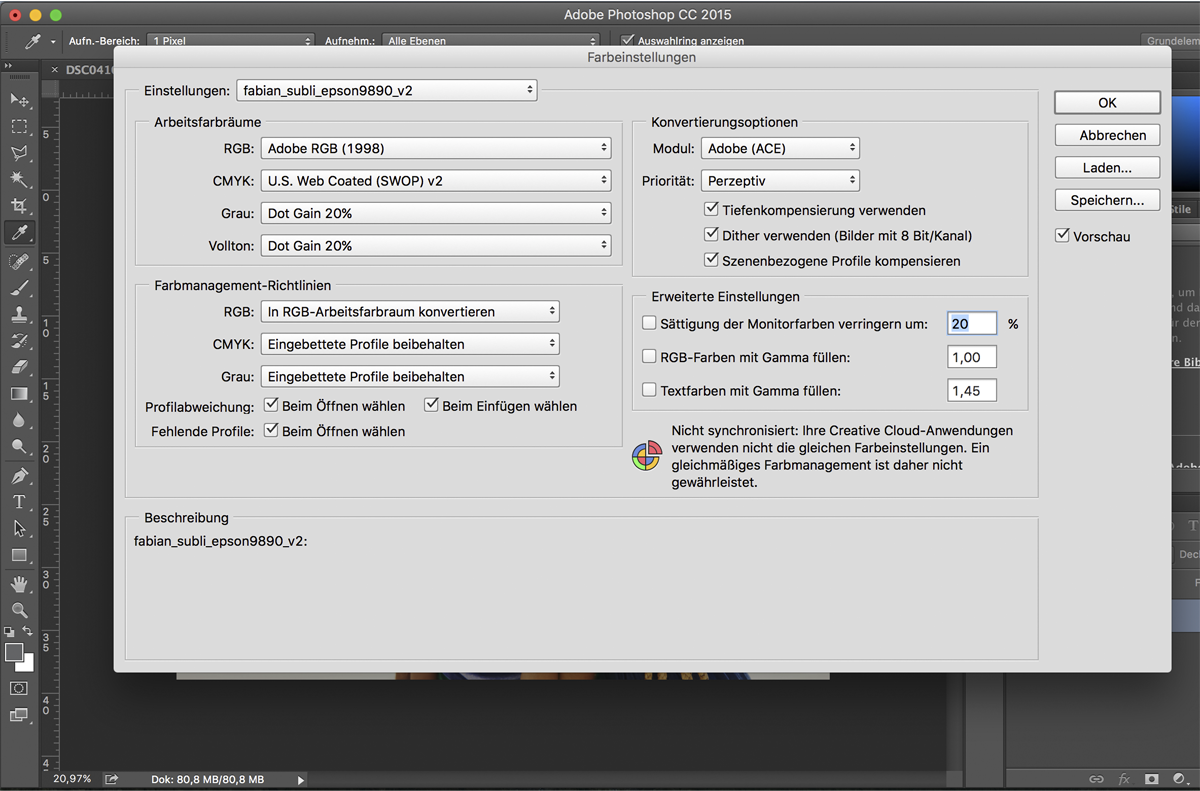
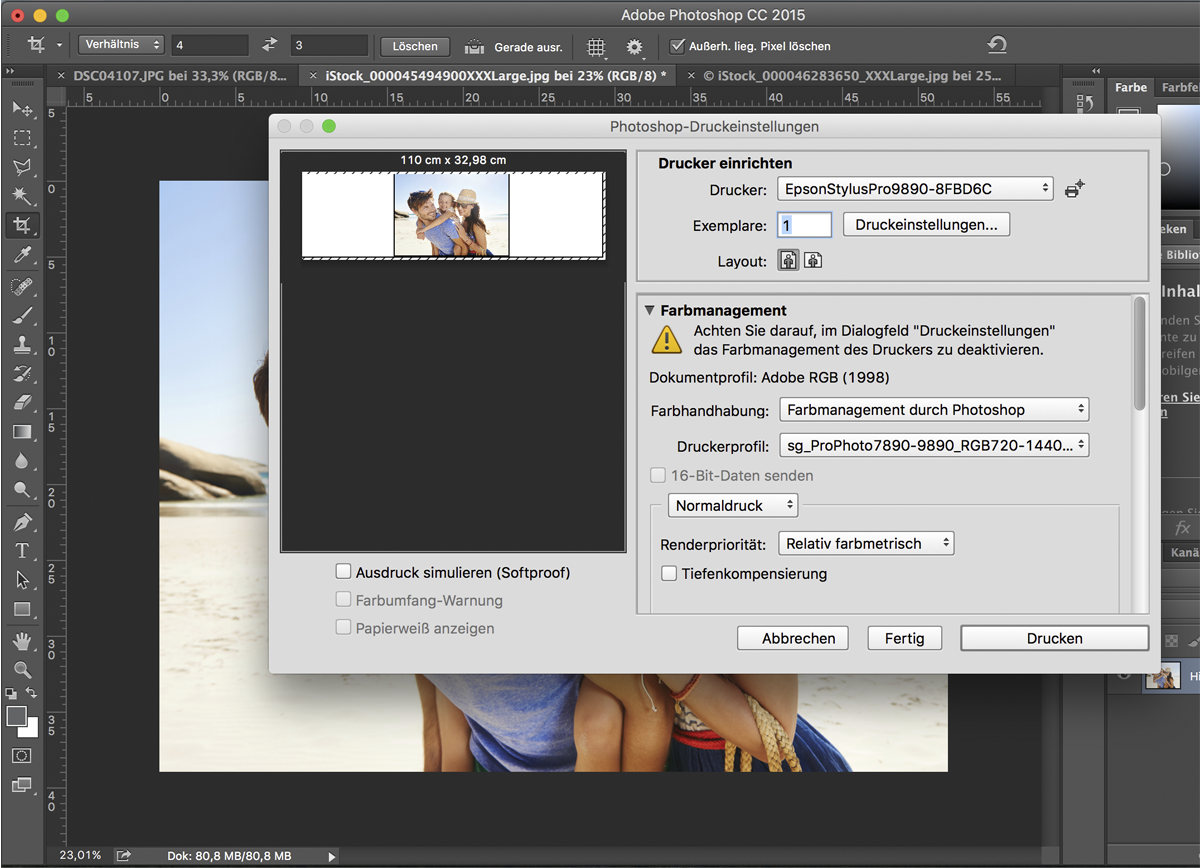
You can find the download, further information and system requirements for the relevant colour profiles, for example, as follows:
http://www.sawgrassink.com/Products/Inks/SubliJet-Sublimation-Inks/SubliJet-IQ-Sublimation-Inks.aspx
- Preparing the materials
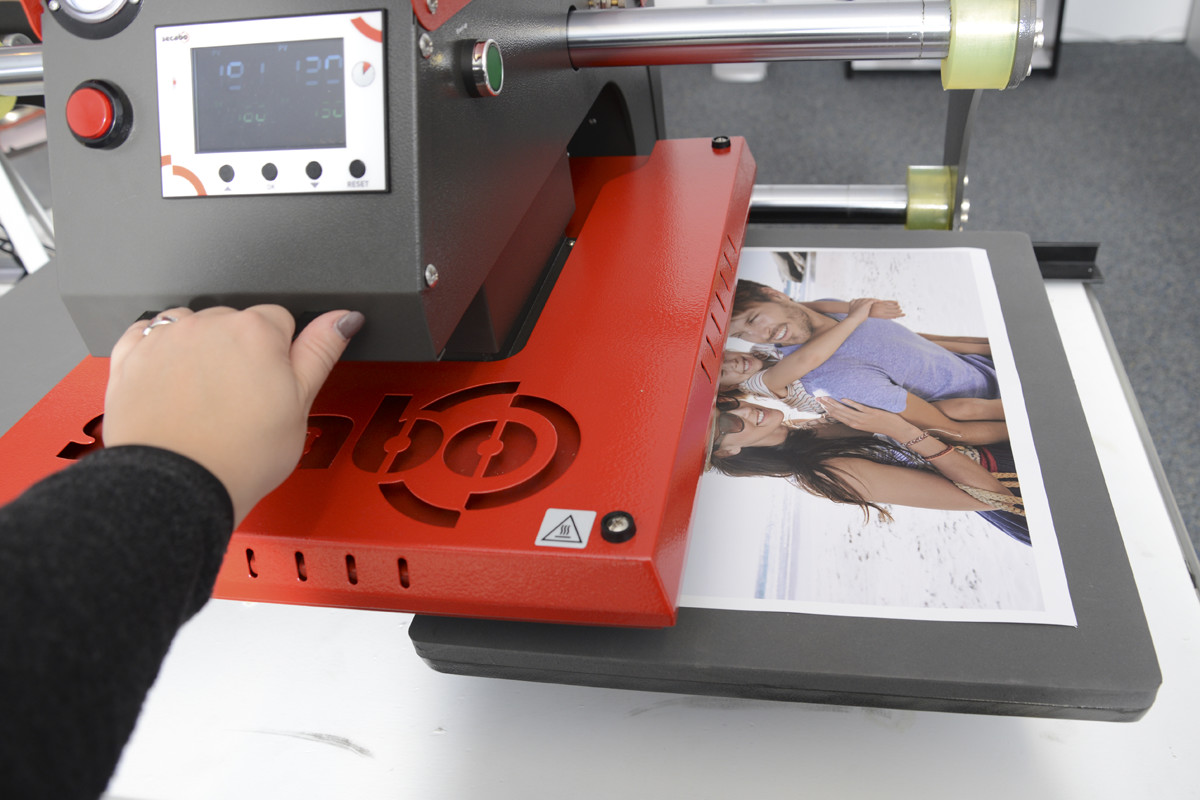
The printed design must be dried before transfer to ensure a brilliant print result. To do this, place the sheet of paper with the print facing upwards under the heating plate of the transfer press for 30–45 seconds. Keep the transfer press open whilst doing this so that the moisture can escape.
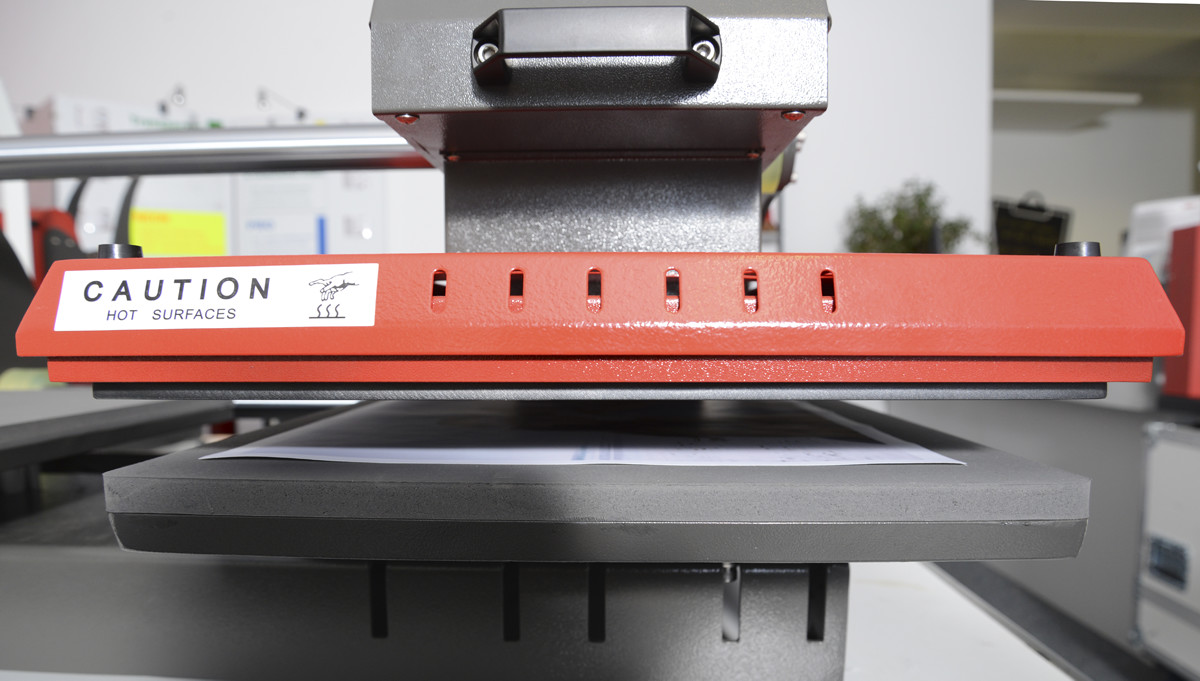
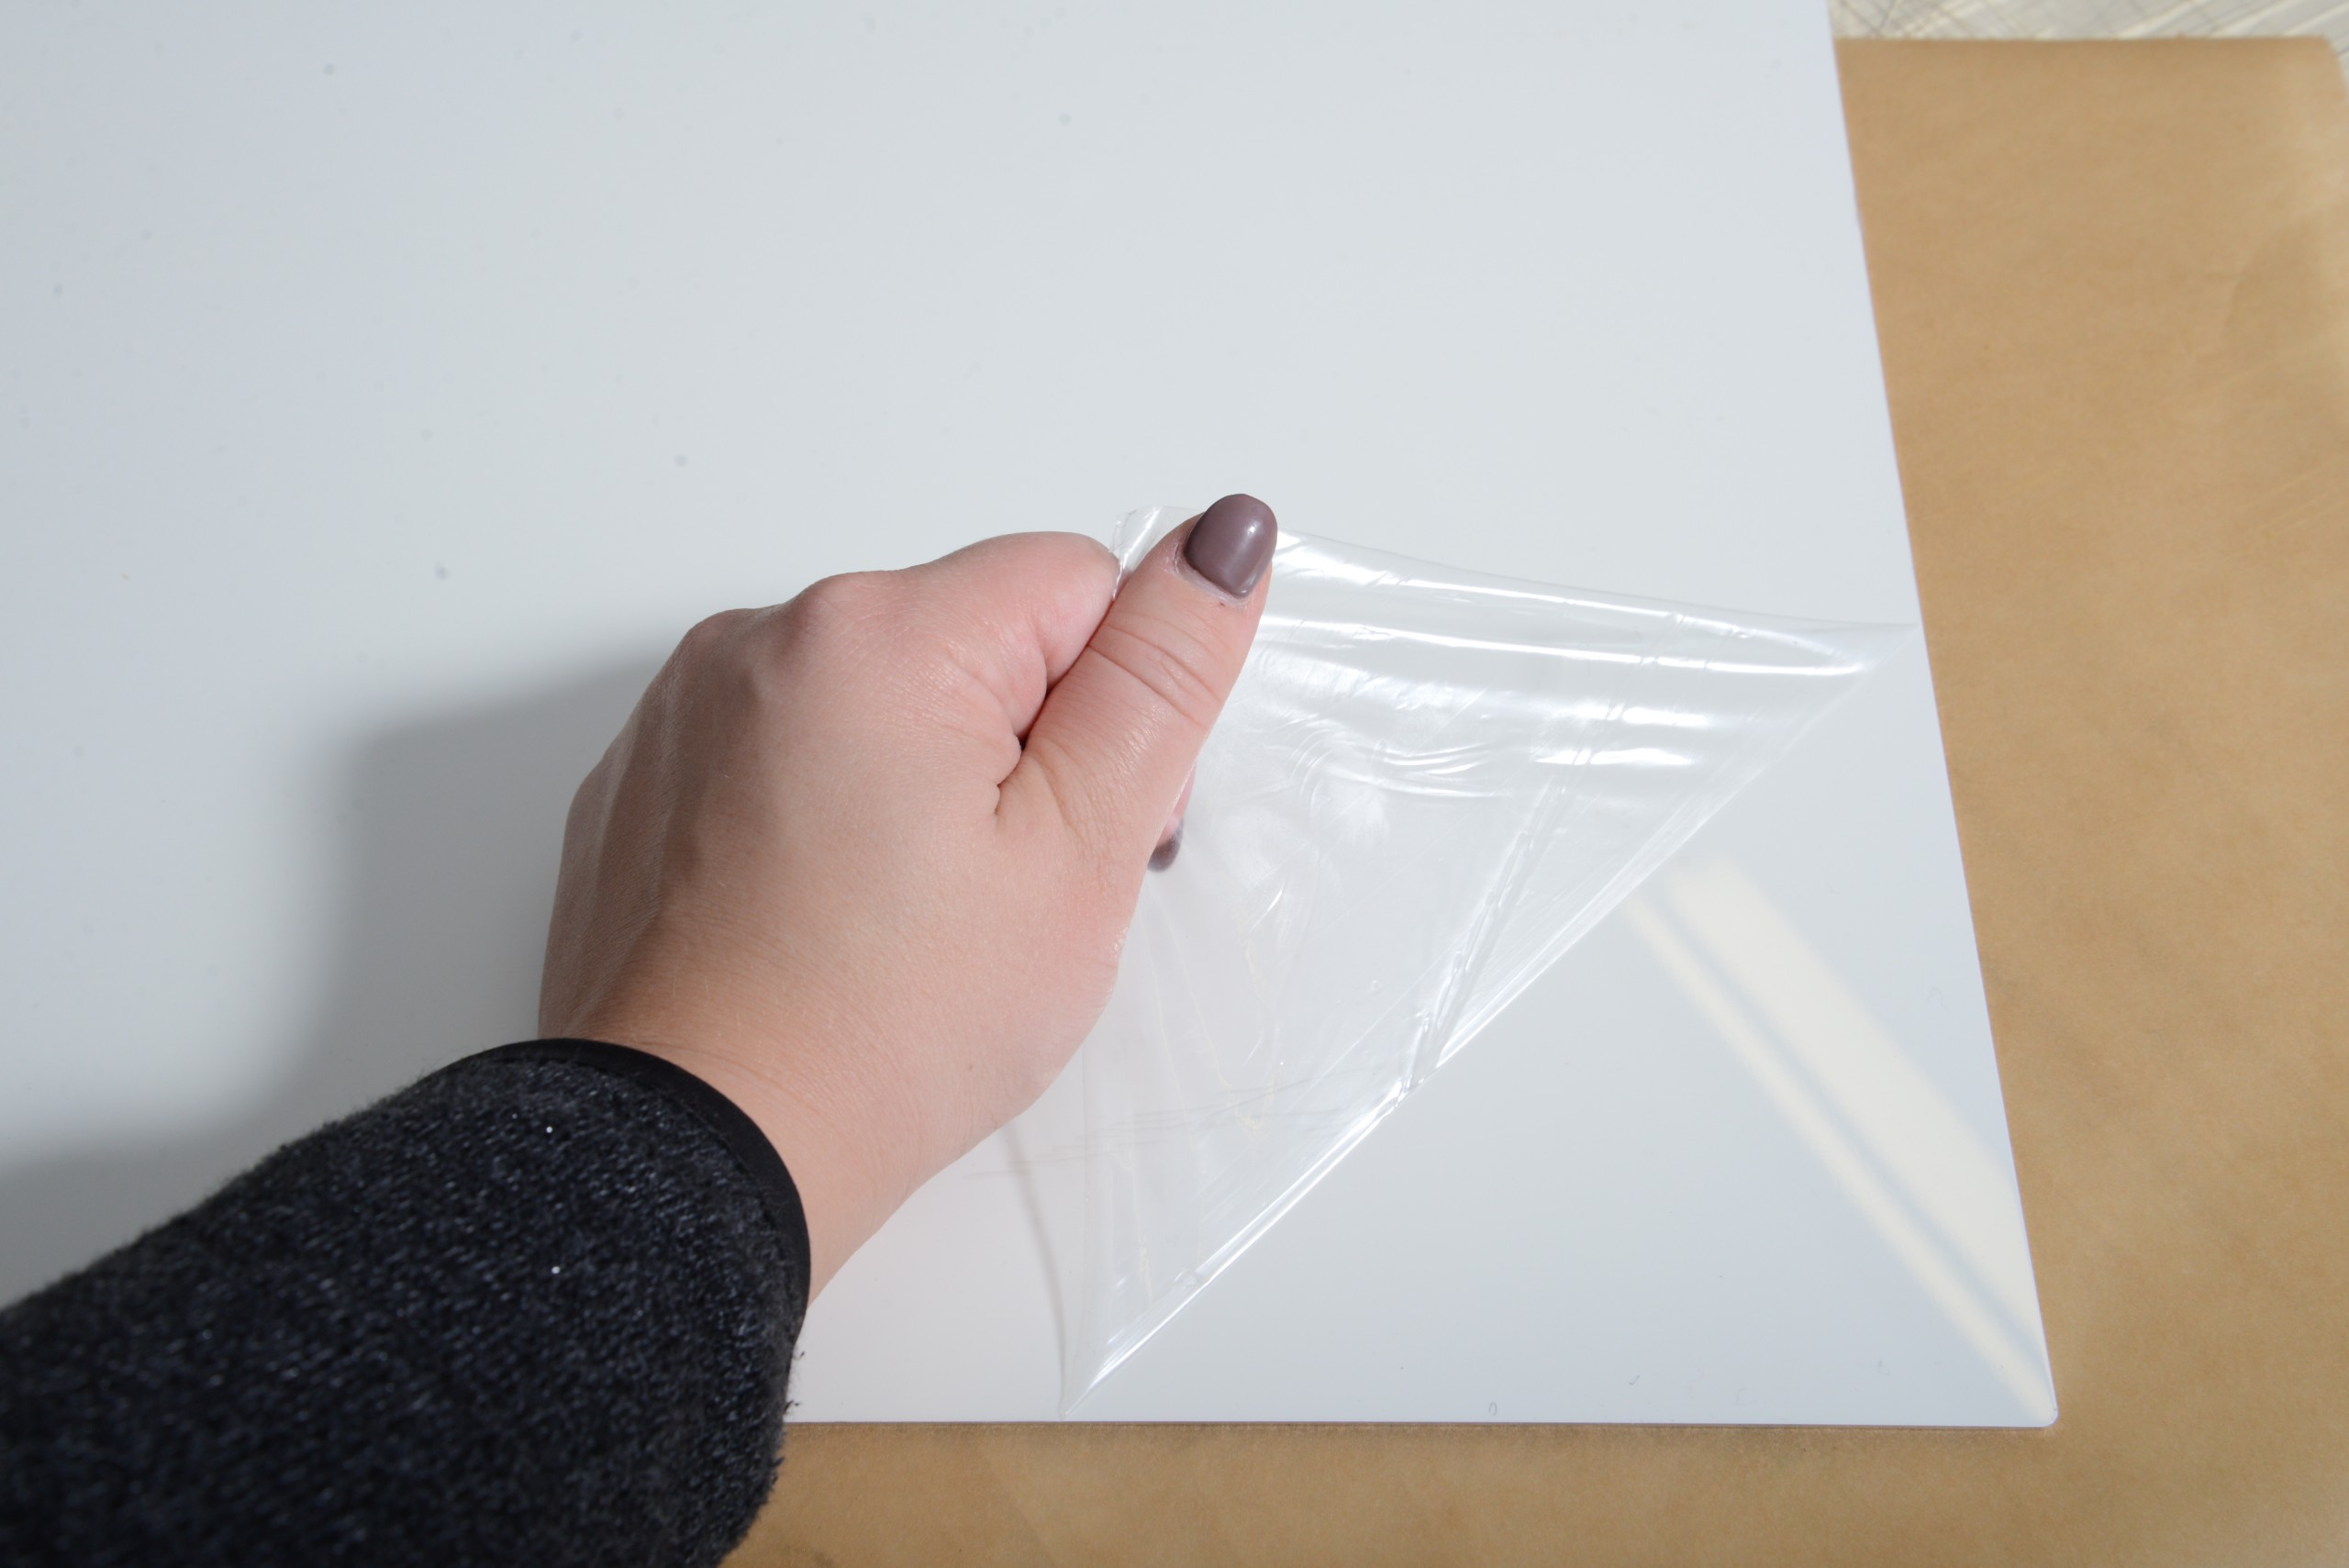
In the meantime, carefully peel off the protective film from the WunderBoard. It is best not to touch the exposed area to be printed on.
Now place the WunderBoard with thewhite side facing downwards (= silver side facing upwards) onto the prepared design and secure both elements with heat-resistant adhesive tape to ensure that the design does not slip when the heat press is opened and that no blurred ‘ghost images’ appear.
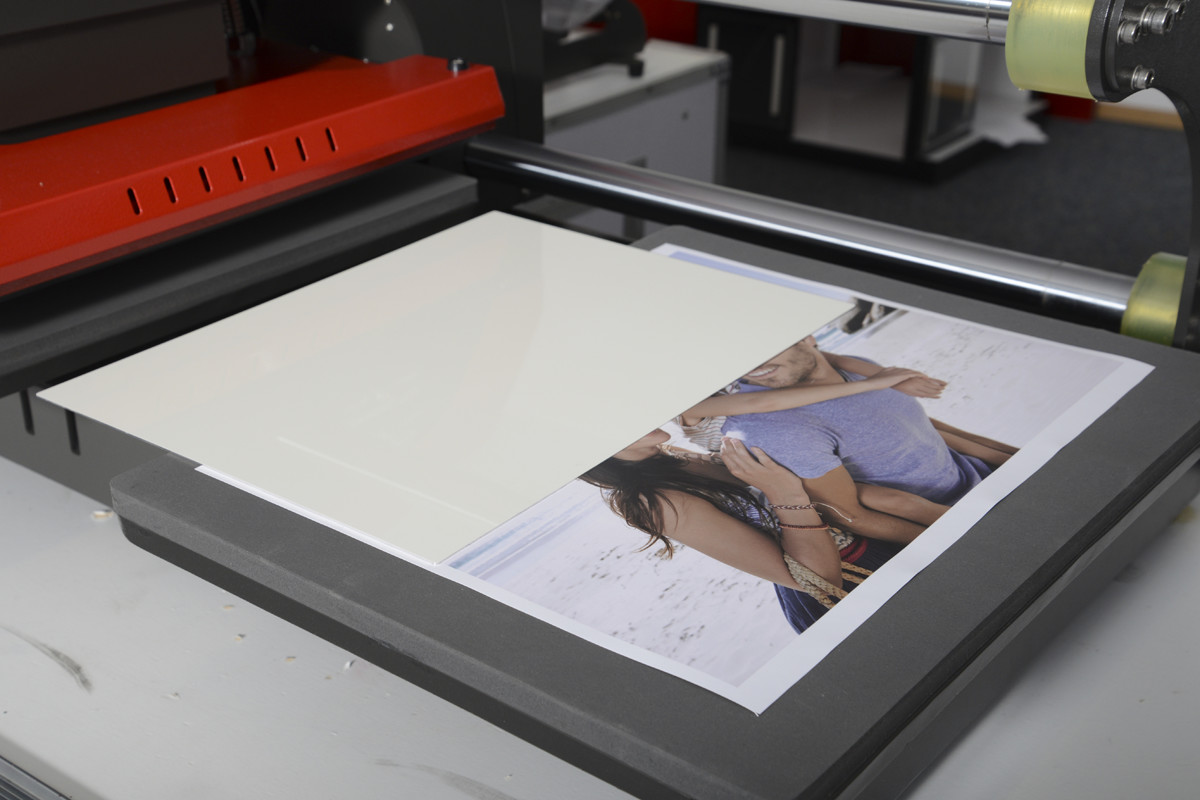
⇒⇒⇒
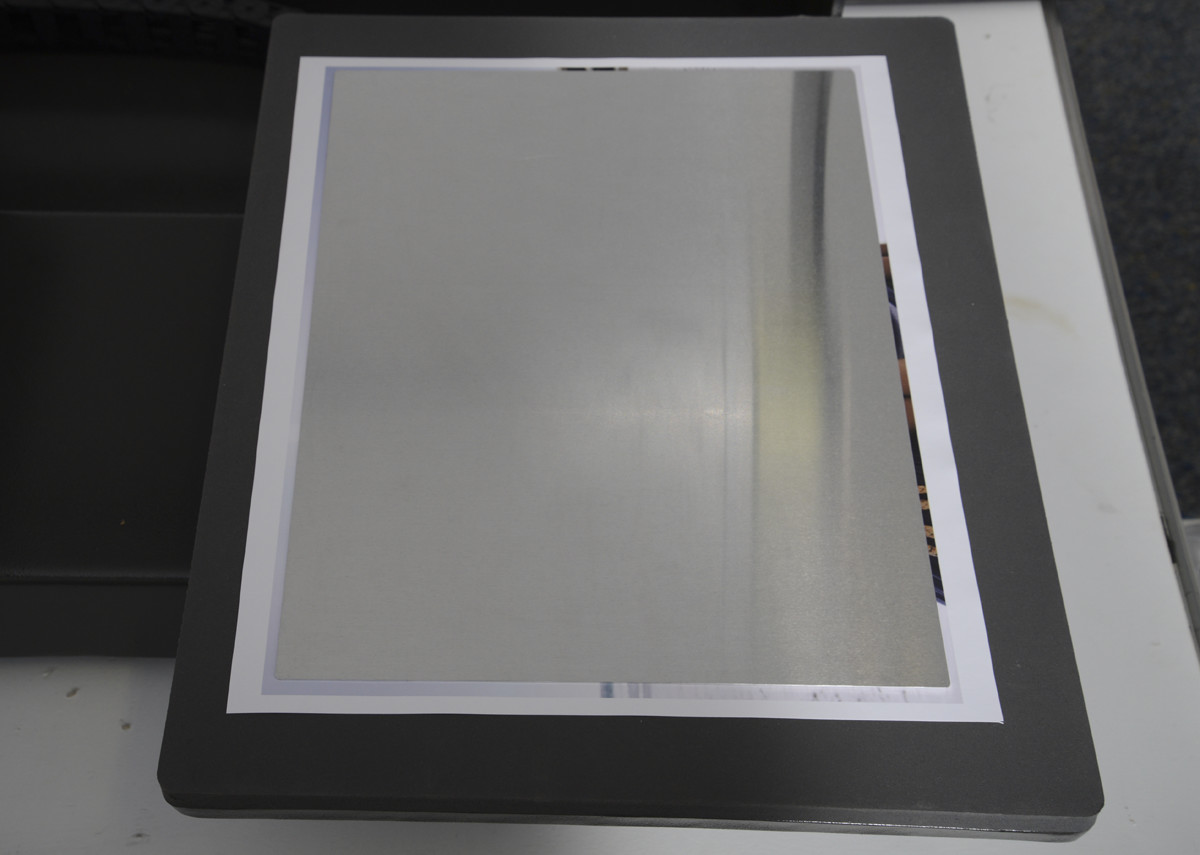
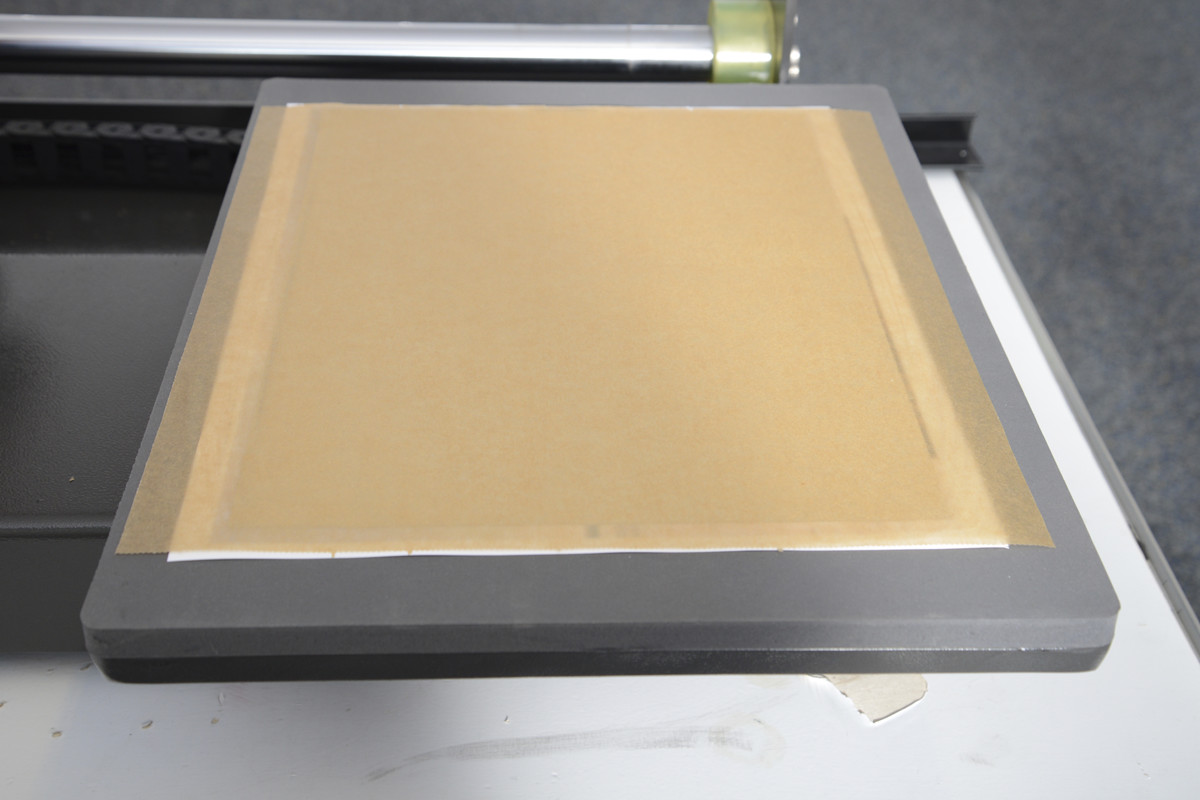
Cover everything with silicone paper or baking paper.
- Press and cool the WunderBoard
We used the Secabo TPD7 pneumatic double-plate press for the entire drying and printing process. The transfer parameters are as follows:
Time: 130 seconds – Temperature: 180°C
Now press the WunderBoard using these settings at medium contact pressure. Depending on the press model, you may need to set or use a slow opening function on the transfer press beforehand to prevent the board from lifting up and creating a ghost image when it falls back down whilst still hot. After the pressing process, carefully remove the silicone or baking paper and leave the WunderBoard to cool on the base plate of the transfer press.
Whilst still warm, the WunderBoard is very susceptible to damage to its coating and must not be moved!
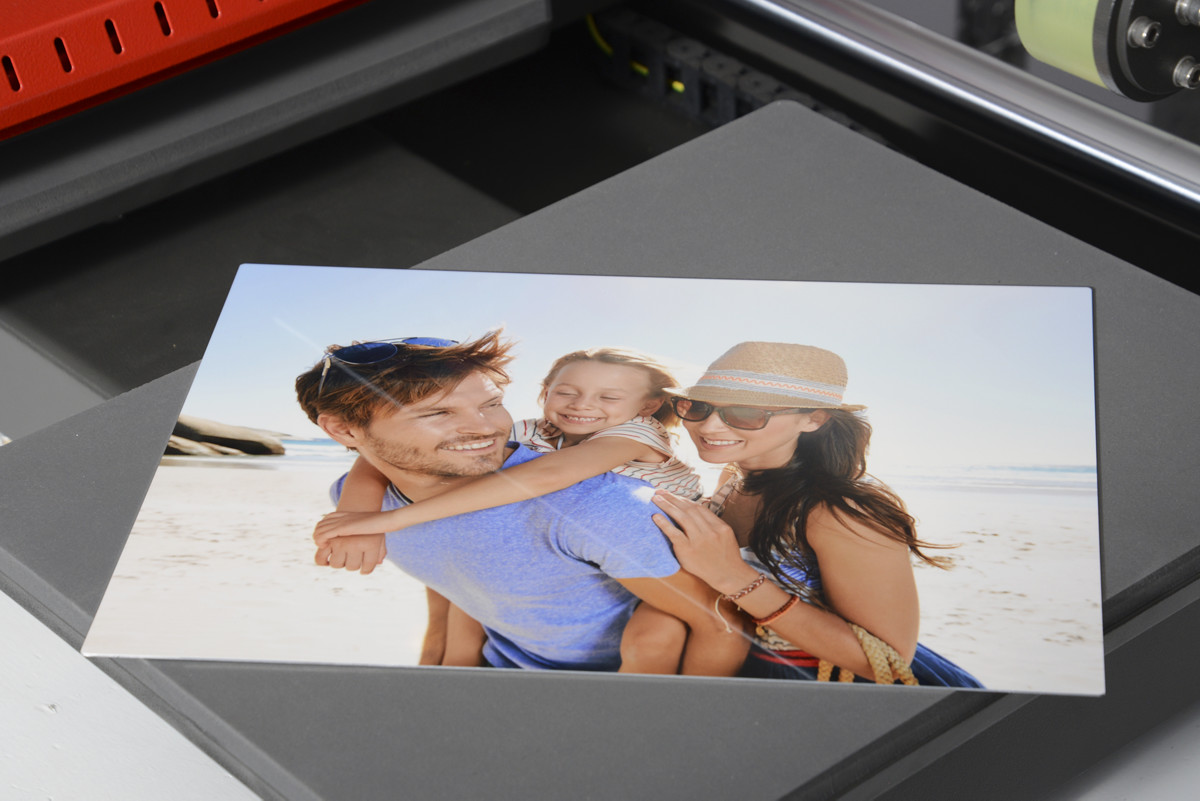
Once it has cooled down, you can finally remove the WunderBoard from the transfer press and you will have a beautiful, colour-rich, glossy photo print.
4.Mounting systems
To ensure your artworks are displayed to their best advantage, a range of display and hanging systems are available:
- Adhesive hangers and displays, aluminium
- Adhesive hanger for MDF
- Aluminium profile for frames
For panel sizes of 40cm x 40cm or larger, we strongly recommend using the aluminium profile as the mounting system! Set the frame back 10cm from the outer edge. This ensures that the WunderBoard is securely hung and stabilised.
5. New product videos
The new product videos on YouTube are definitely worth a click! Watch them here, be amazed and go for it.