
Branding and wrapping company cars – here’s how!
When you look at the prices charged by professionals for a full vehicle wrap, it’s enough to send a shiver down your spine. Especially with a full wrap, you can easily end up paying a few thousand euros. It’s no wonder that some people are tempted to do the wrapping themselves. We’ve summarised here the materials you’ll need and what you need to bear in mind when wrapping a vehicle.
Finding the right materials
If you’re cutting corners on the service, you shouldn’t skimp on the materials if you want to ensure a good result. As wrapping – depending on the scale of the job – can be very time-consuming and tricky, you shouldn’t take the project lightly and should find out exactly what’s involved in advance.
As a general rule, you should factor the following materials into your project:
- Suitable car wrapping film for applying to the car – please do not use just any film!
- A good cleaning product to remove dirt and rust residues from the relevant areas before applying the film.
- A plastic squeegee to apply the film with as few bubbles and creases as possible.
- A hairdryer to soften the film and make it easier to work with.
- A scalpel and masking tape: use the scalpel to cut the film to size; thick masking tape prevents damage to the paintwork.
You’ll find most of the materials you need in our online shop. As a general rule, you shouldn’t skimp on quality when applying a wrap to your car, as this will affect the end result. The right film can even act as a protective shield for your car, safeguarding it from stone chips and other environmental factors.
Wrapping a company car – here’s how!
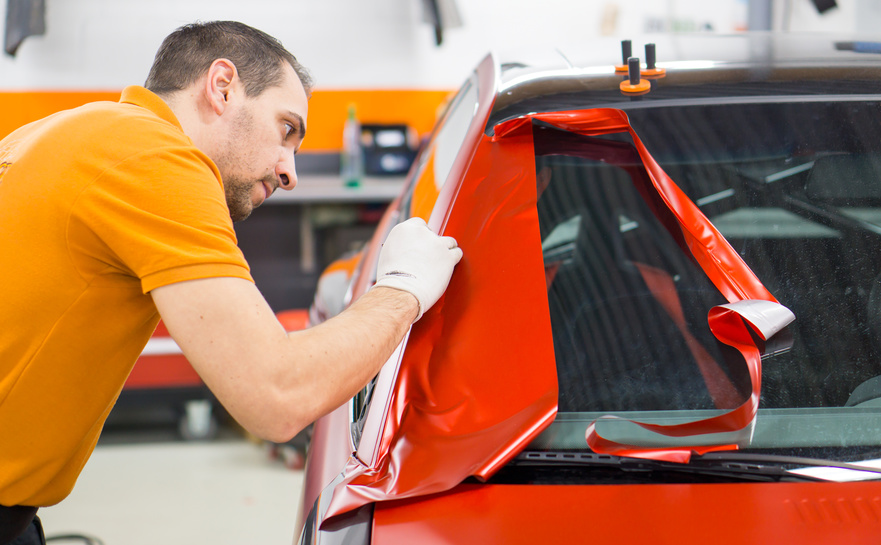
First of all, make sure you have the right conditions in place: do you have a garage where you can work for long periods without being disturbed? Perfect! Outdoors, wind, weather and even the temperature can affect the end result, which is why you should carry out the wrapping indoors if possible, or at a temperature of at least 18°C. Start by cleaning the relevant areas of your car with a good cleaning product. This will prevent dirt and rust from getting under the film.
As a general rule, make sure to work from the inside out when applying the film. It’s advisable – especially for beginners – to start with simple, flat surfaces such as the car roof.
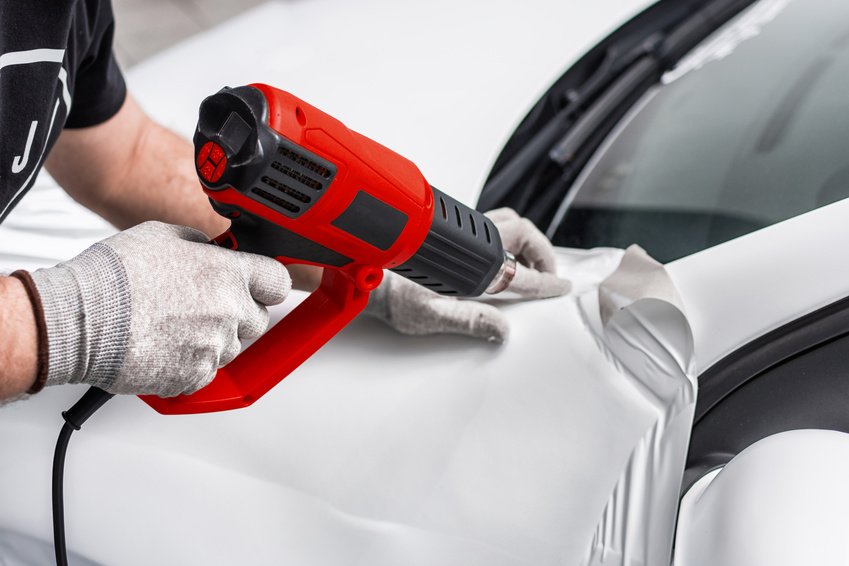
To apply the film, first heat it with a hairdryer to make it softer and easier to stretch. Cut the film to size with a scalpel as required and stick masking tape along the cut lines to prevent damage to the paintwork.
It’s almost impossible to avoid small bubbles and air pockets when applying the film. No worries! Either peel the film back up in that spot and smooth it down again, or carefully prick the bubbles with a fine bubble-piercing needleand squeeze the air out at the relevant spot – done!