Skip to main content Skip to search Skip to main navigation
YOW! Advent Calendar

YOW! Advent calendar – the first door

Advent, Advent, a little light is burning. First one, then two, then three, then four – then the Christ Child is at the door.

Four candles in a row, or all on one – to kick off our YOW! Advent calendar, we’ve labelled our Advent candles ourselves using masking film and a candle pen.

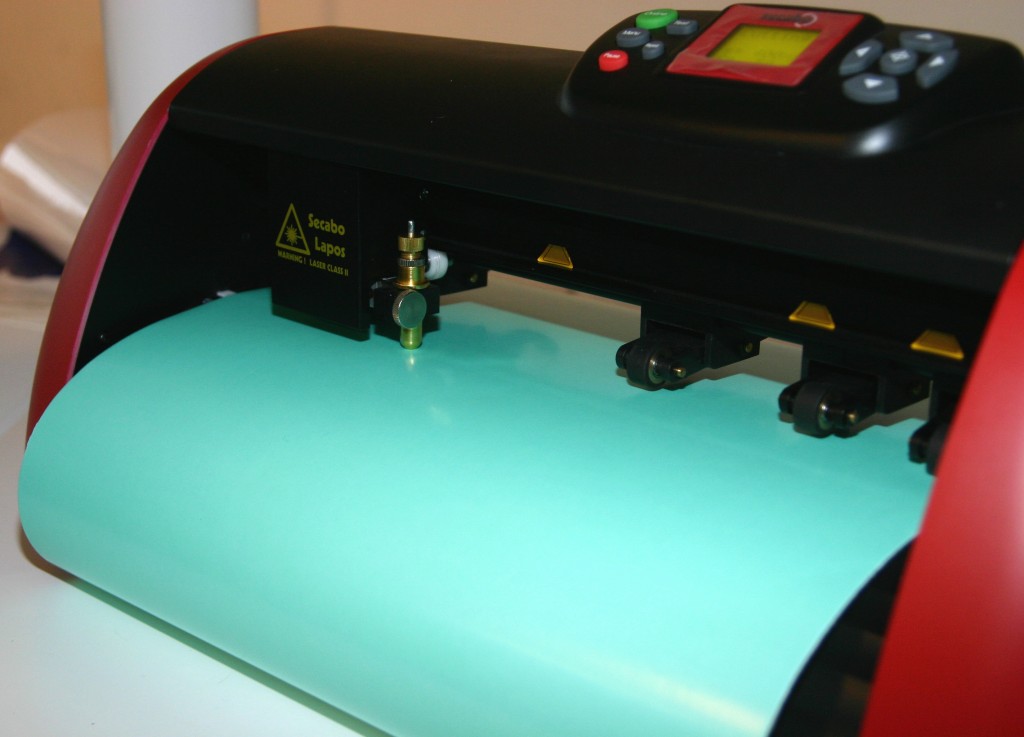
1. Plot your chosen design onto masking film using a cutting plotter, weed the film and stick it onto the candle.
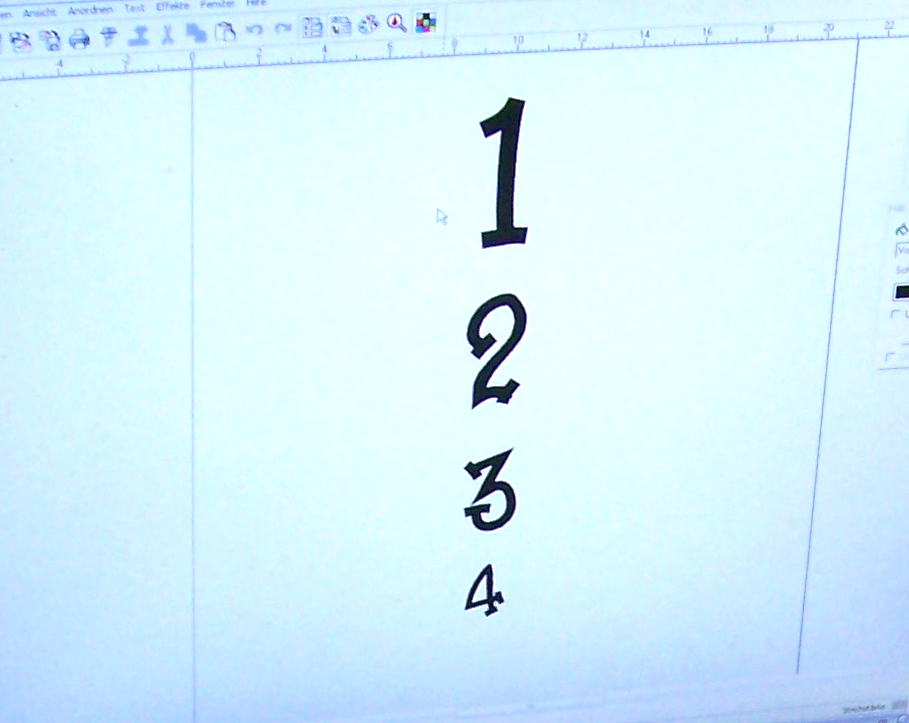
Screen showing graphics software: the numbers 1 to 4, arranged one below the other in descending order of size, as a plot template for the stencil for the Advent candle
Secabo Lapos cutting plotter with a mint-green masking film inserted, ready to plot the stencil for the Advent candle
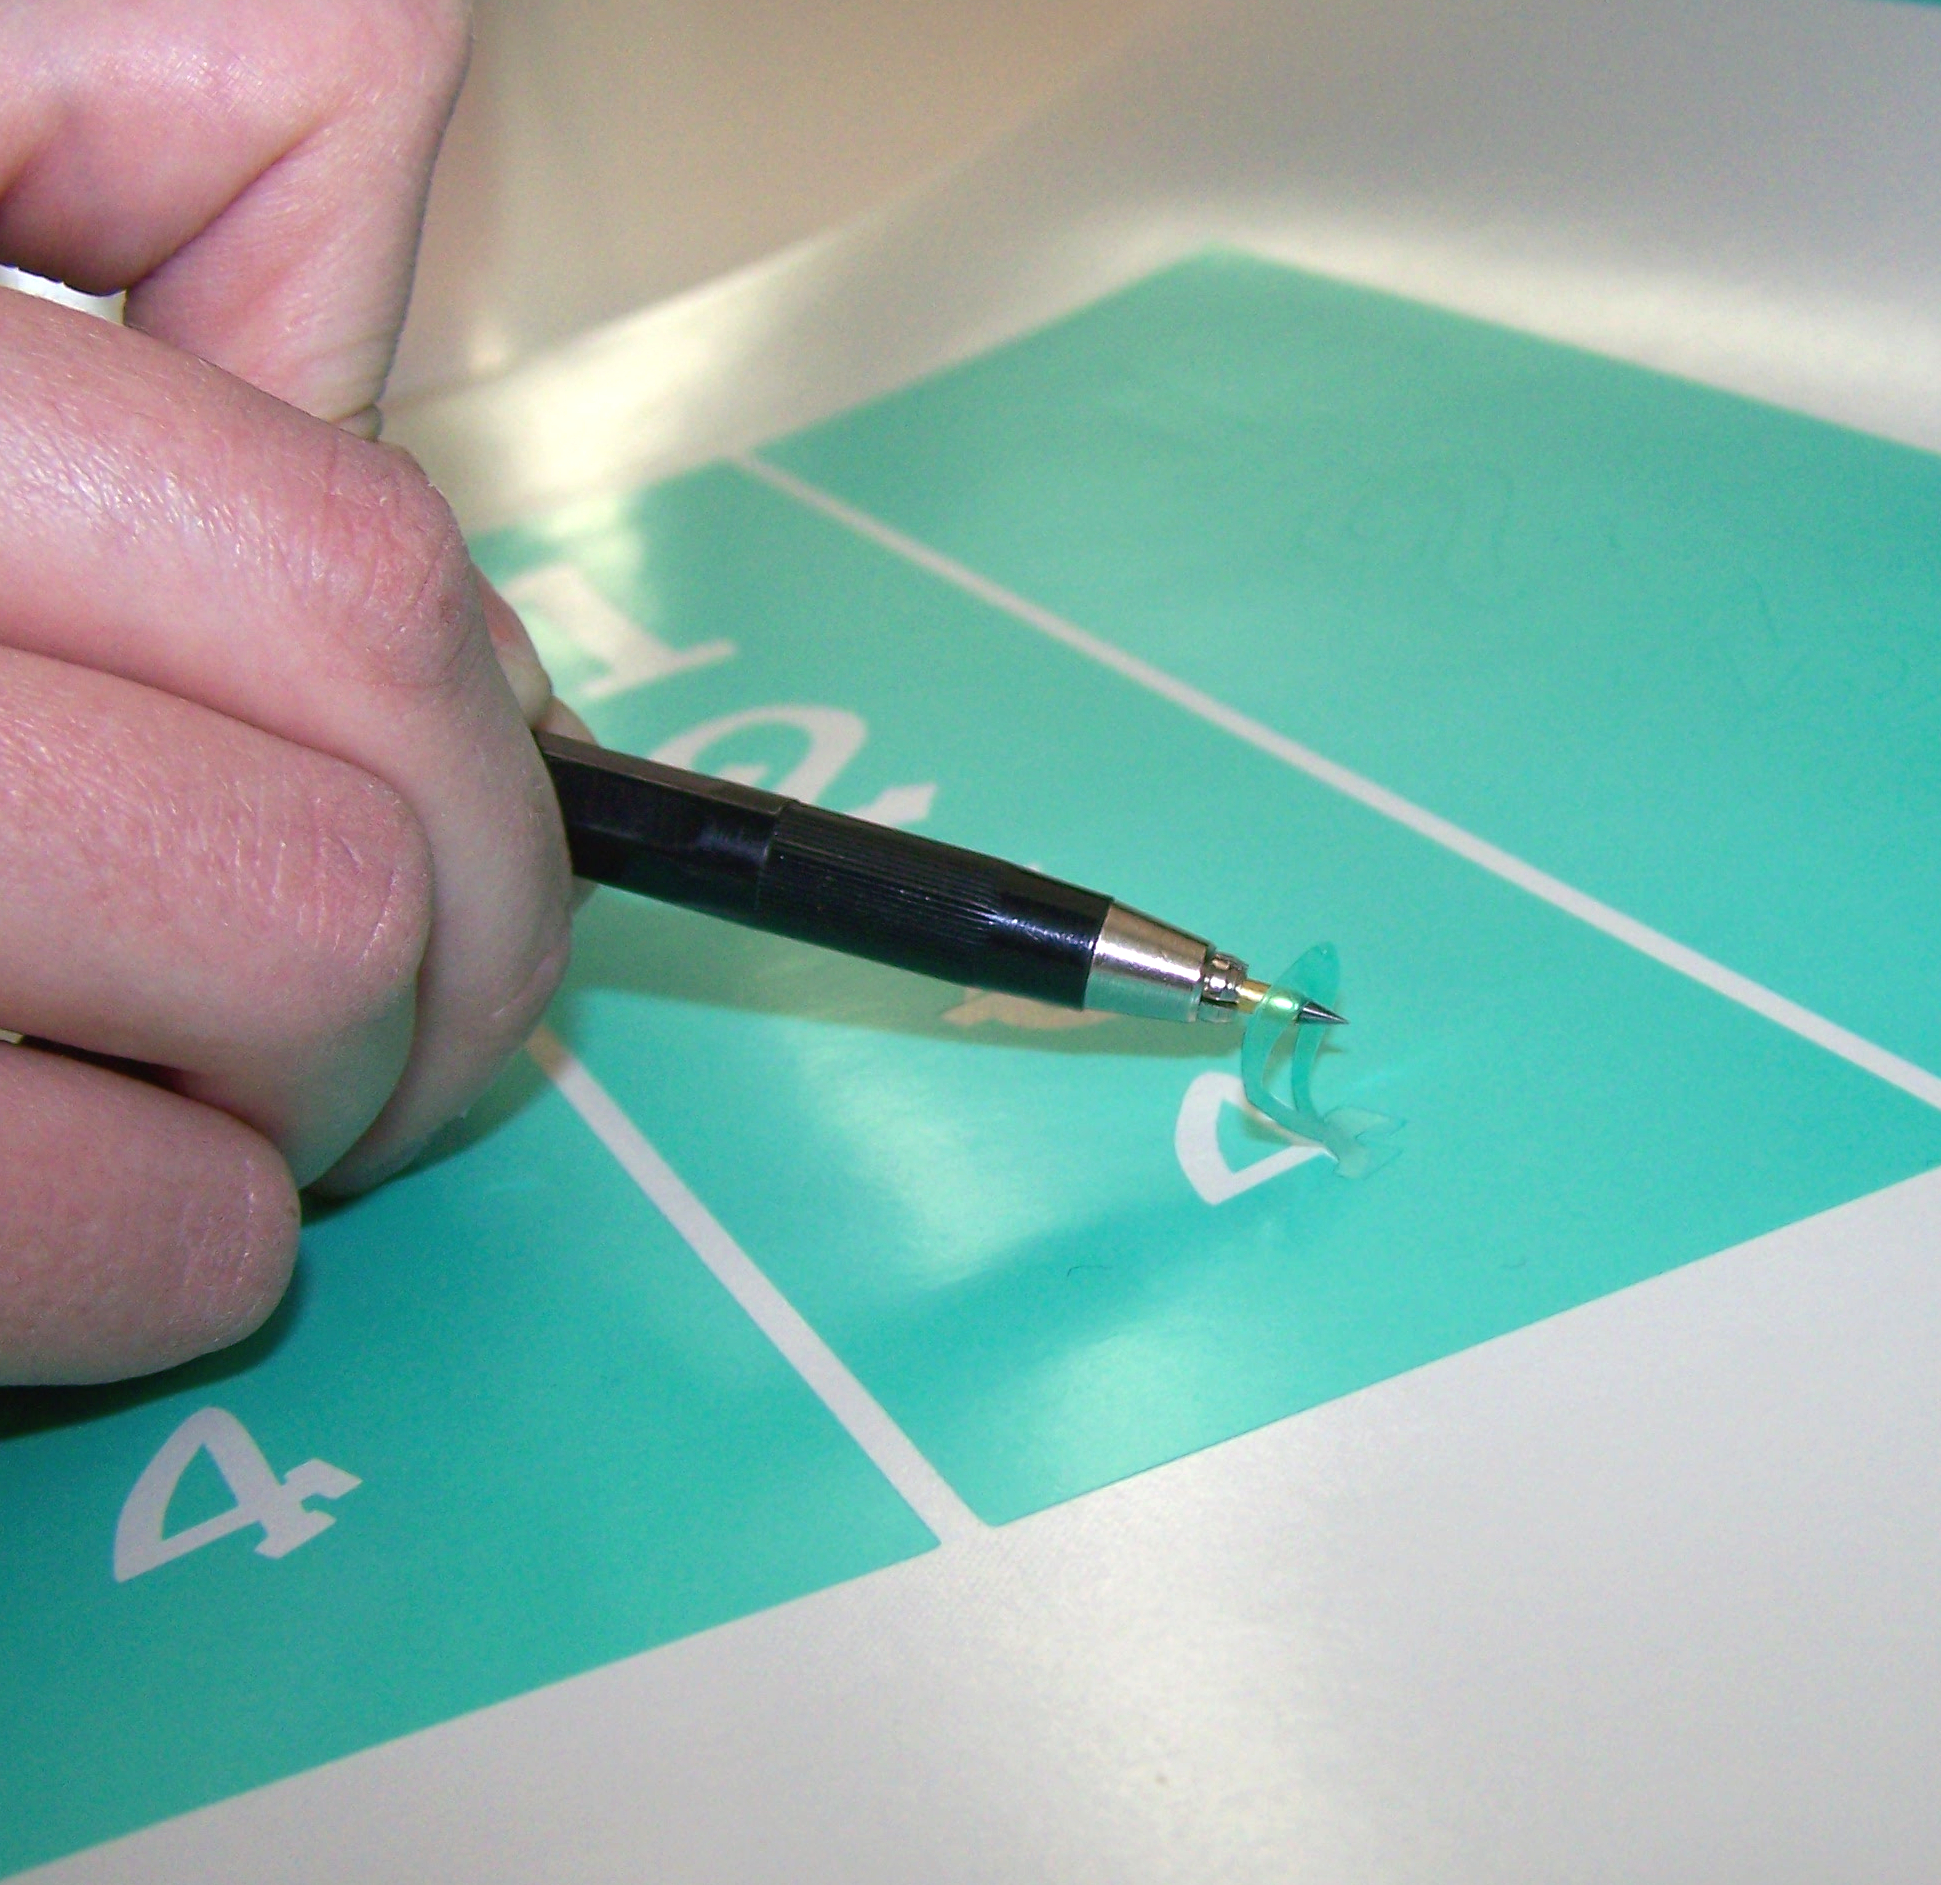
Digitally cut numbers made from turquoise masking film, weeded by hand using a weeding hook; a stencil for labelling the Advent candles
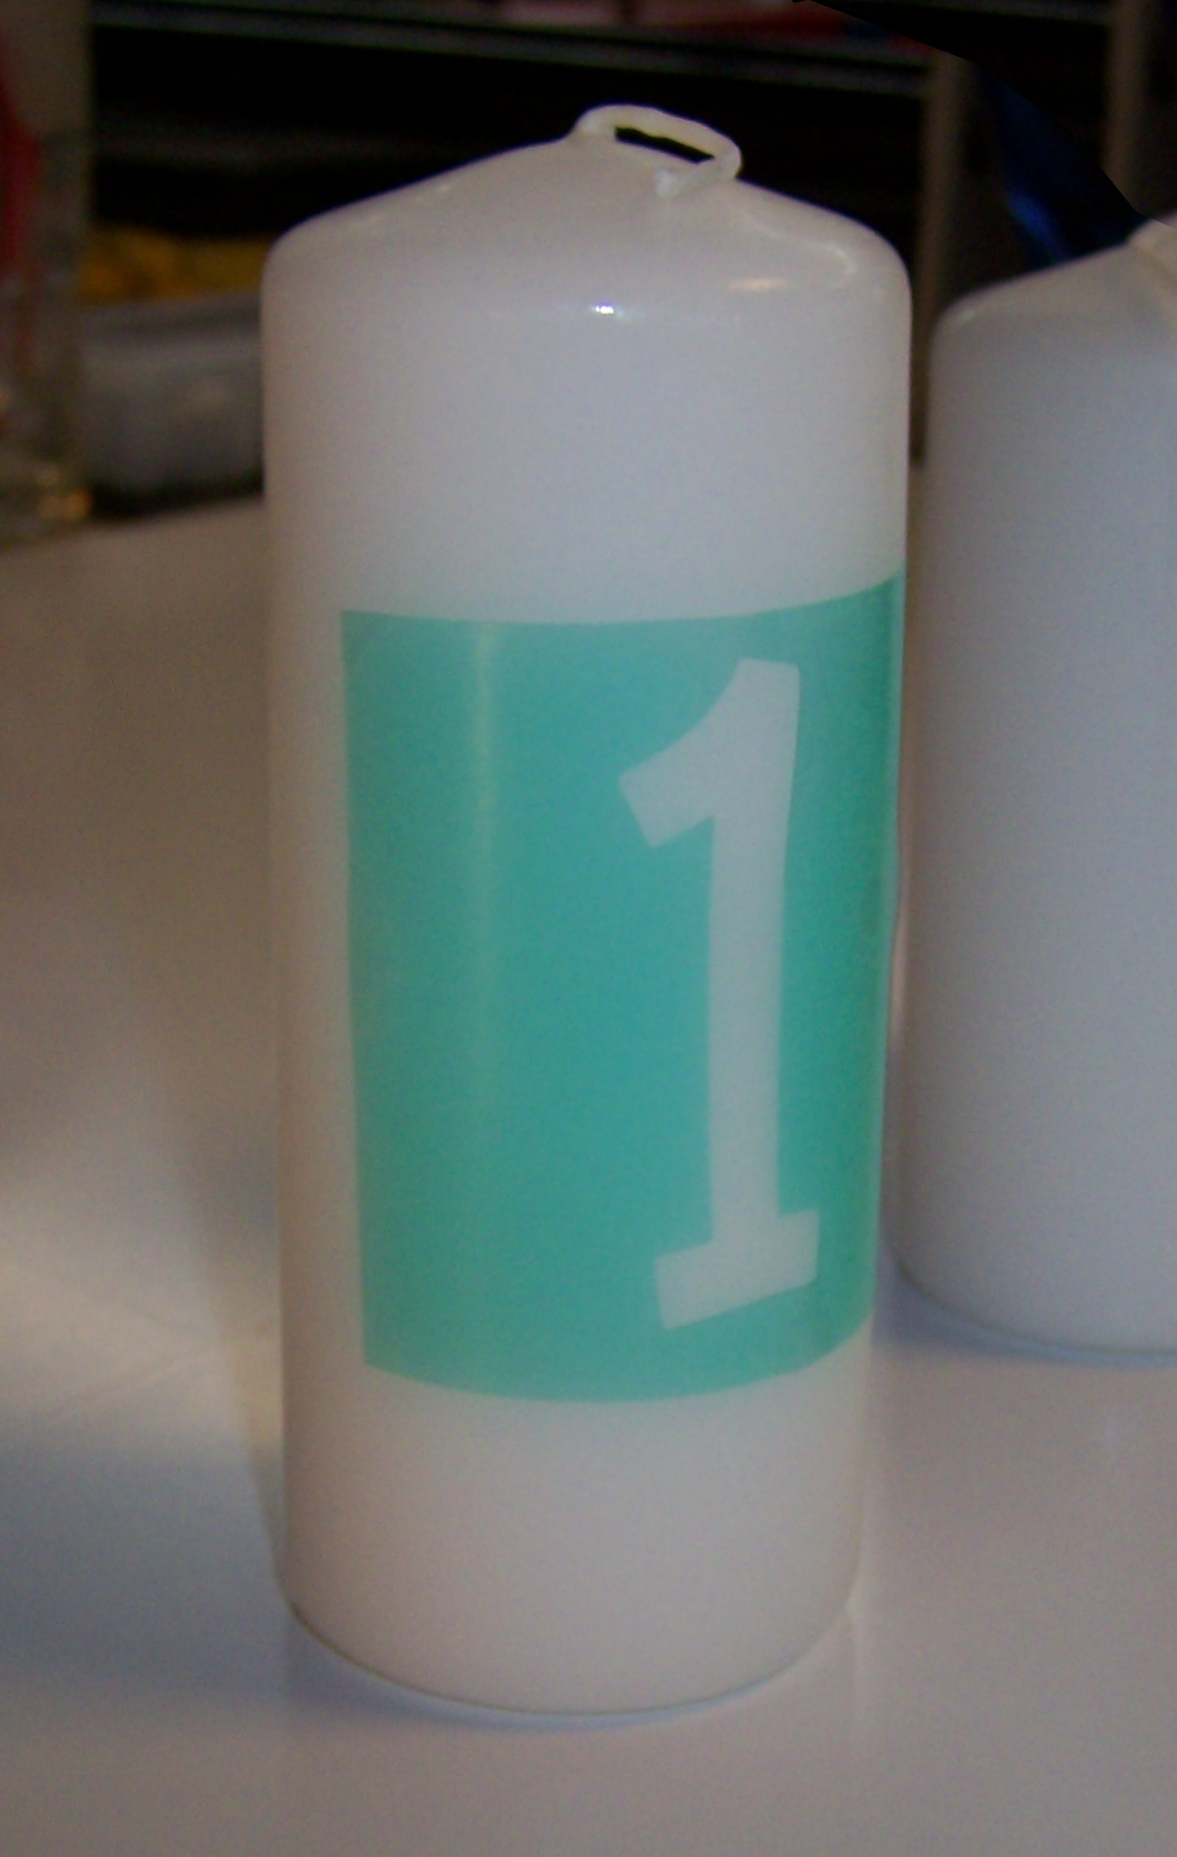
White pillar candle with turquoise masking film stuck onto it, from which the number 1 has been cut out to serve as a stencil for the candle pen

2. Use a candle pen (available in craft shops in a wide range of colours) to colour in the cut-outs on the stencil.
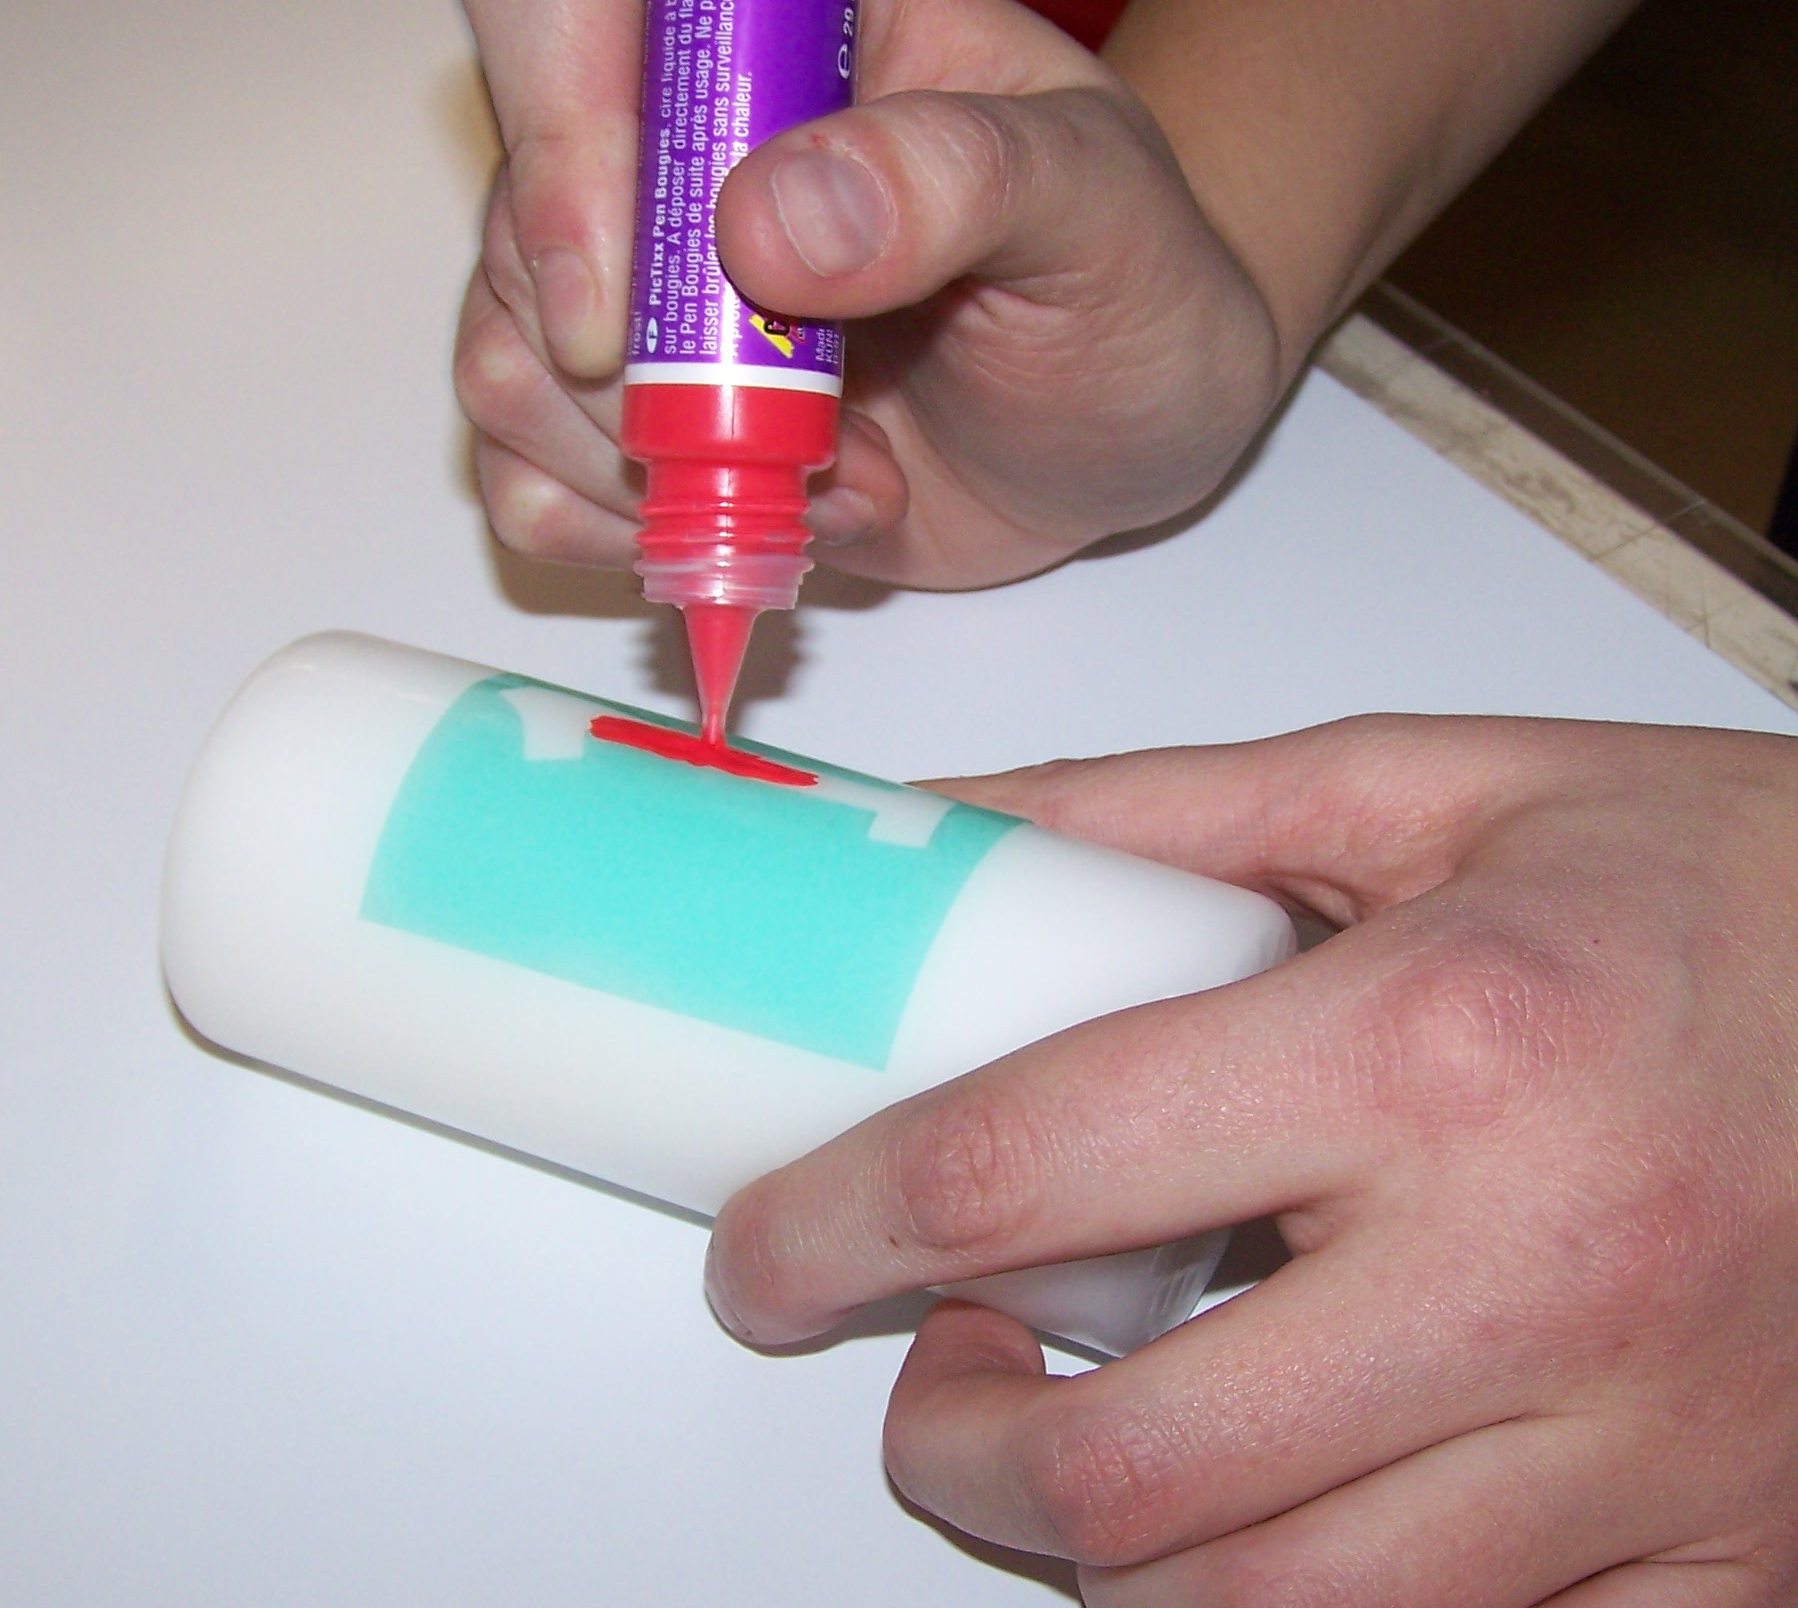
A hand is filling in the recess of a turquoise stencil made of masking film on a white pillar candle using a red candle pen

3. Leave to dry, remove the masking film, and light the candles one by one.
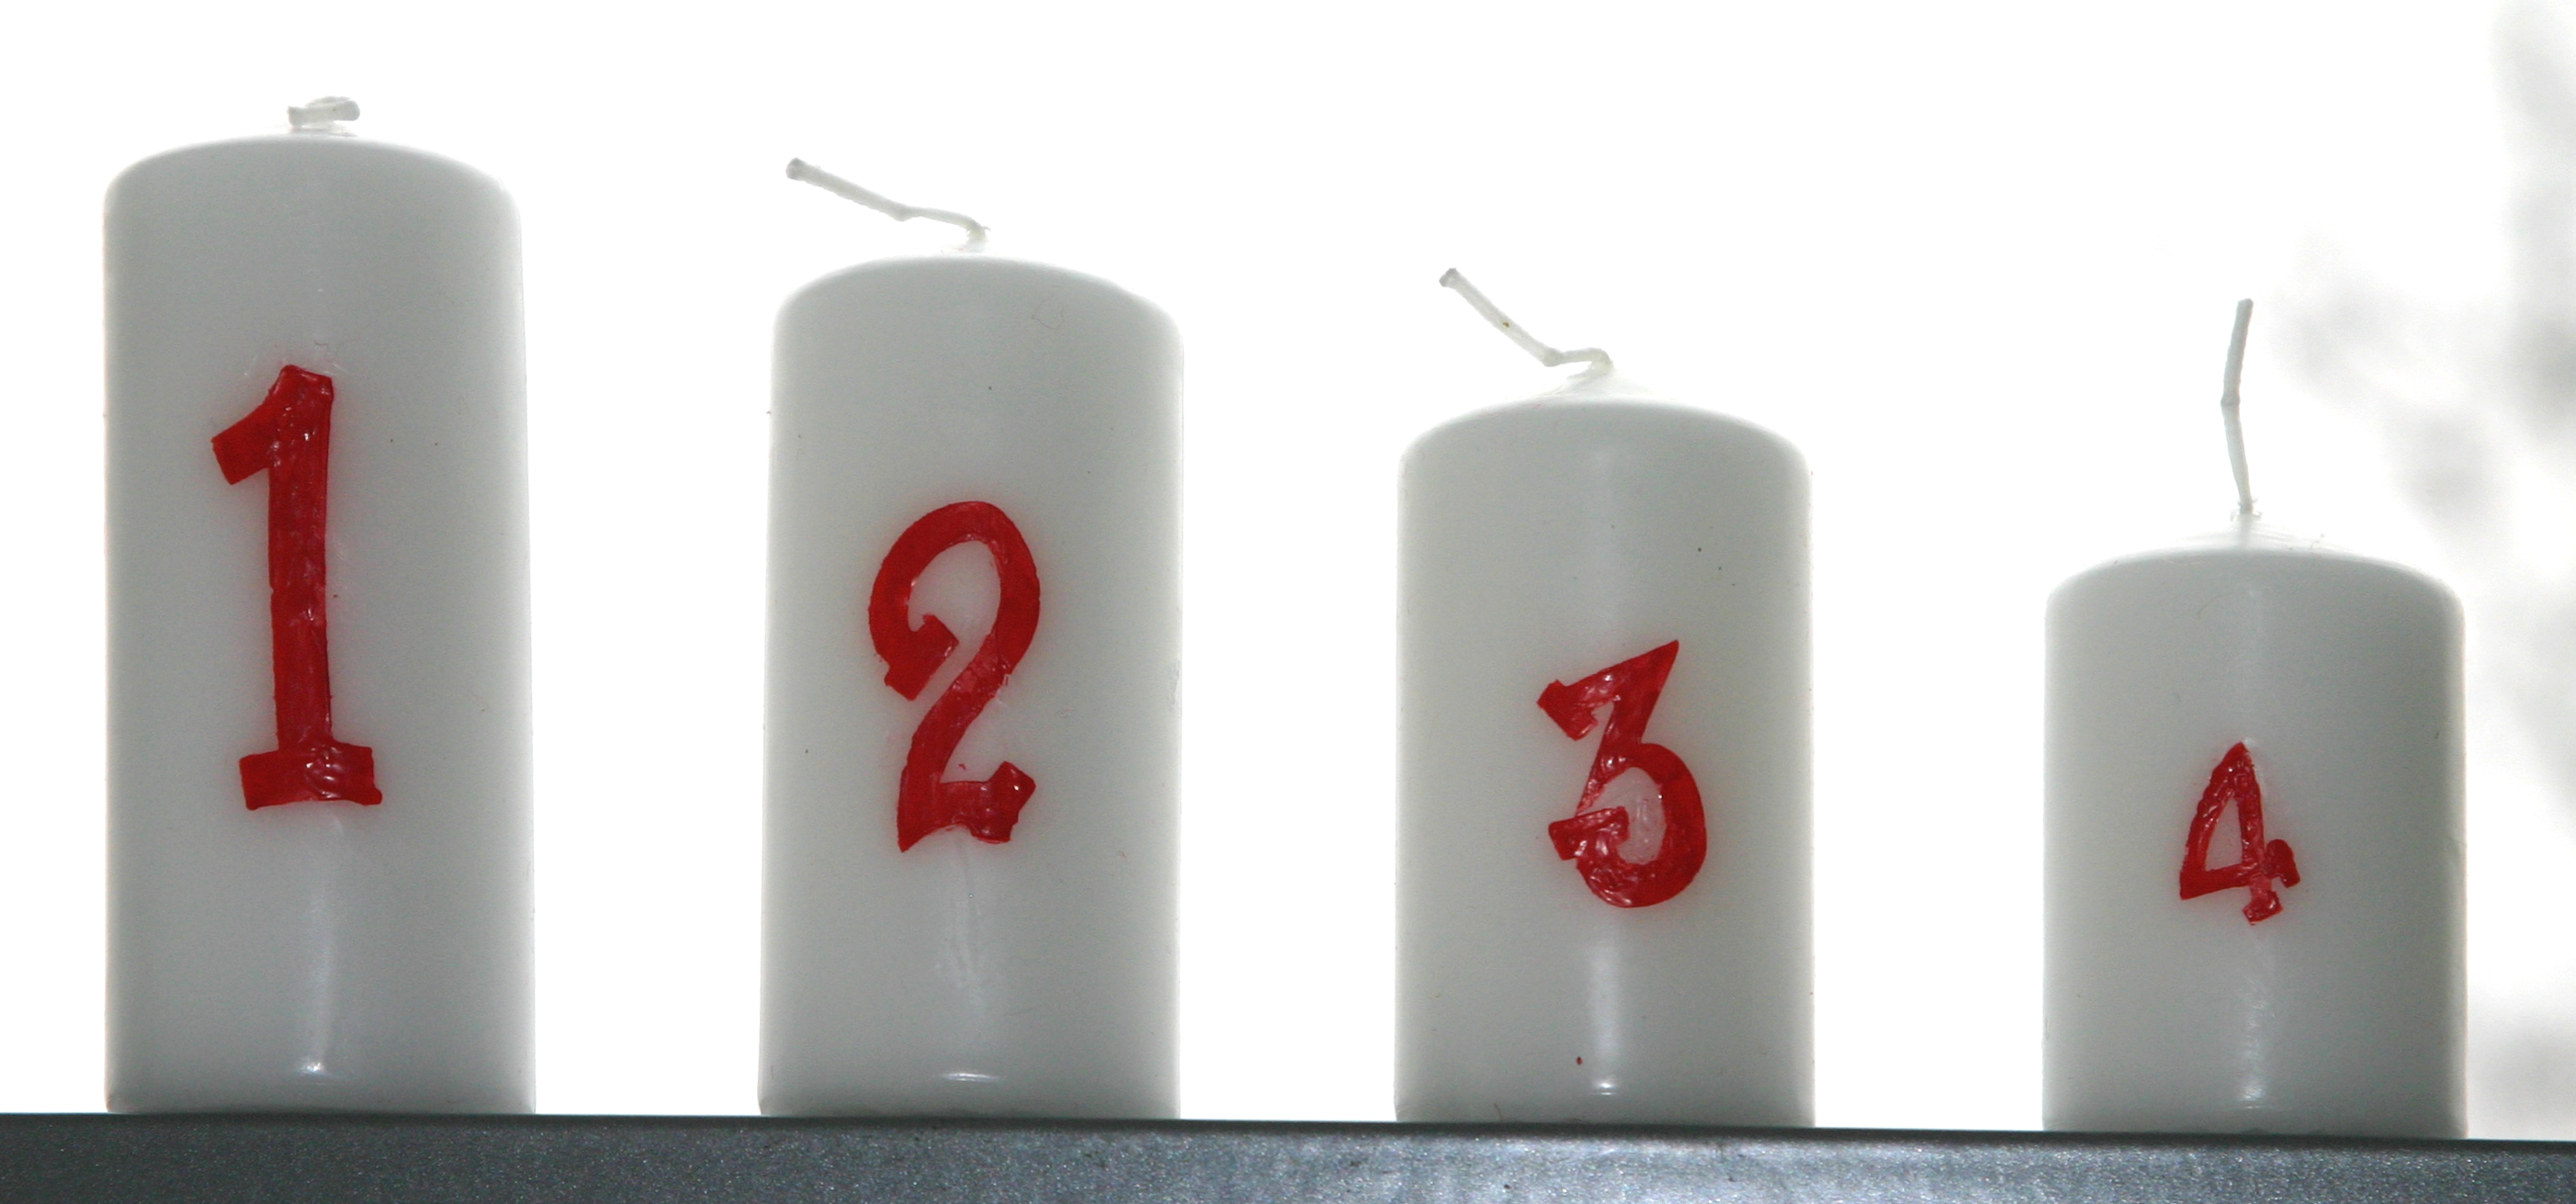
Four white pillar candles, arranged in descending order of size, labelled with the numbers 1 to 4 in red using a candle marker and masking tape

Or here’s a slightly more pragmatic solution:
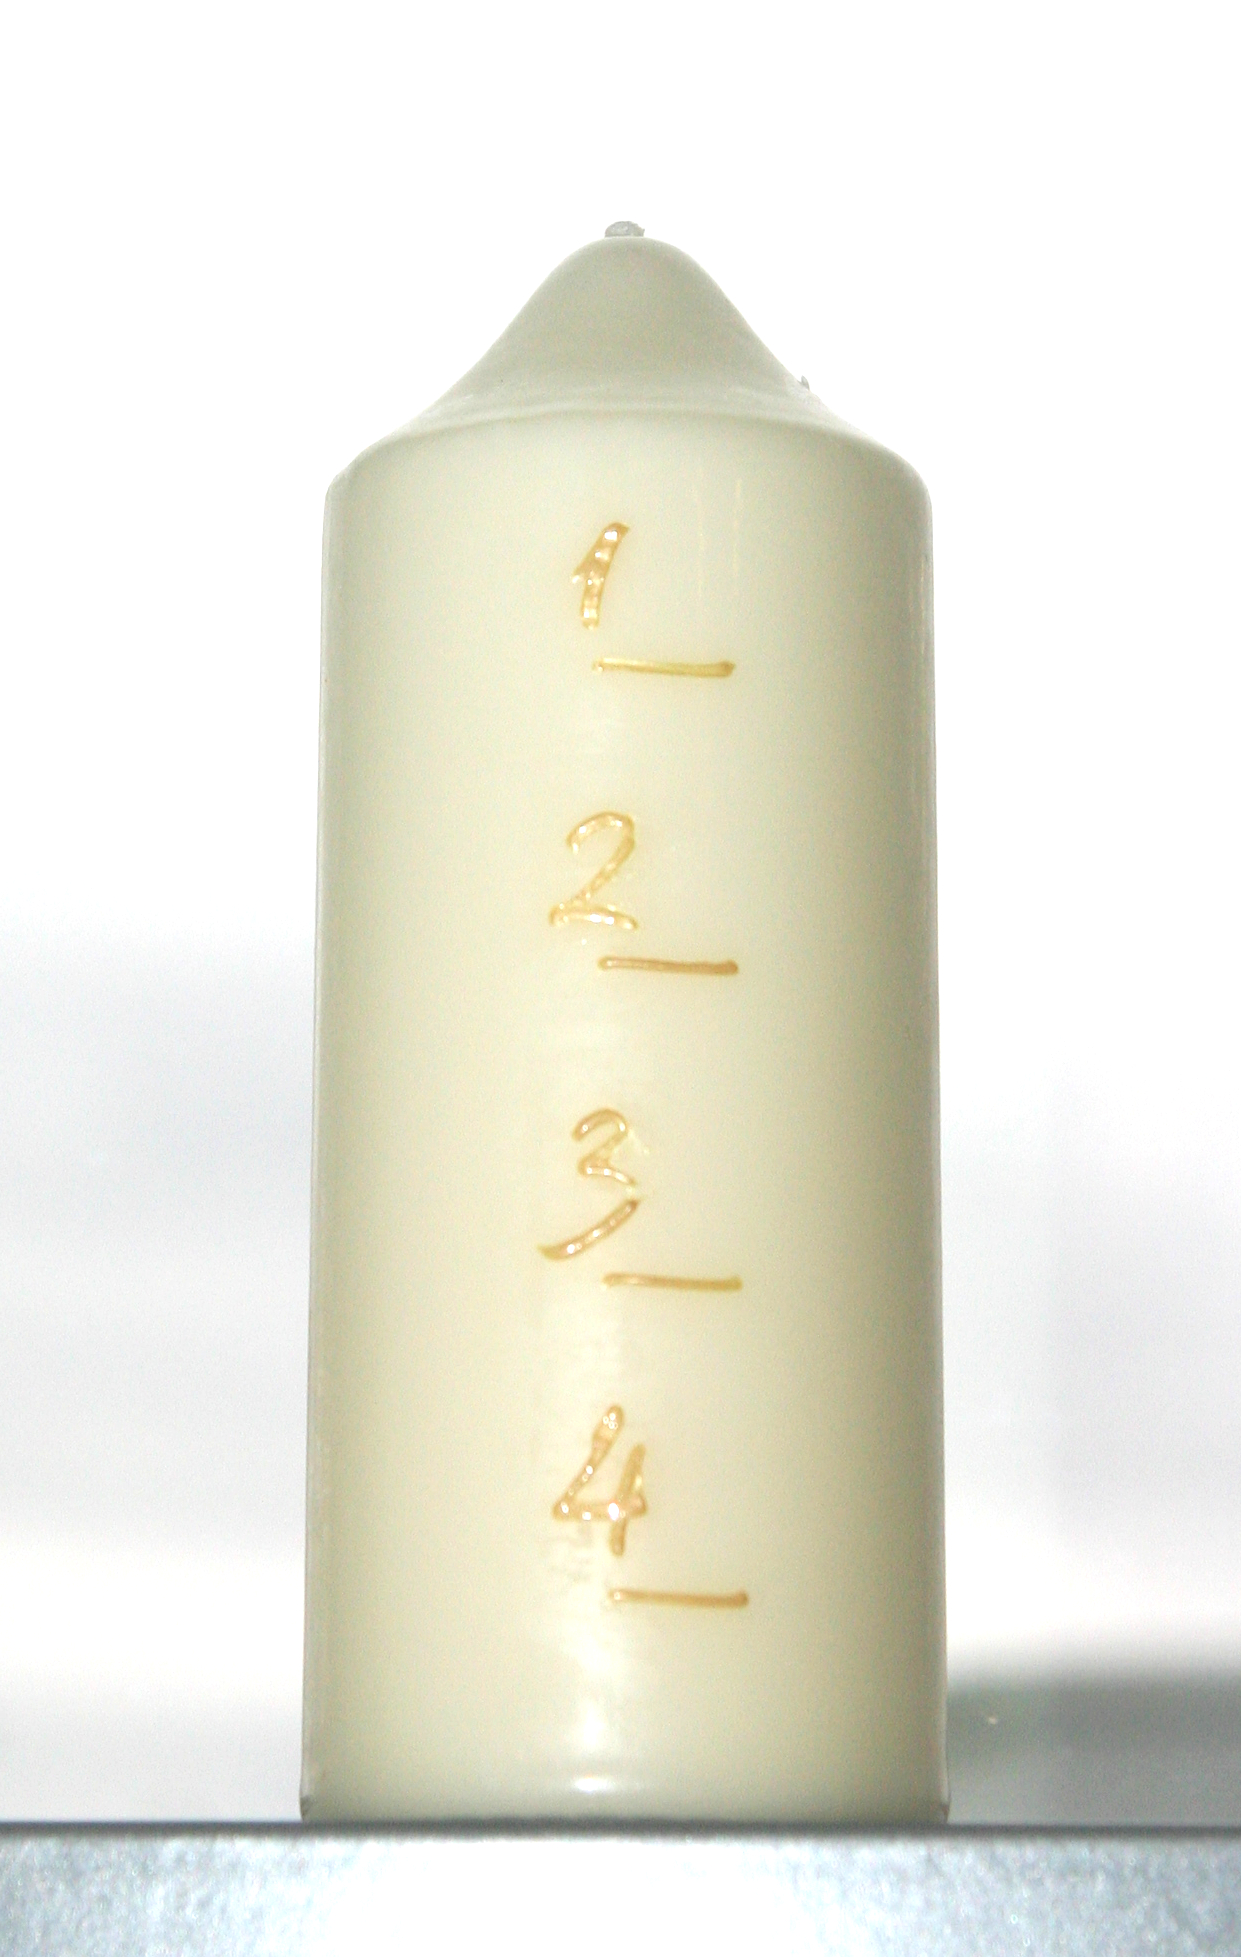
Cream-coloured pillar candle, hand-inscribed with a gold candle pen: the numbers 1 to 4 with lines to mark the Sundays of Advent
Tags Cutting plotter Masking film Candle